In the early spring, Mr Pete of Youtube fame posted a series of videos about constructing a Dual Action (DA) wobbler model steam engine from bar stock. While I already had an unbuilt casting kit from PM Research of a similar design (the 2A kit), I thought it would be a good idea to build this engine first as a learning experience. When you screw a part up, it's easier and quicker to make another from bar stock than order a replacement casting from the manufacturer.
Here's the first video of Mr Pete's five part build series on Youtube:
Drawings for the engine are available at Thingiverse:
http://www.thingiverse.com/thing:3432821
I'm not going to bother showing the complete build since Mr Pete already did a great job with his video series. What follows are a few highlights.
Since I already had all the needed material on hand, I could get started immediately. First the steel flywheel.

After some turning of the steel stock in the 4 jaw chuck the axle hole was drilled and then reamed.
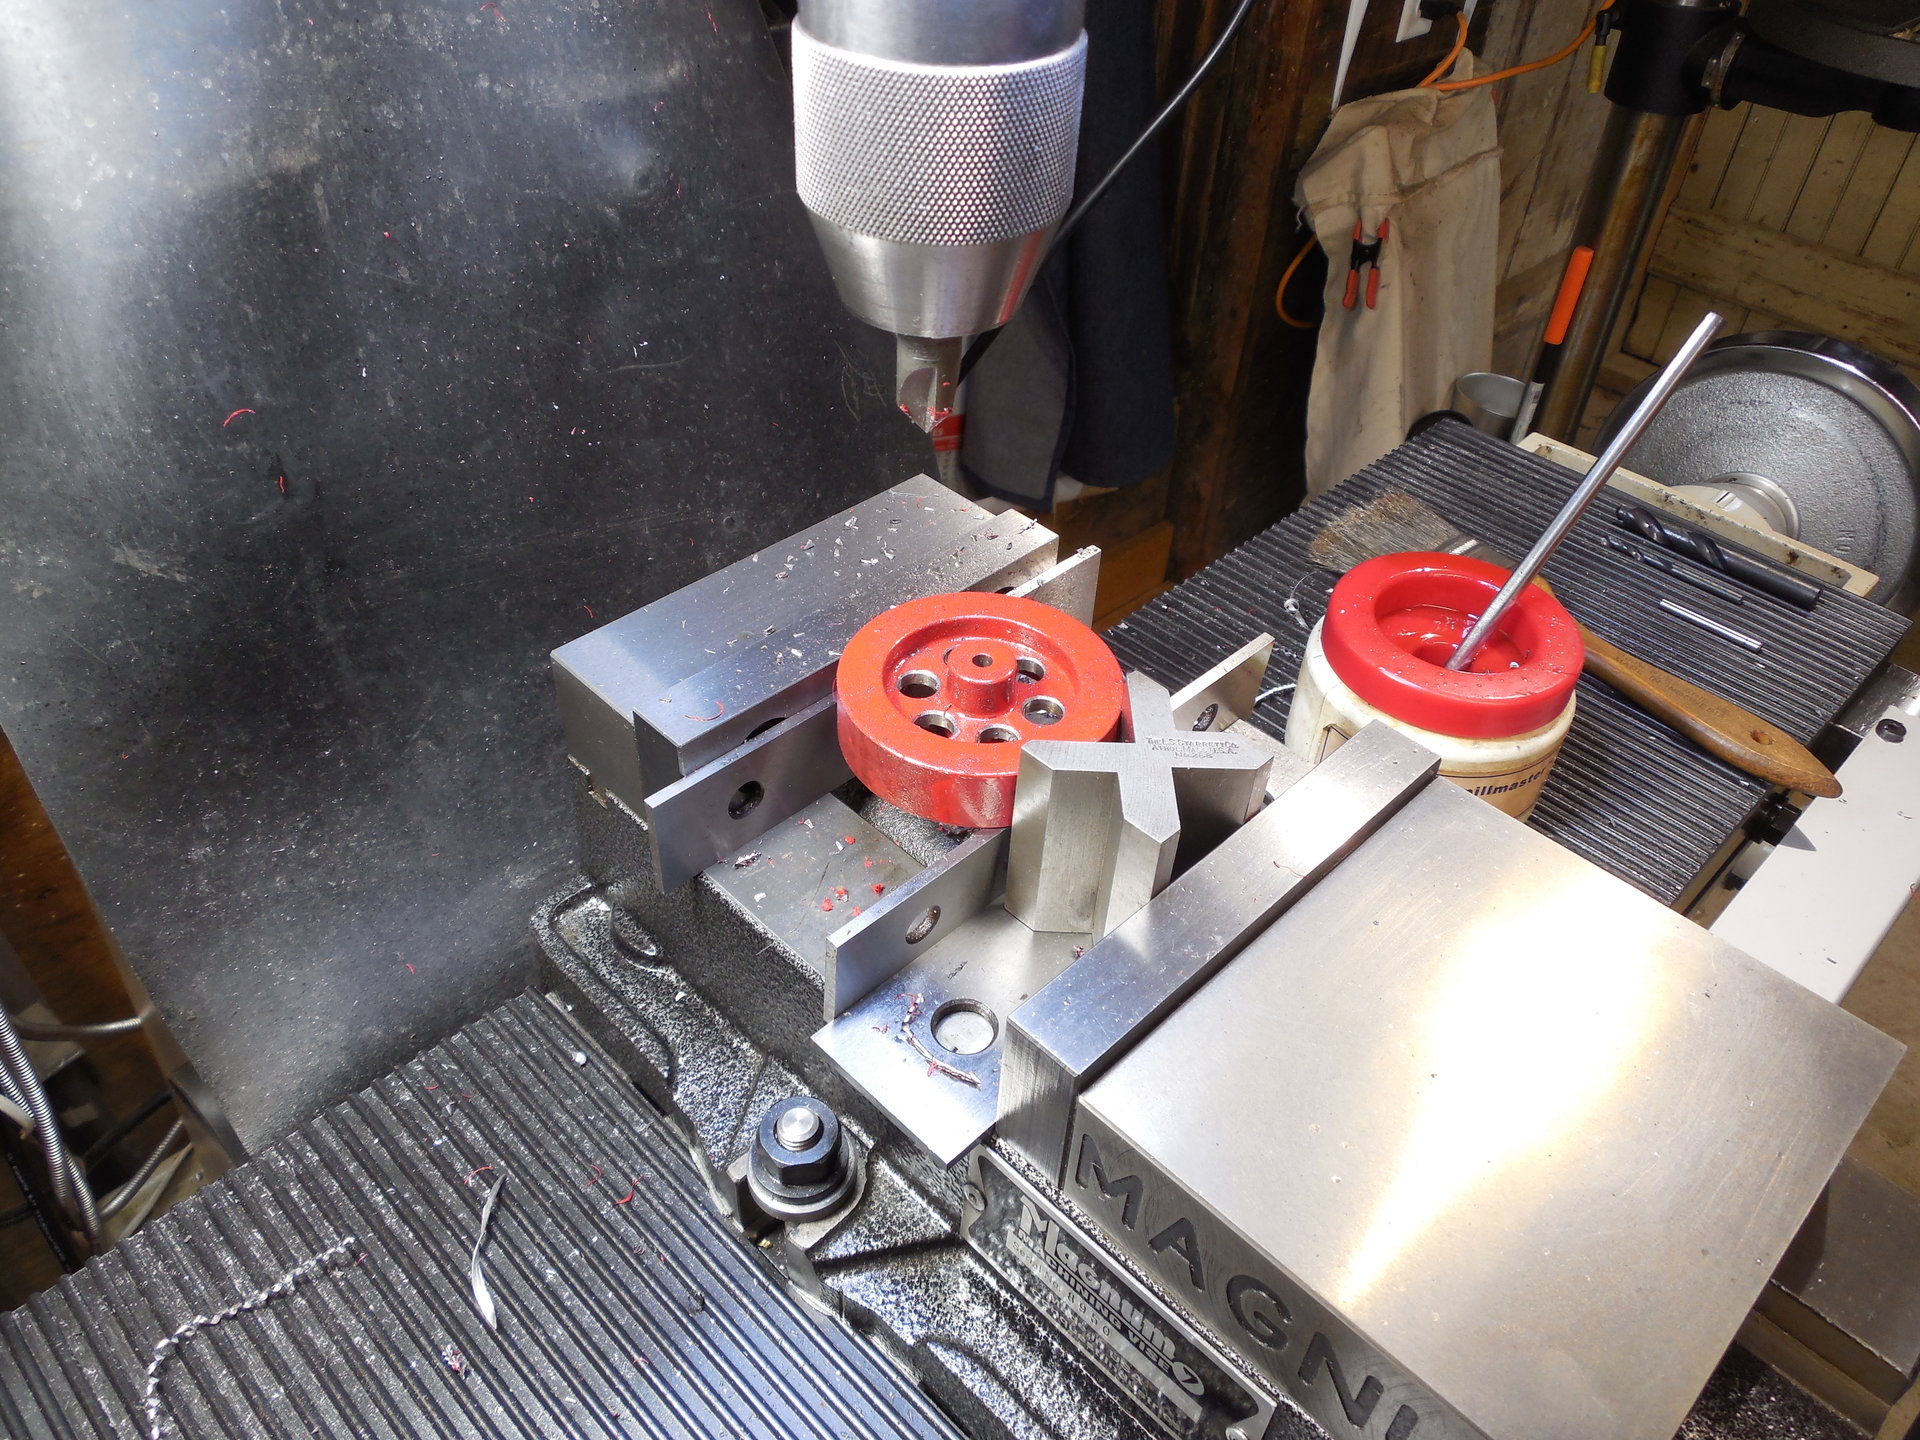
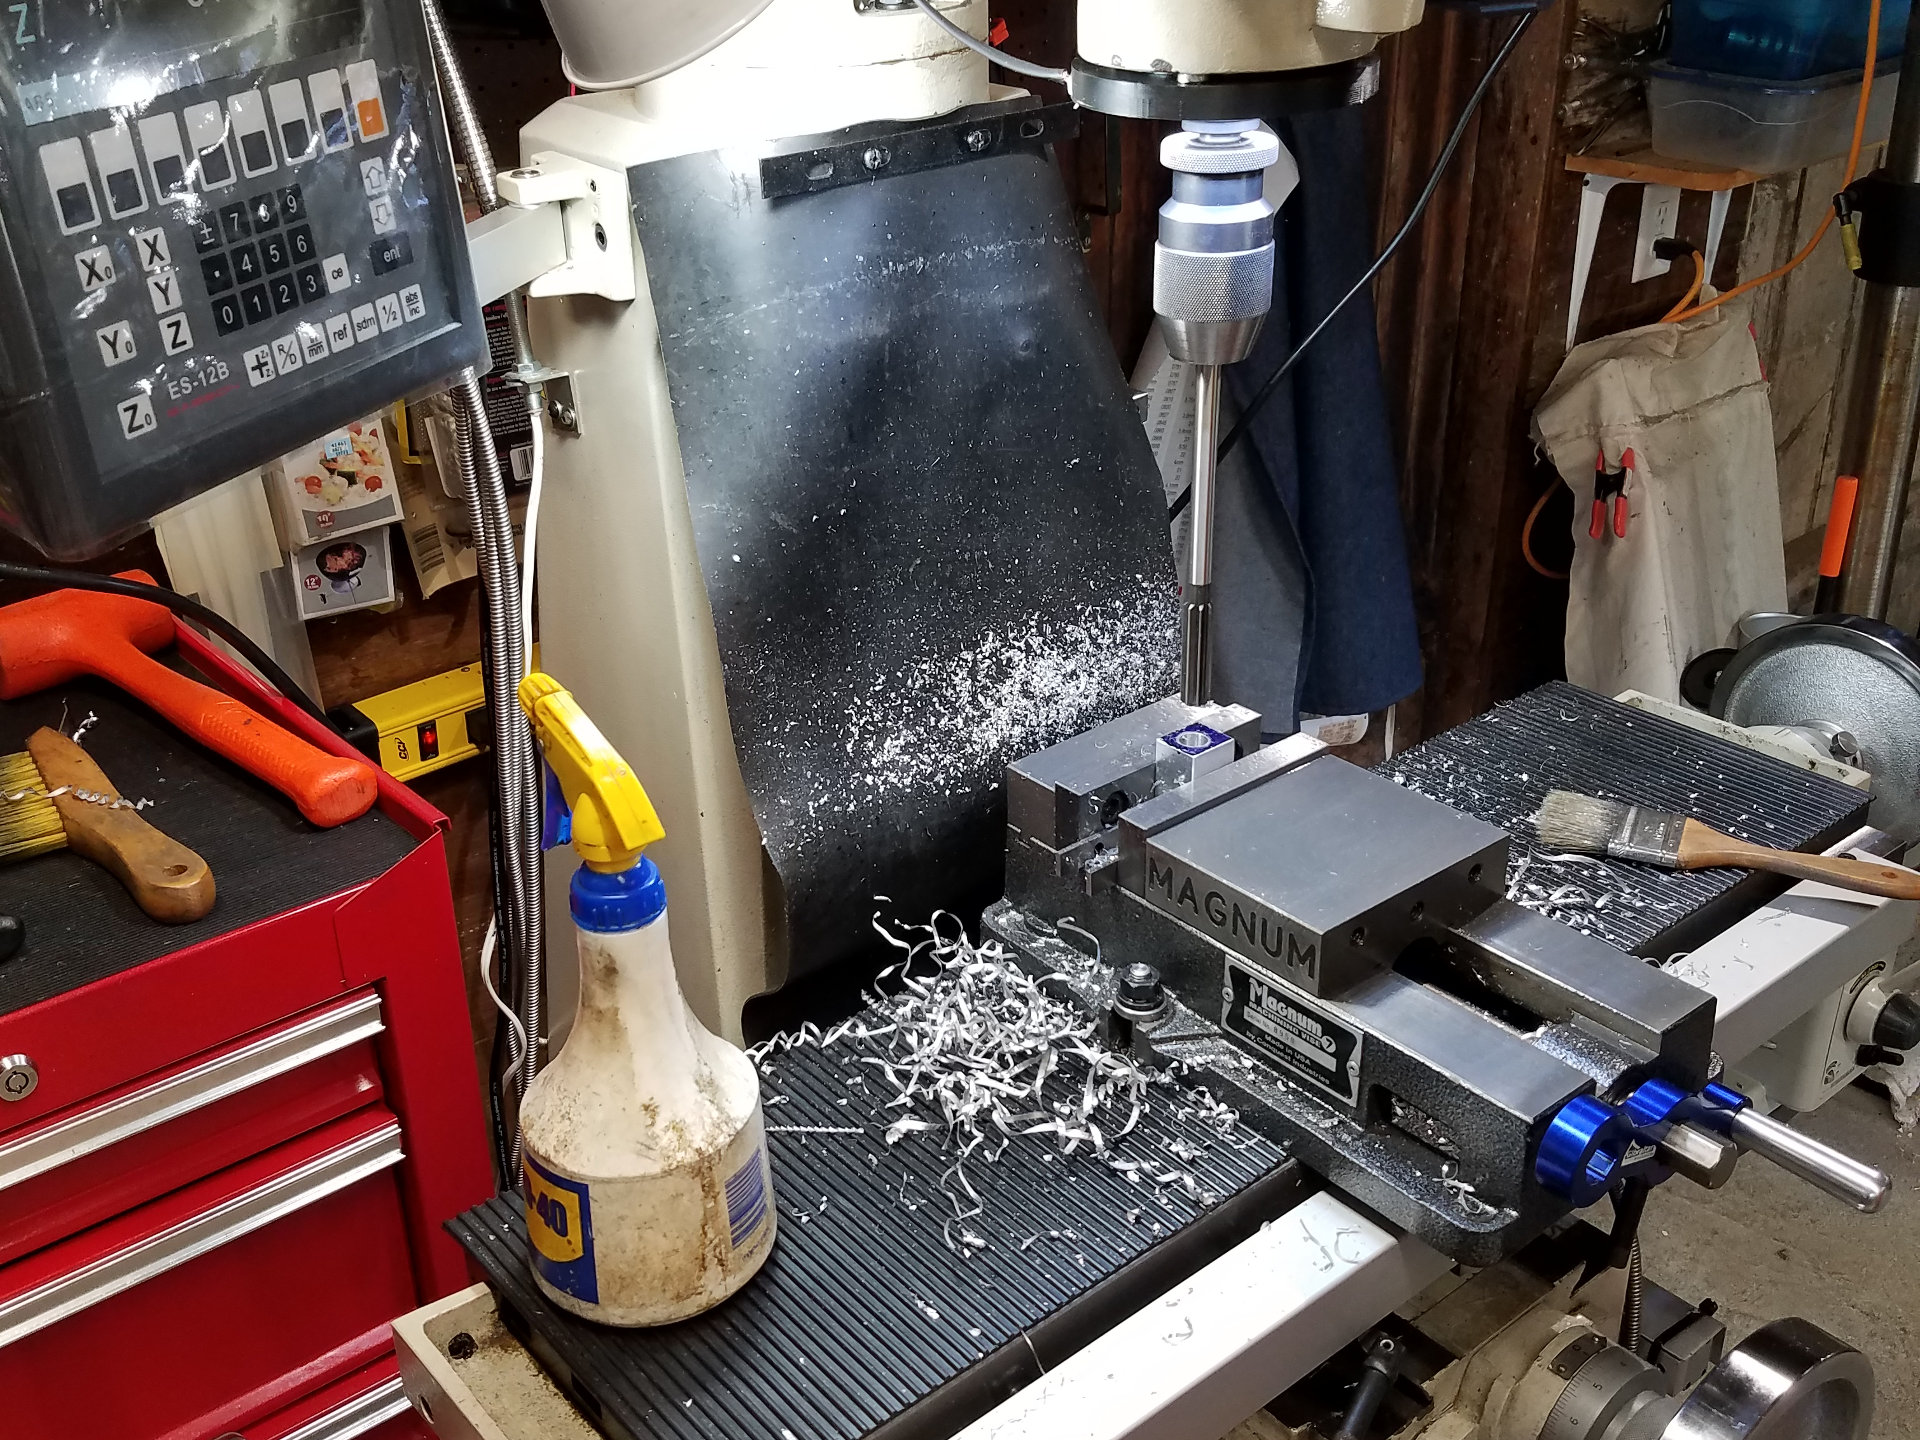
Over at the mill, I'm using the DRO's circle feature to drill the bolt circle for the inside of the flywheel. This sure is a time saver over digging out the rotary table!
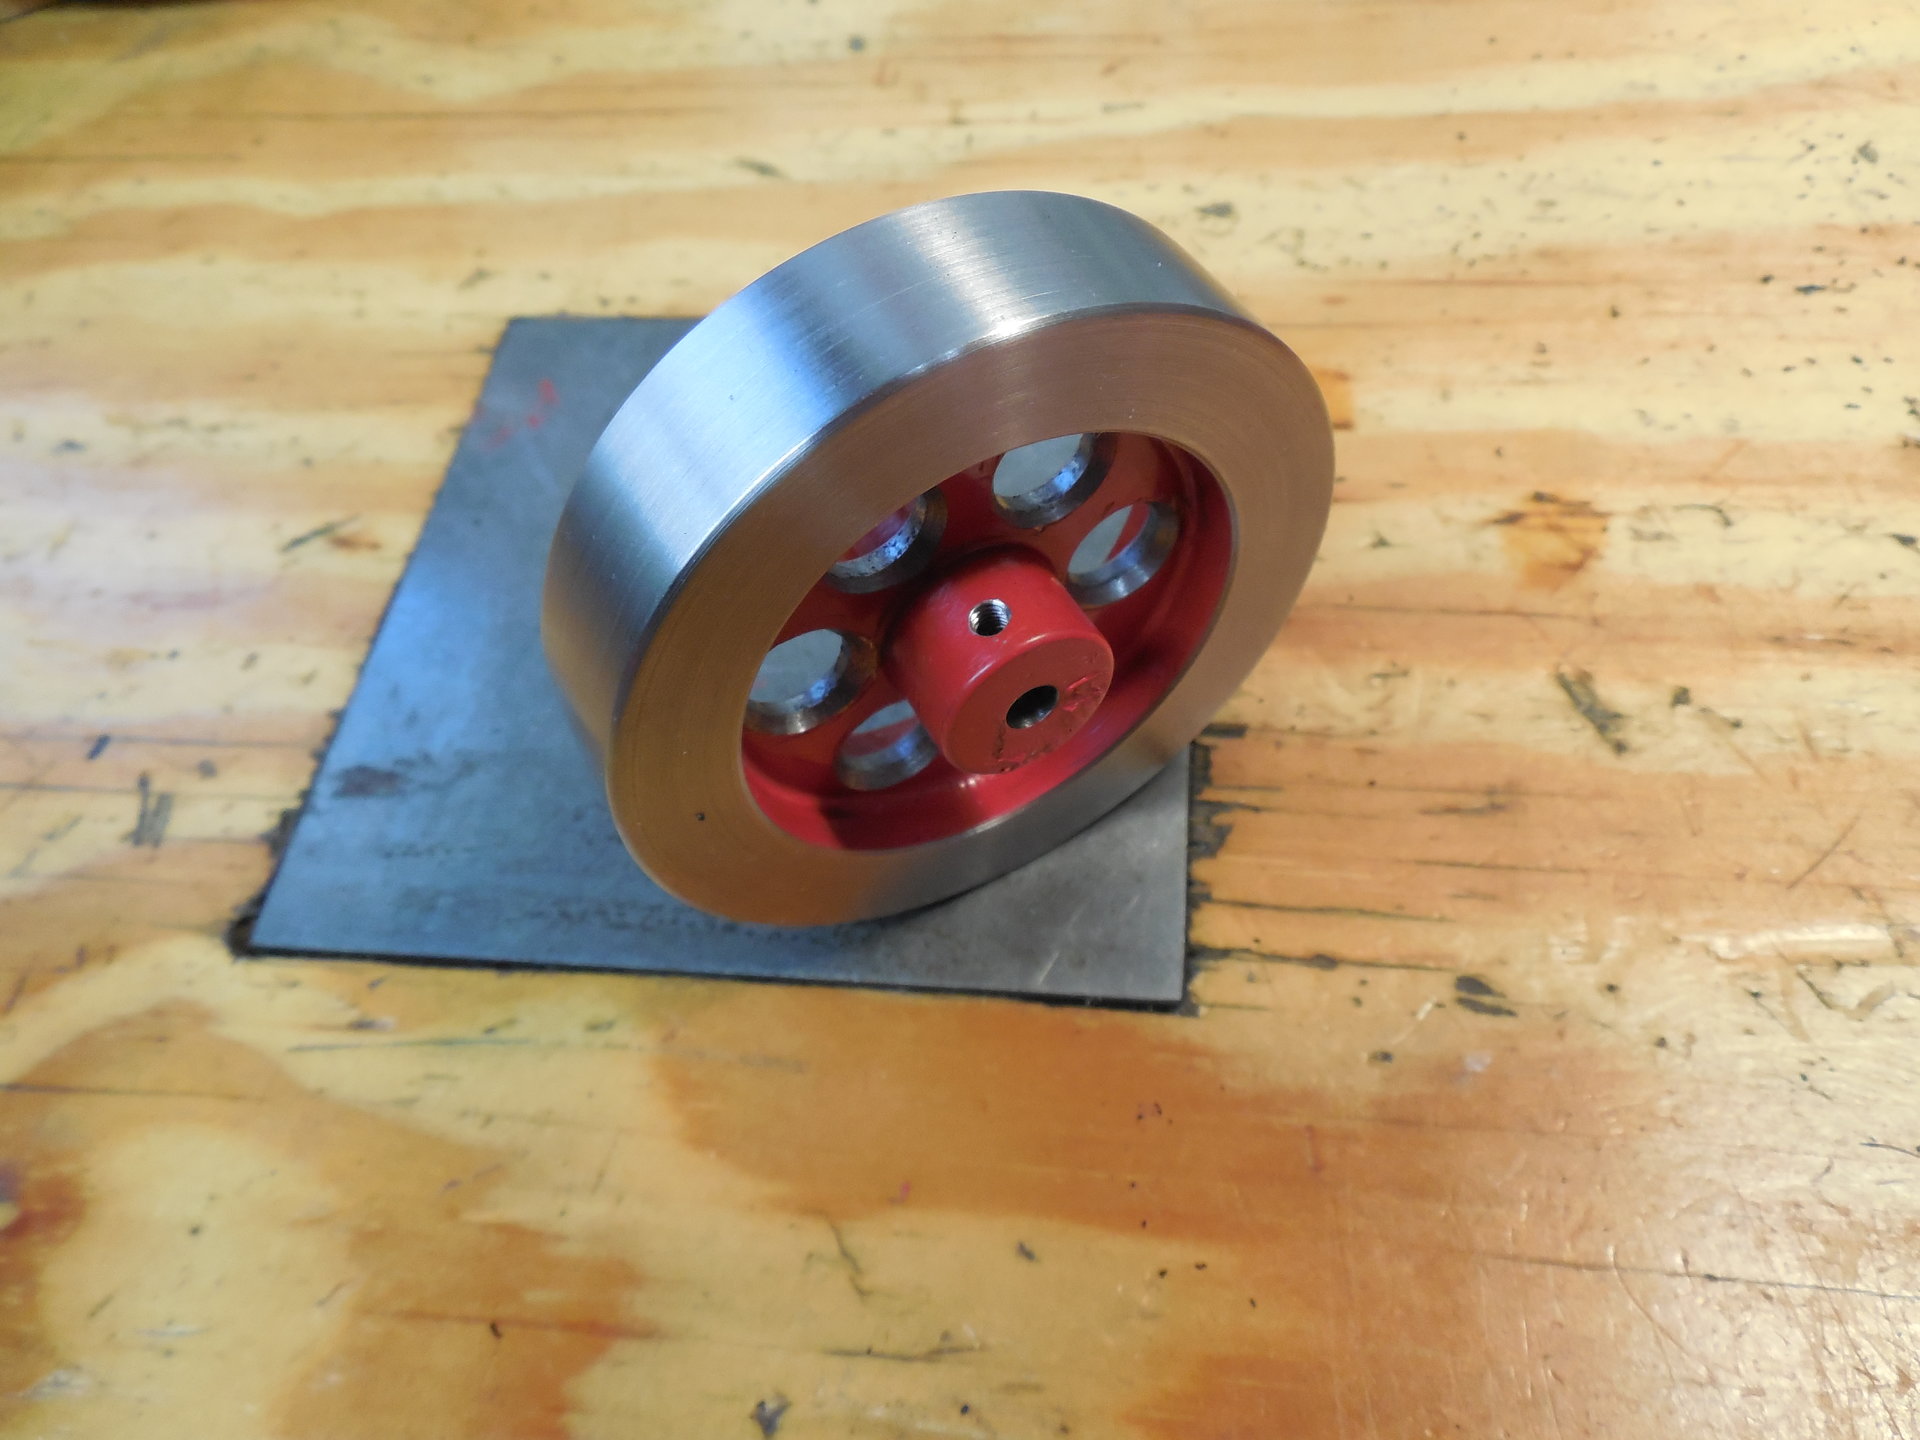
The completed flywheel.
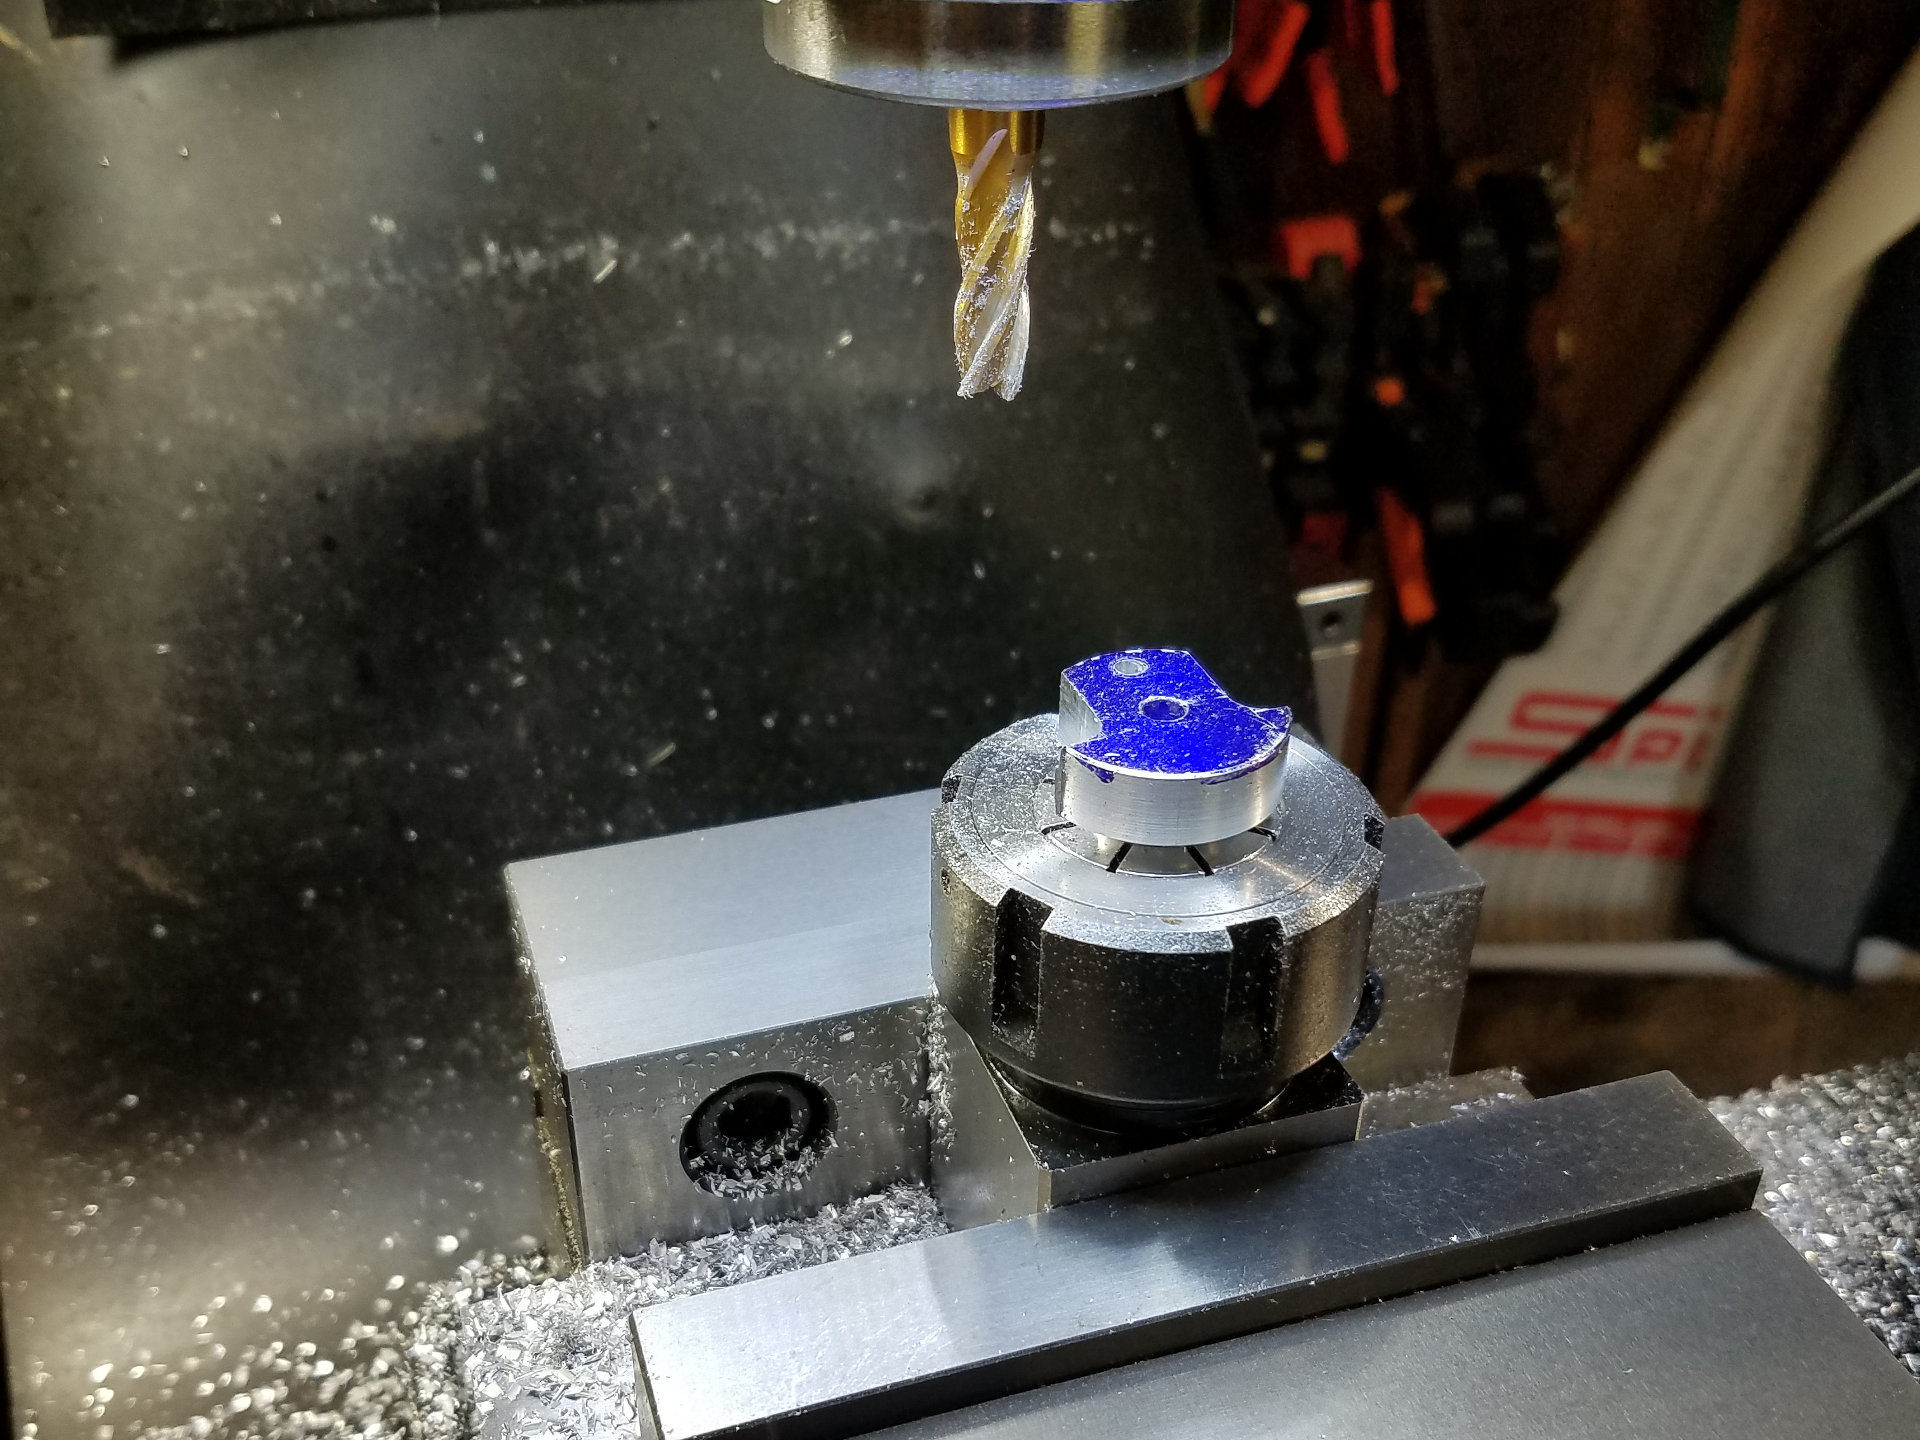
After being turned on the lathe, the throw is held in a collet block while it is being milled.
The cylinder bore is machined to size with a 9/16" reamer.
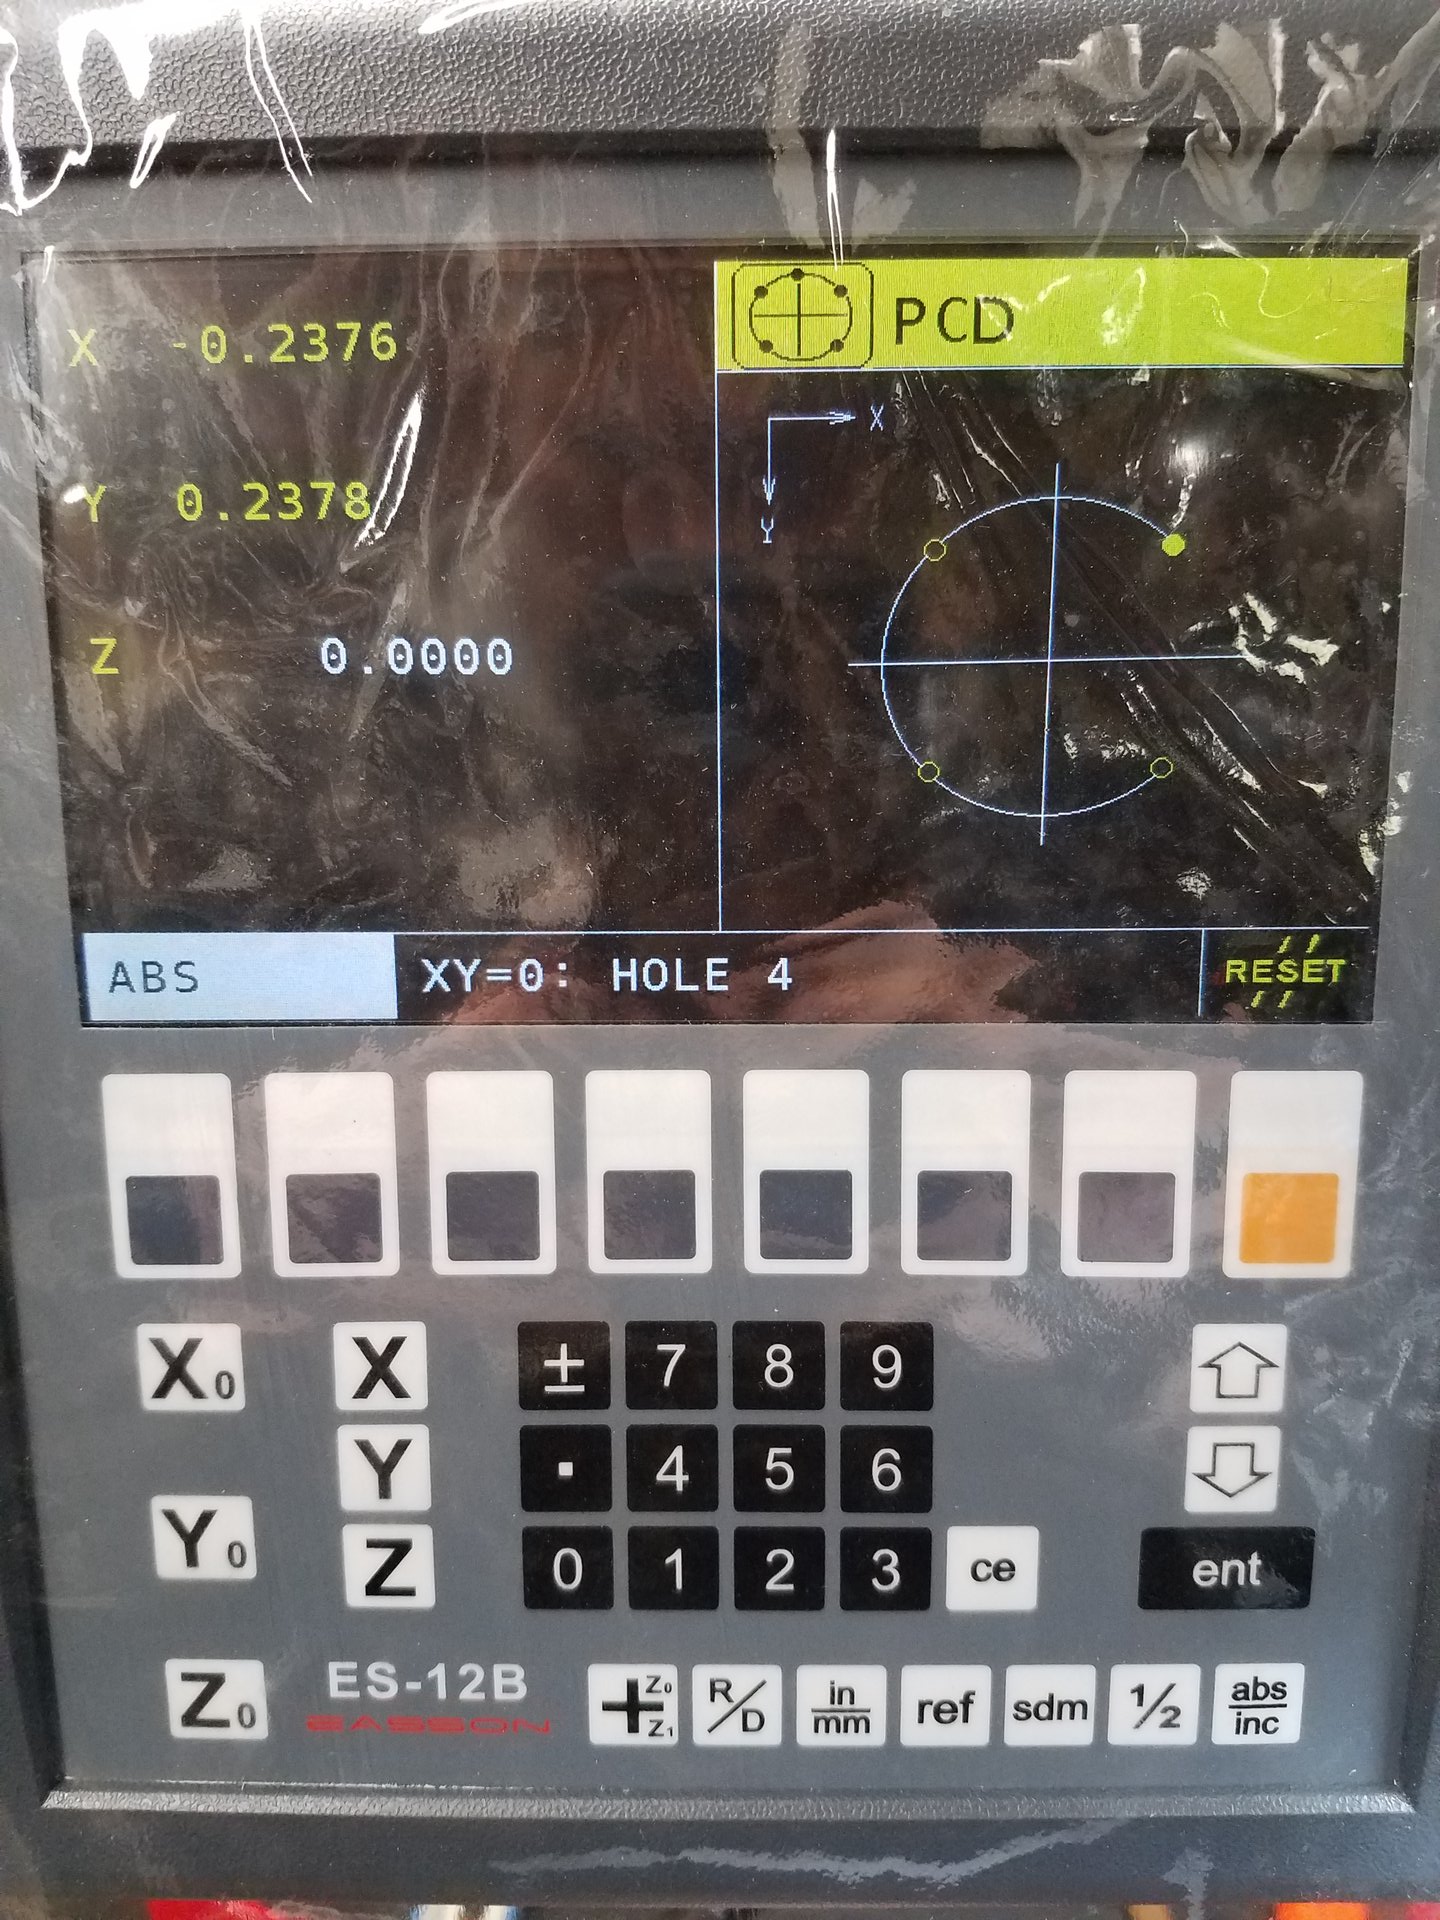
This is what the Easson ES-12B DRO display looks like when it's in bolt circle mode. The LCD graphic display is very easy to read, but it's especially nice when you are in a special mode like this. You don't have to decipher text via numbers like a traditional DRO display that only has a numeric output like a calculator.
The holes shown in the display are being drilled into the cylinder for the cylinder heads.
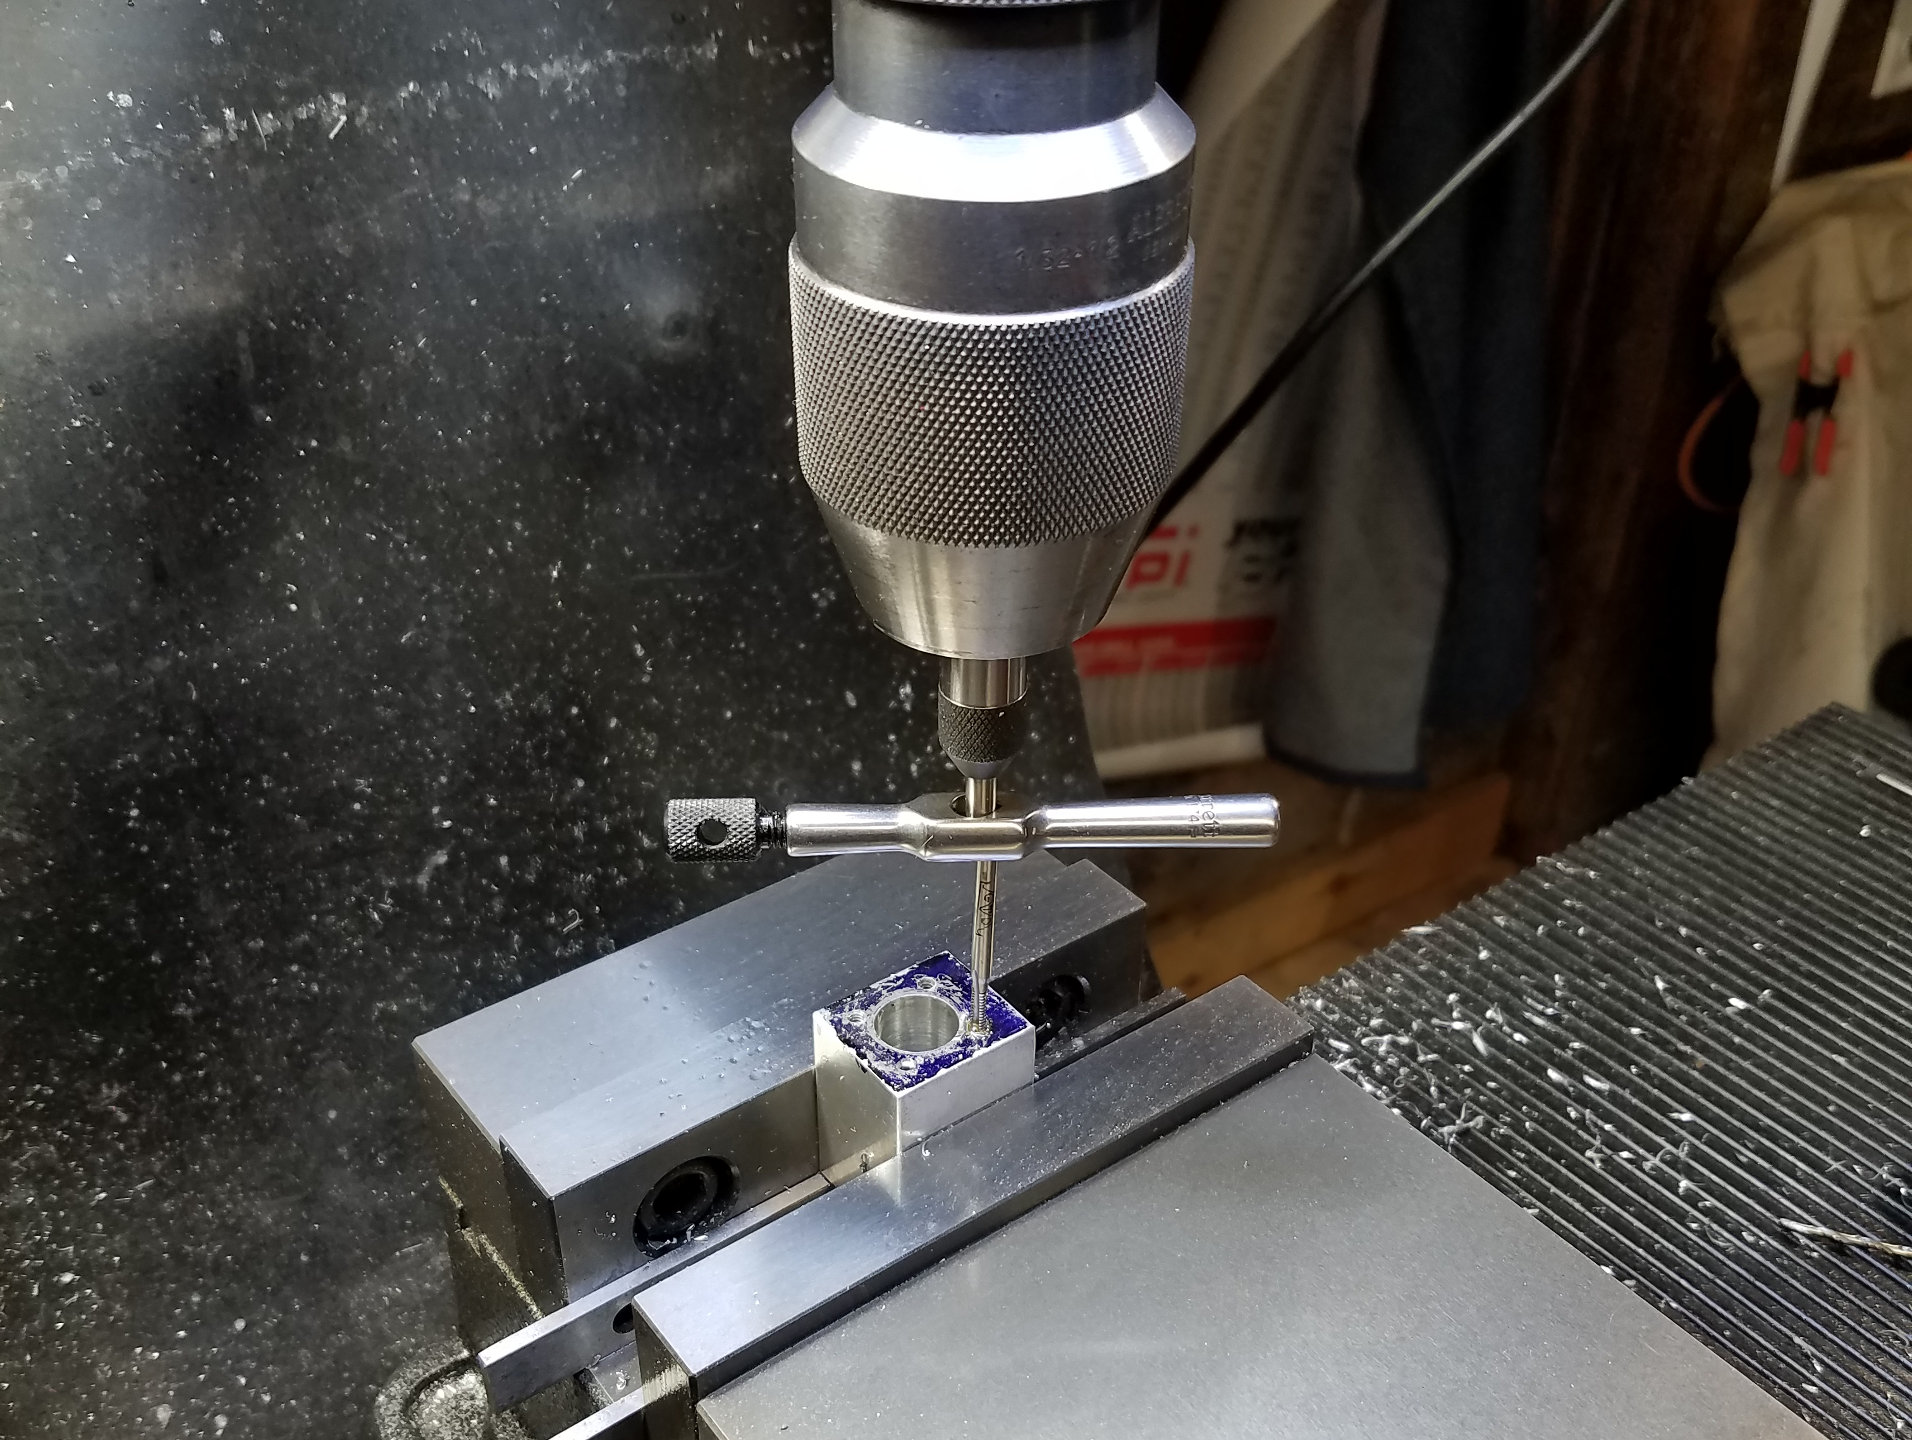
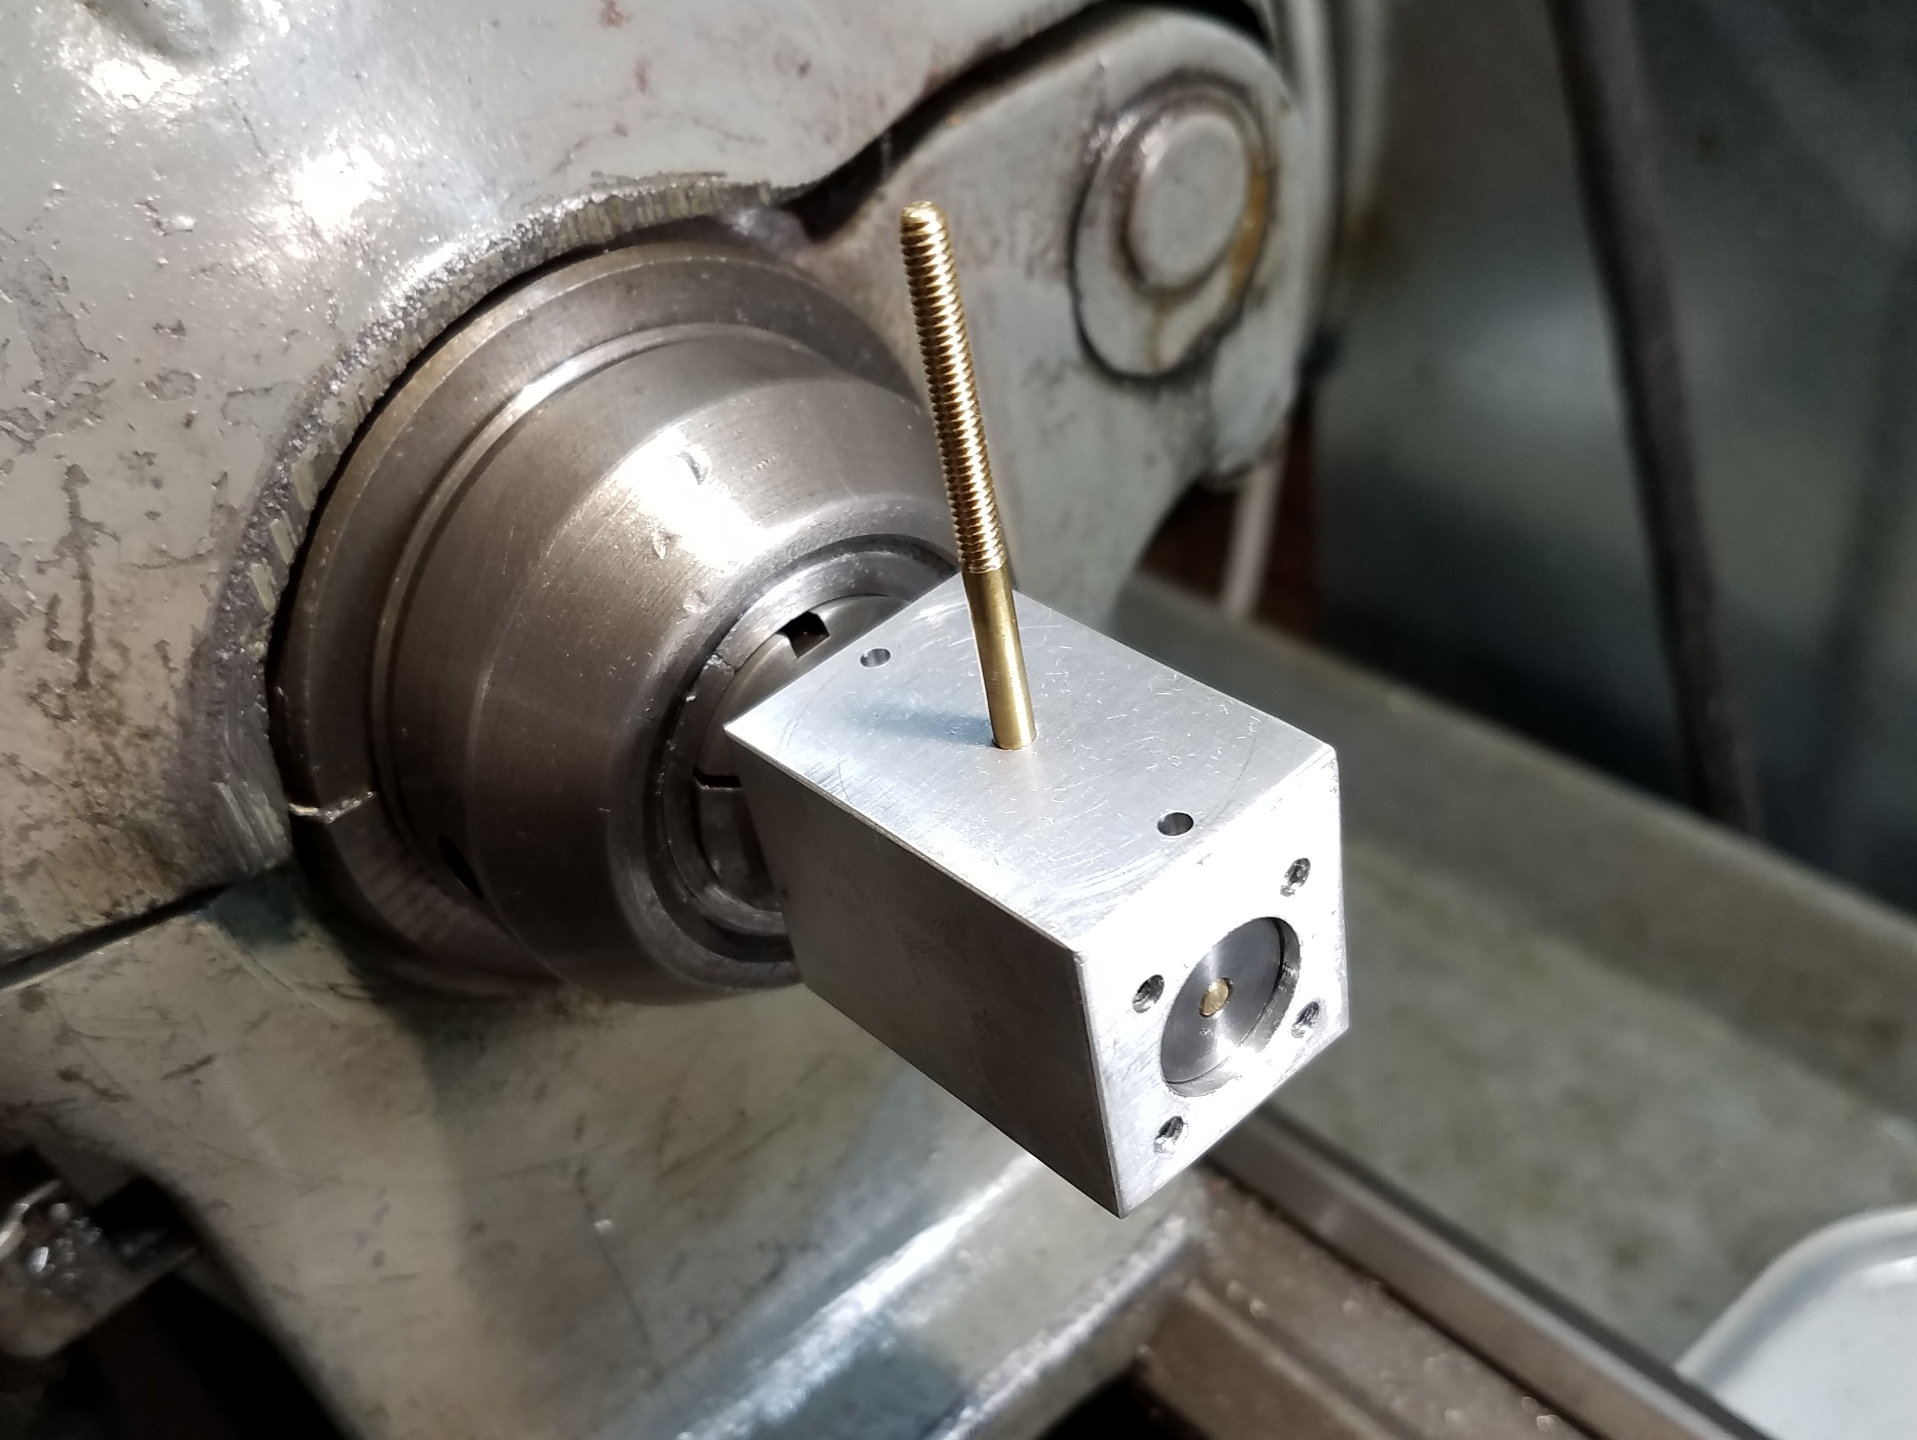
And now the previously drilled holes are being tapped with 4-40 threads.
After the cylinder bore was reamed and polished, the piston was turned down and fitted to the cylinder via filing and sanding. It's much easier to make the piston fit the bore than vice versa.
Here I'm checking the fit.
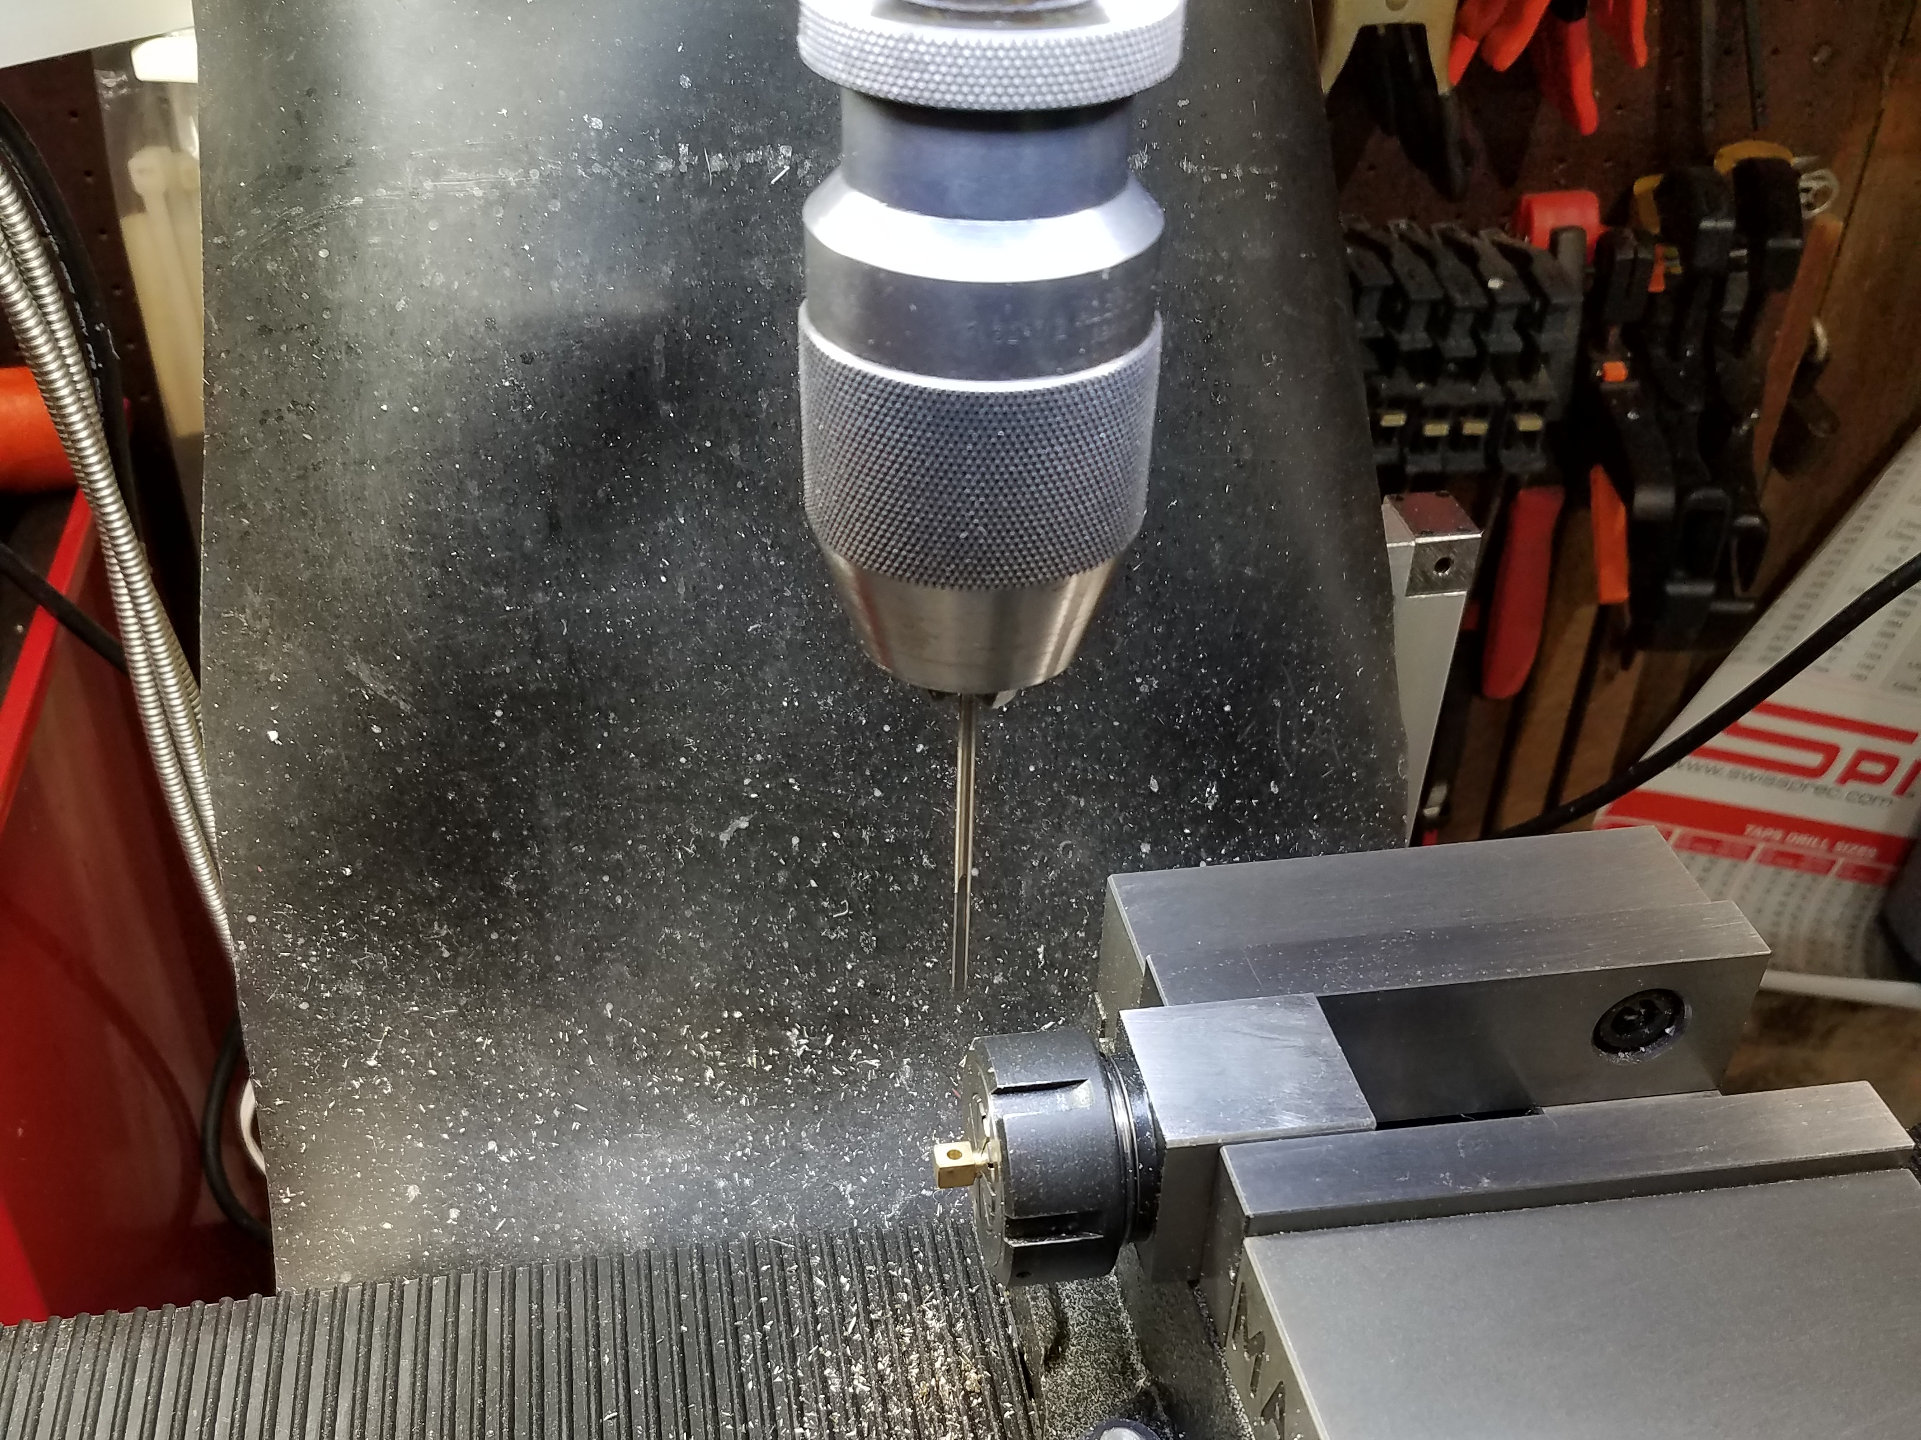
Reaming the hole for the crankshaft pin in the clevis. Again a ER-32 collet block is very handy to hold these small parts.
Check out Part 2 for the rest of the build!