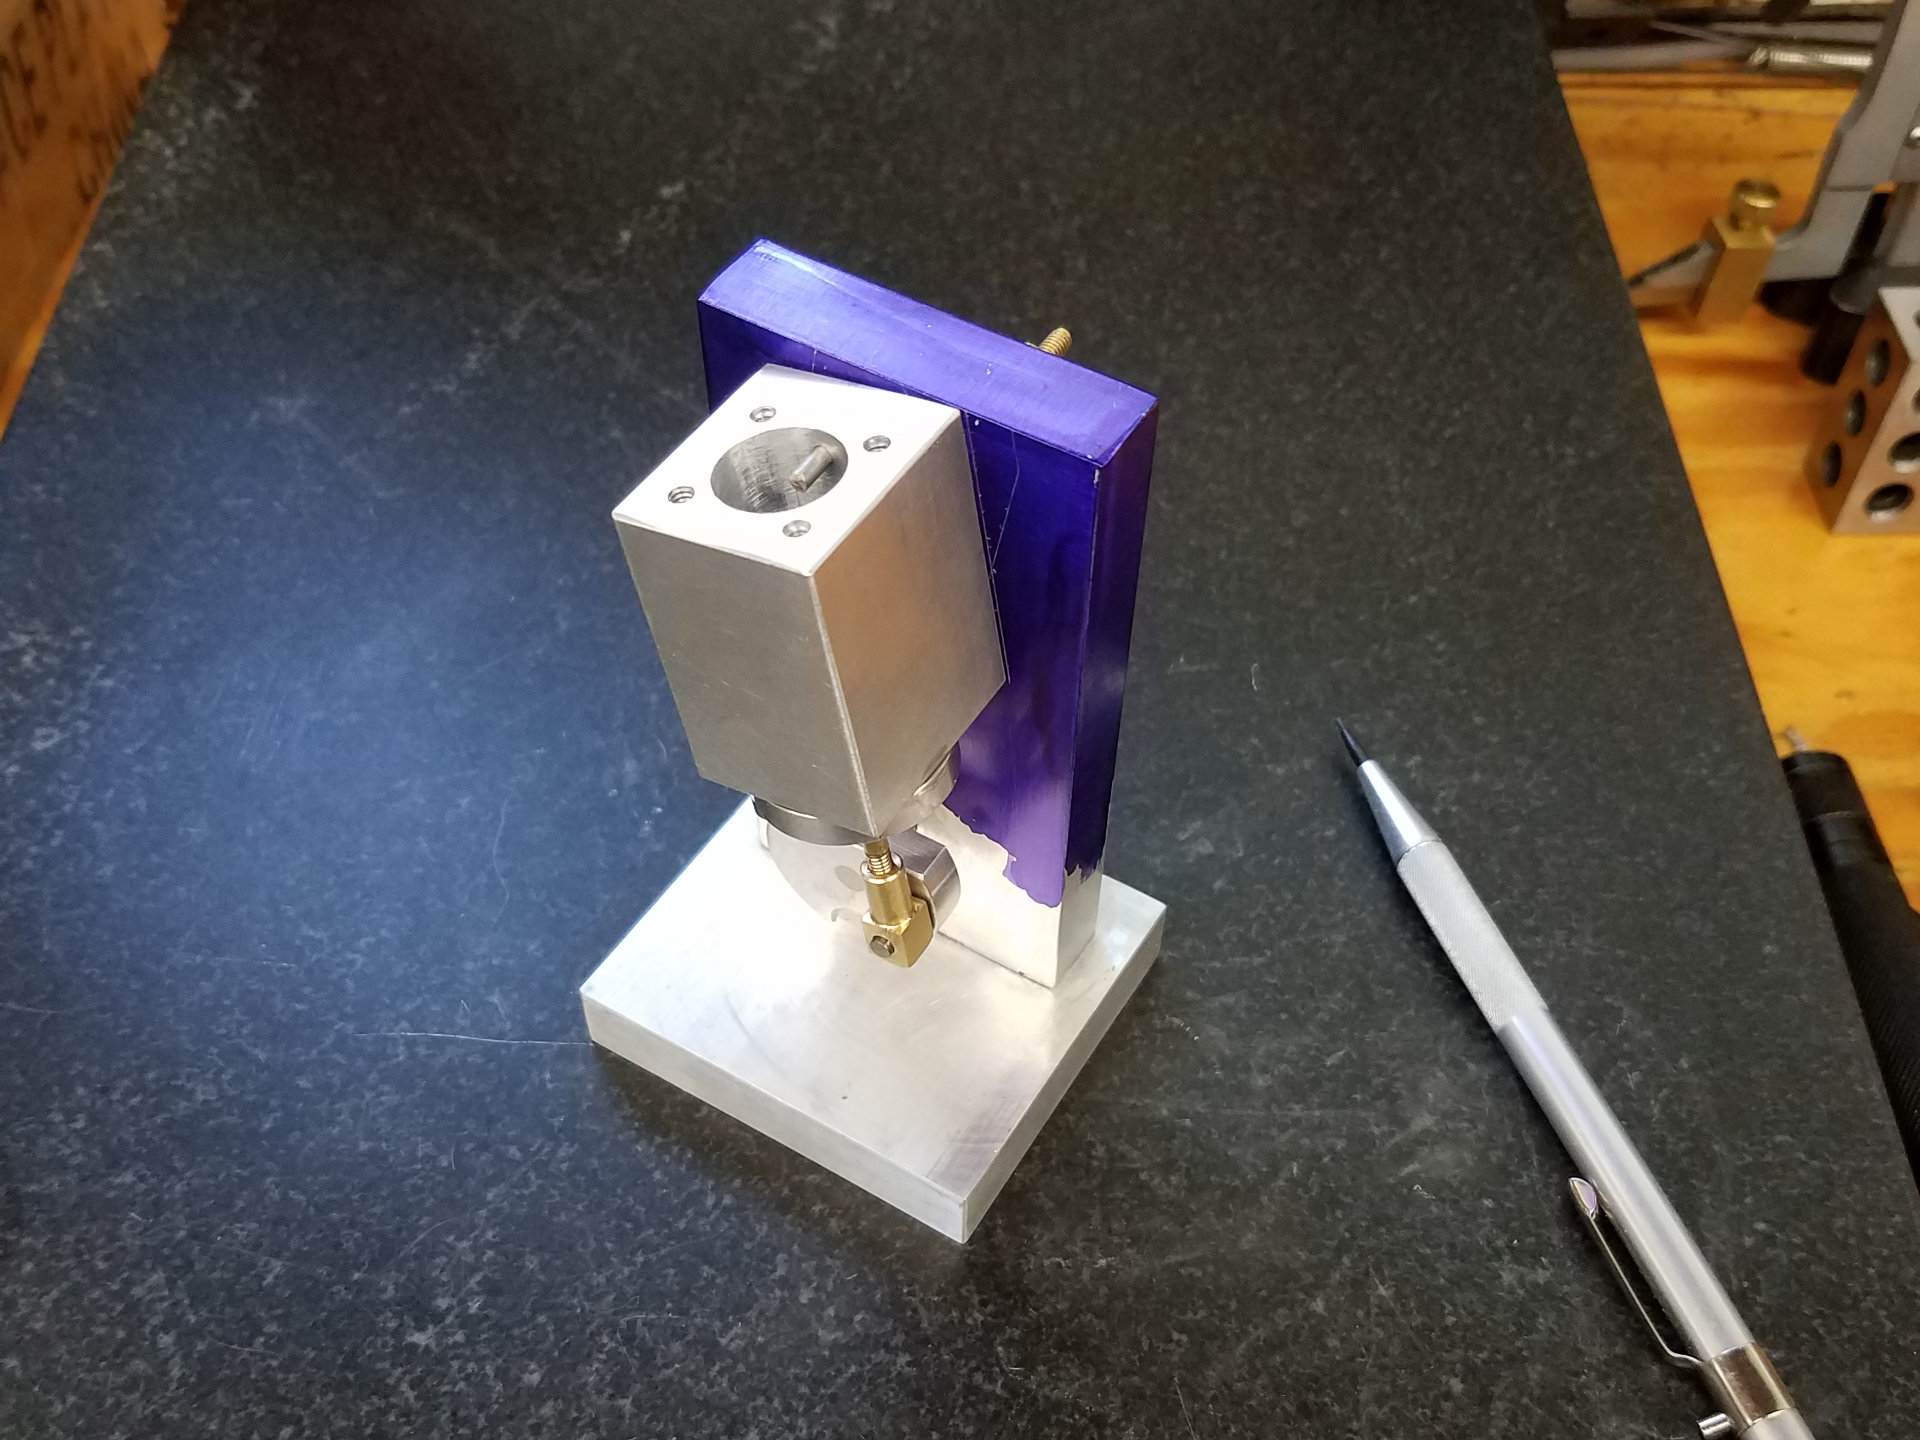
Construction continues on Mr Pete's DA Wobbler steam engine so make sure to check out Part 1 of the build first. With machining on most of the parts completed, it was time for the initial fit of the cylinder to the plinth to determine the location of the steam ports. In his video, Mr Pete showed a clever trick to get these ports perfect the first time.
A small sharpened rod is inserted into the ports in the cylinder and used as a transfer punch to mark the position of the steam holes in the plinth.
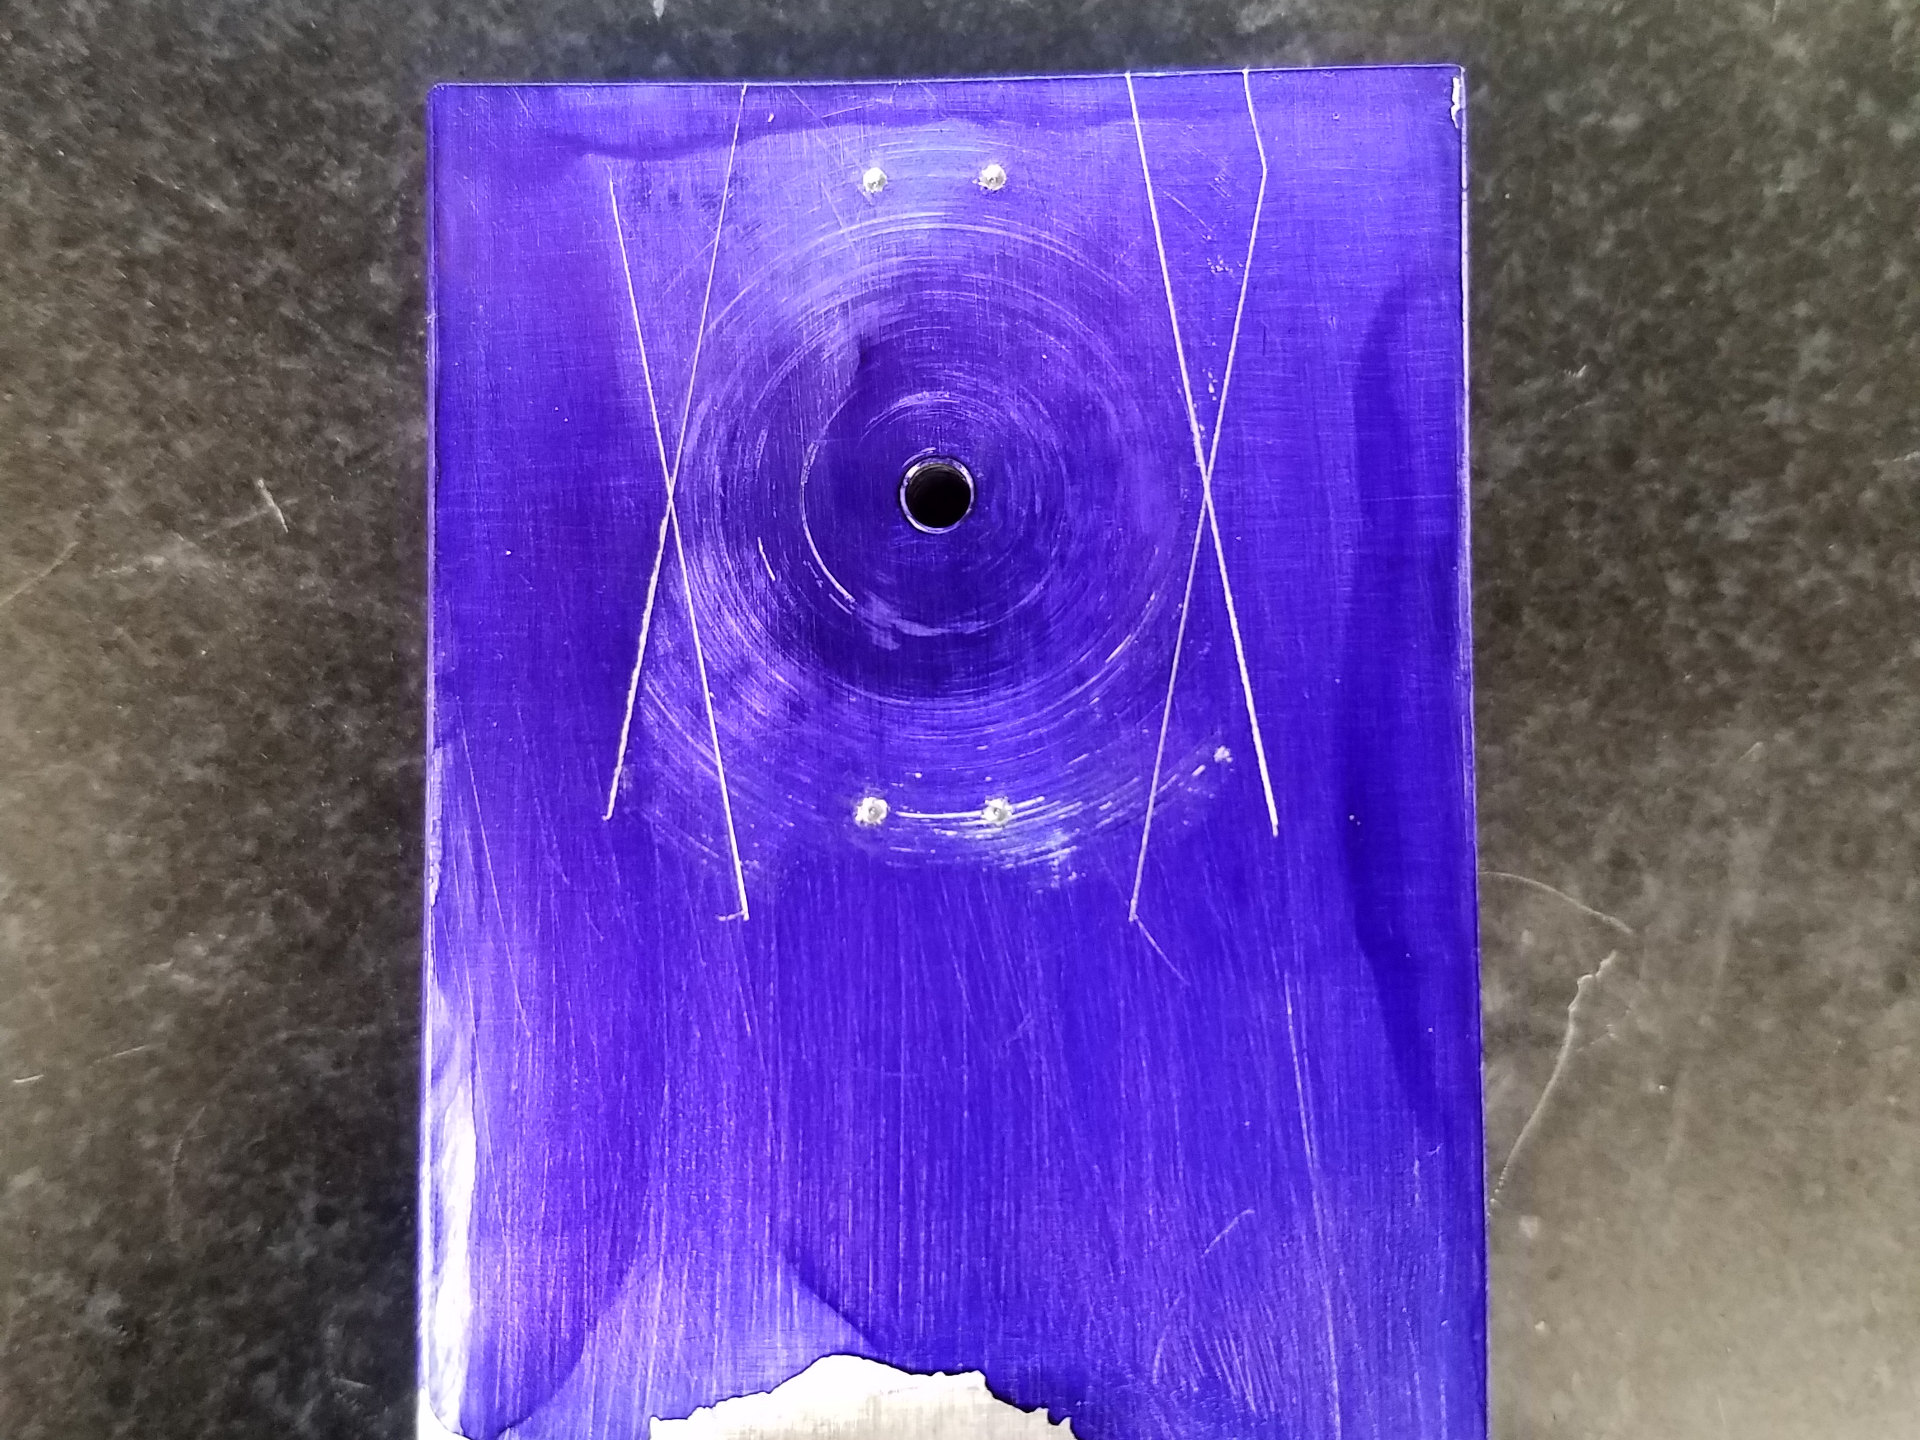
An automatic center punch was used to further enlarge the holes so they show-up well in the bluing and are easier to pickup for the next step.

The little Cameron drill press was used to make the steam holes. The depth stop was utilized to make sure the holes are only half way through the plinth.
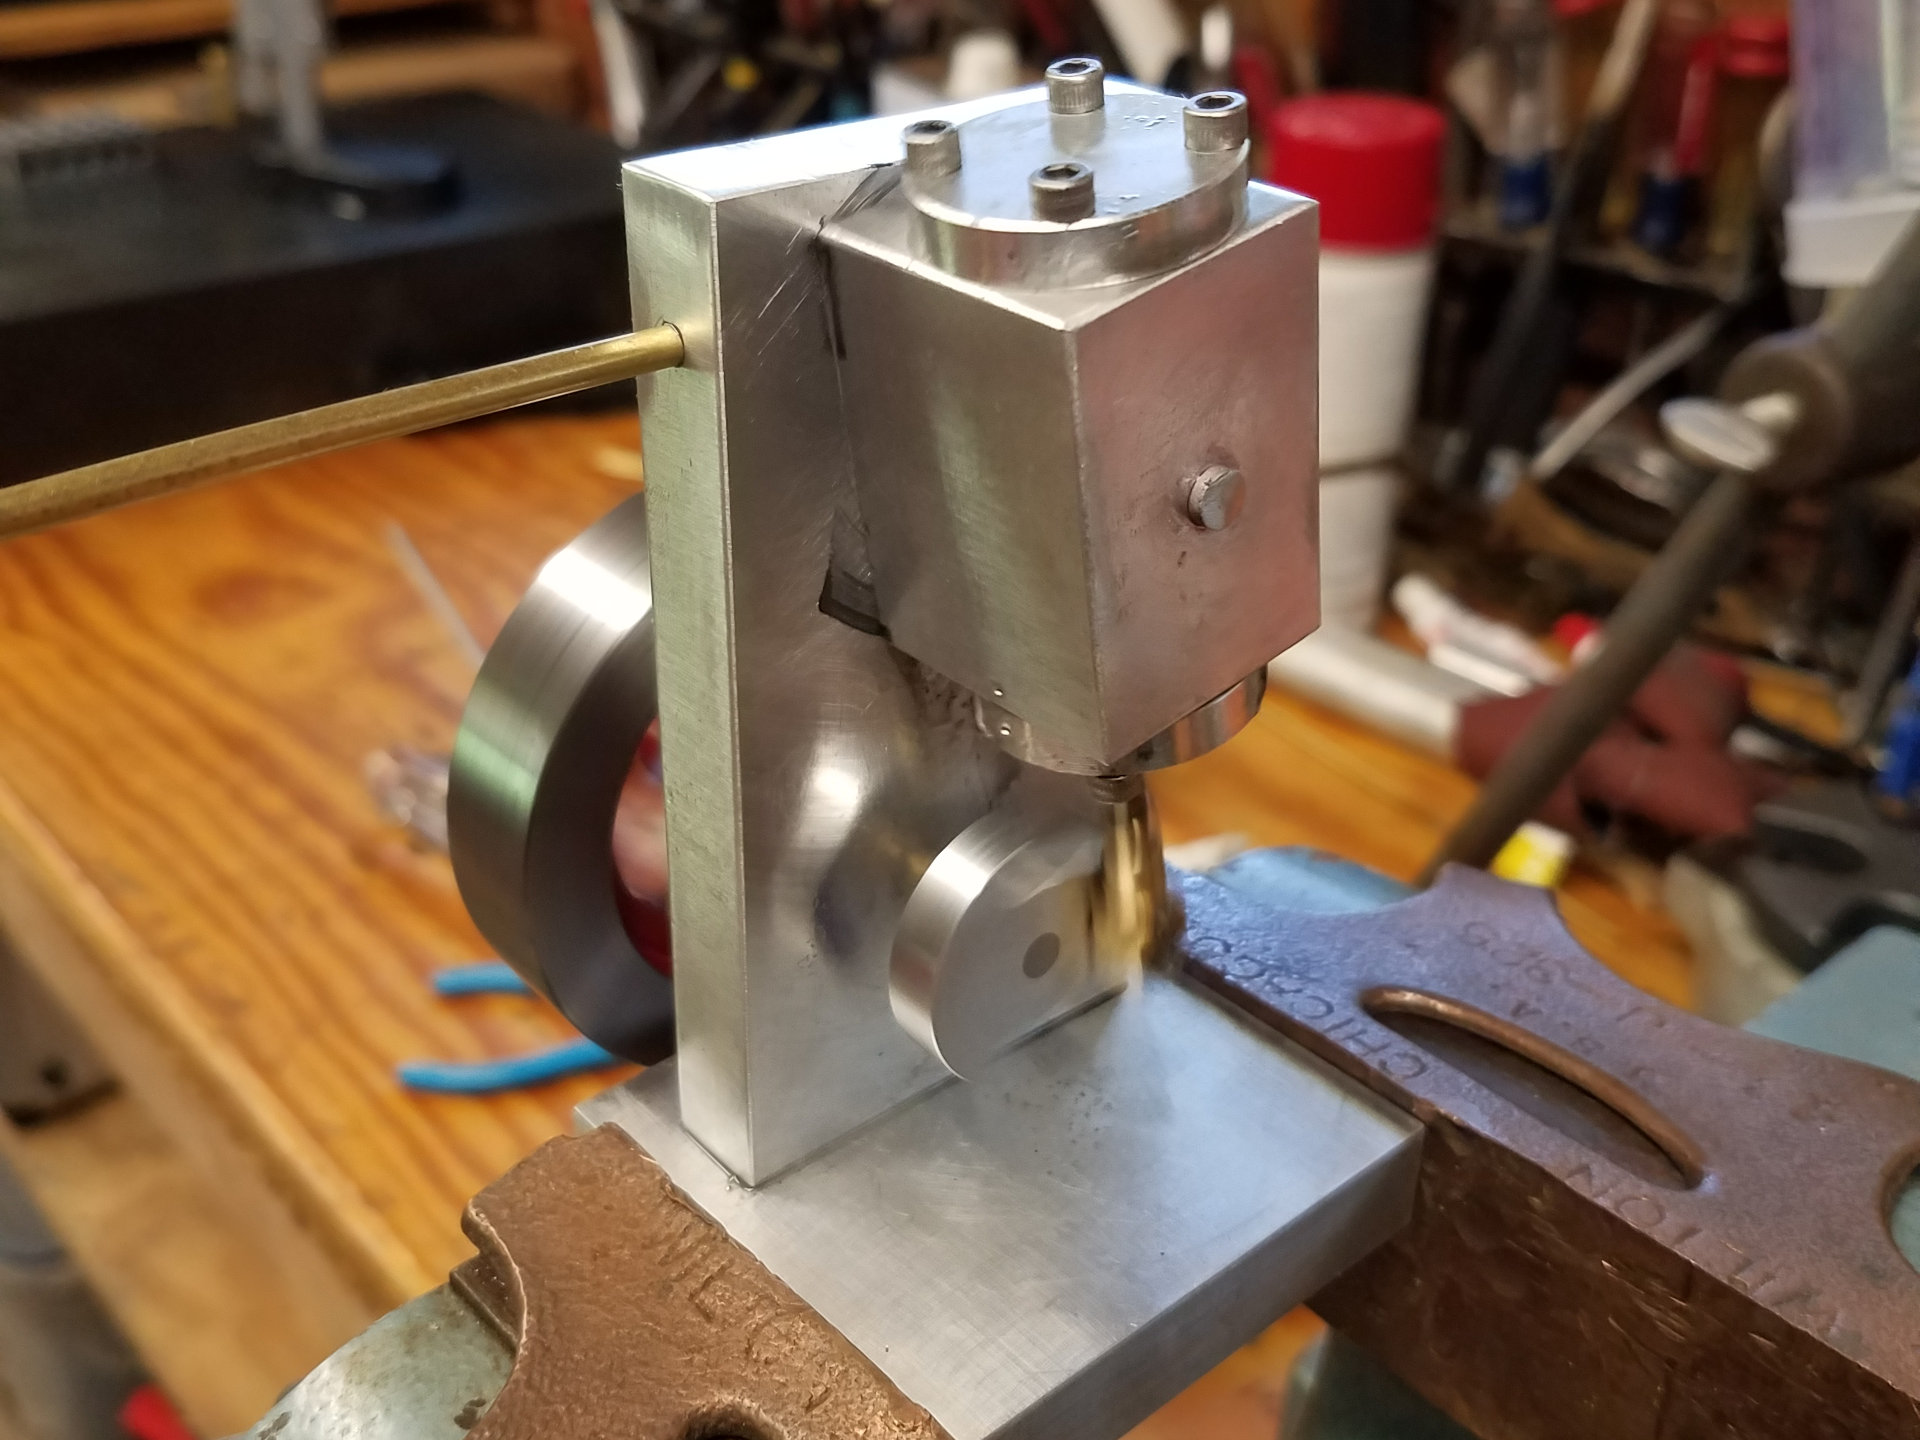
At this point the engine was assembled for a test run. While it performed well, I could feel a very slight binding at one part of the motion of the cylinder. While it still worked well even at low air pressures, I wasn't satisfied and thought I could get a better fit.
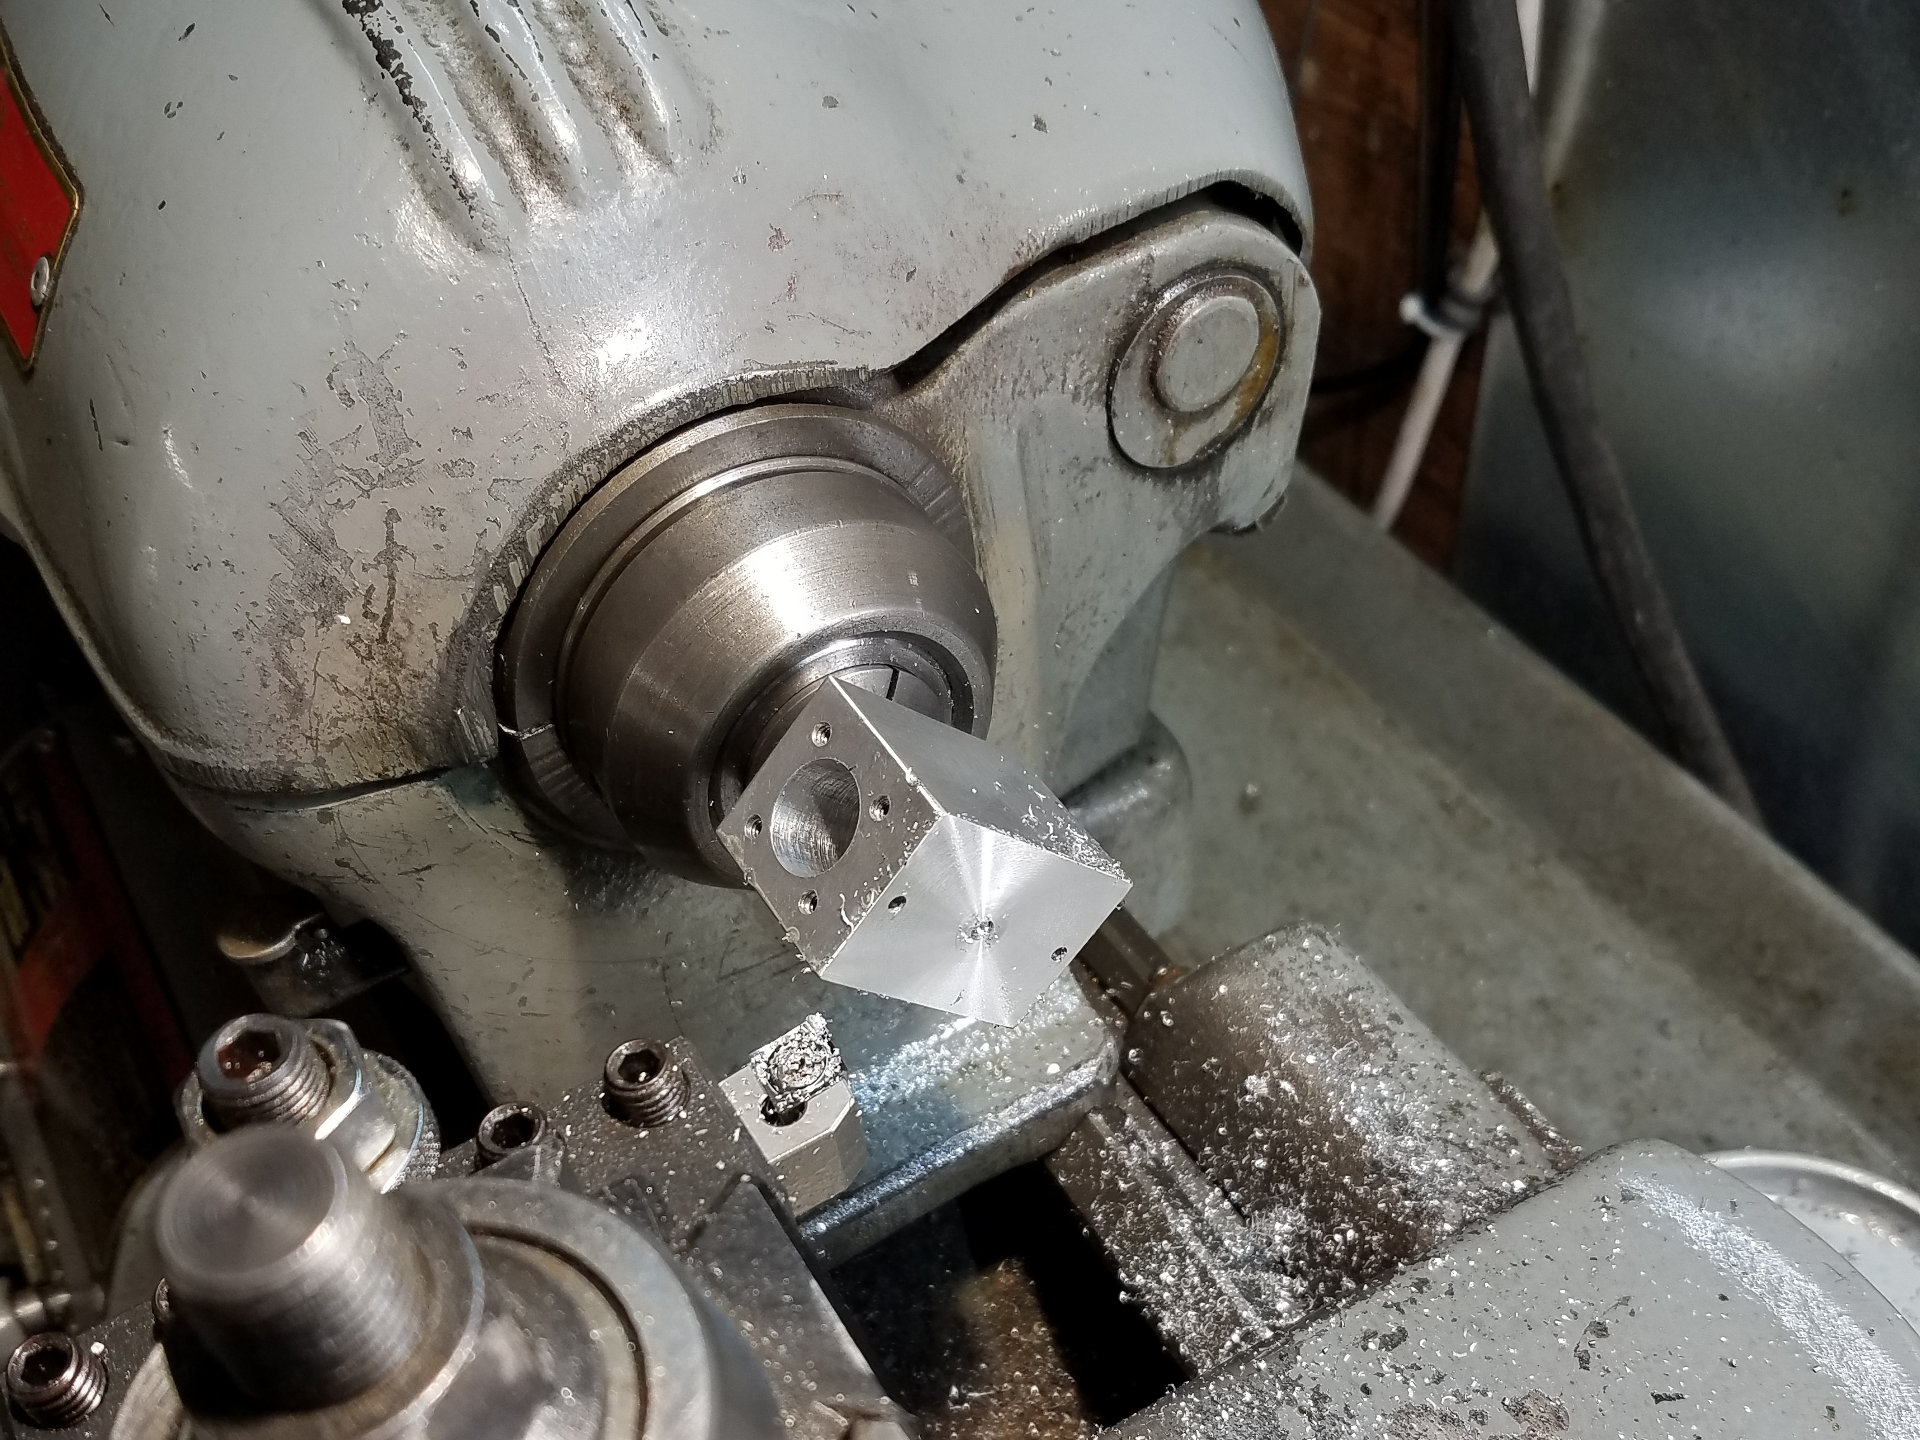
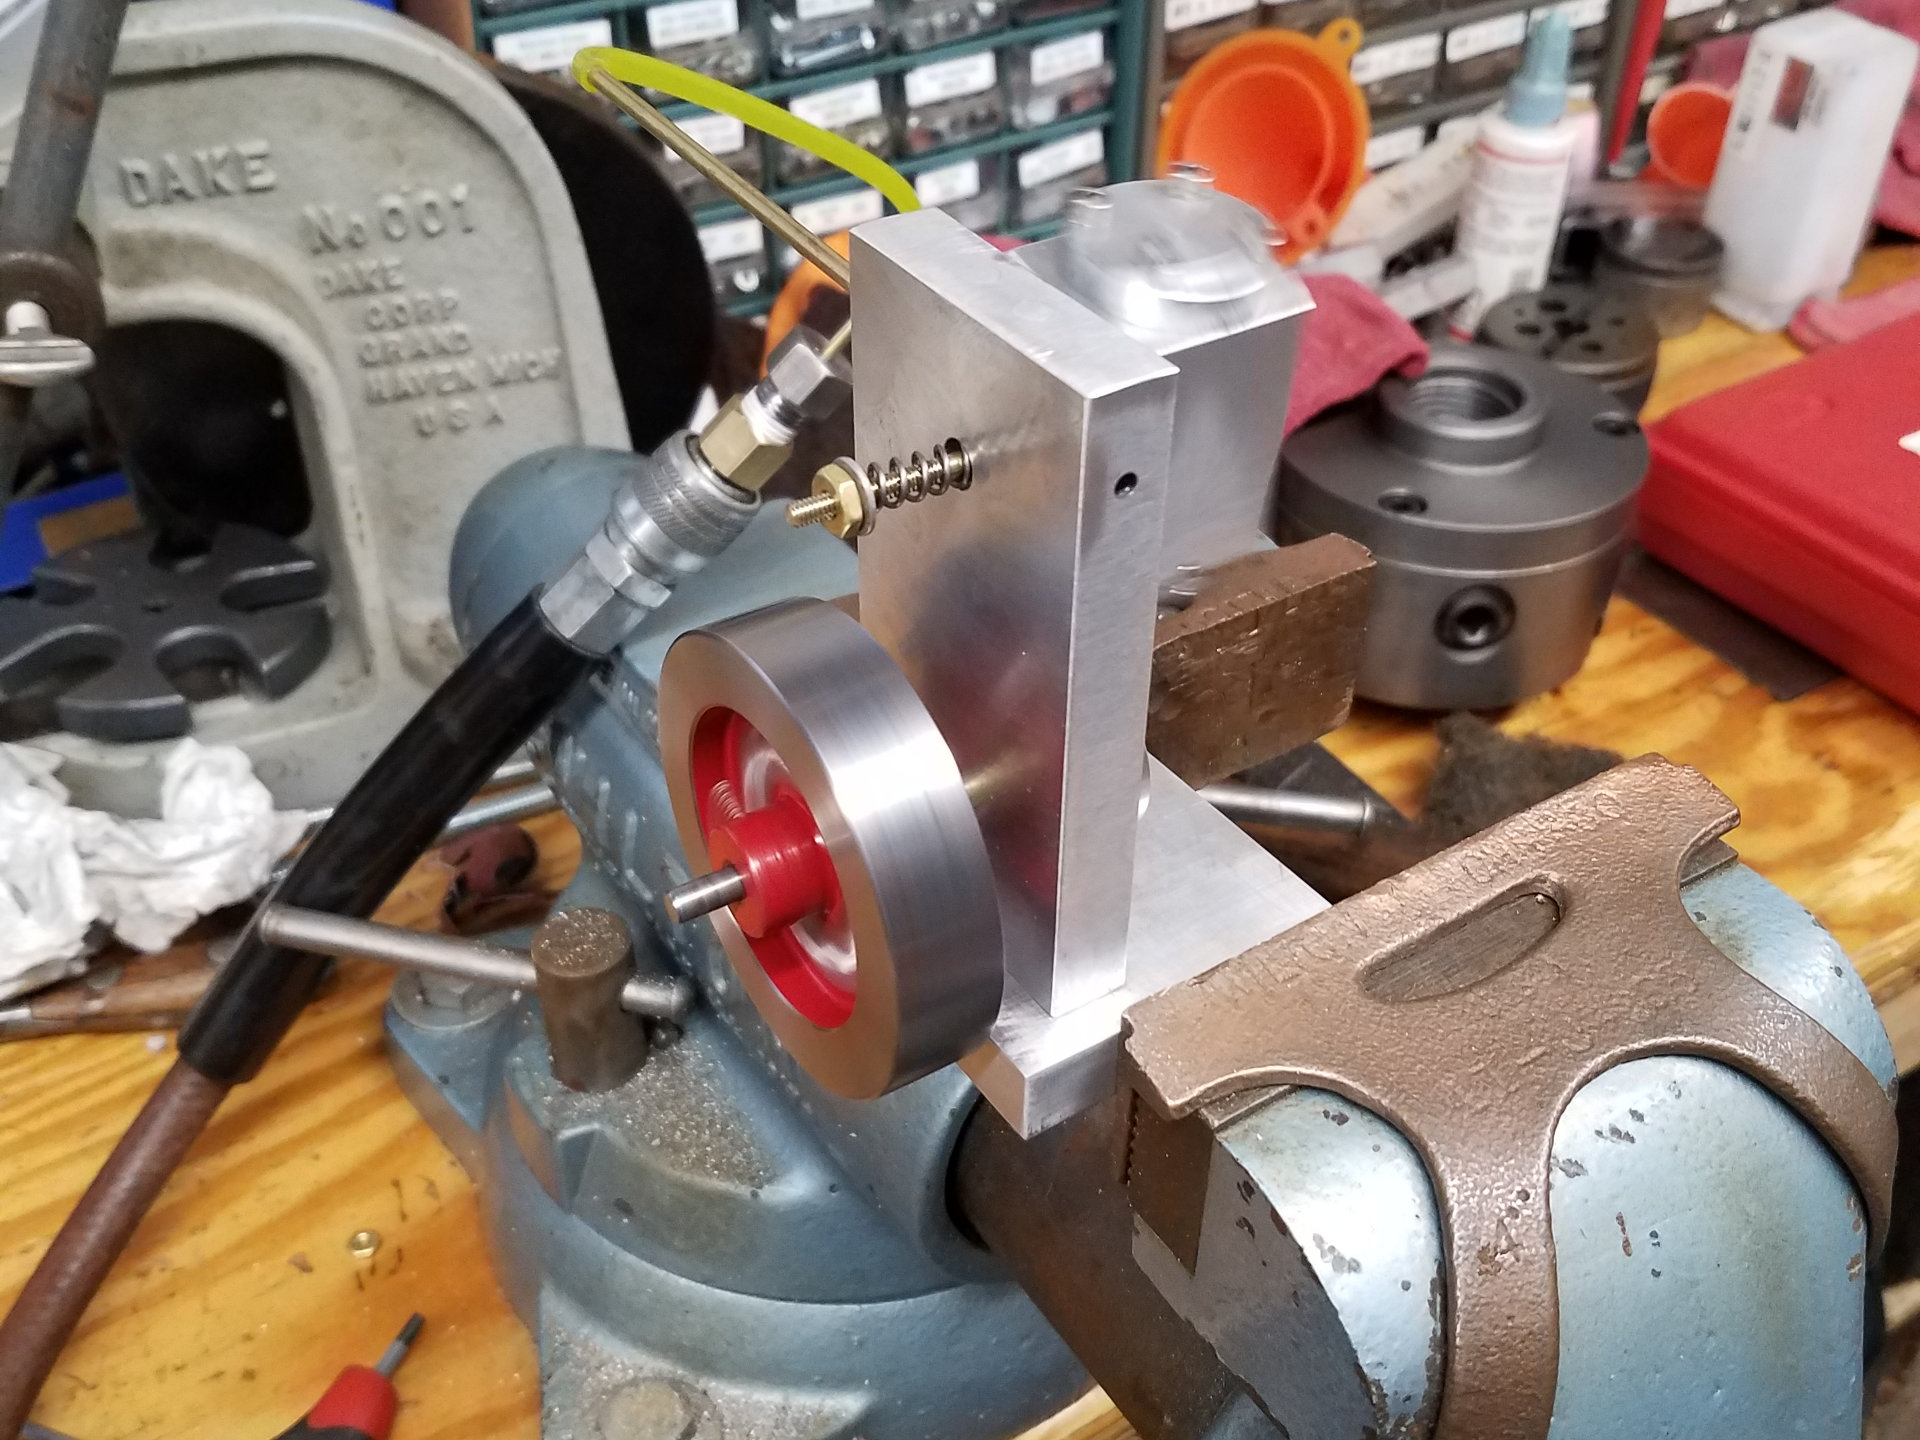
I used Mr Pete's technique of assuring the cylinder valve face is exactly perpendicular with the cylinder shaft by inserting a temporary shaft through the cylinder and using the lathe to skim the face.
The temporary shaft was removed and the hole plugged with an aluminum rod. Now the engine was performing better. That's a good technique.
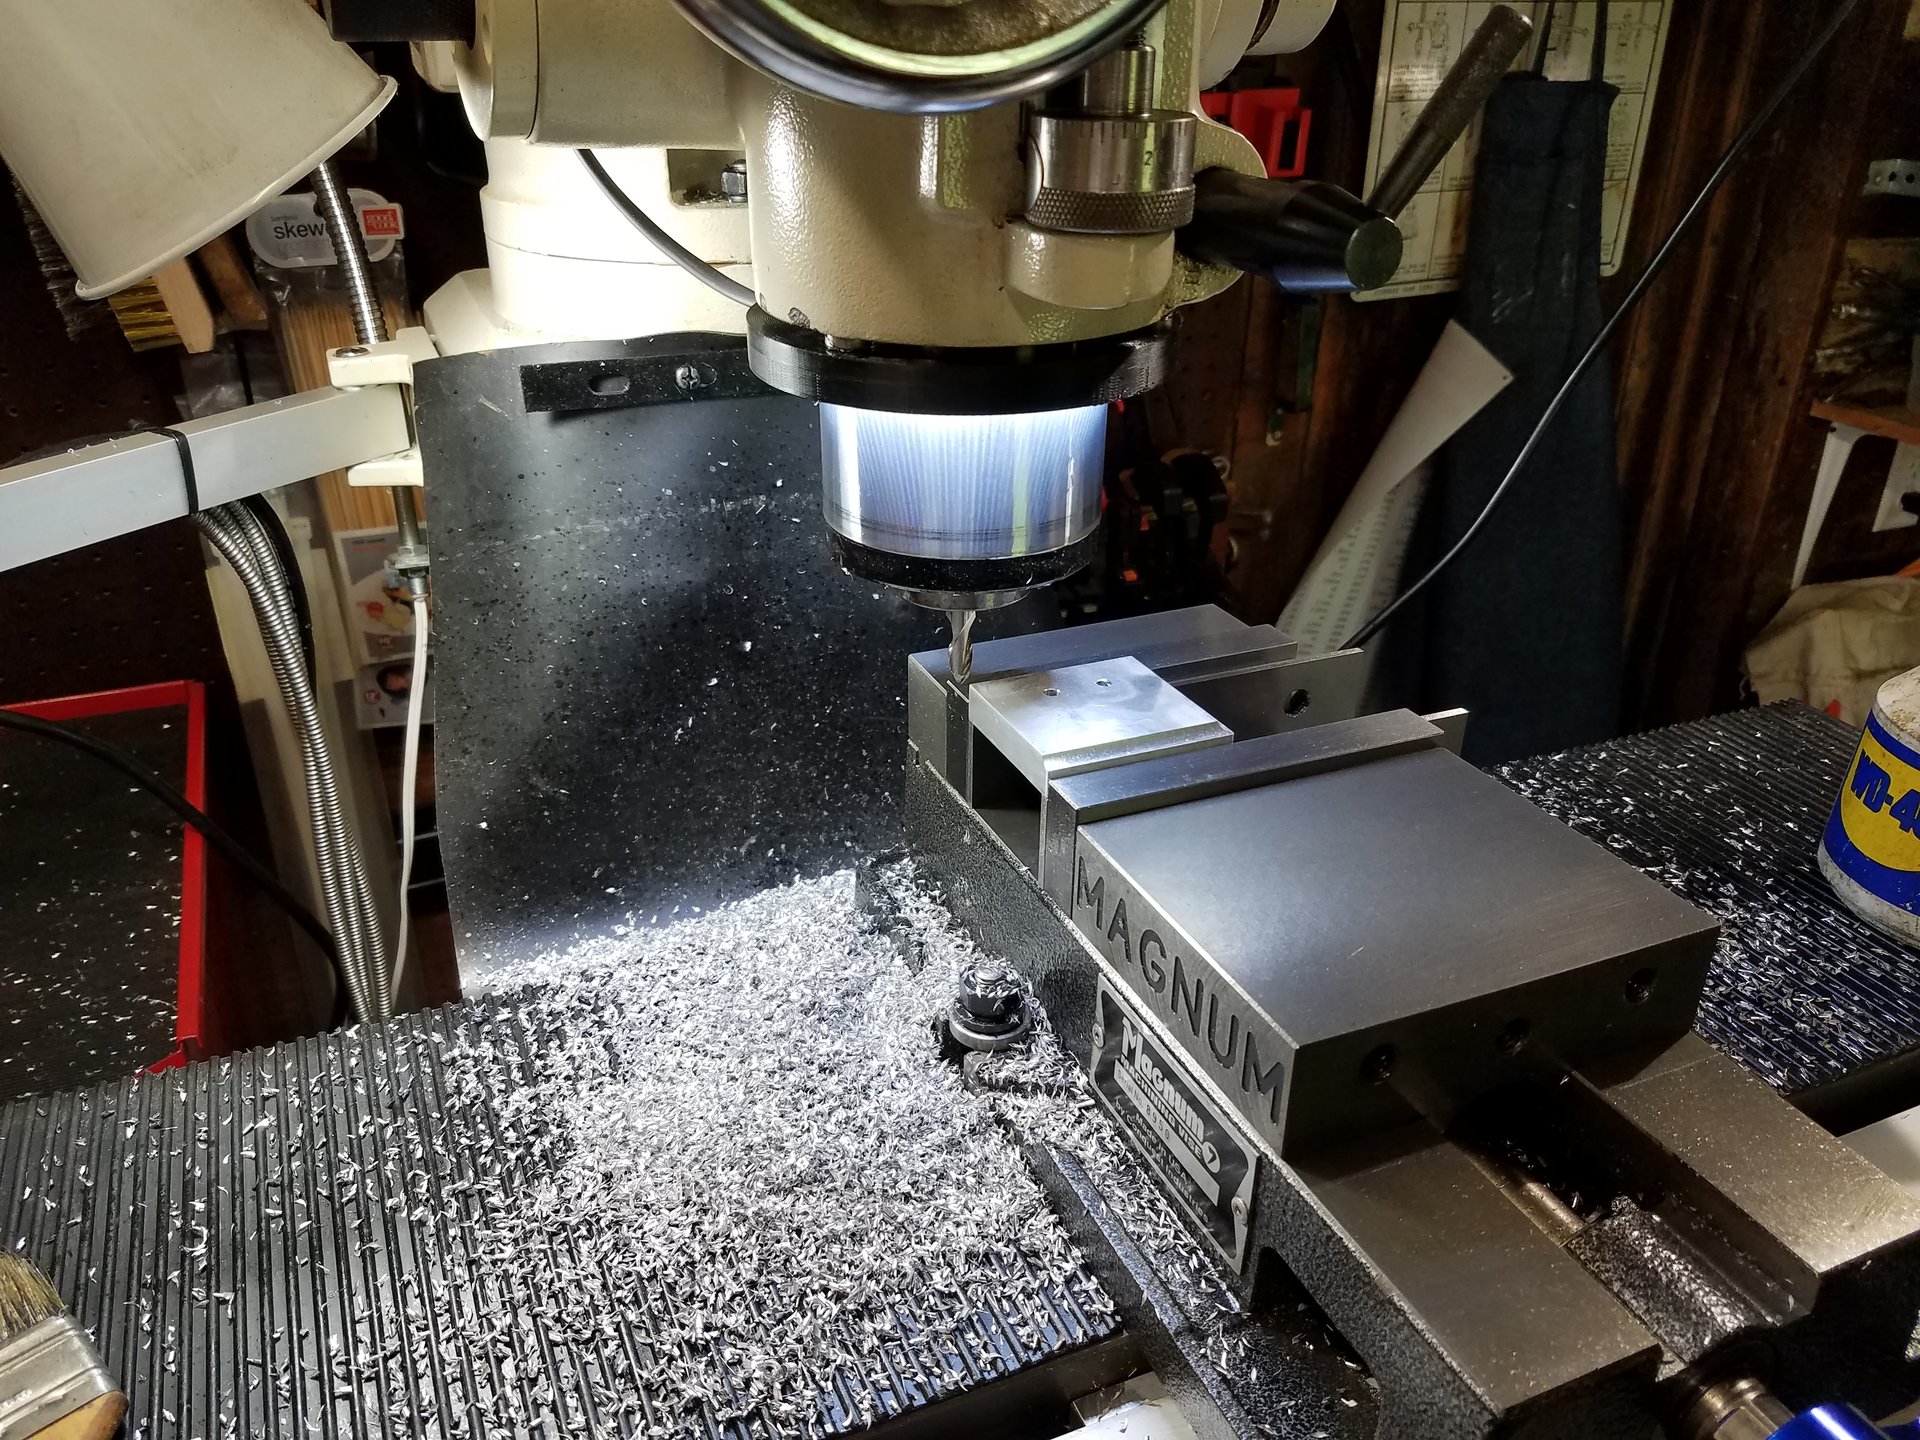
Here I'm finishing up the machining by using a ball end mill to put a decorative edge on the base.
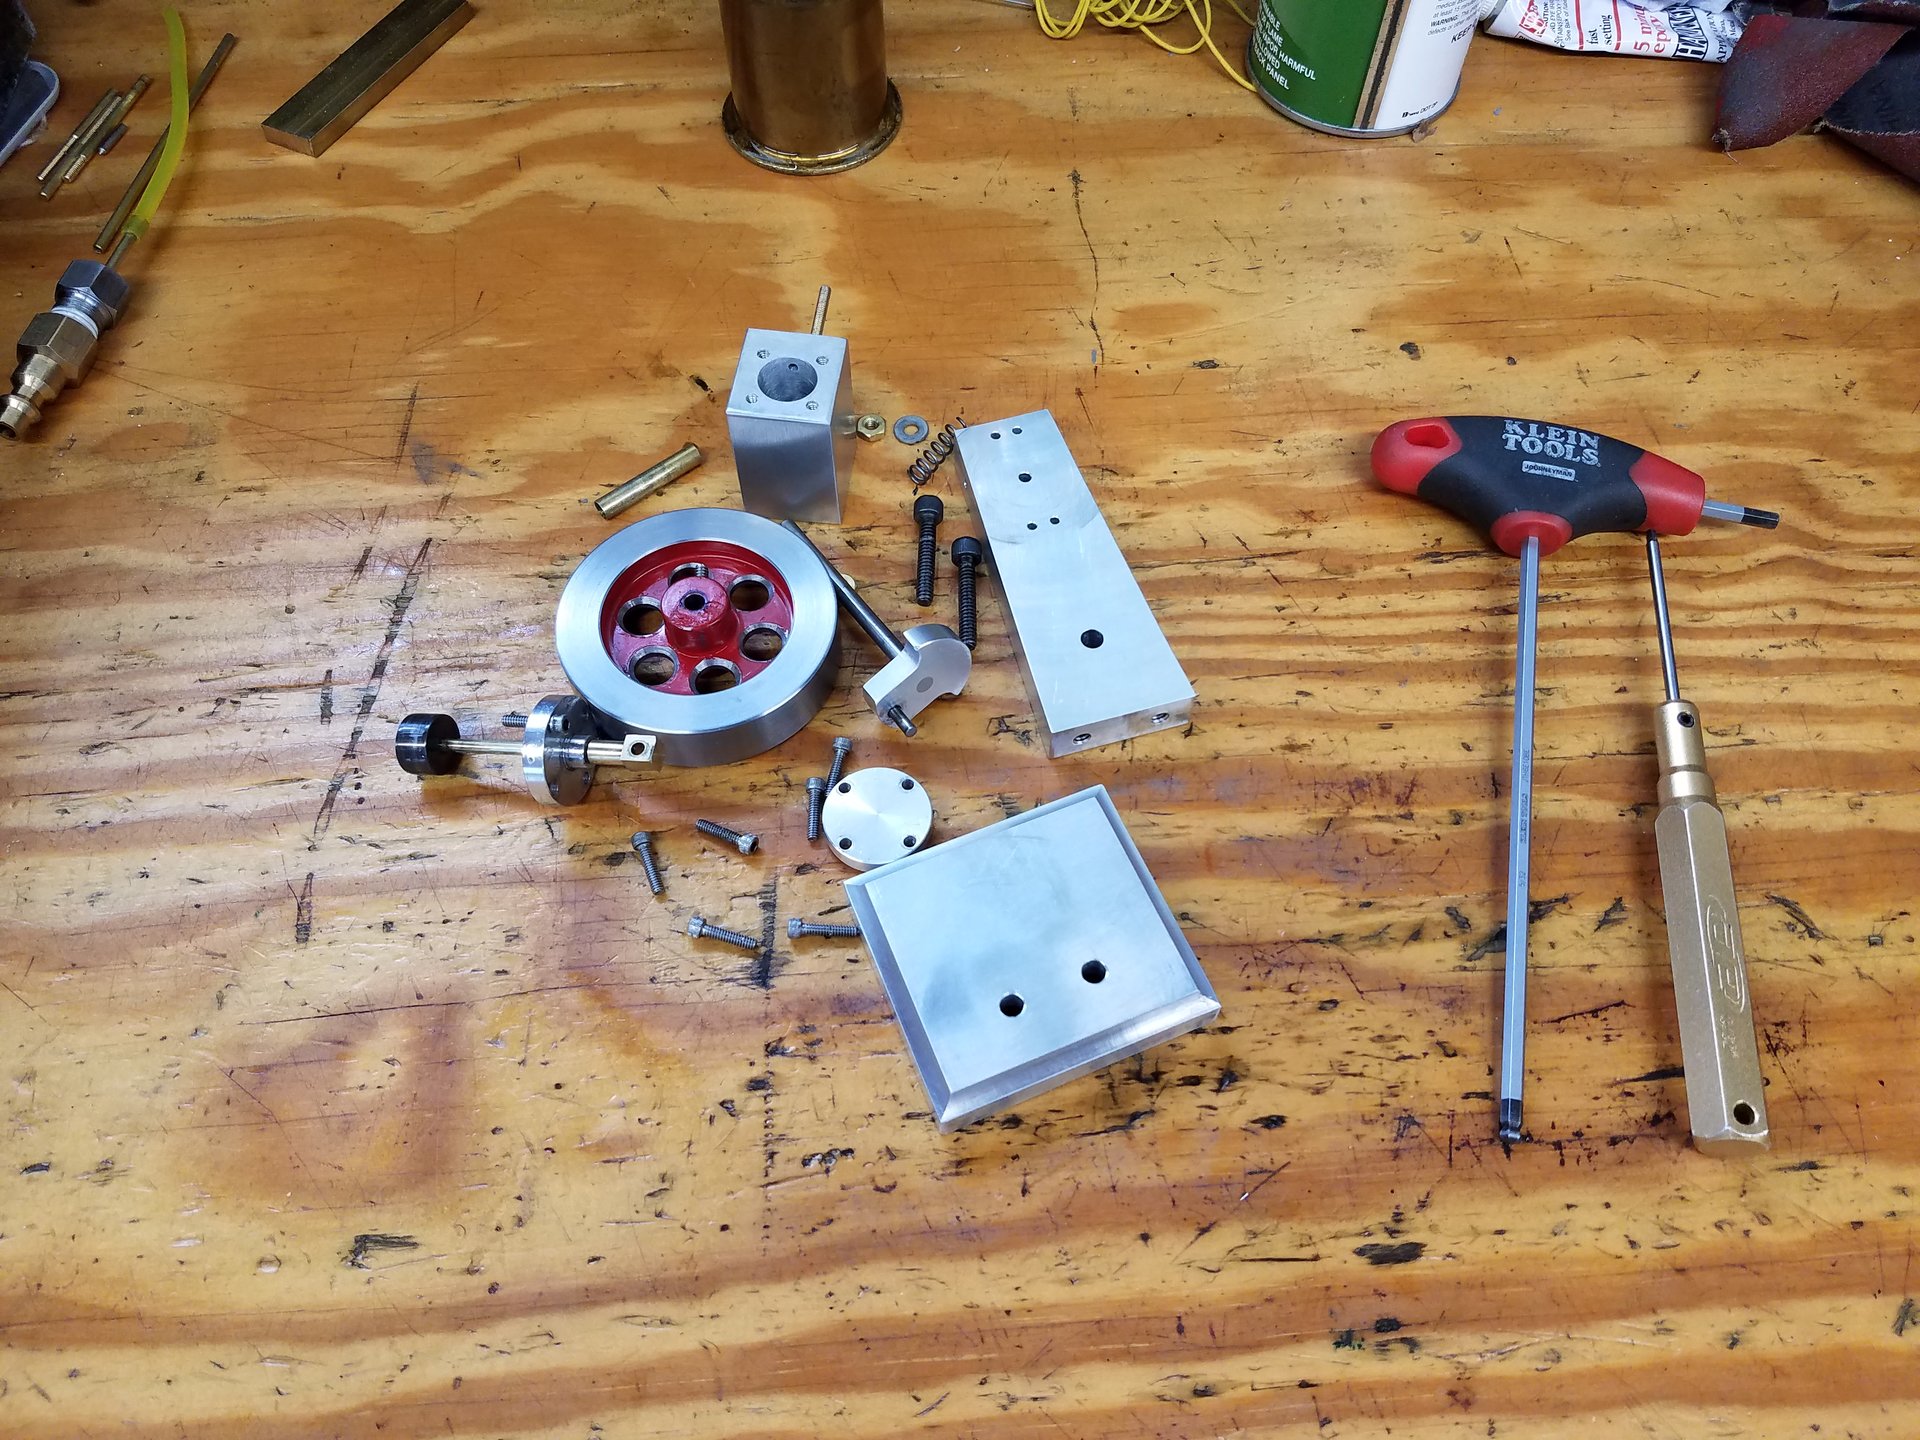
All the bits of the engine are ready for final assembly. By this point, the engine had been taken apart and reassembled many times.
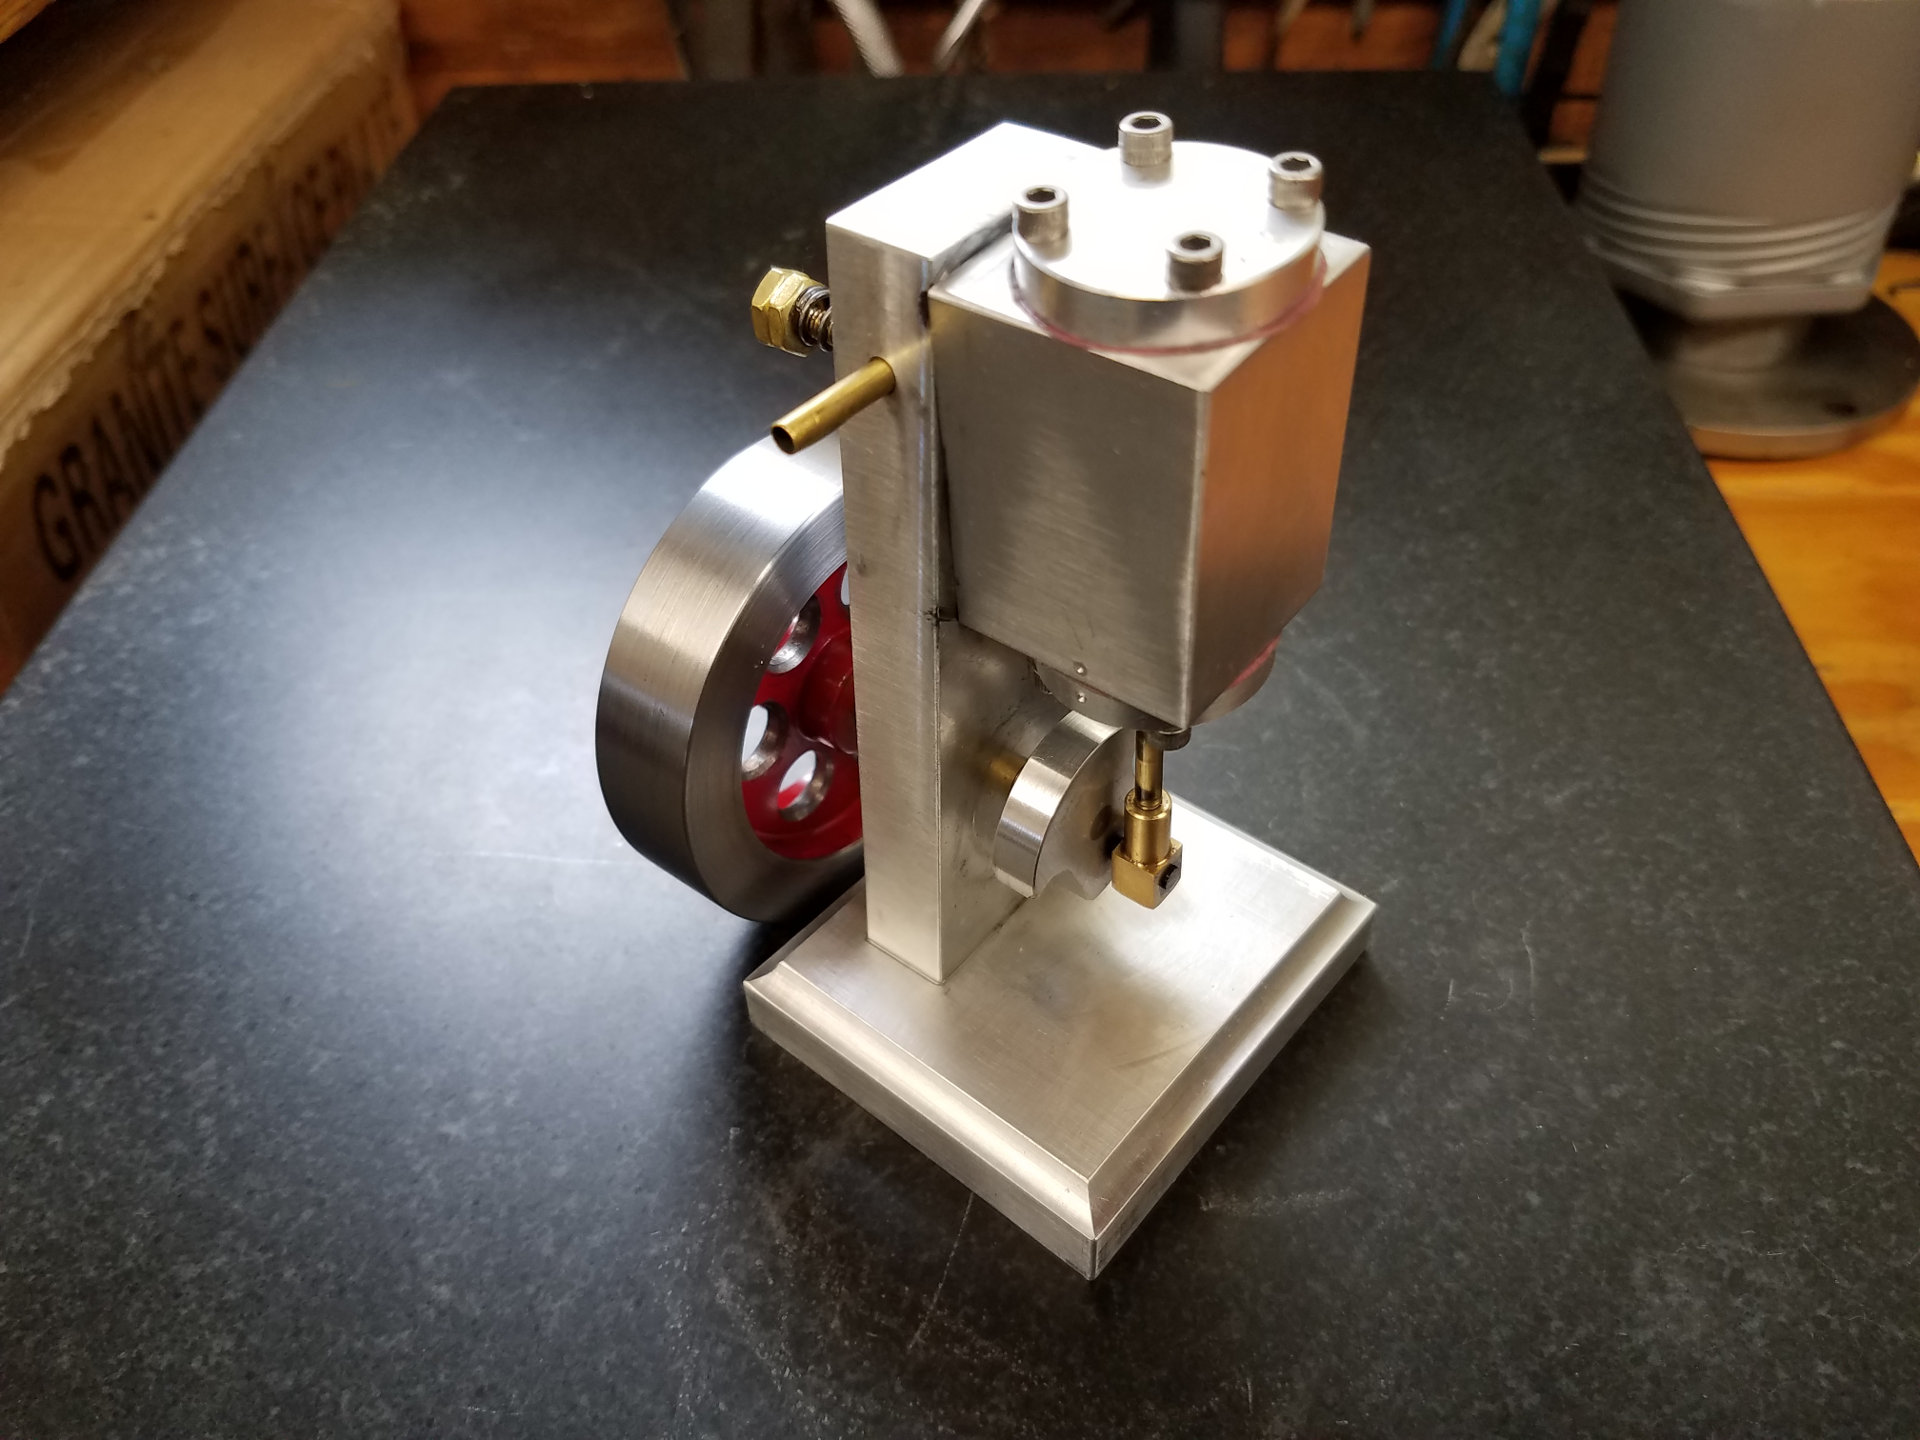
The completed engine. You can barely see a cylinder head gaskets made from an index card under the heads.
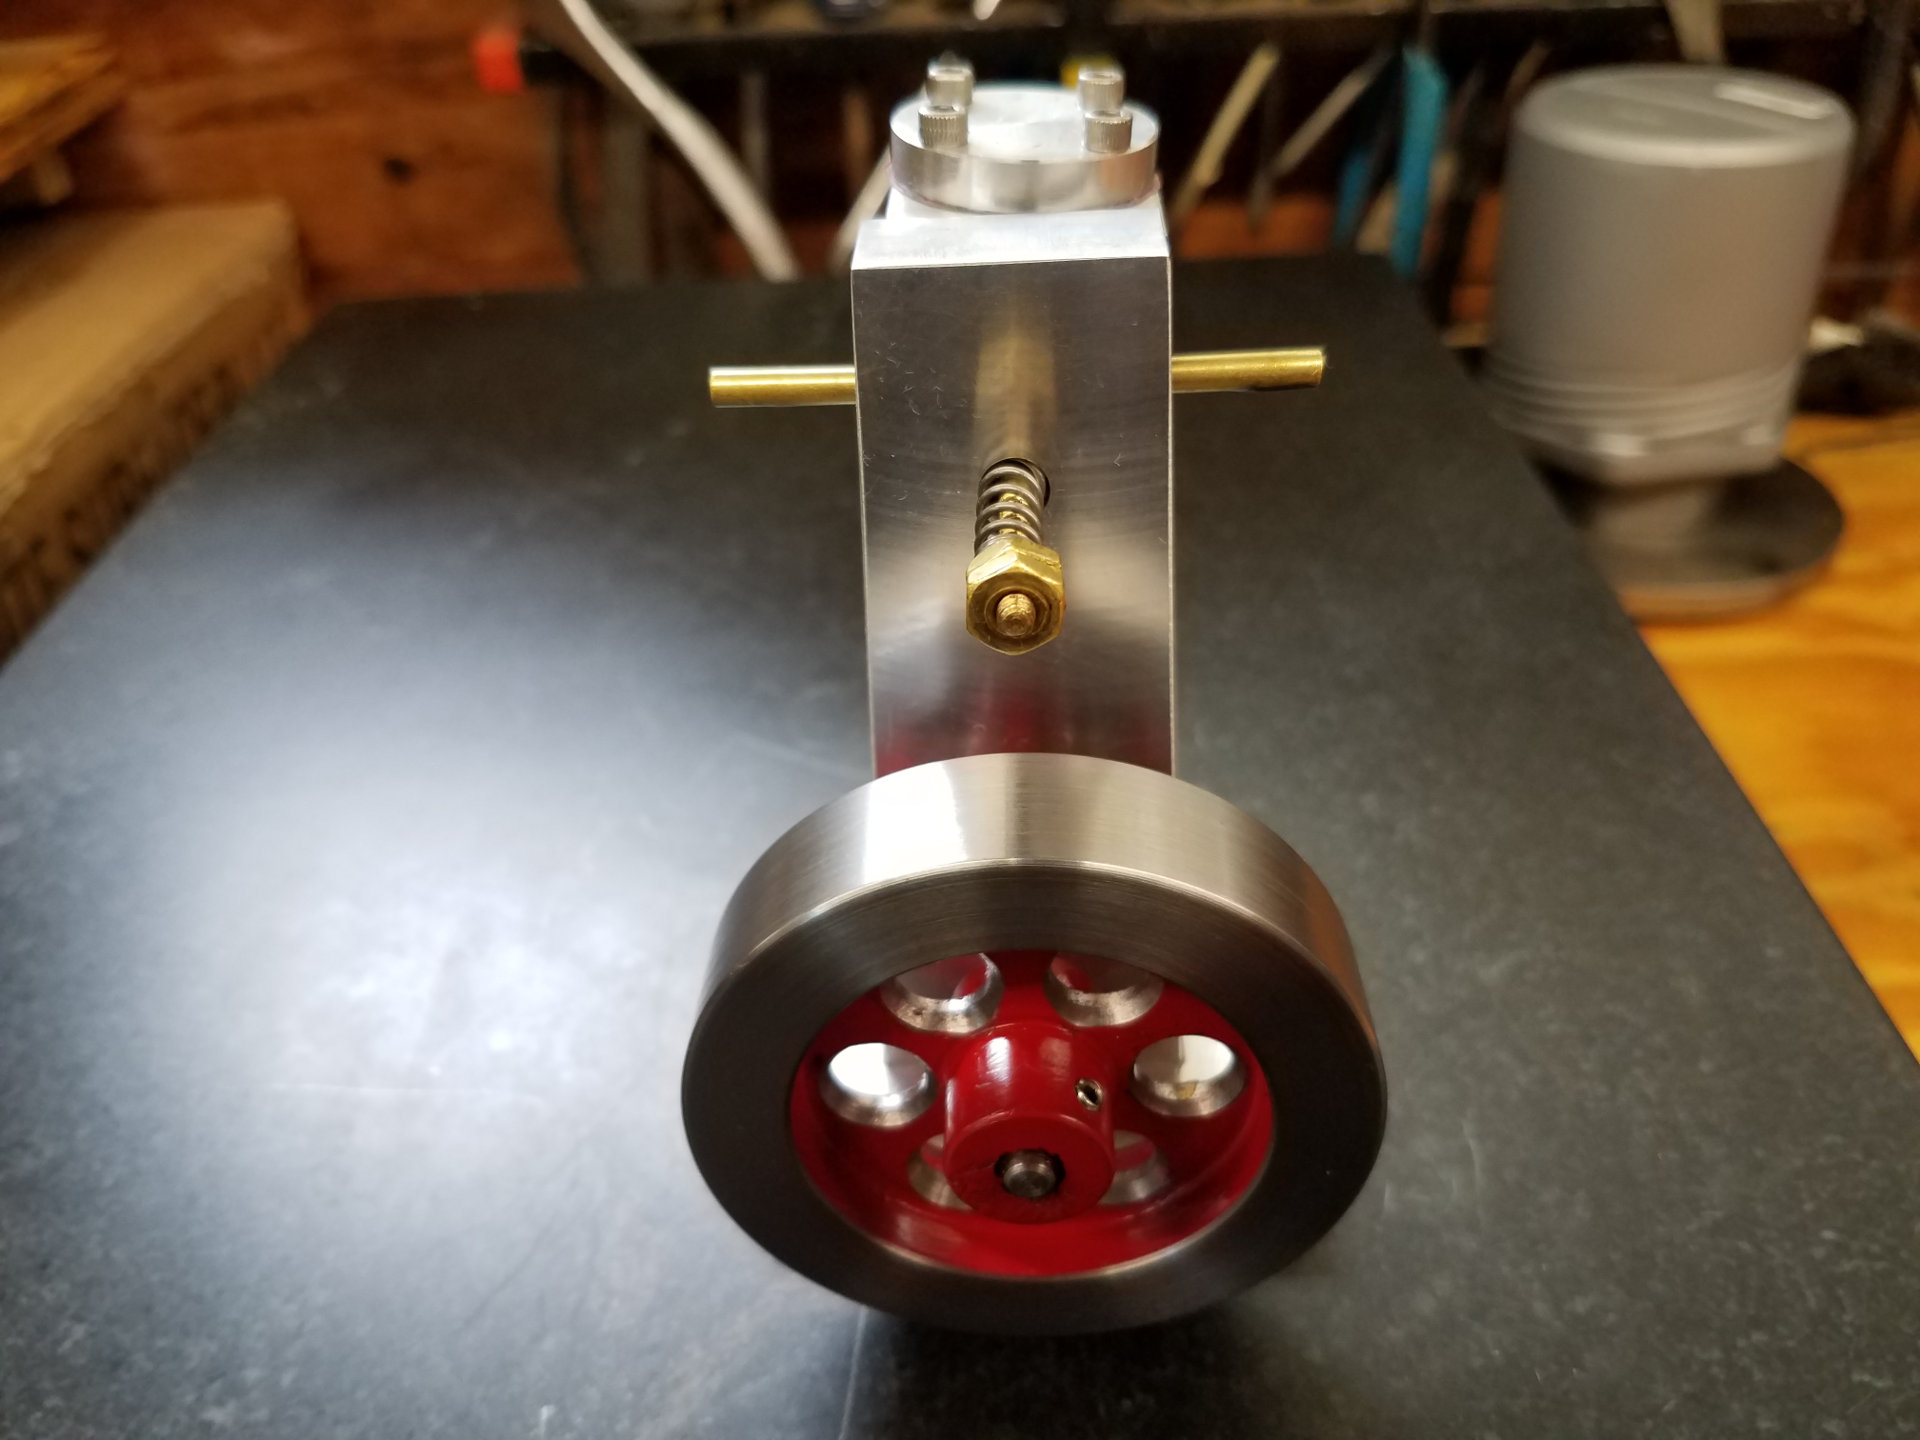
Swapping the air line from one brass inlet/outlet to the other will reverse the engine rotation.
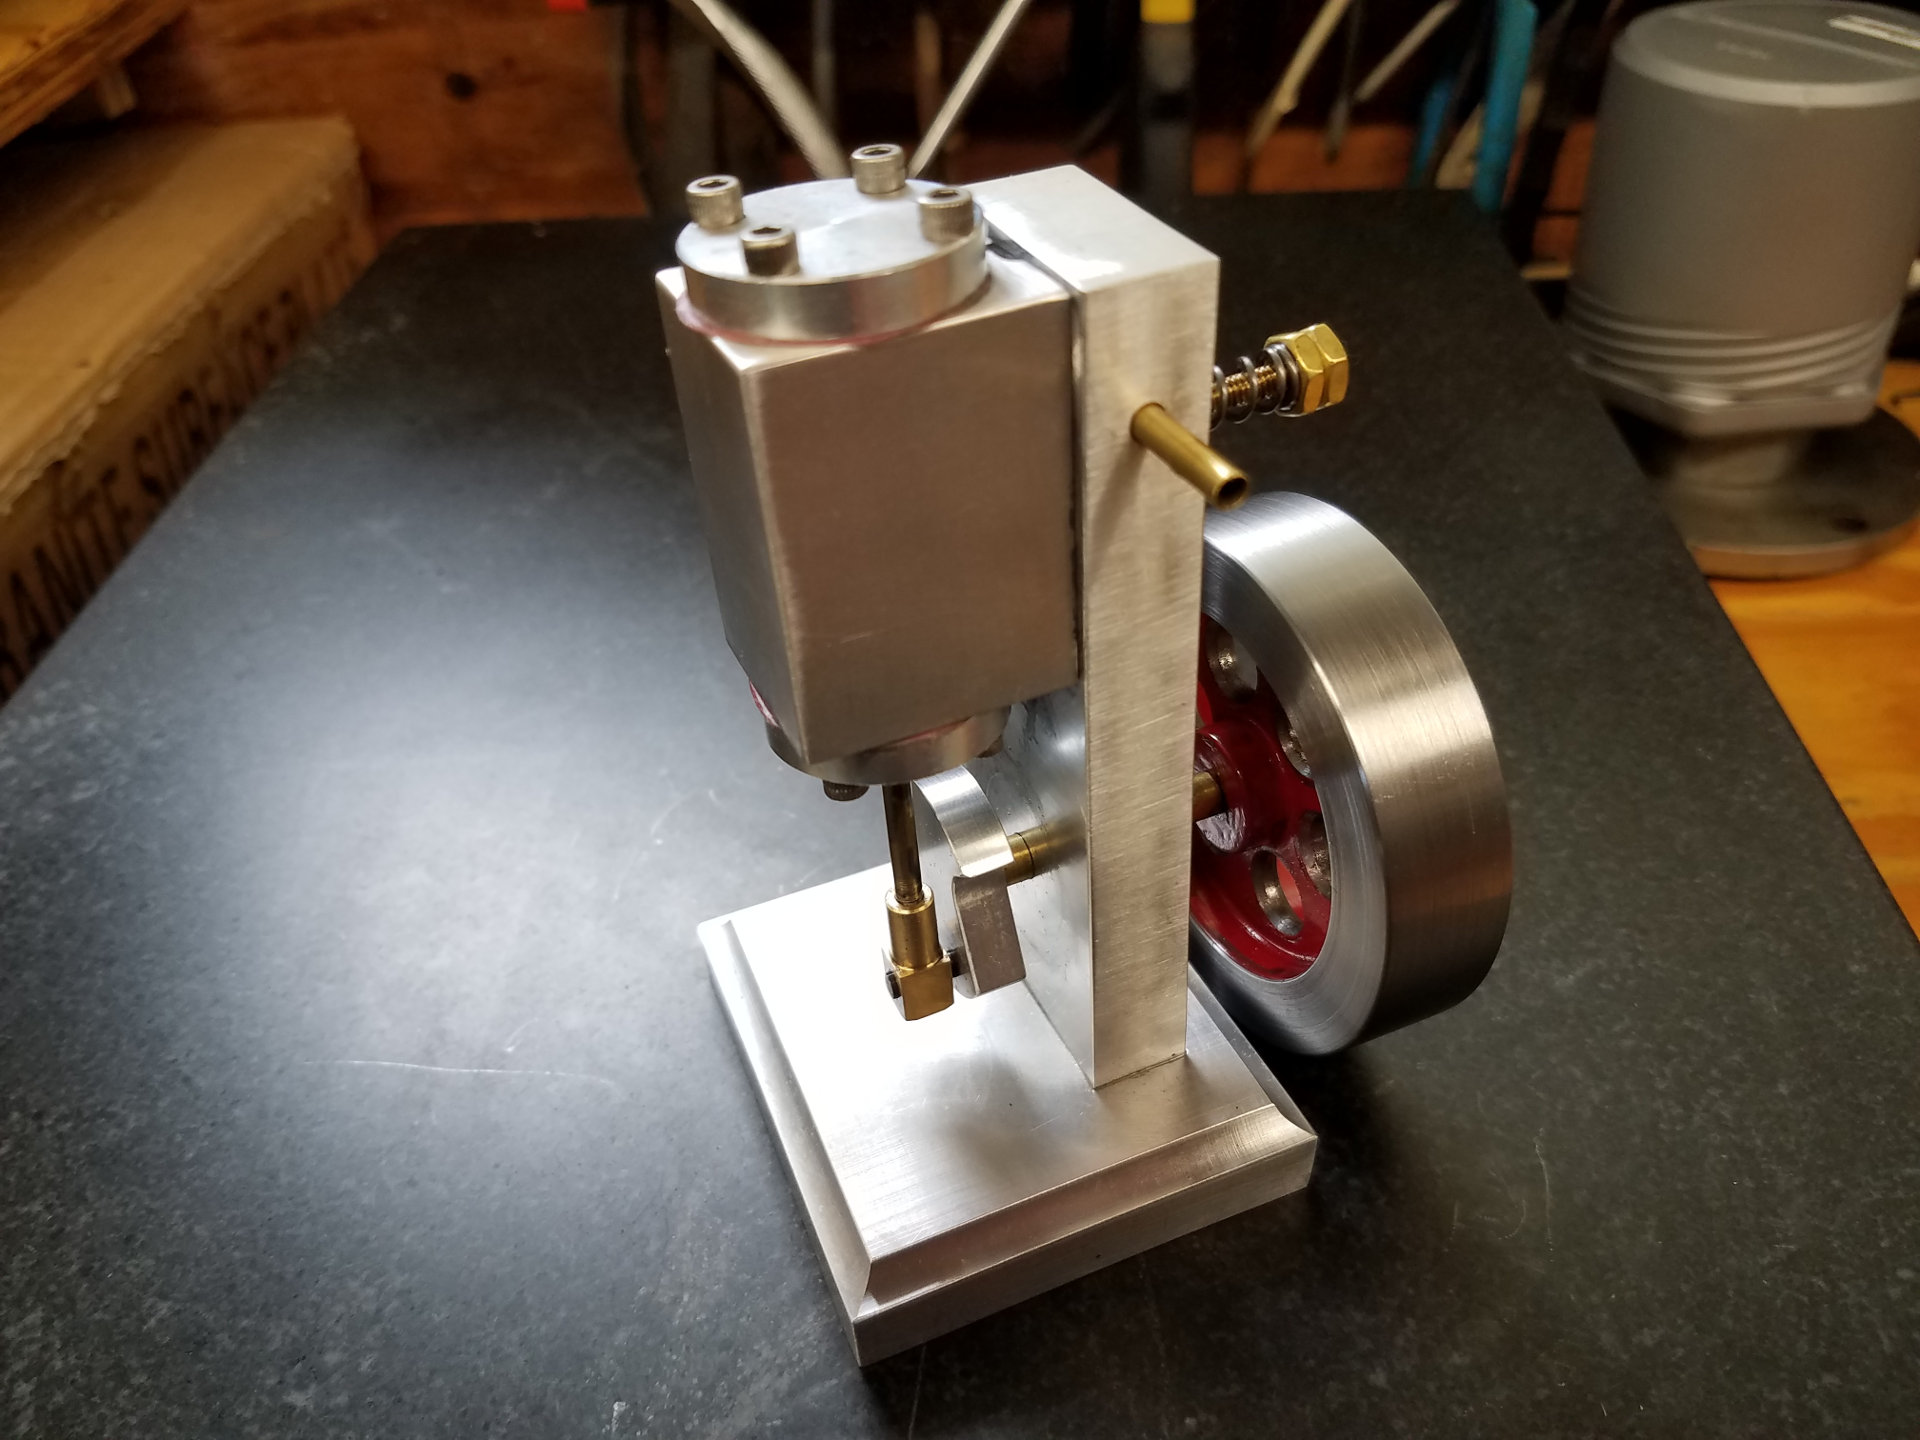
Another shot of the completed engine.
Below is a short video of the engine in operation. It runs well at slow speeds on very little air pressure.
Overall I'm satisfied on how the engine came out. Some mistakes were made, but it was a good learning experience and now I'm better prepared to tackle a casting kit from PM.