I recently finished installing an X power feed on the G0678 mill and I took a bunch of pictures.
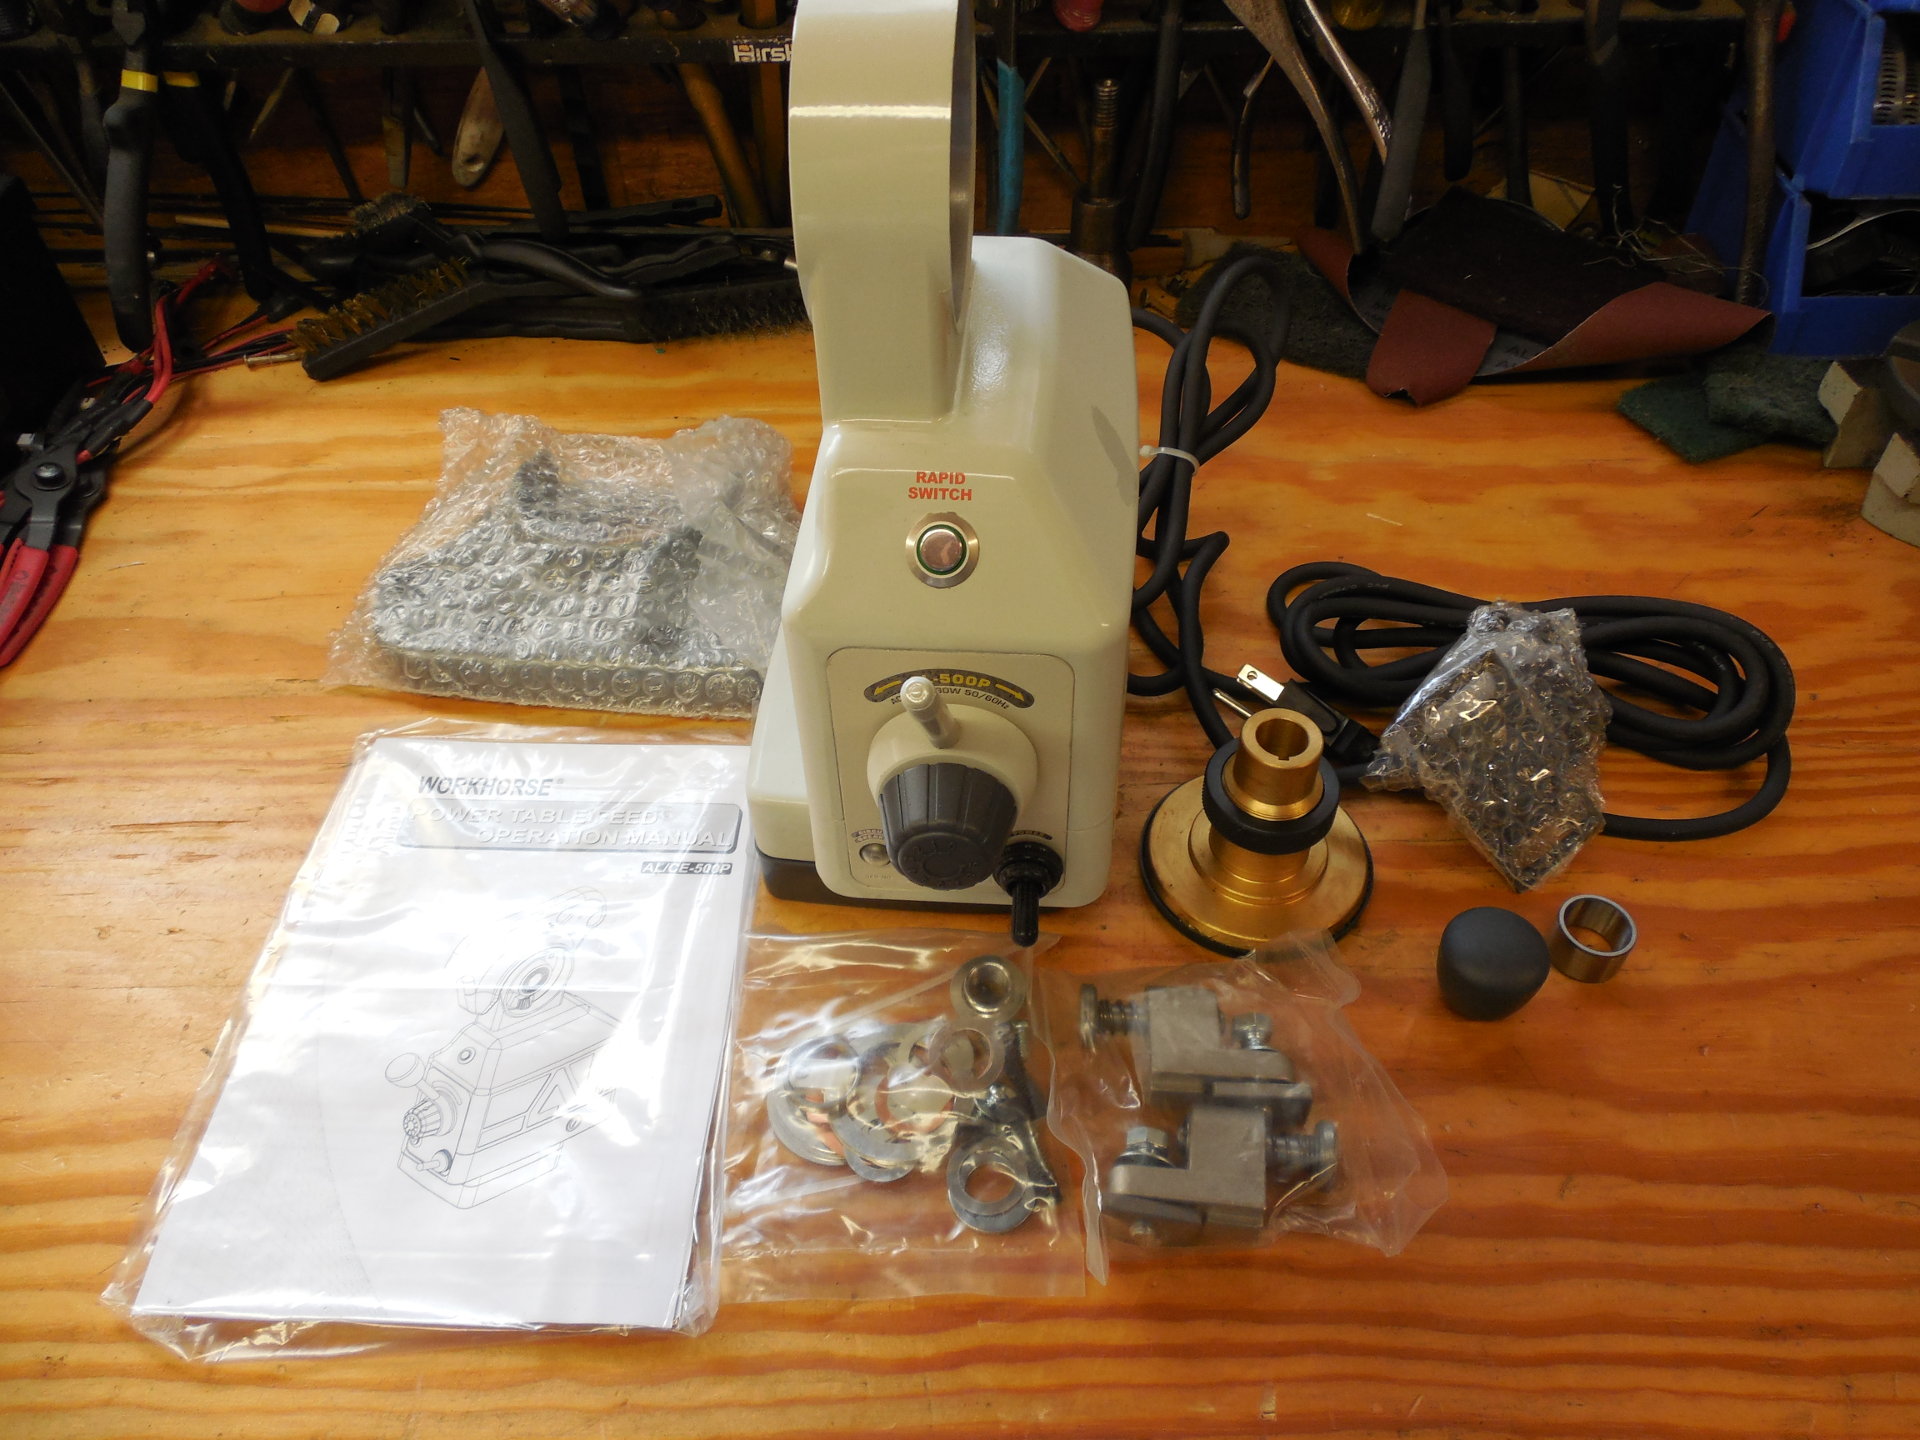
This power feed came from Enco when they had their latest sale. It's marked made in Taiwan, seems nicely made and was $225 shipped which is a pretty good deal (Those were the days!).
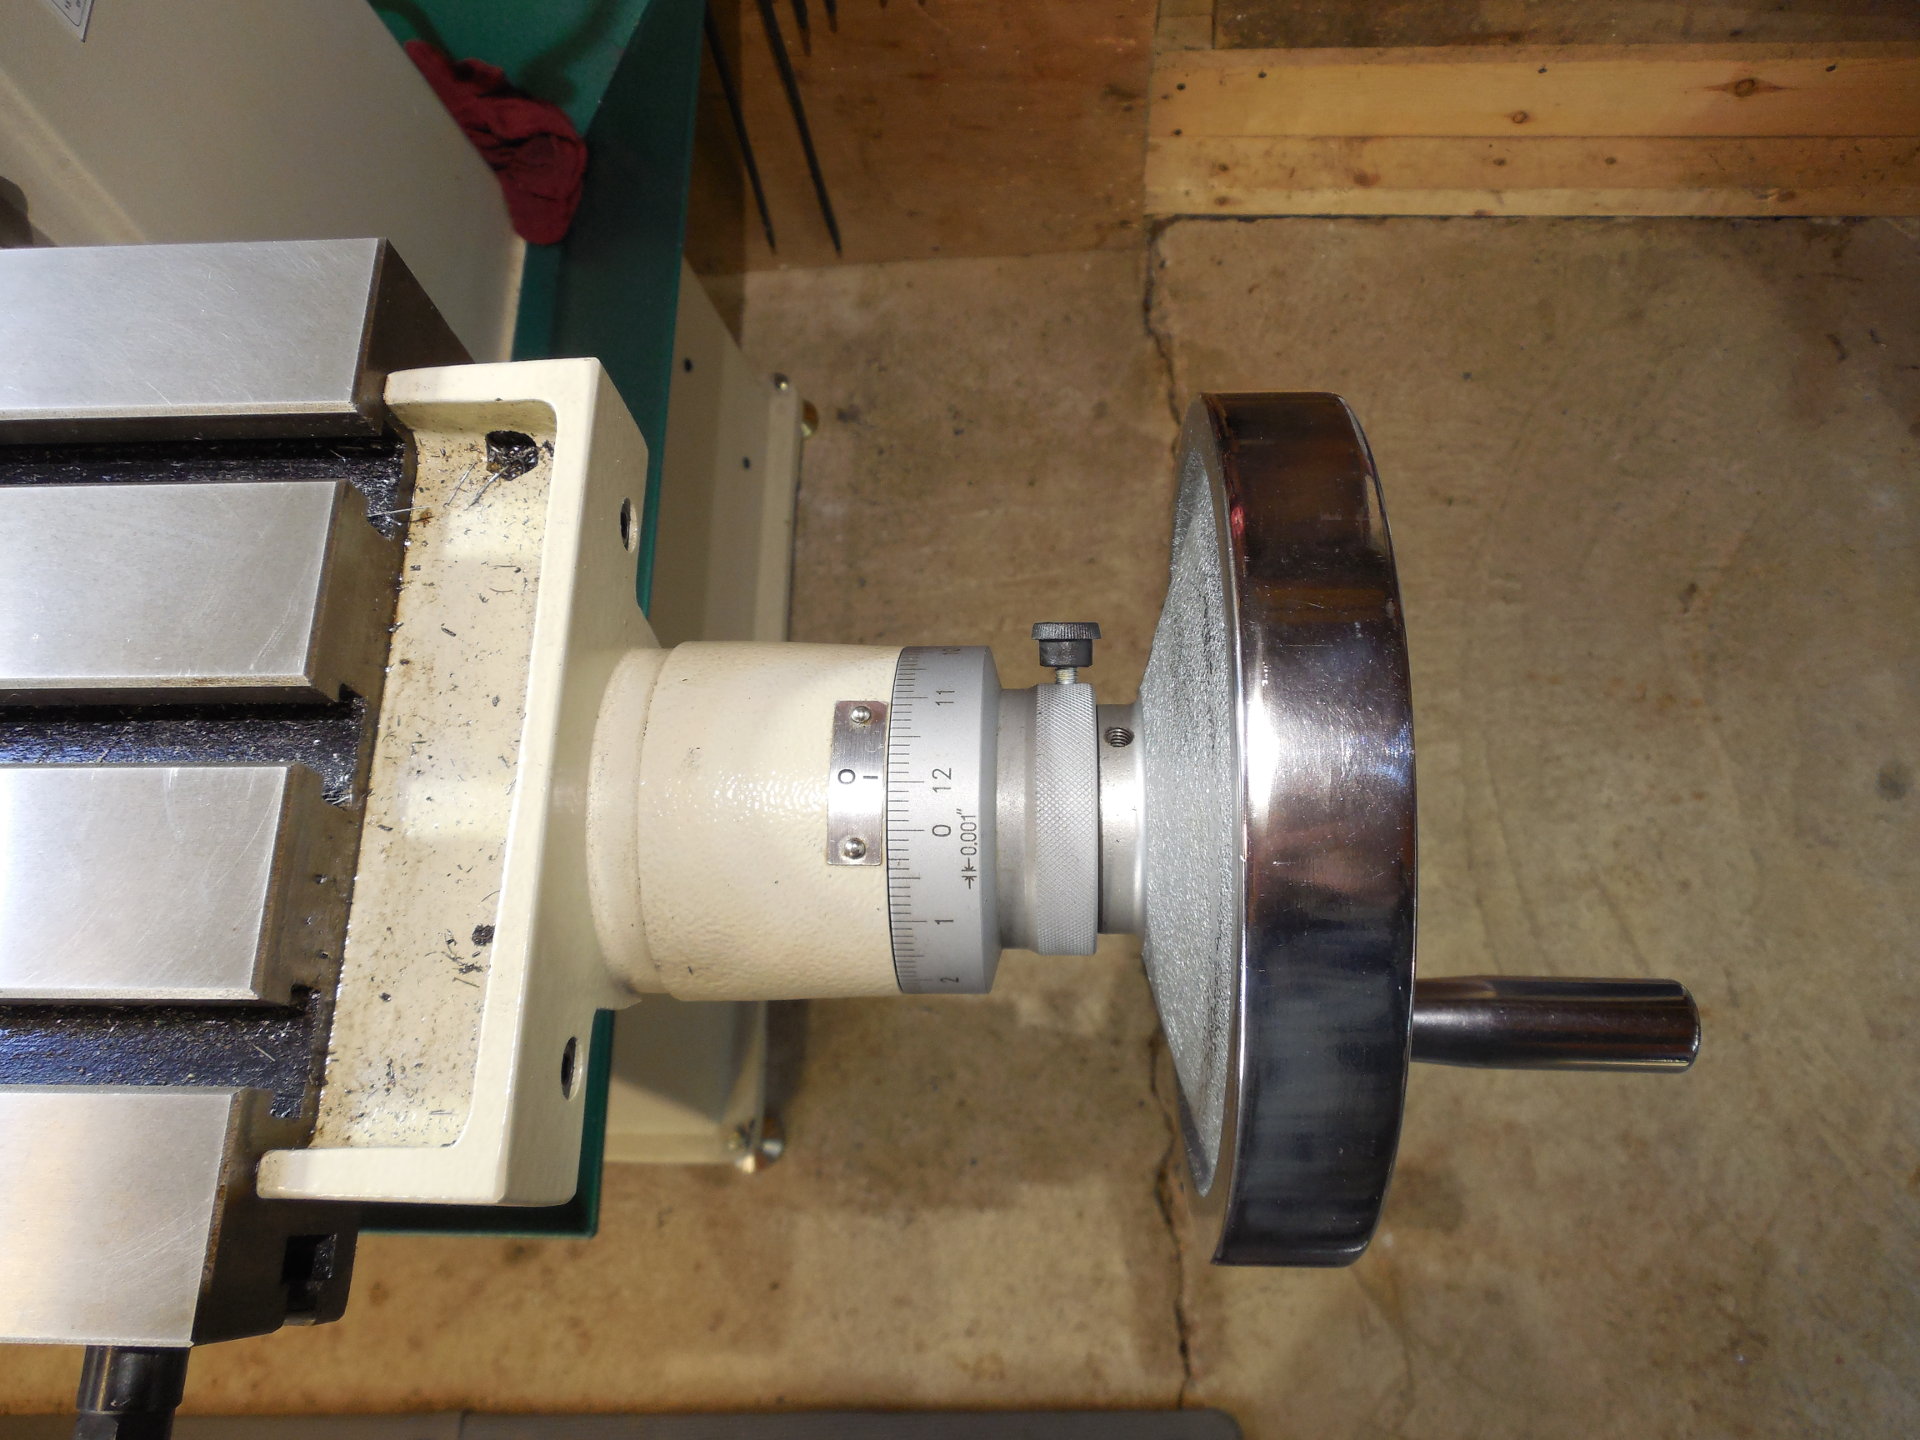
Here's the stock hand wheel and dial arrangement on the G0678 mill. This mill is a bit different then it's other 6x26 cousins in that the dial rests on the hand wheel. Also the leadscrew is threaded on the end and a nut helps fasten the hand wheel in addition to the wheel's setscrew on the key.
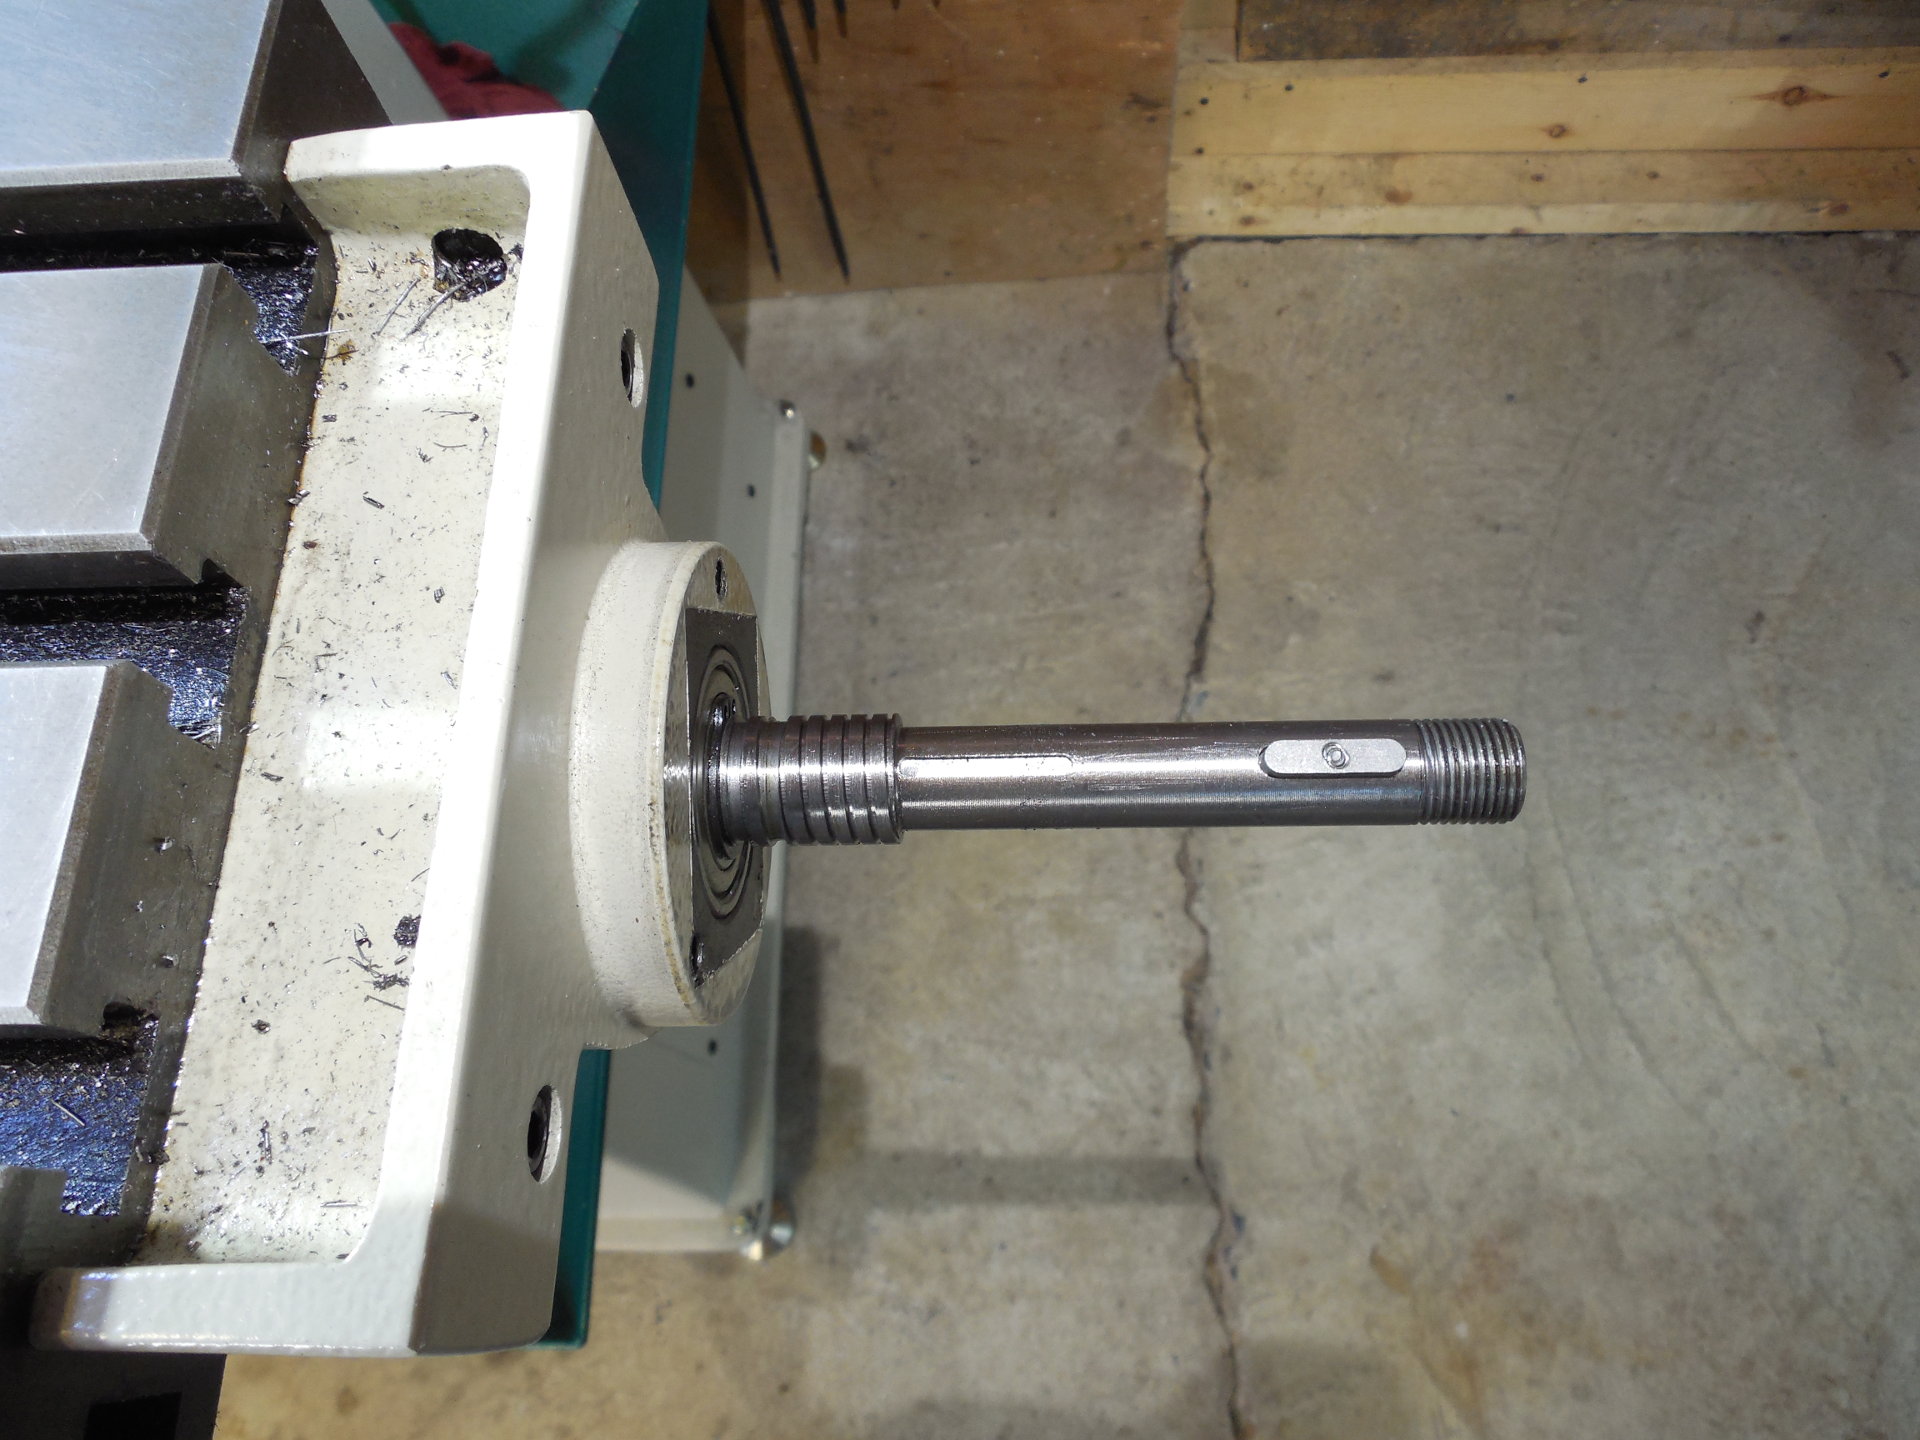
This is what's left after removing the handwheel nut and setscrew, the dial and two socket-head screws to remove the collar. The diameter of the larger part of the leadscrew towards the left is .786. The power feed needle bearings and race rest on this part of the leadscrew.
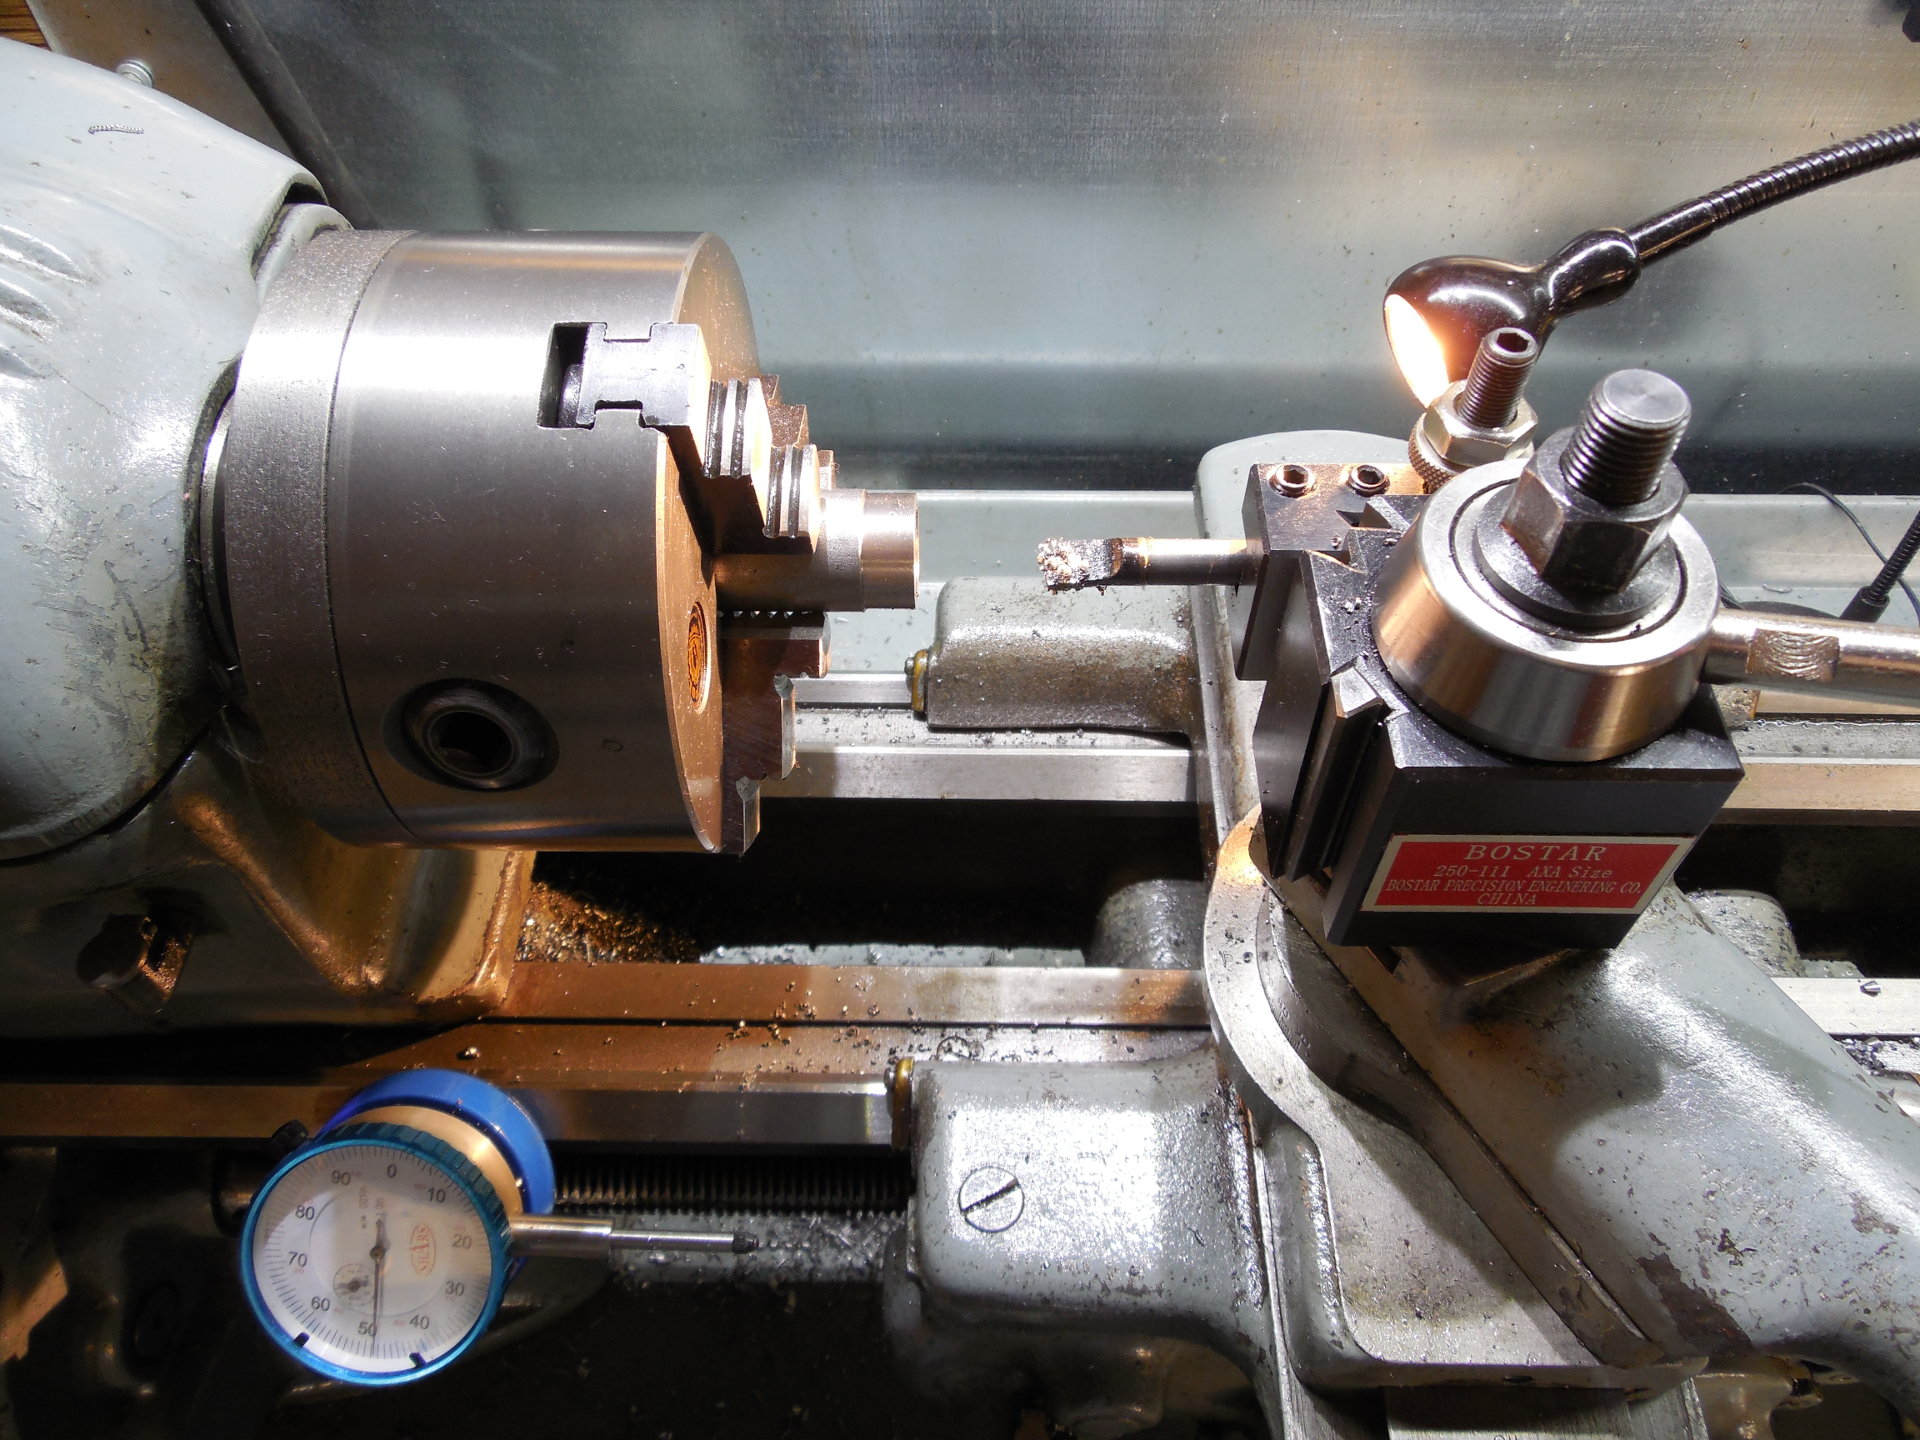
The kit contains shims and a spacer, but I needed a longer one. Sometimes the mill makes parts for the lathe and sometimes the lathe makes parts for the mill. It's the shop circle of life.
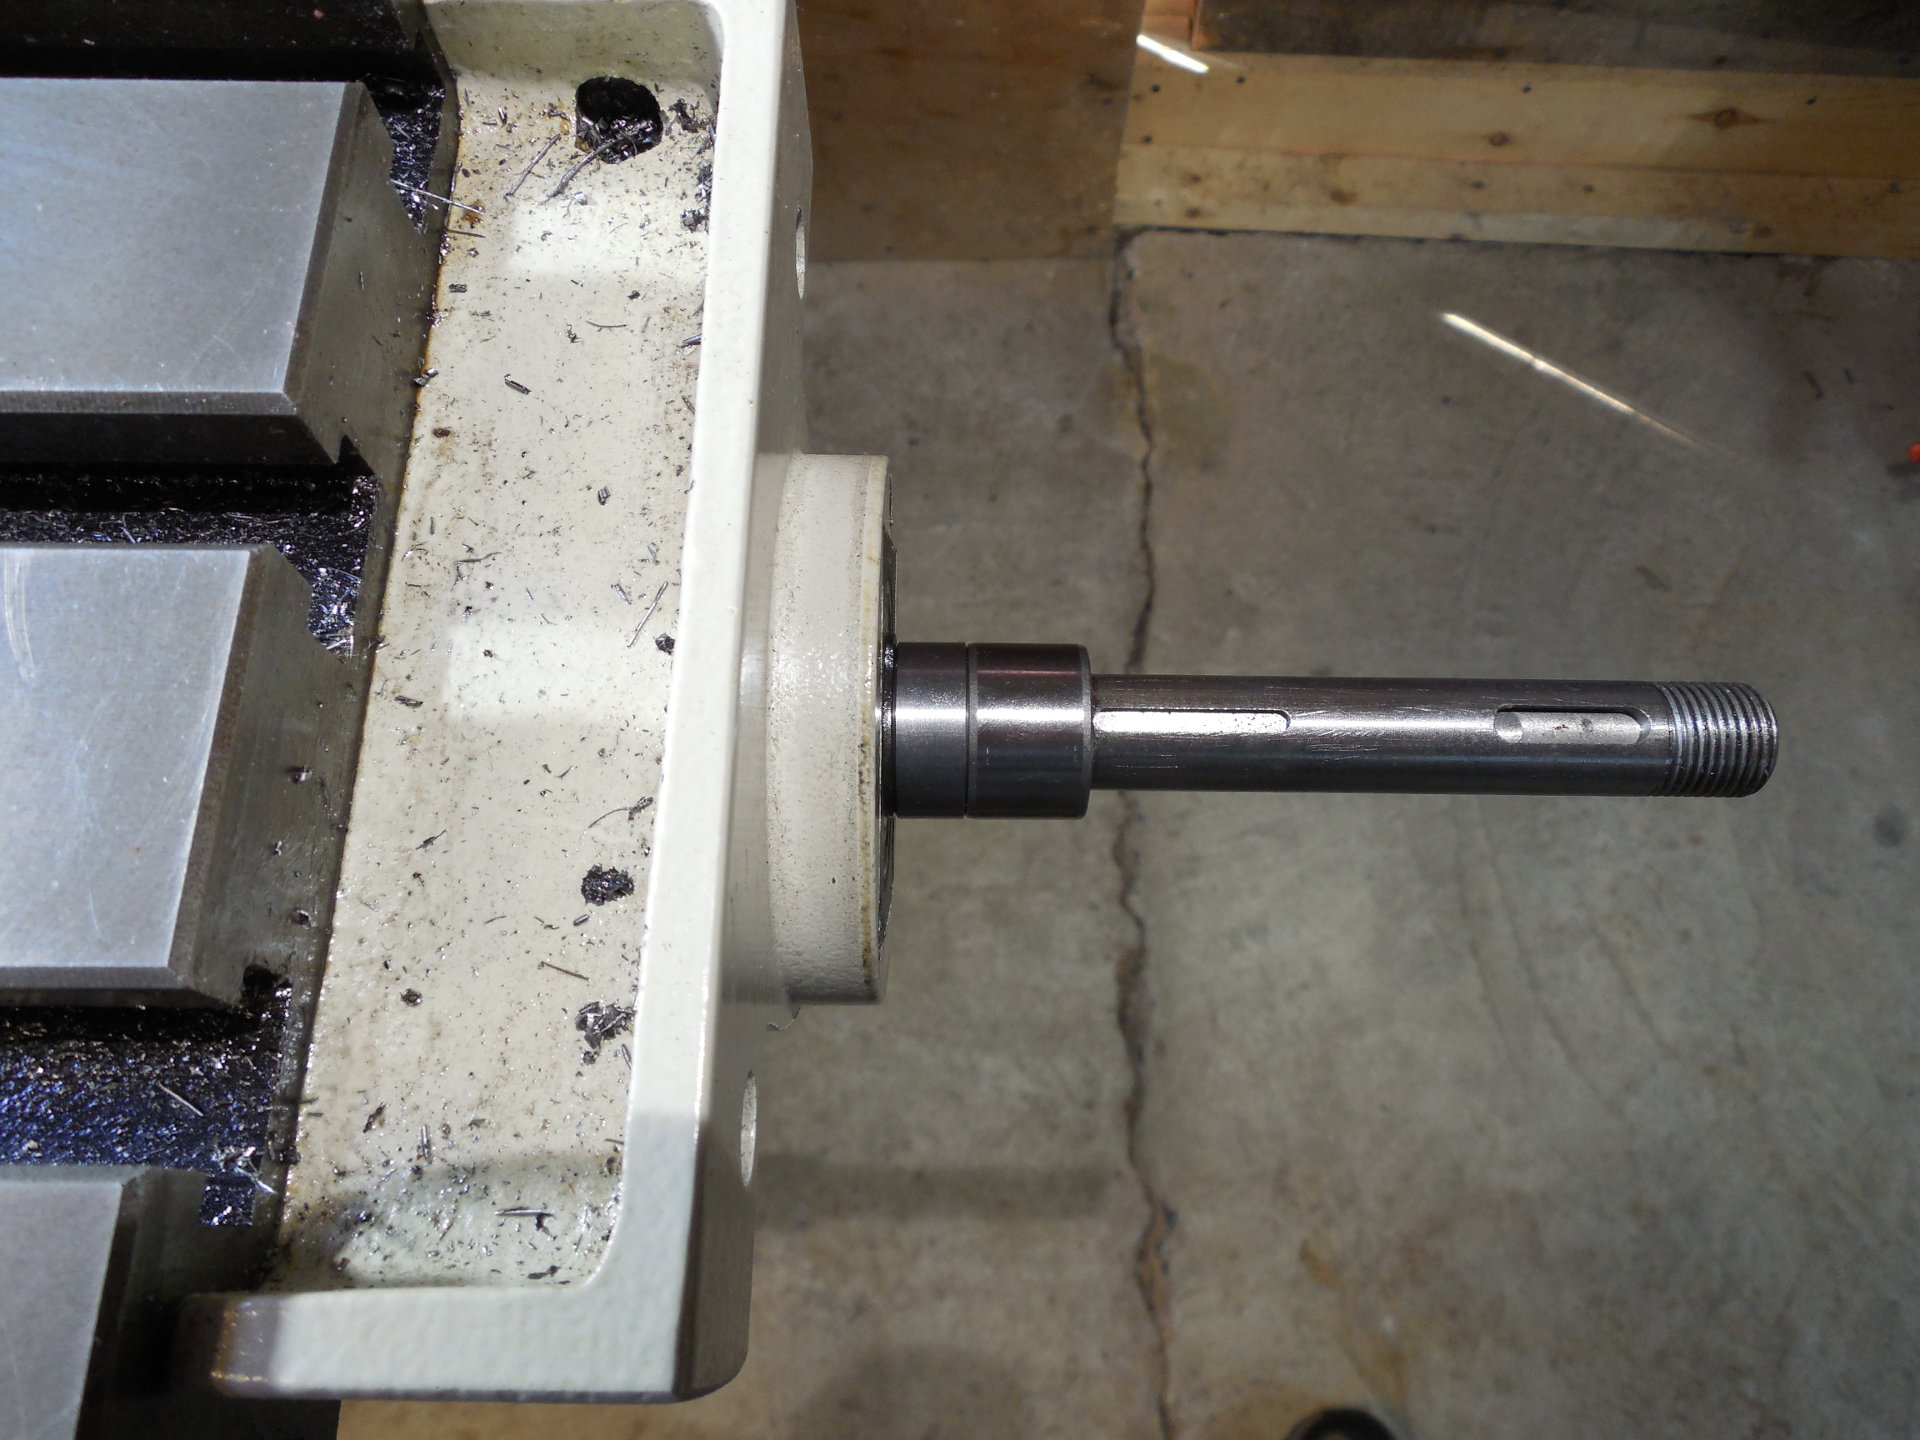
The spacer I made is on the left. The race of the needle bearing is now flush with the end of the larger part of the leadscrew.
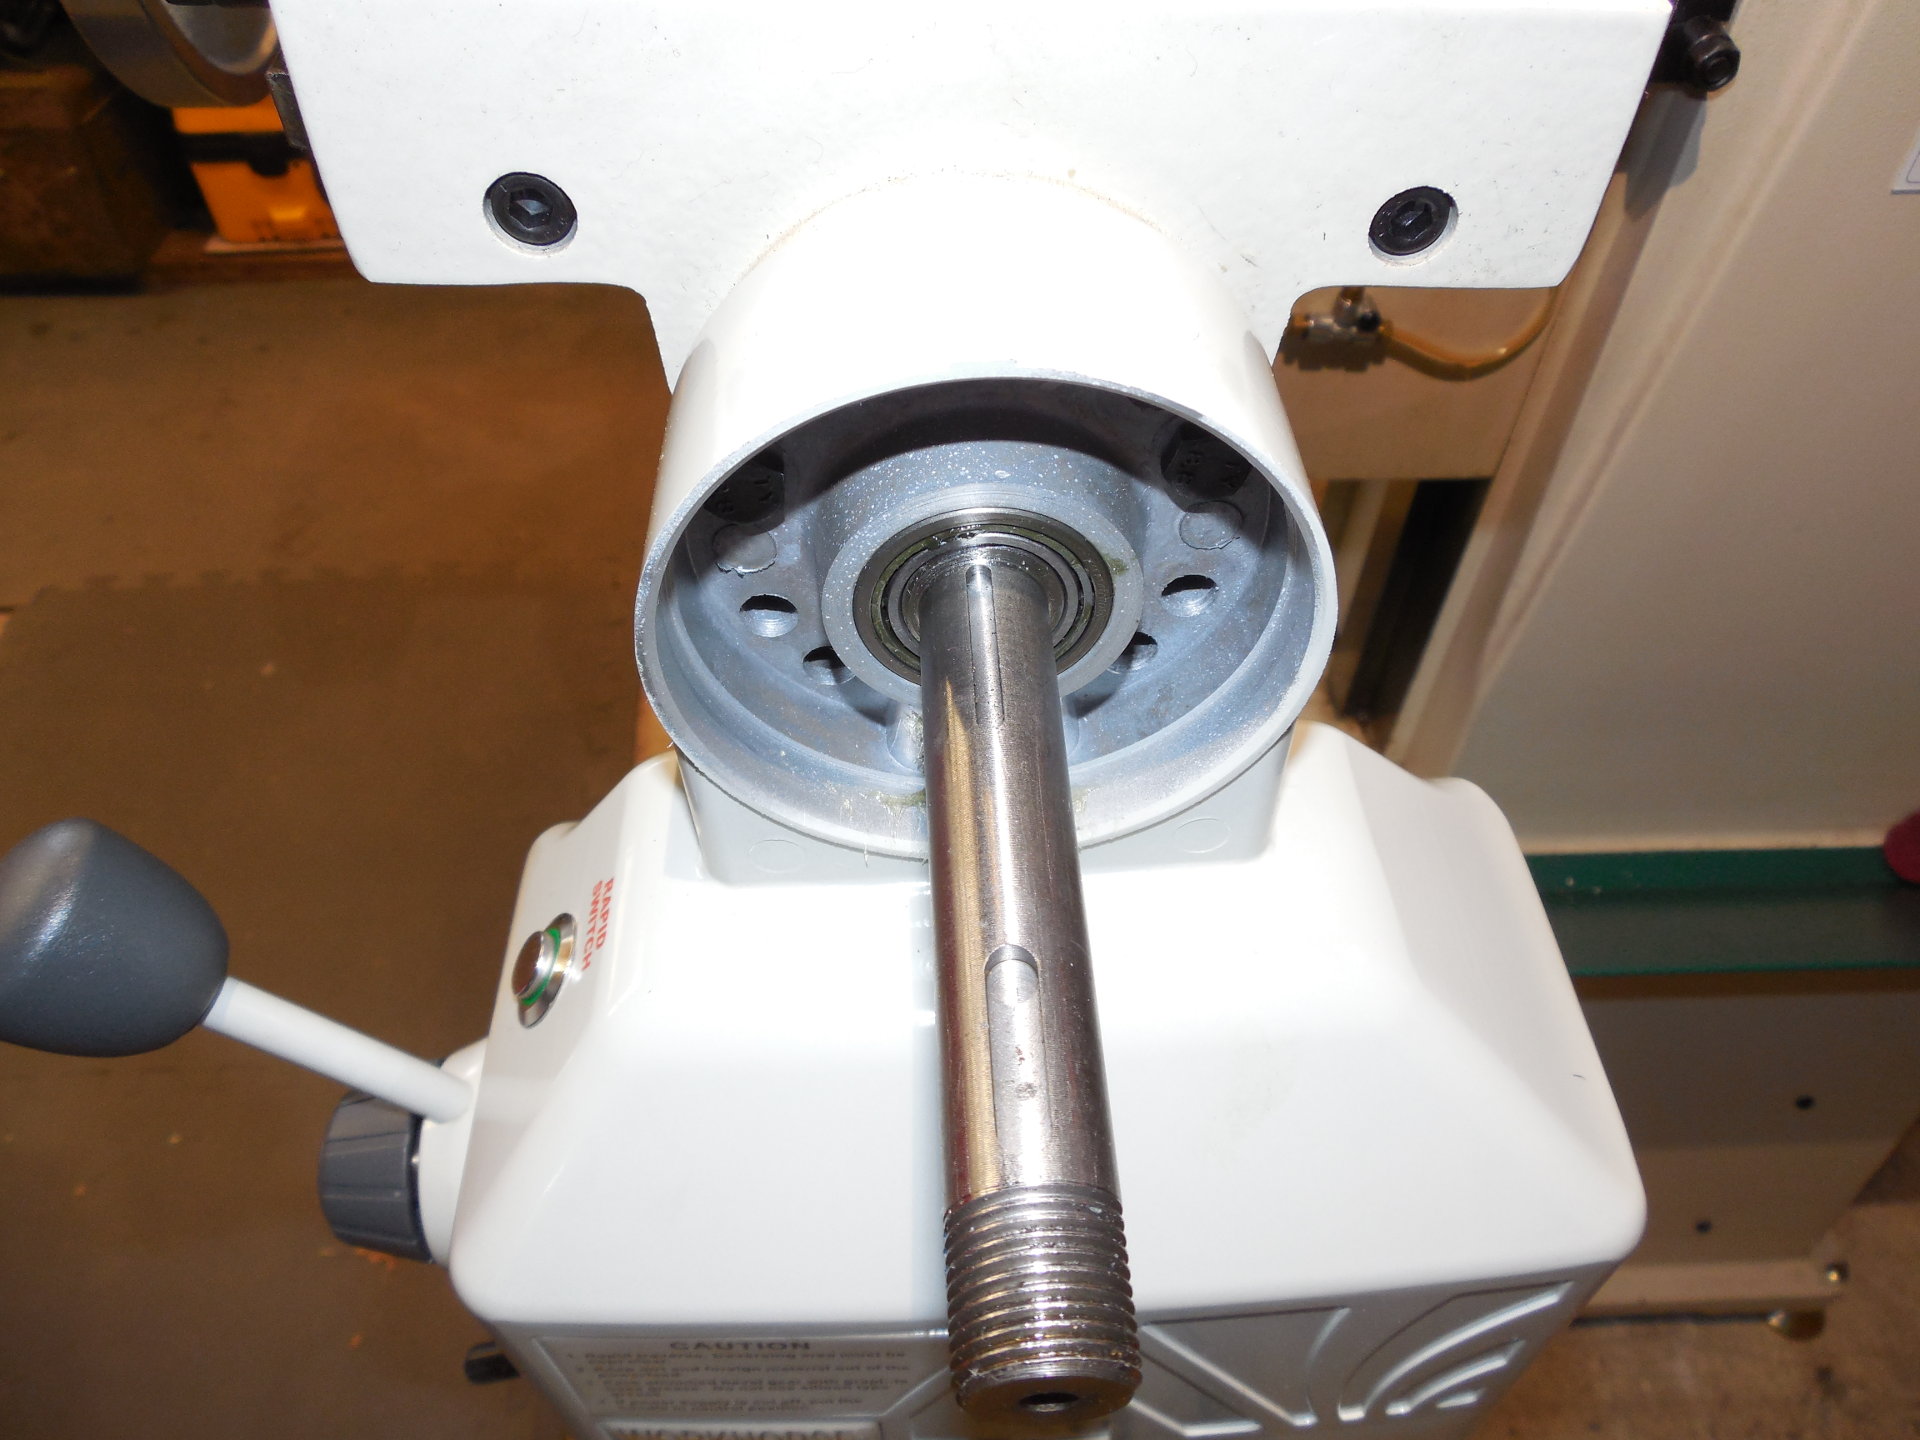
And here's the power feed sitting on the leadscrew. I didn't have to drill or widen any holes, the ones on the mill and the power feed lined-up. For now, the power feed is attached with two metric hex head bolts. If the feed loosens-up and moves around, I will drill two additional holes in the mill for roll pins.
I believe the narrow keyway is 1/8" as the first one I picked out of the assortment fit. The keyway is the same width on the leadscrew and the brass bevel gear.
You set the backlash between the bevel gear and bevel pinion with shims. Don't bind the gears-up or you will eventually burn out the feed which isn't explained very well in the almost useless manual.
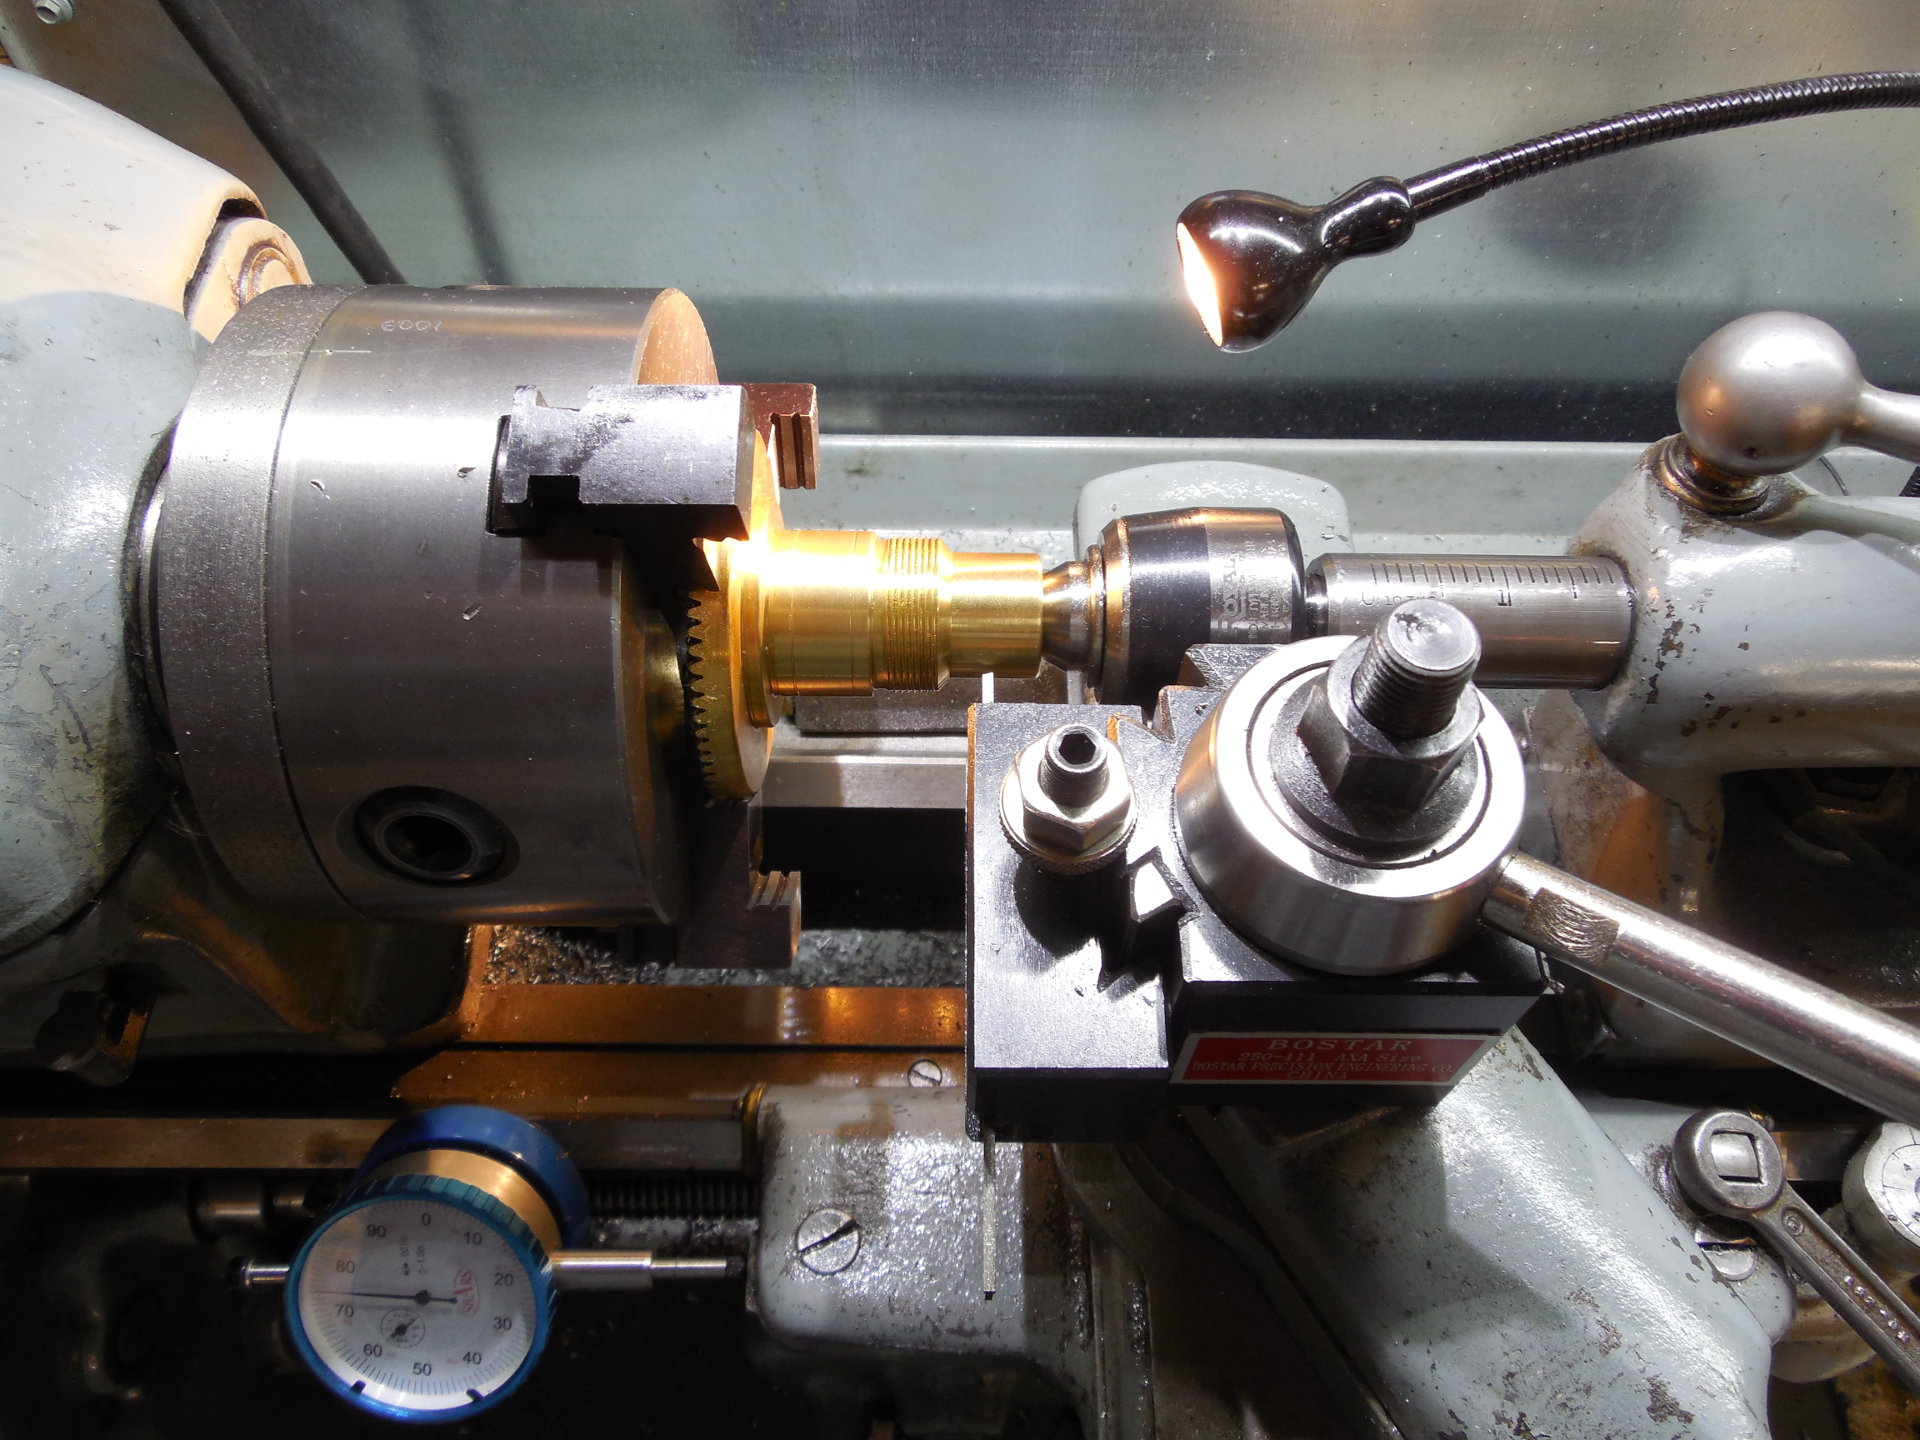
The brass bevel gear is way too long. This is the FIRST cut I did on the gear using the lathe. I used the parting tool until I hit the keyway, then a hacksaw to finish the cut. I was a bit worried at first about banging-up the teeth on the gear, but didn't have any troubles. You don't need to crank the chuck down that hard as you are only cutting brass. When the bevel gear is the correct length it should touch the installed hand wheel as this is what holds it against the pinion.
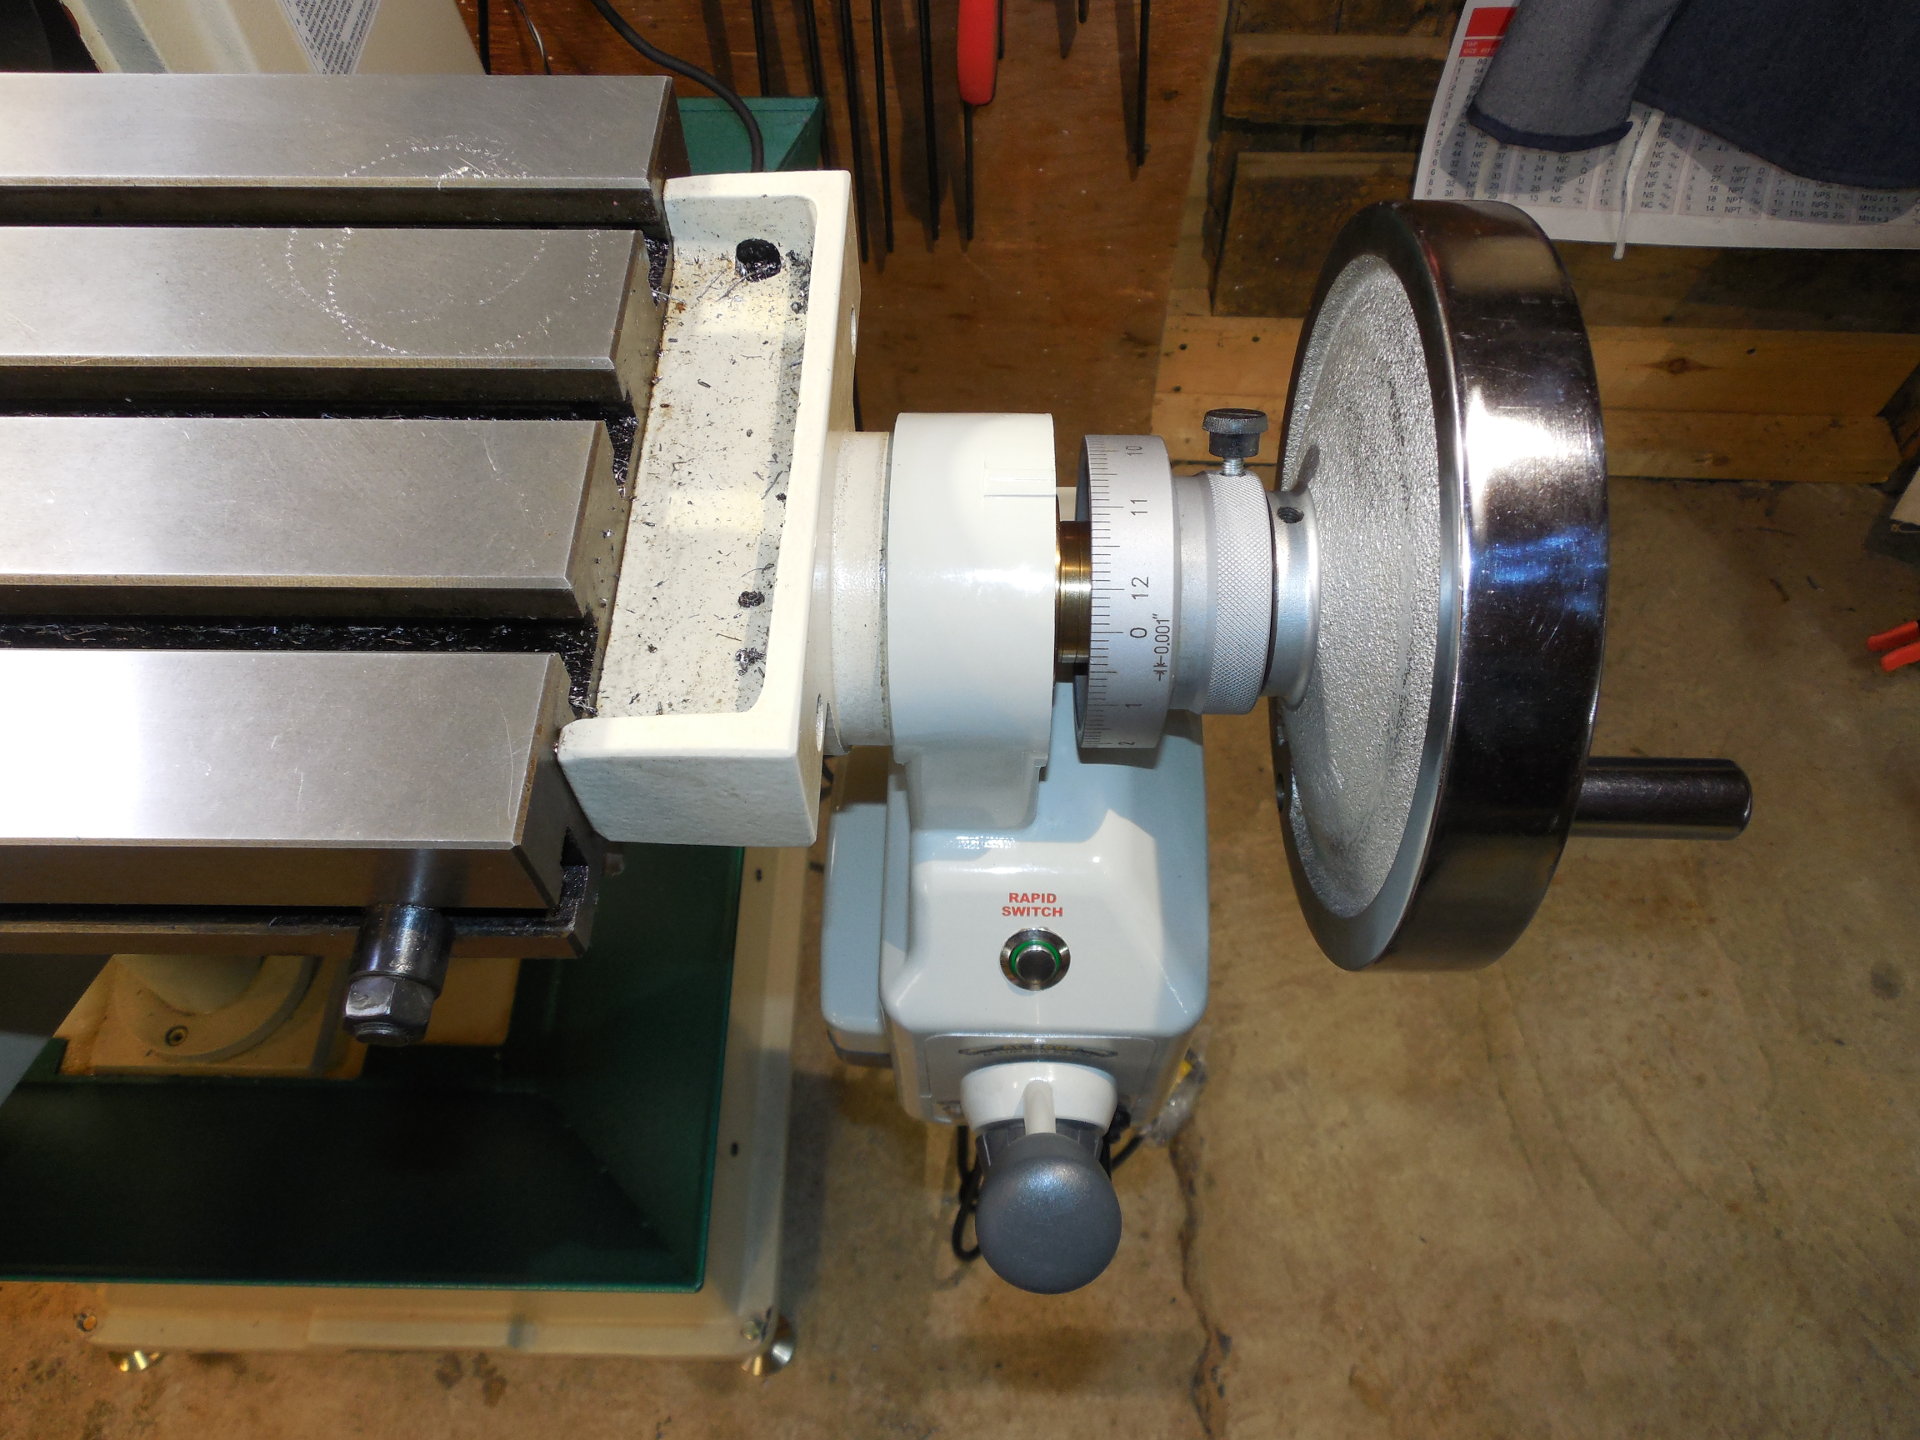
And here it is finished! NOT. Dang it. The power feed is where it needs to be at the left and so is the hand wheel on the right. You can't slide the wheel in any more as there's only so much thread at the end of the shaft for the nut and of course you also have the hand wheel key. The dial rests on the wheel so that can't move to the left either.
This one had me stumped for a bit, but I figured it out. The kit gives you a knurled steel collar that threads onto the brass bevel gear. On many installs the dials goes on and then the threaded collar. That's not going to work here but the collar is useful to fit inside the dial as a rest. Luckily it's diameter is a more than needed.
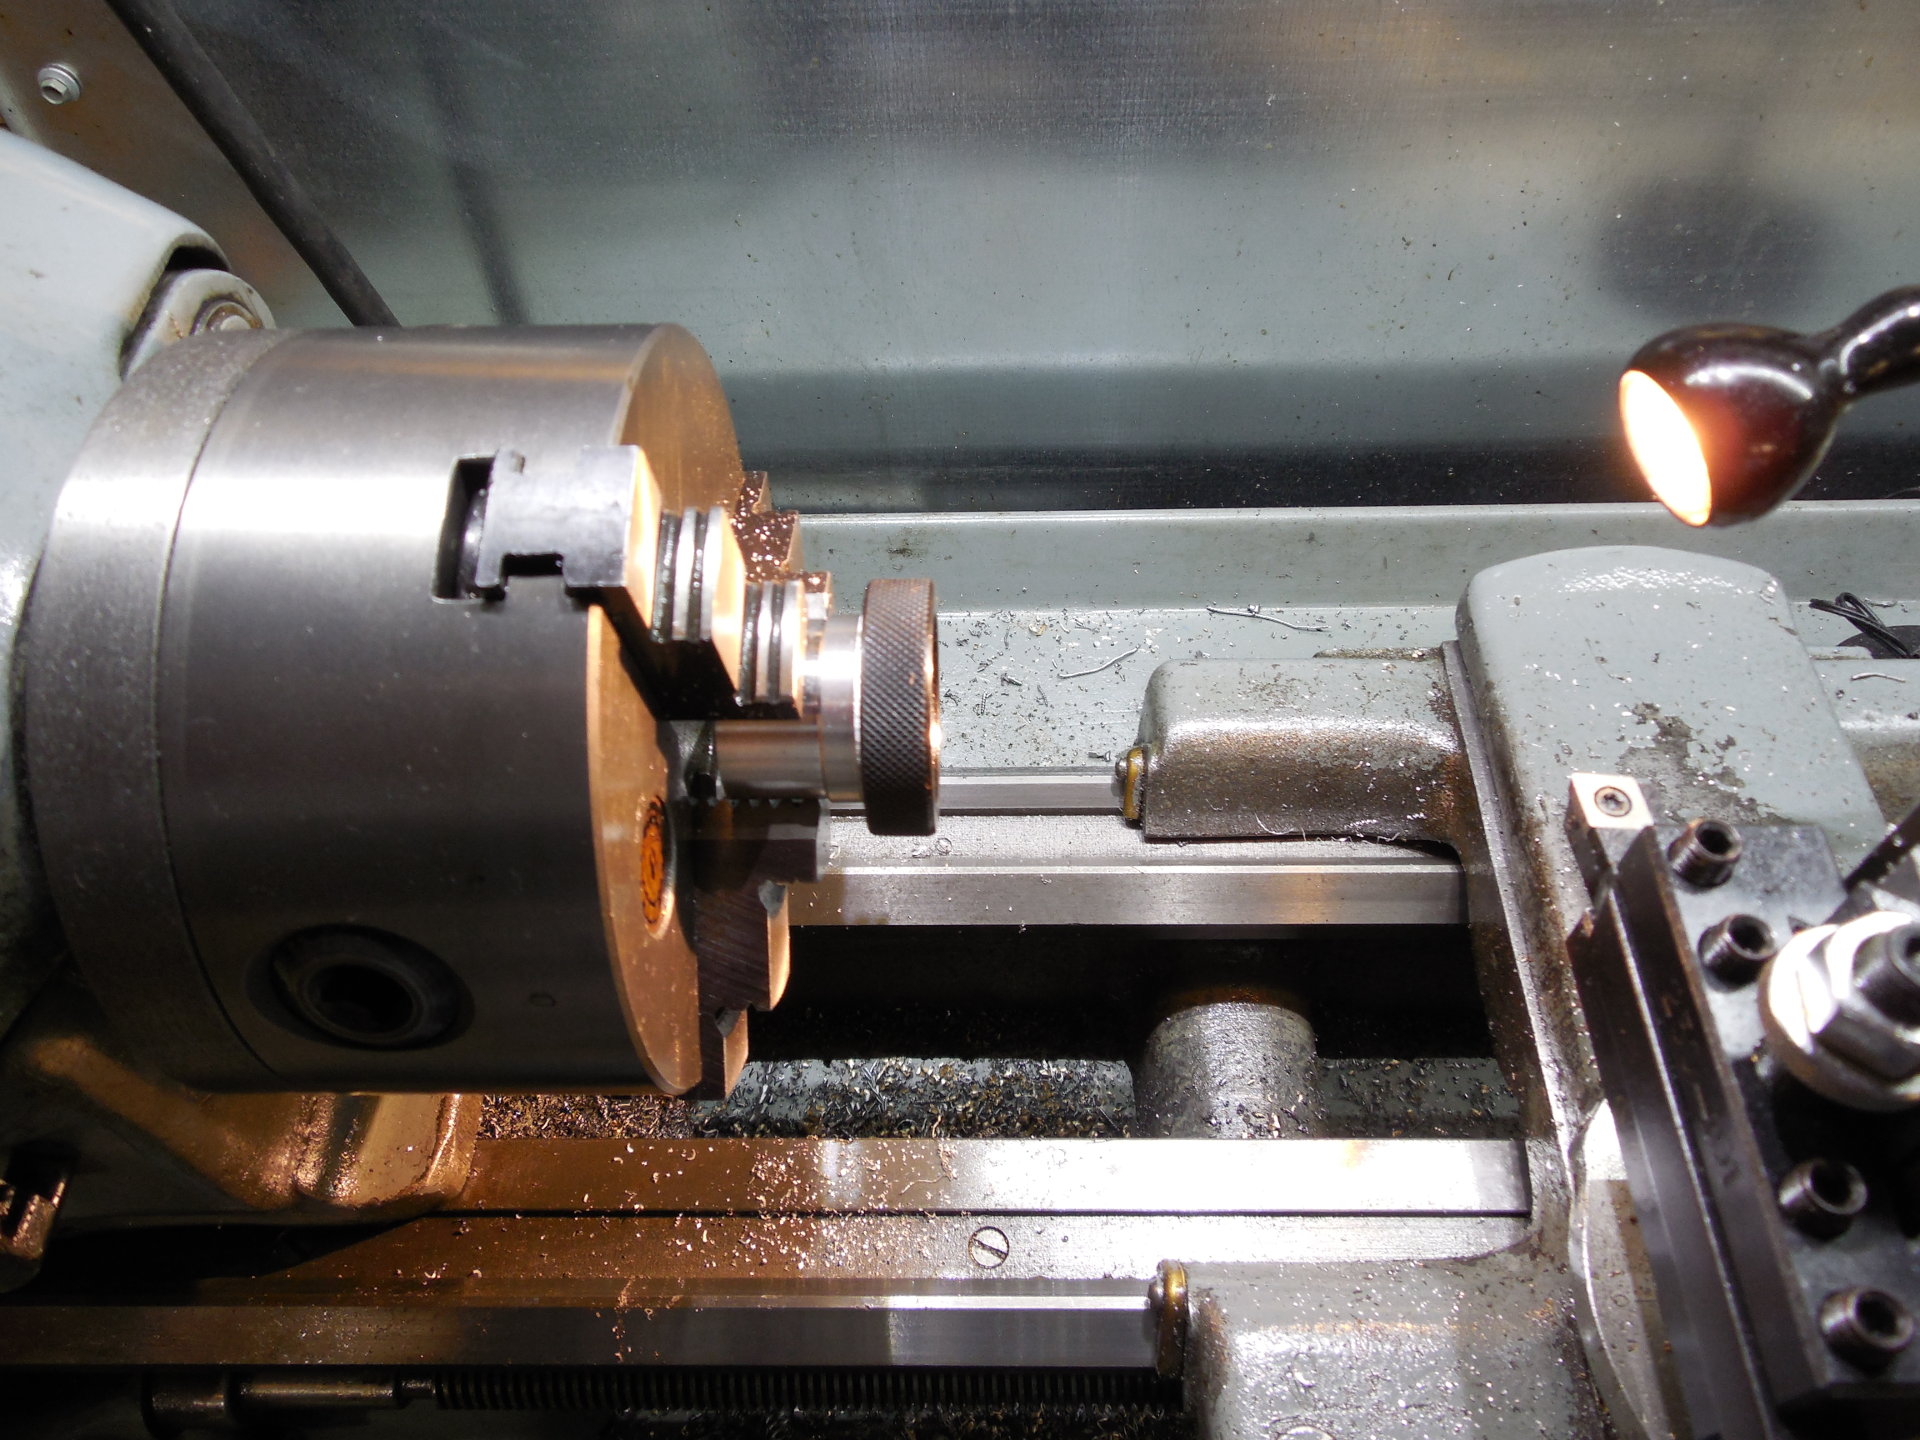
I didn't feel like threading an arbor for this, so I just turned down an aluminium round and pressed the collar onto it, threads and all. It actually worked well, when I was done I pressed it off and cleaned out the collar's threads with a wire brush. No harm, no foul.
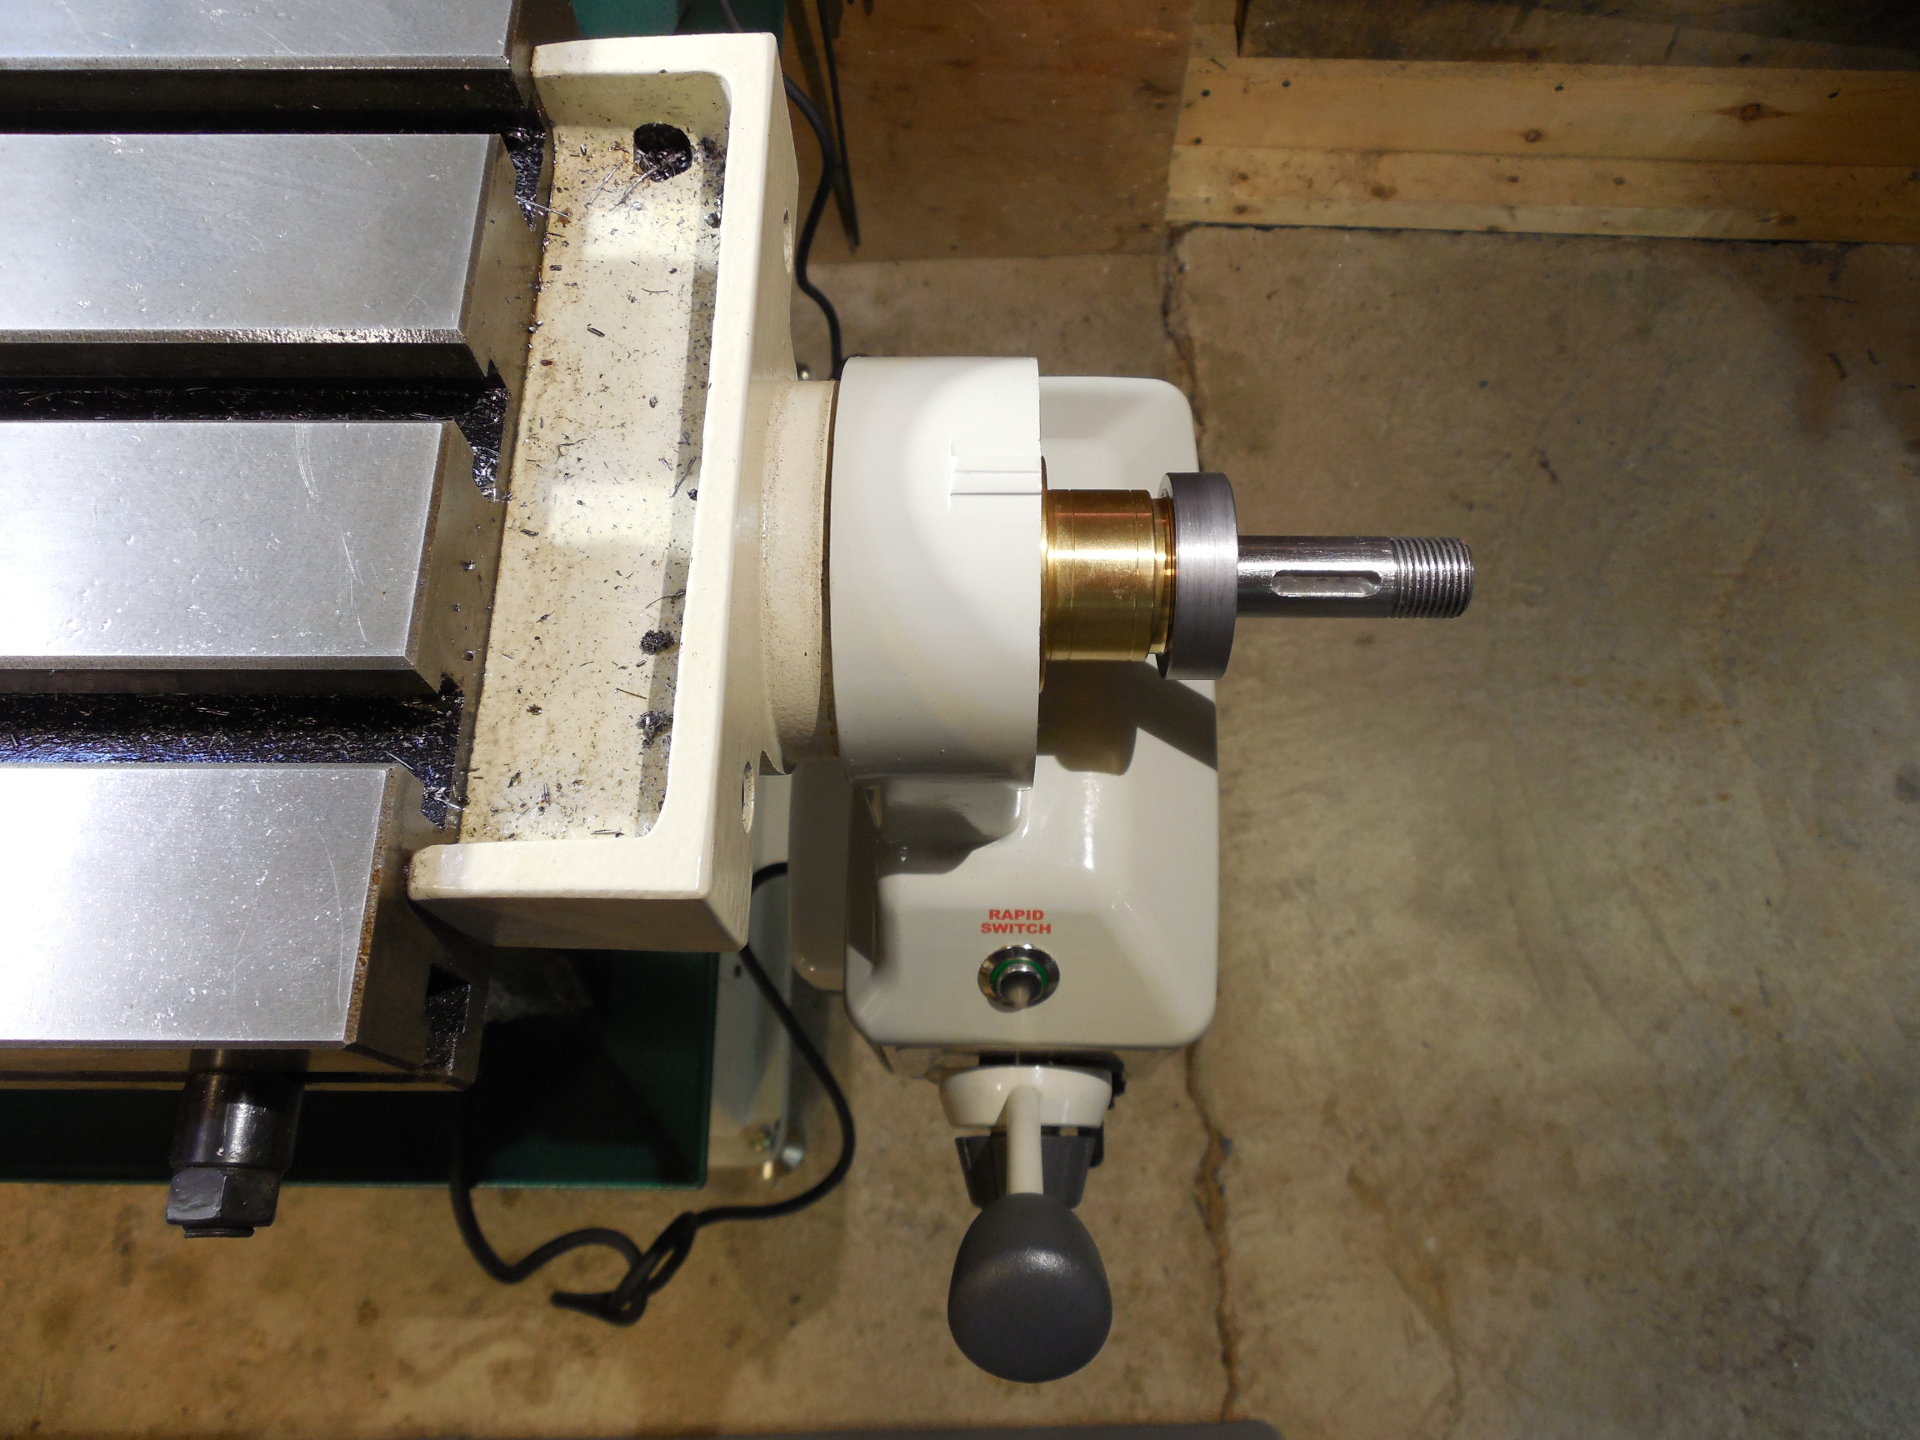
And here's the collar threaded onto the brass bevel gear. It was set into place with the hobby machinist's friend, red loctite.
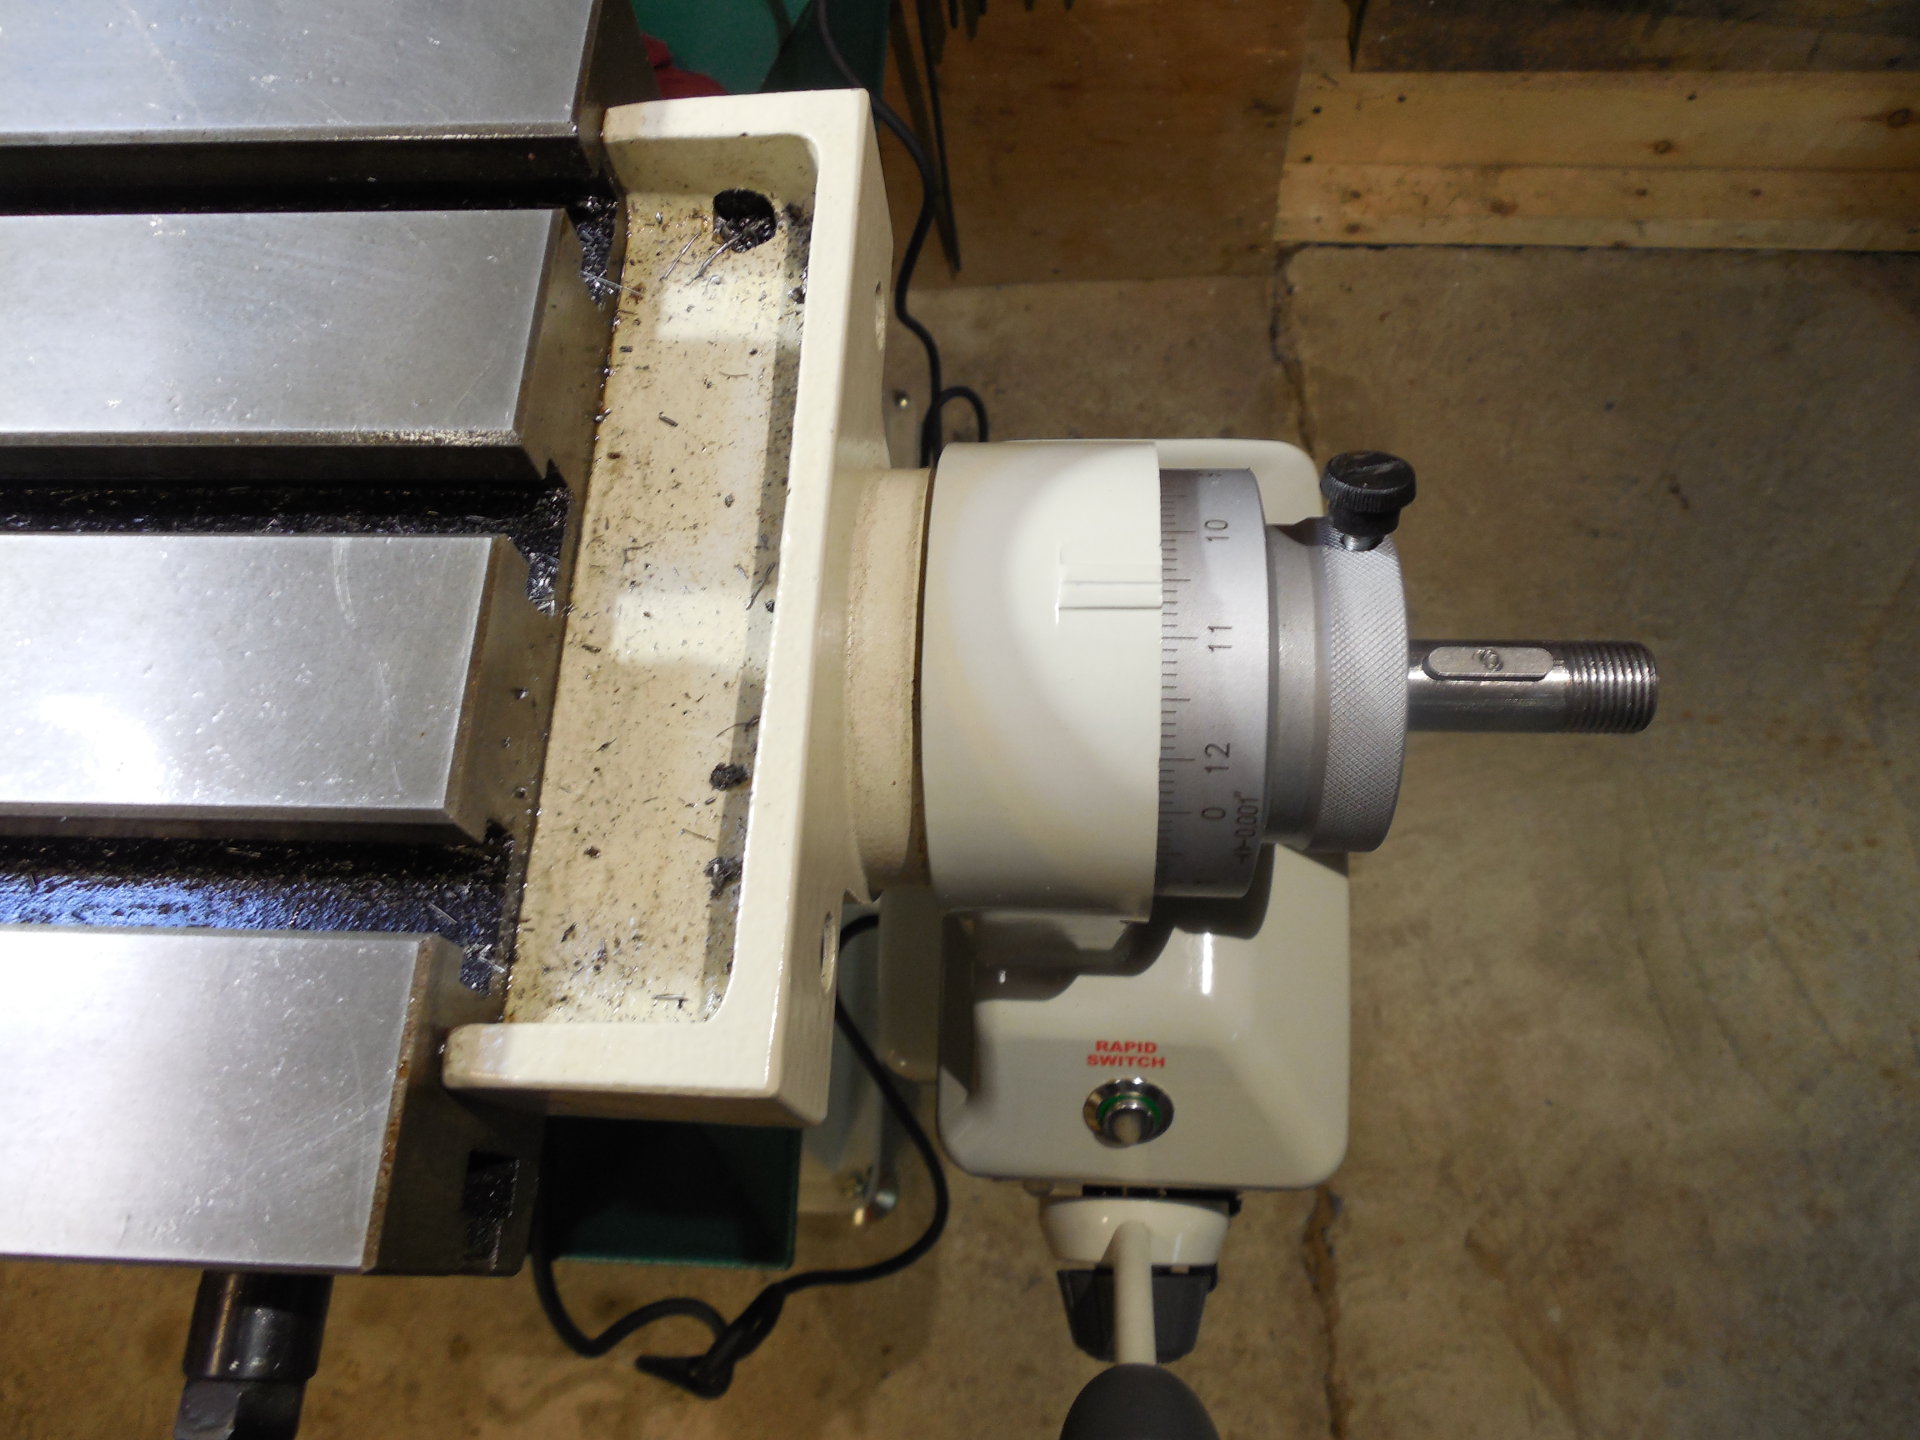
And then the dial goes on next
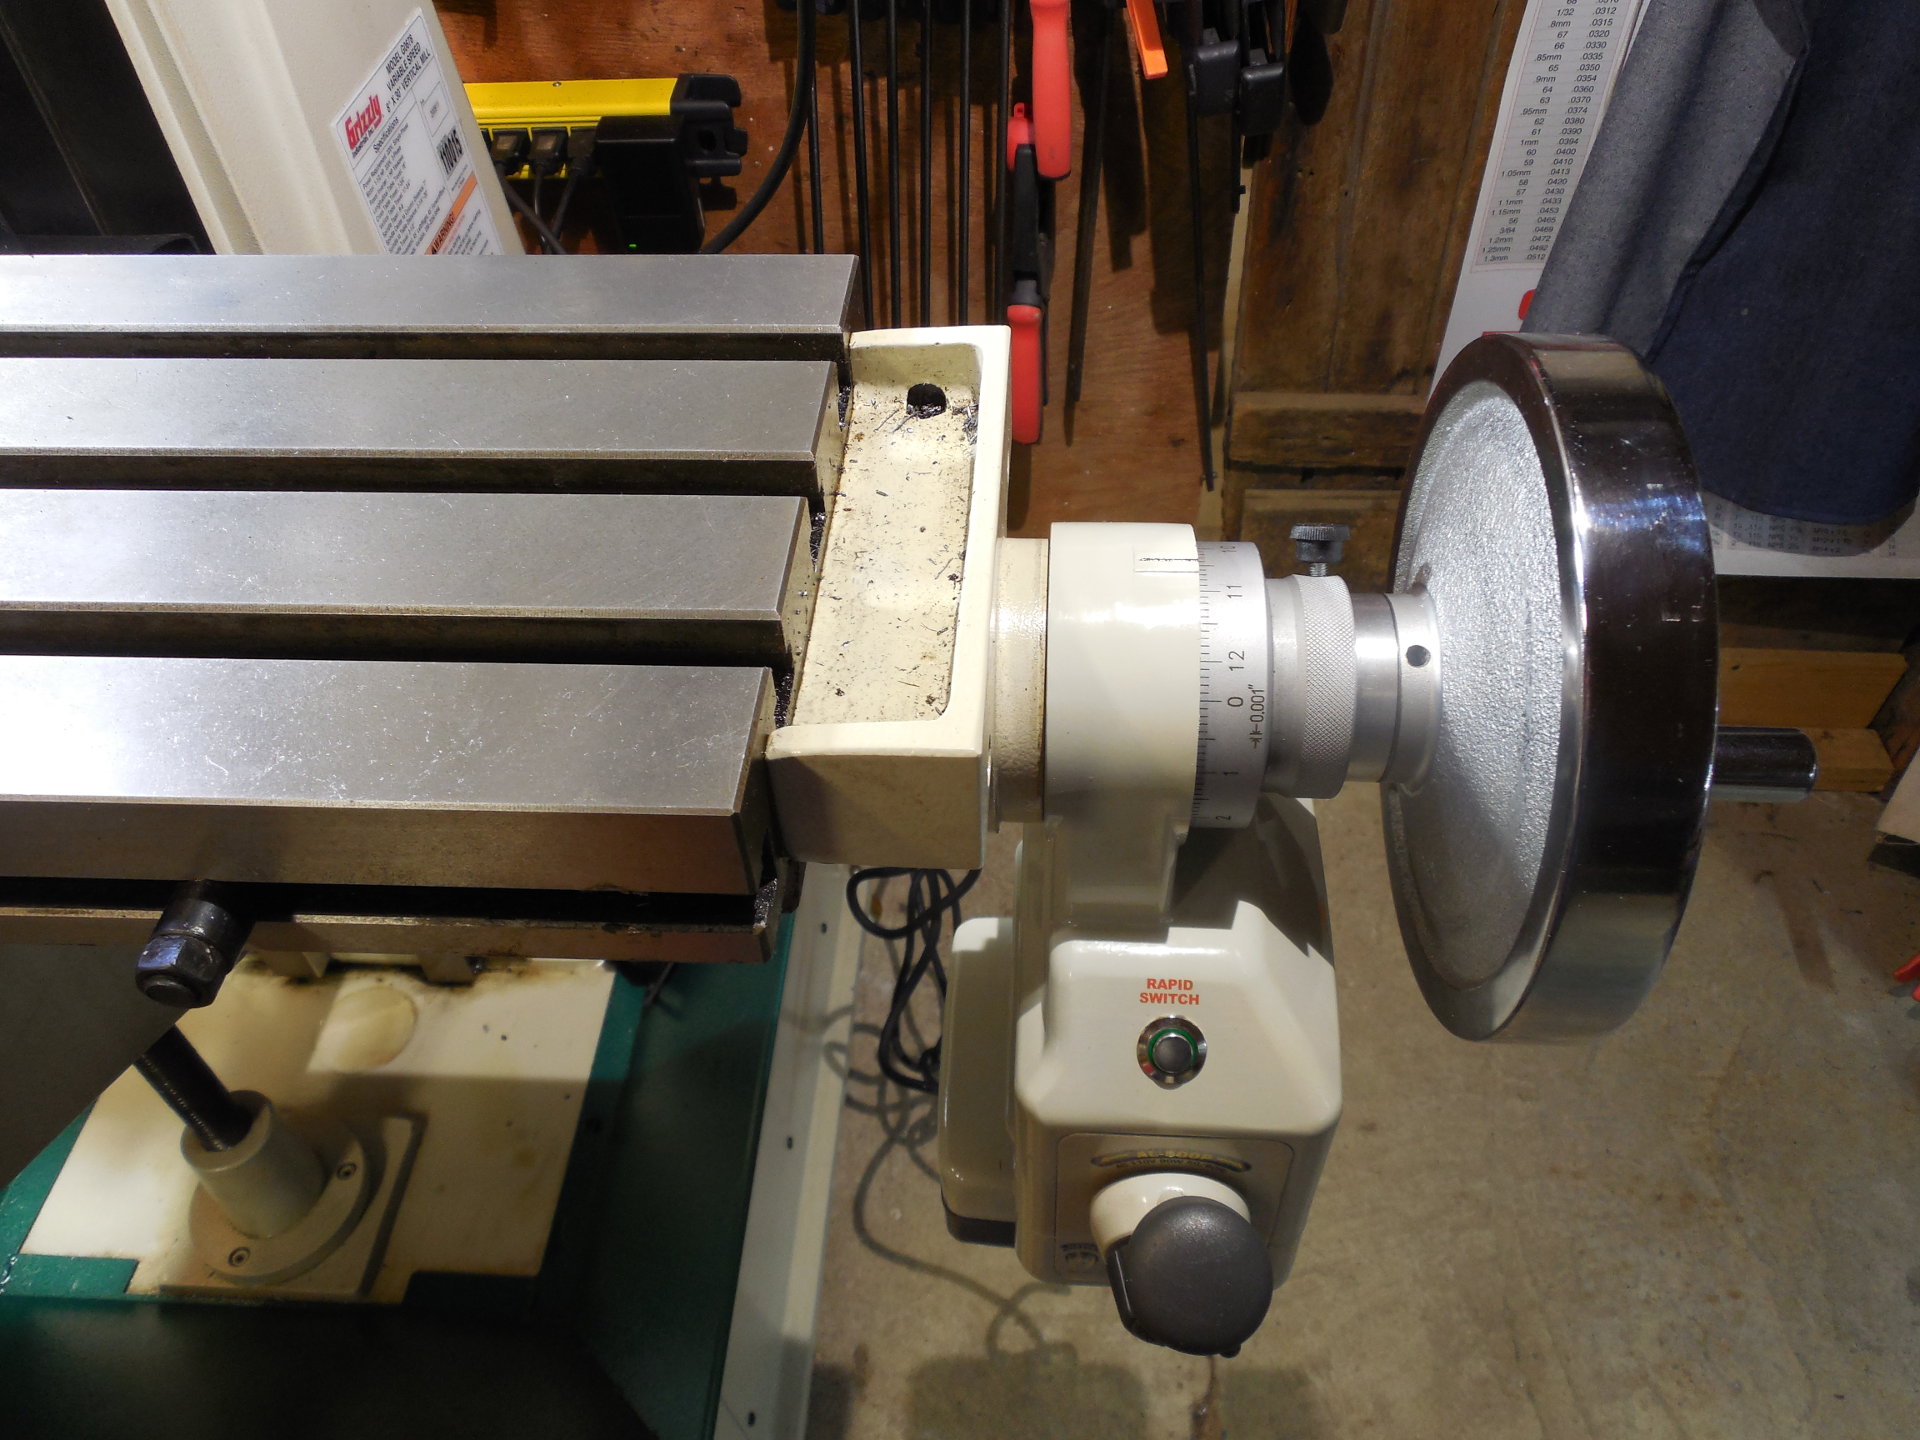
And then the hand wheel. I turned a spacer out of aluminium that was inserted onto the hand wheel where the dial used to be. It keeps the dial from wandering left and right as well as looking better.
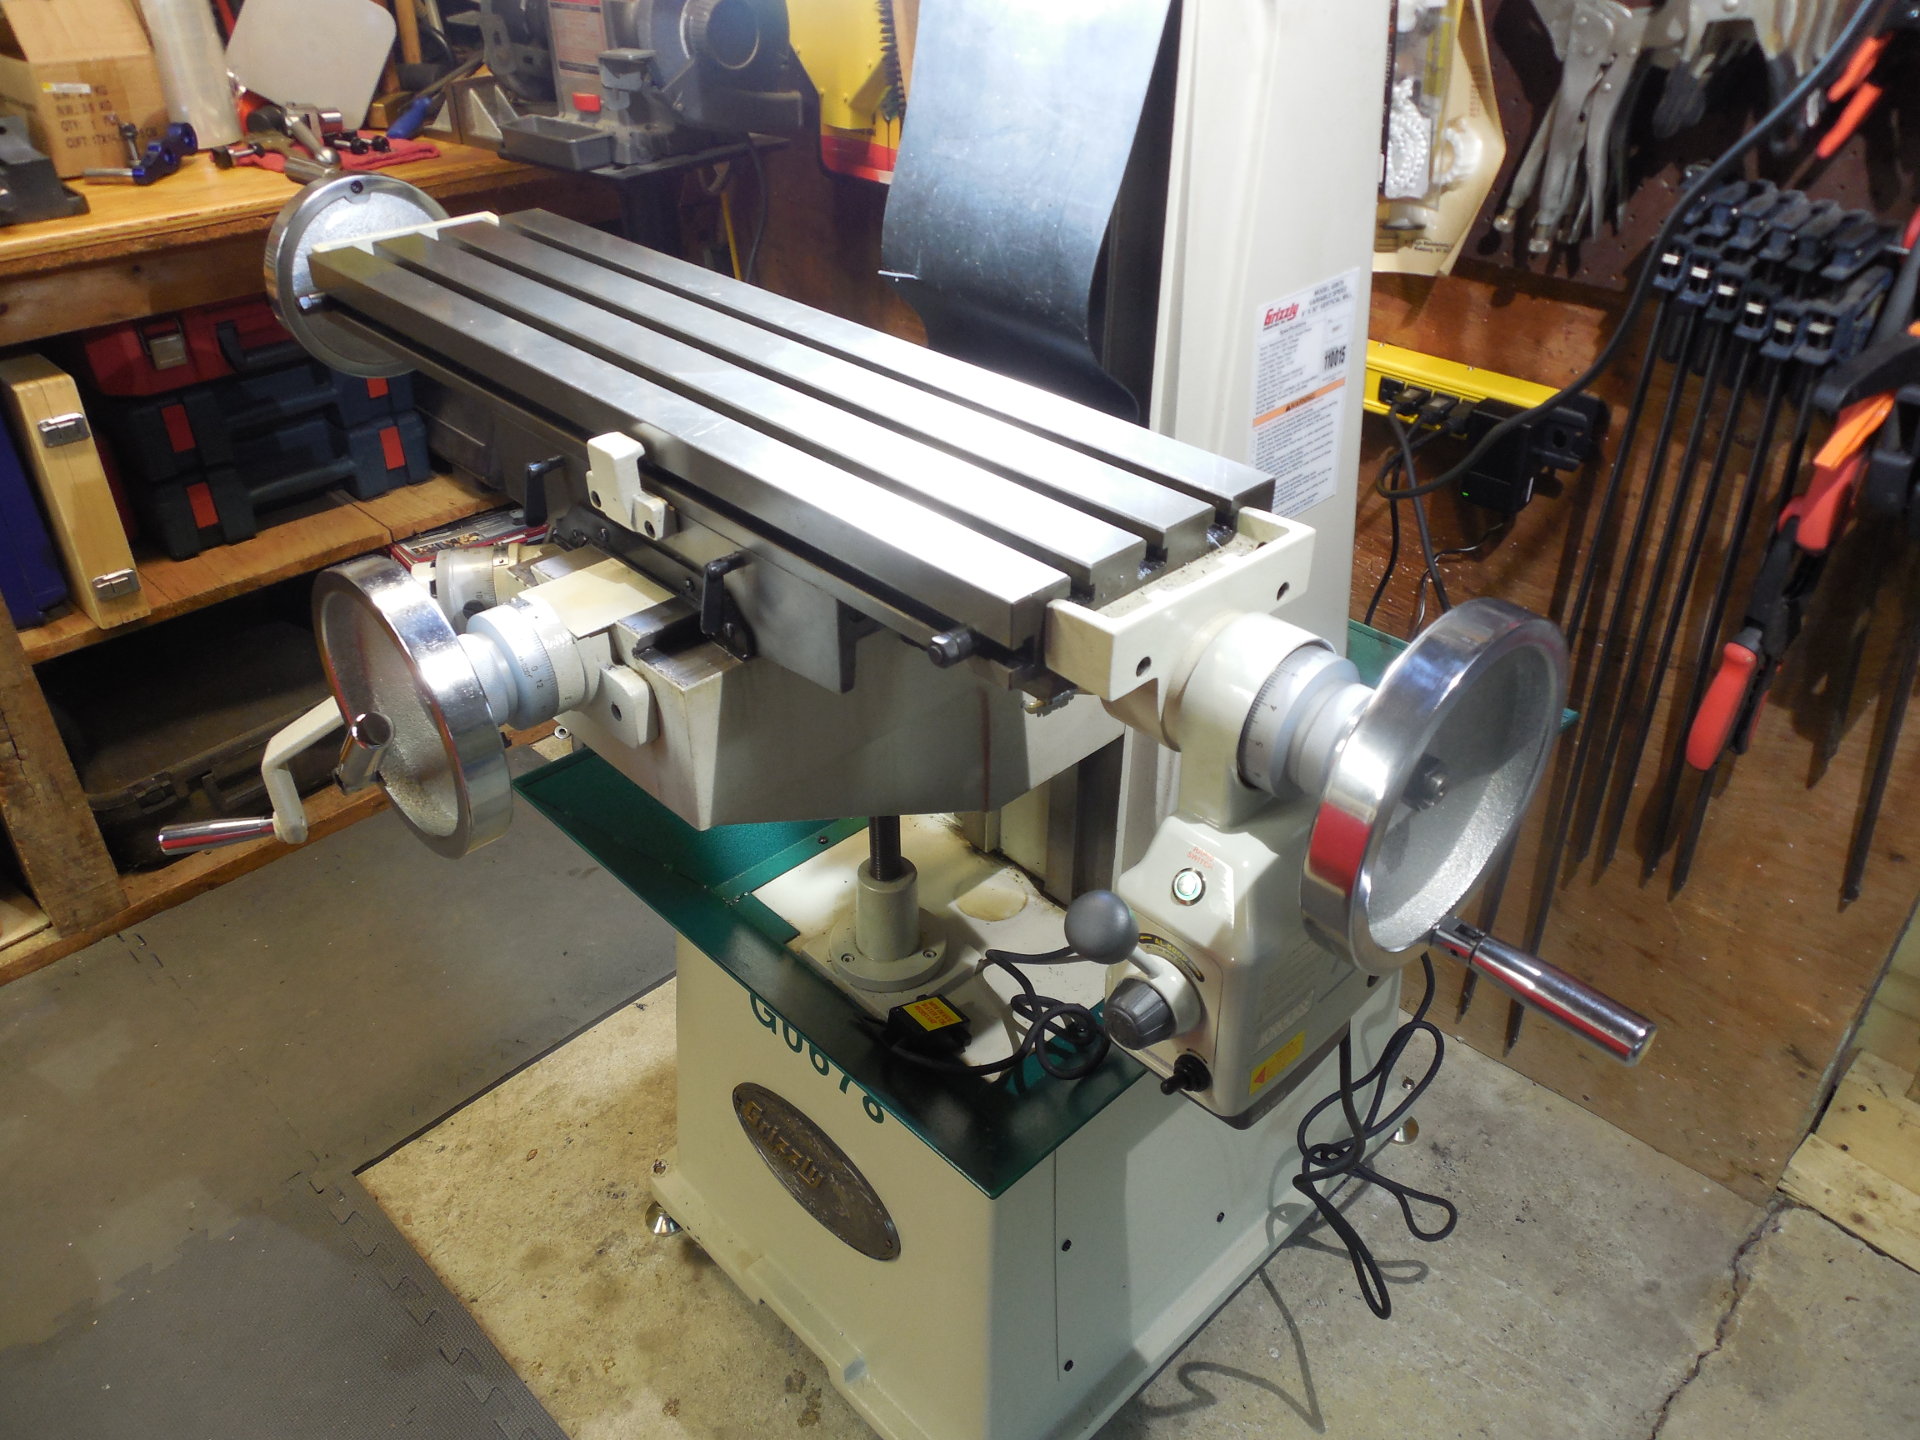
After removing the center limit block from the table, I took the factory switch plate and made it flat, cut some of the top off and then drilled and tapped new holes for the switch box.
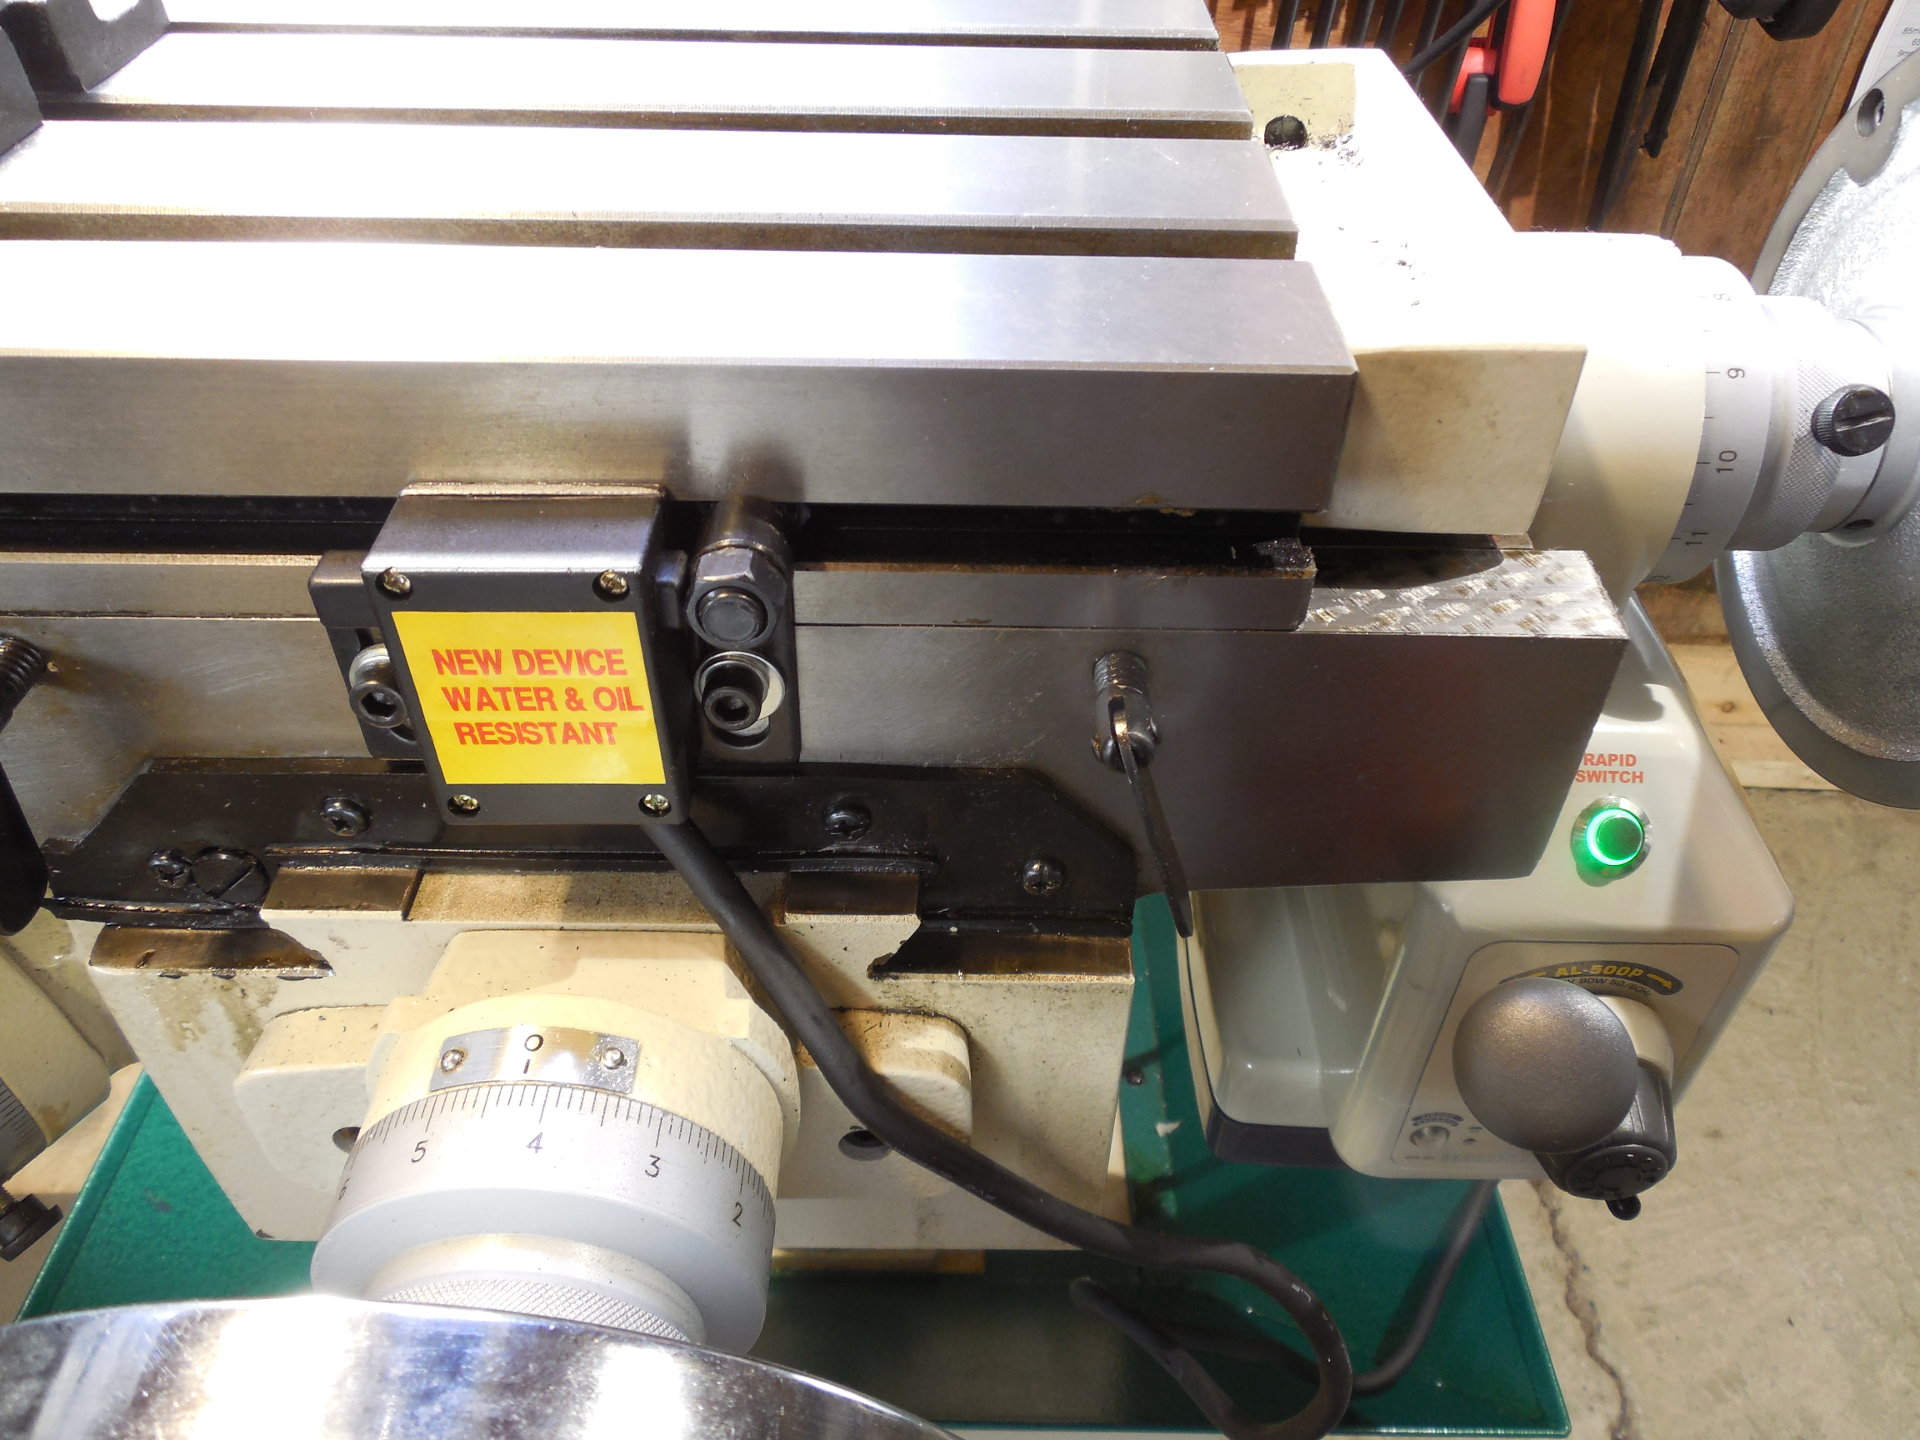
The feed kit has spring-loaded stops to protect the switch box from over-travel but they are large and unnecessary with this small mill. In the picture I ran the table into the limit switch at full balls-out speed and there is still travel in the switch. Also, the table has overtravel stops that work against the knee so if you set the adjustable limit stops correctly, when the switch bottoms-out the table overtravel stop will help save the switch box.
Actually got to make some chips with the mill today and I really enjoyed having the power feed. It's a labor saver and a really nice upgrade.