Bought a Jensen 20G a few years ago on the well known auction site. While it's a little rough around the edges, it's fundamentally very sound and has the capability of being a very nice model steam engine with a cast iron base generator. The cast iron based generators have been out-of-production for quite a few years now and are very desirable. While I'm not exactly sure, I would say this engine was probably made sometime in the seventies.
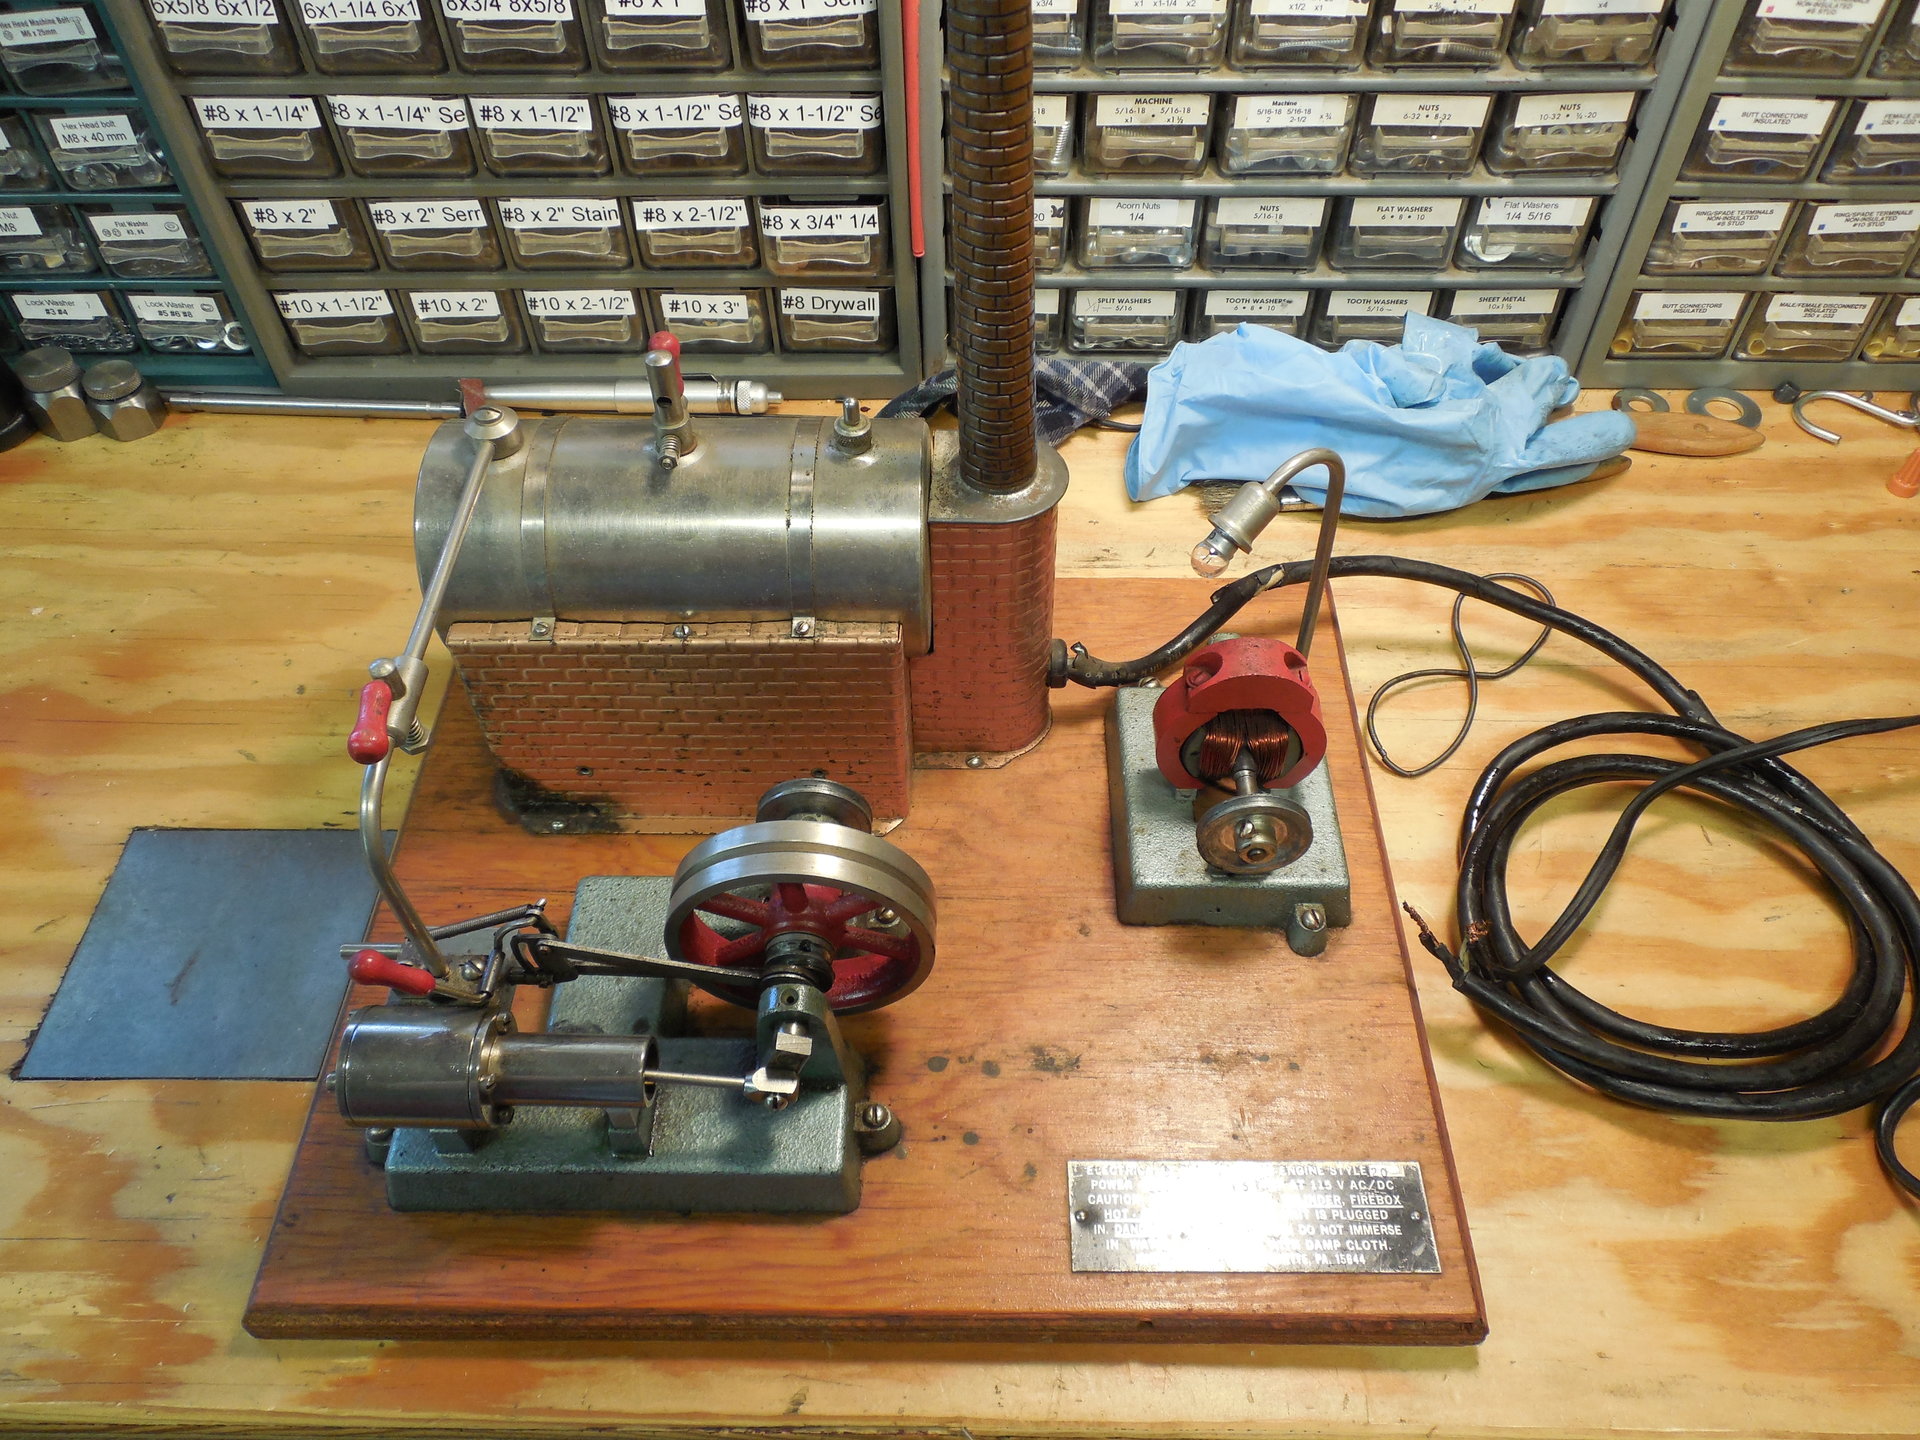
This is the 20G as received. Upon opening the package I was greeted with the distinct smell of 3-in-1 oil which used liberally throughout the model. The power cord was cut and taped back together. The engine is in a generally filthy state. Much of the markings are worn off the tag and at some point it gained a Wilesco chimney.
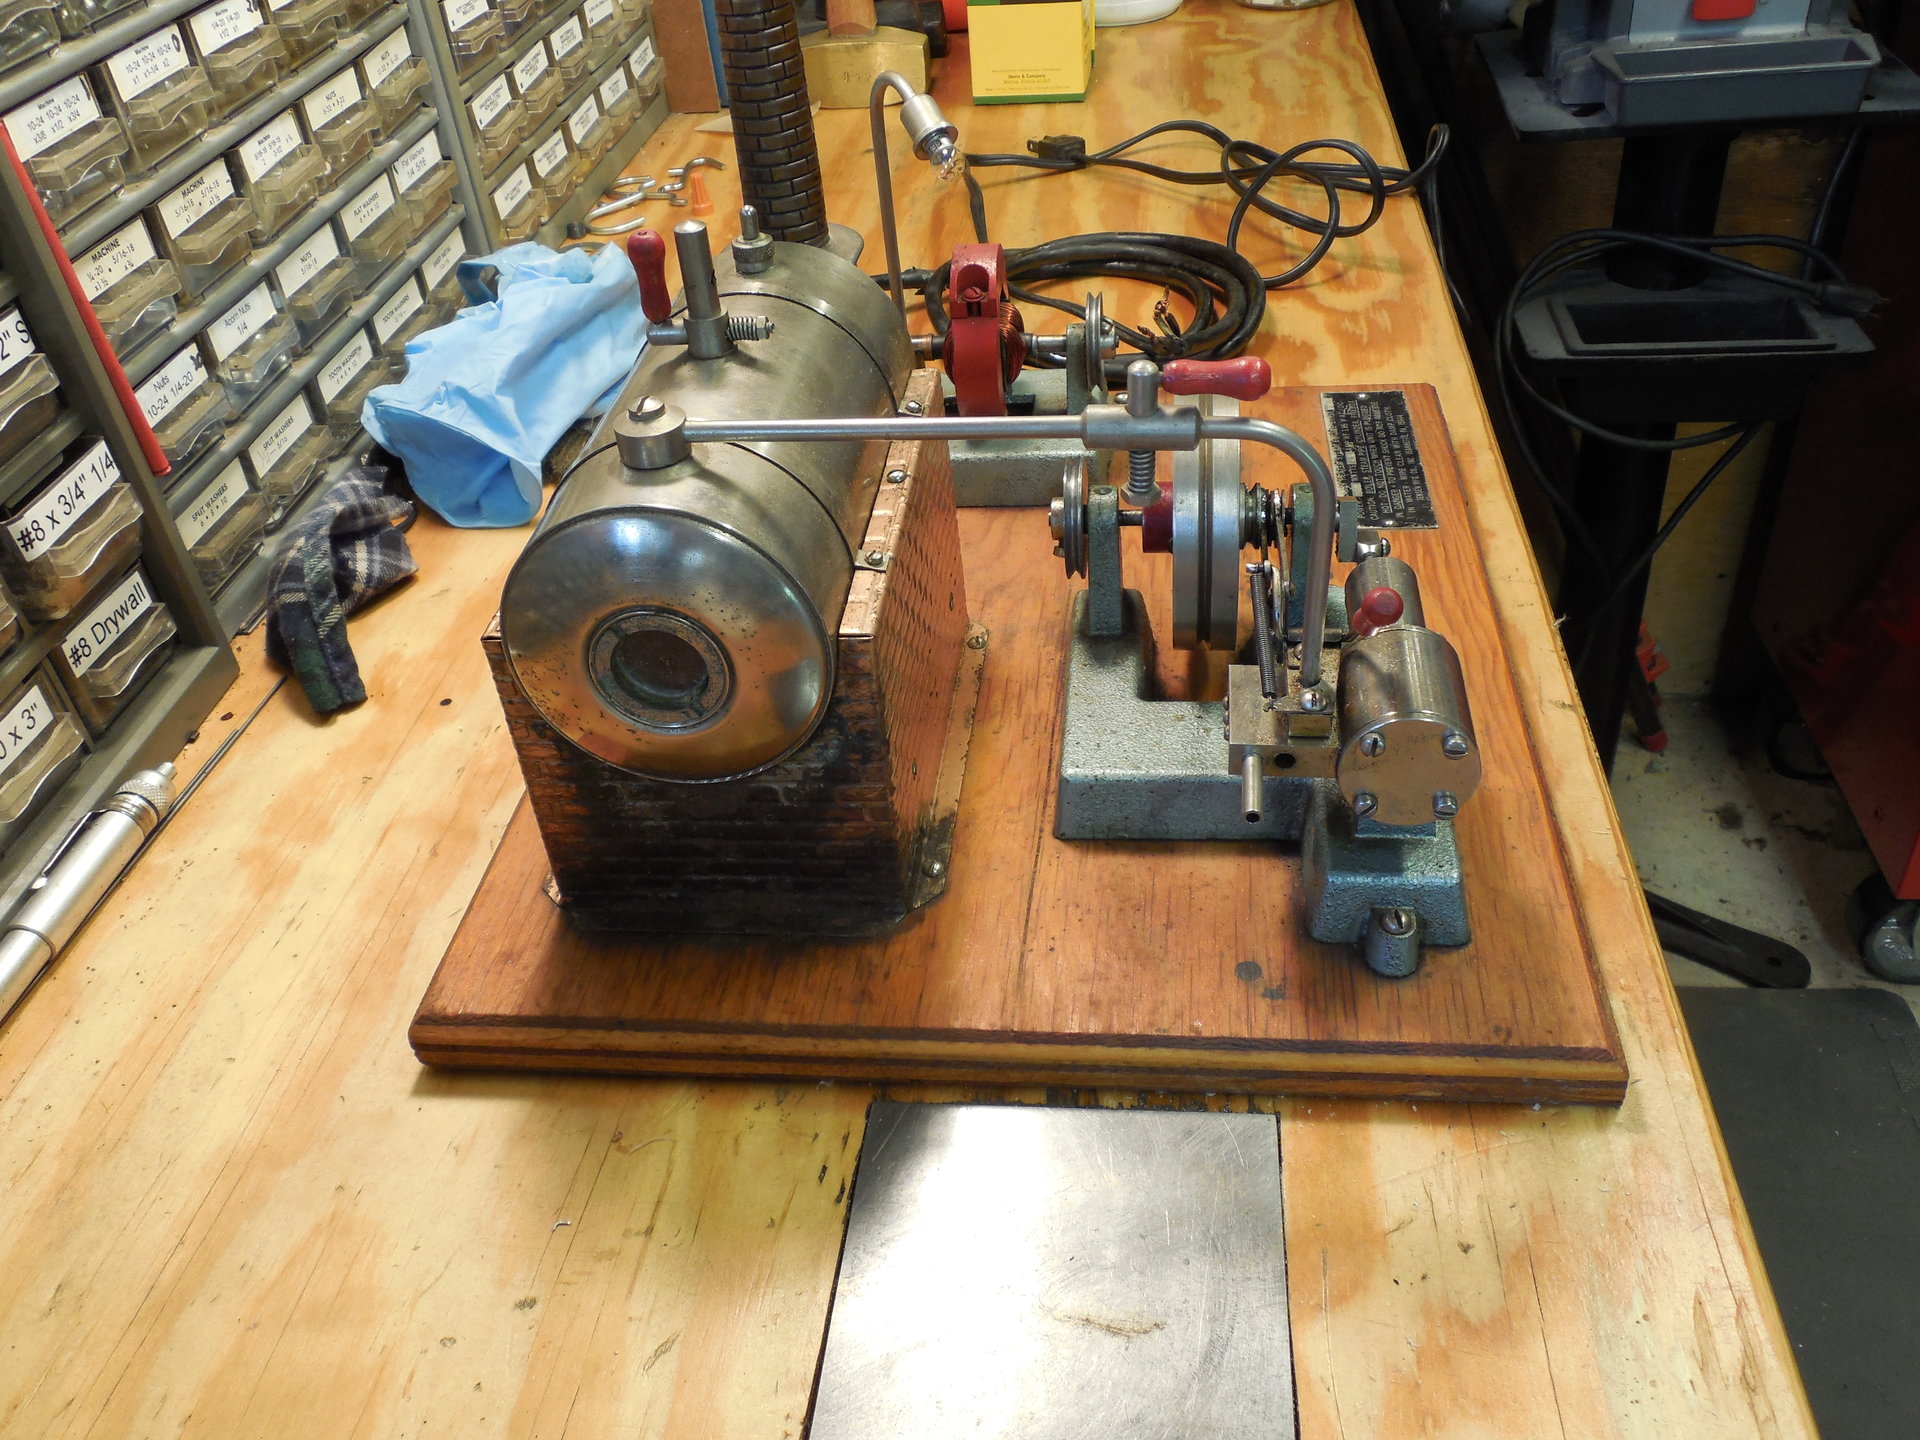
The boiler has plenty of buildup from running hard water and the firebox has much discoloration from a leaking sight glass. Oddly enough, the generator isn't in the correct location. Since the 20 runs slower than other Jensen engines, the generator should be running off the flywheel for a greater gearing advantage.
Overall, I was pretty pleased with my purchase. The boiler, while a bit dull, is actually in great shape with no dents or heavy scratches. I chanced death by plugging in the boiler heater for a few seconds and verified it was still good. The 3-in-1 oil kept much of the rust at bay. All the damage is superficial and I don't expect many problems bringing this 20G back to looking and running great.
When you are restoring a Jensen steam engines, there are two websites you need to check out.
http://www.jensensteamengines.com/
Amazingly, Jensen is still in business and producing their steam engines in Jeannette, PA. They stock and sell a lot of parts, even for engines that are out of production.
Rog's website "The Temple of Steam" and especially the Restorer's Toolbox section provide an absolutely vital treasure trove of HOWTO's and advice on how to restore these steam engines another other information.
Time to get started.
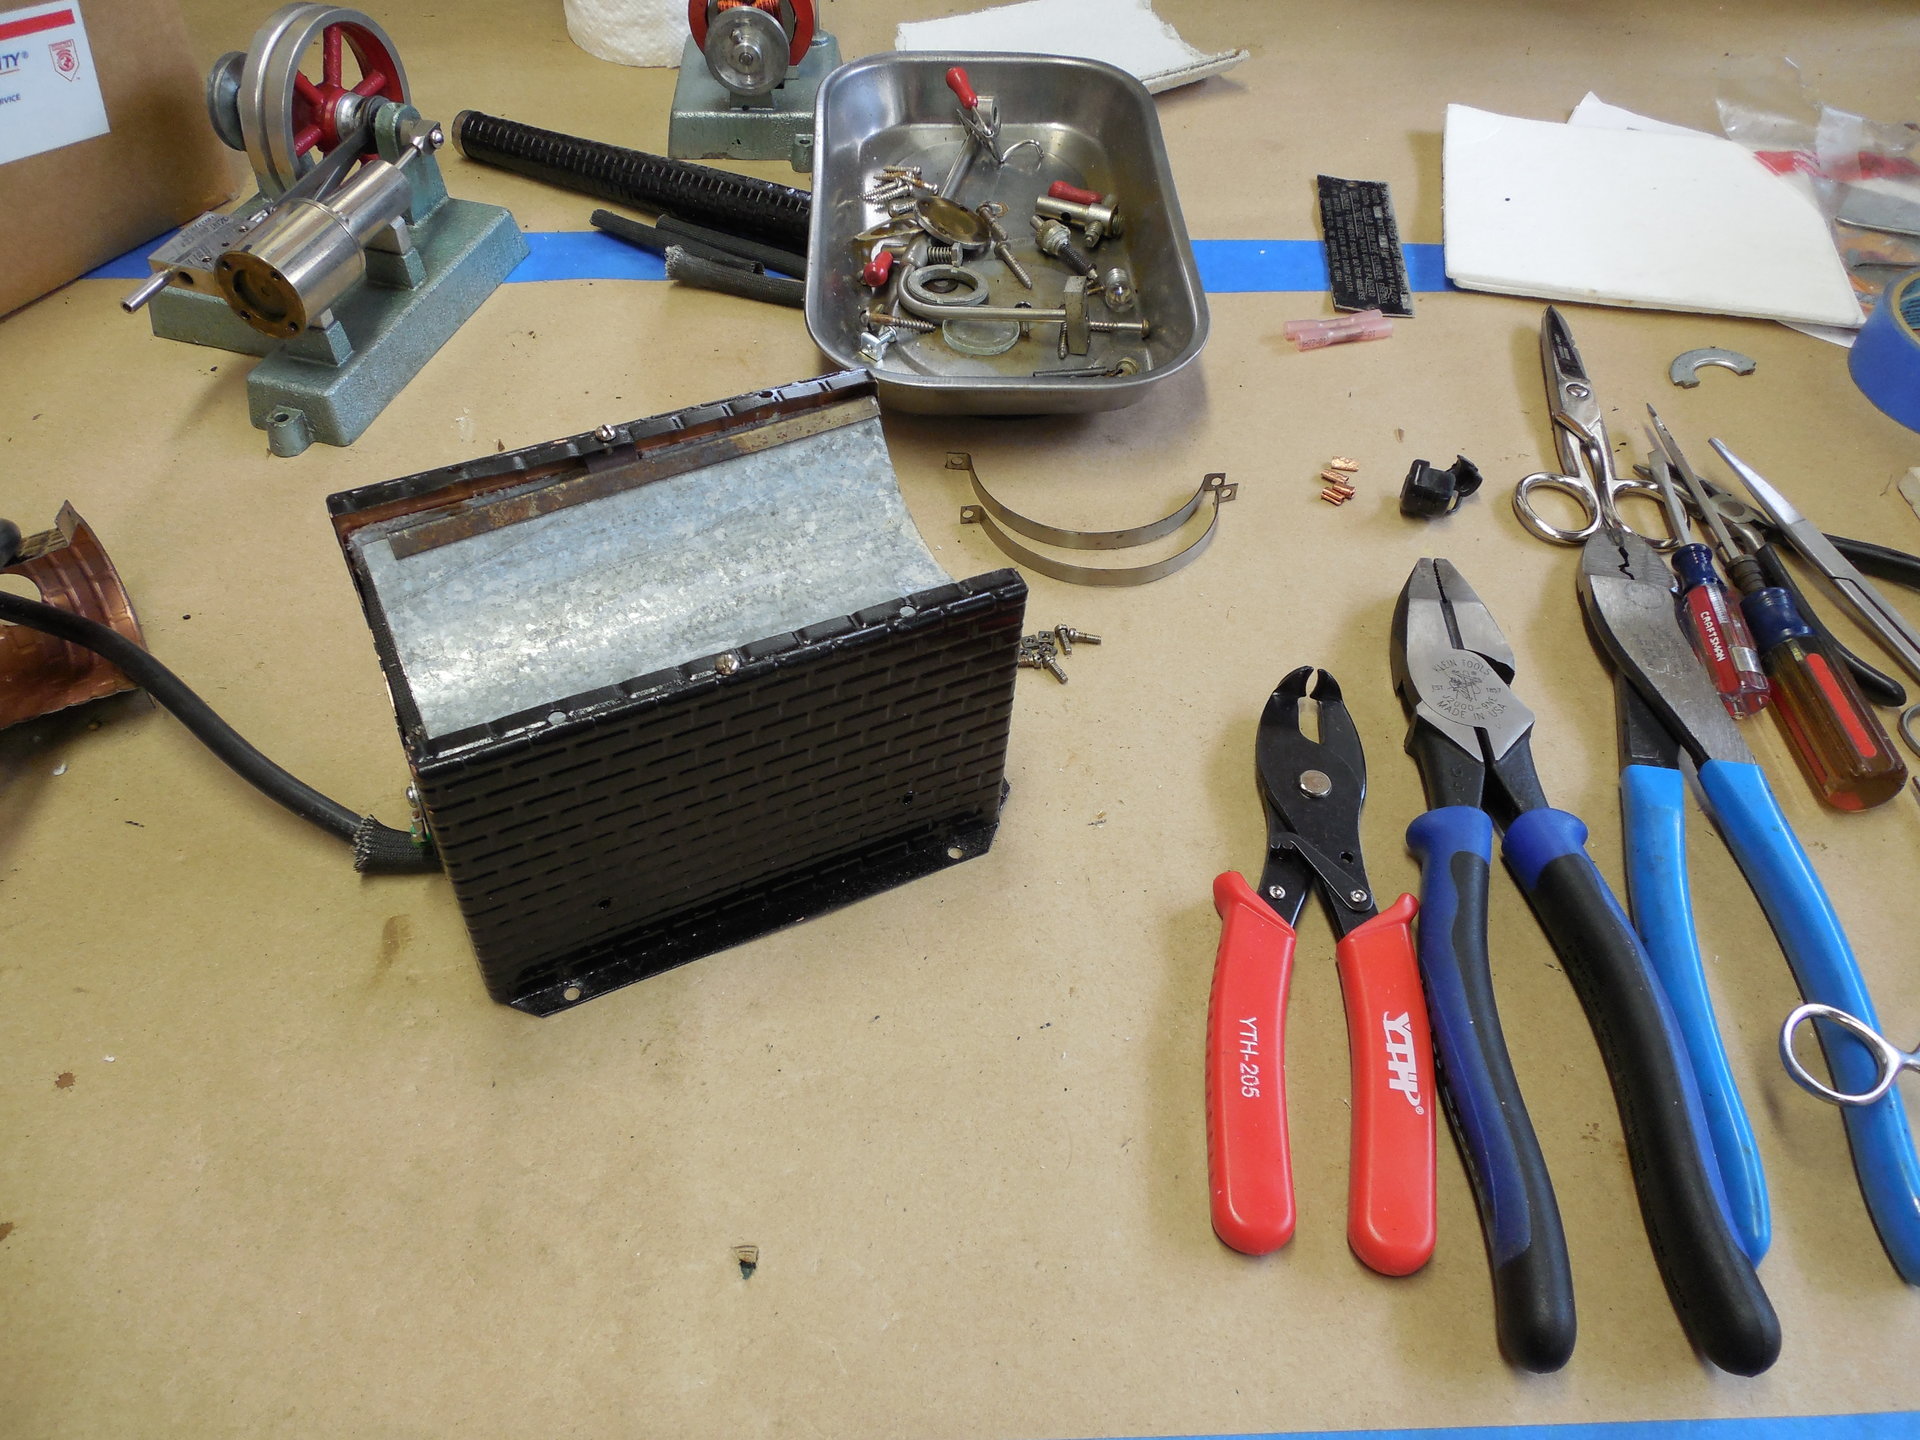
The model was dissembled and cleaned. The distinctive paint on the engine and generator was in great shape and left alone. All the salmon color parts were cleaned and painted gloss black.
Here I'm working on attaching a new cord to the heating element but unfortunately I didn't get a good picture of this. Following the original design, the heating element leads and the cord are crimped together with copper tubes using the pliers on the right.
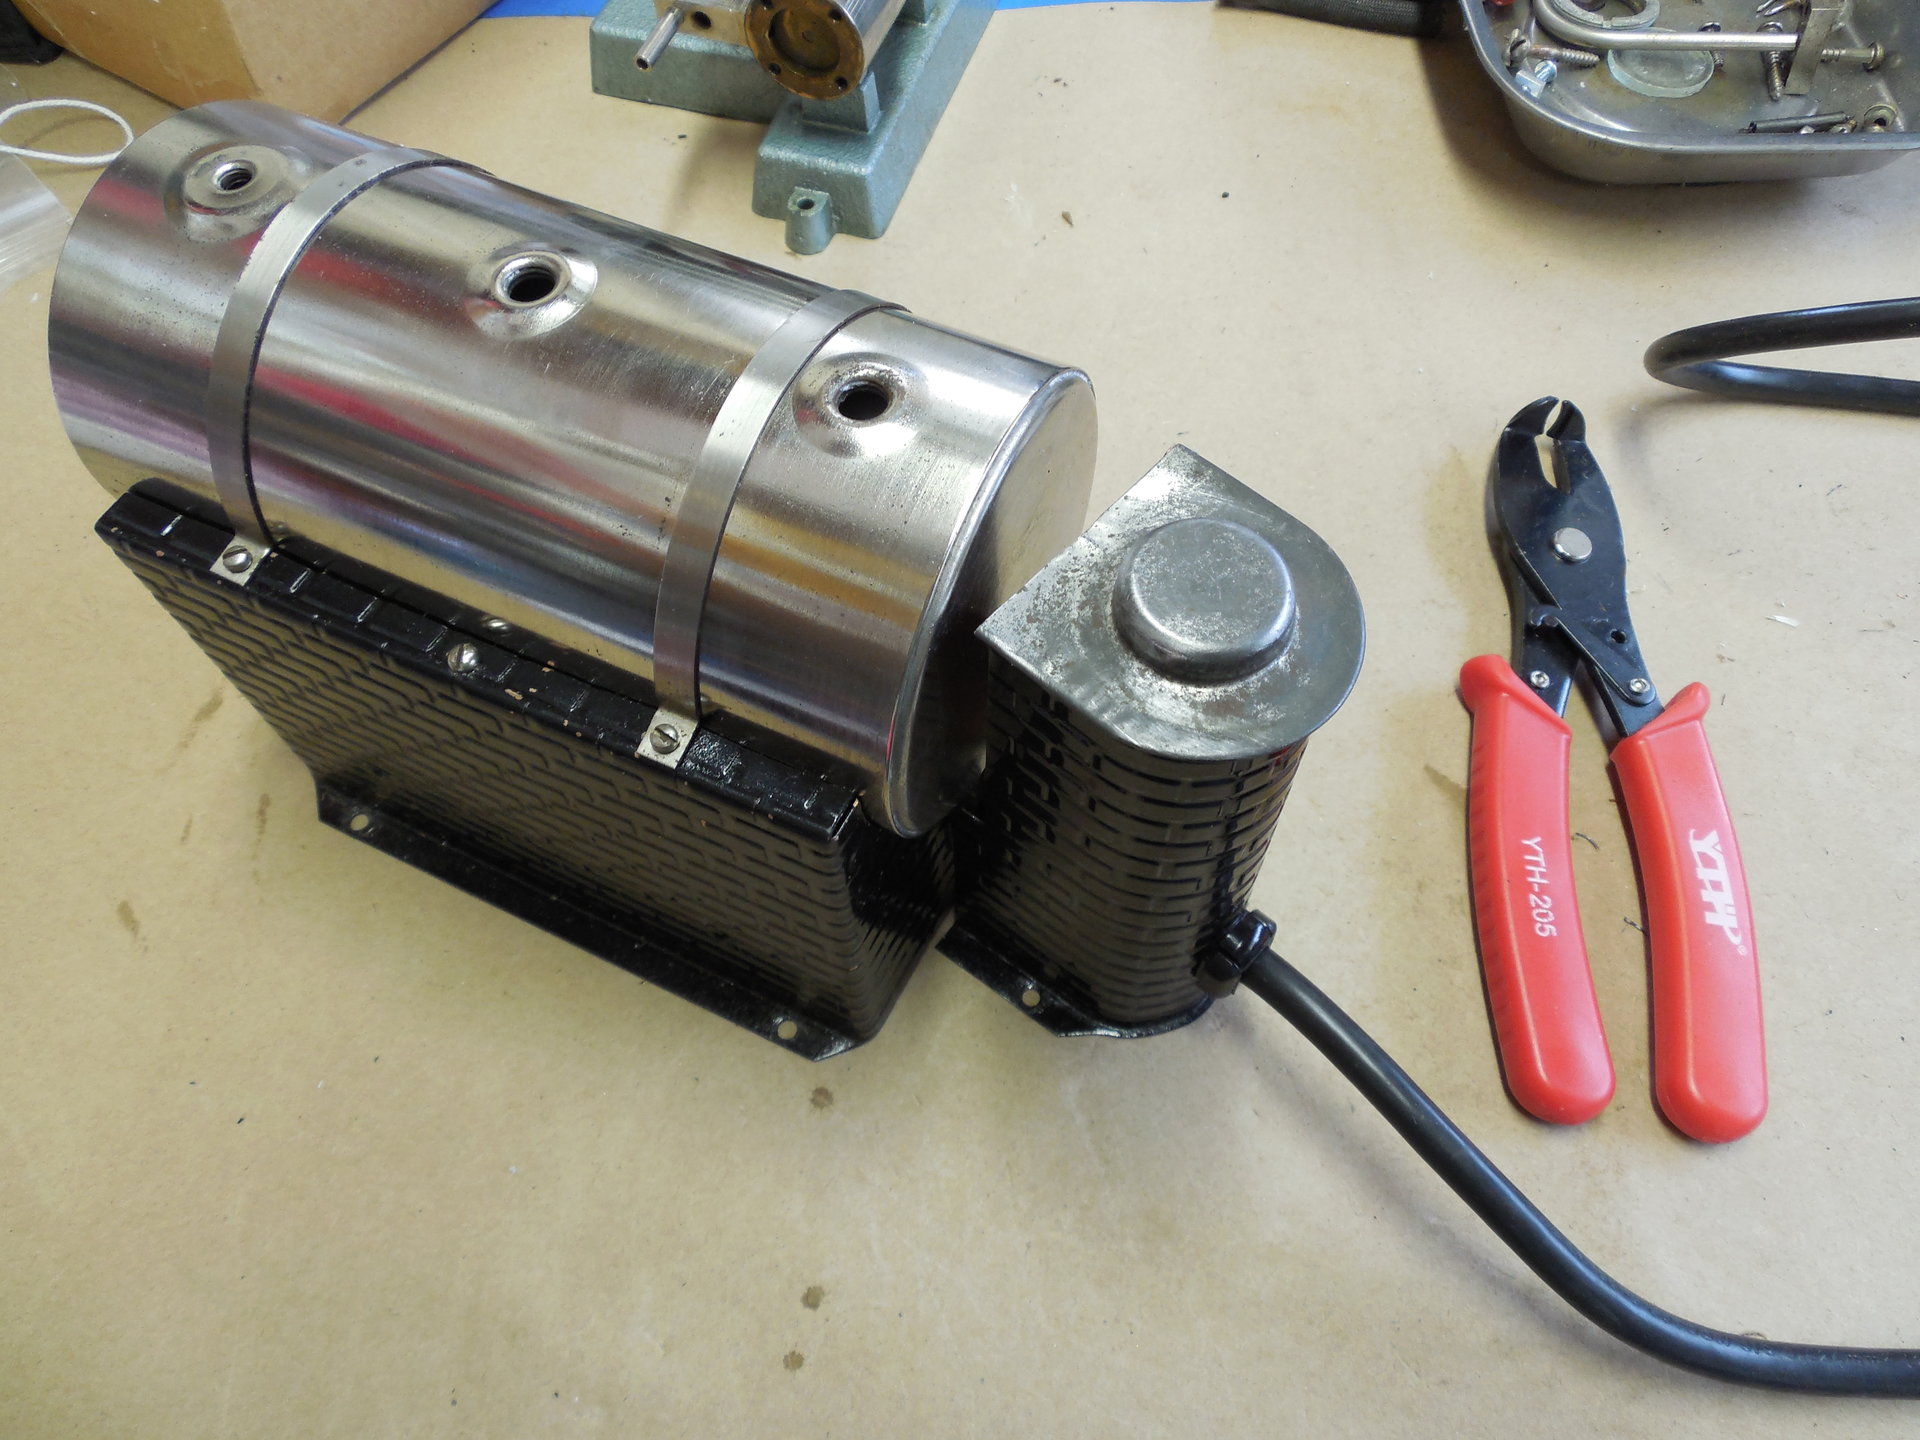
The boiler was cleaned with vinegar to remove the calcium deposits and buffed-up a bit. A gasket kit from Jensen was used and new gaskets were also cut from PTFE gasket material. The pliers shown here are used to install the Hayco cord restraint. You can get import clones on Ebay at a decent price.
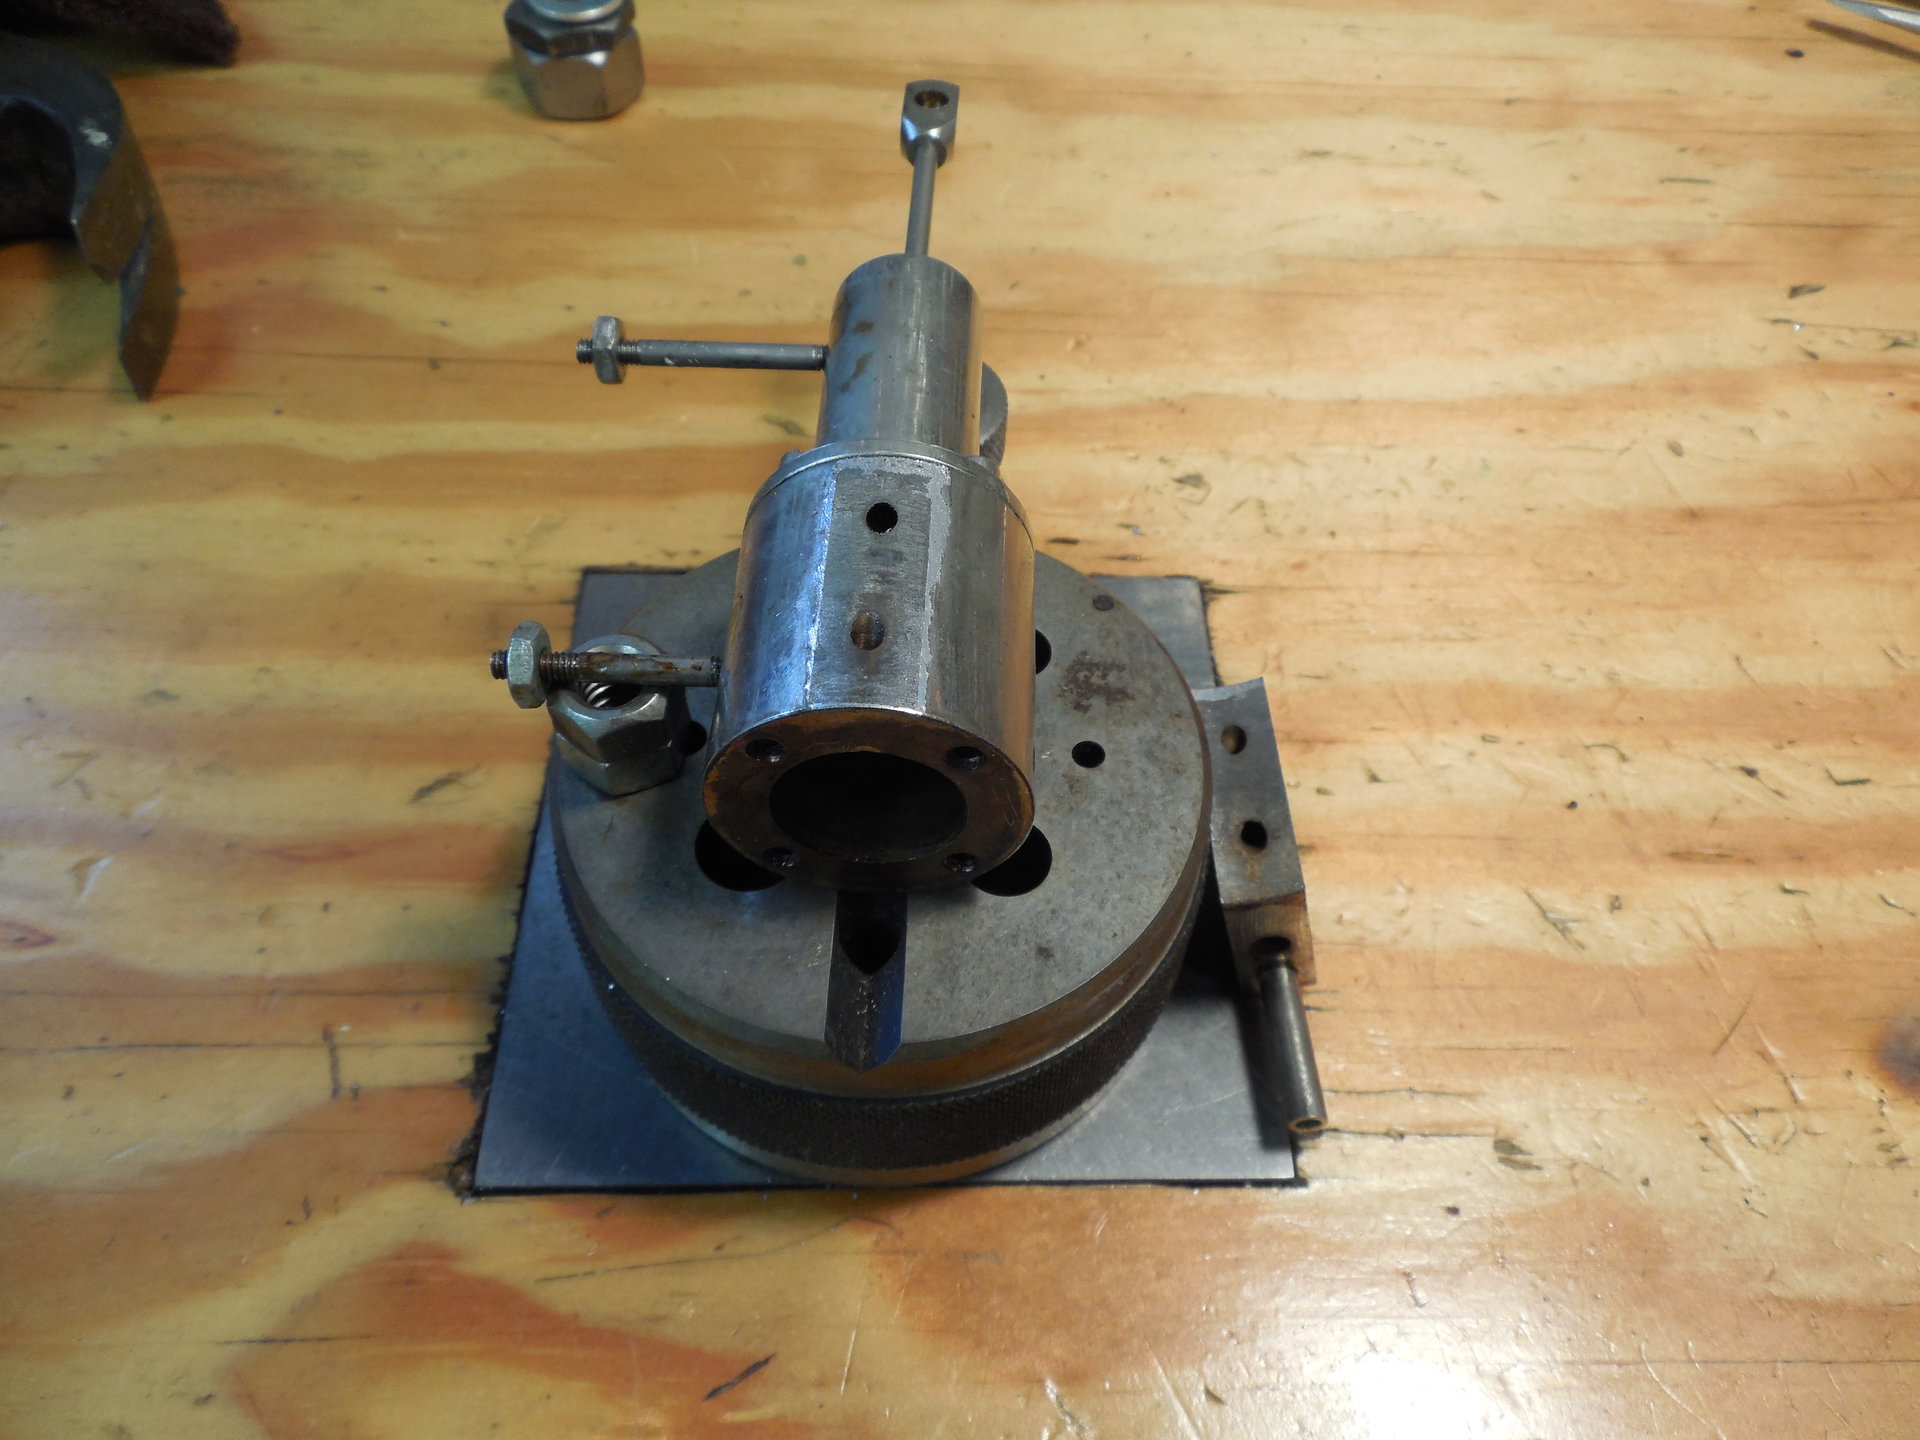
When I was cleaning the engine I noticed the steam chest was so loose I could easily pop it off with my fingers and I'm sure it was leaking like crazy. Here I'm getting ready to solder it back on to the cylinder. For this I'm just using regular soft solder, not silver solder.
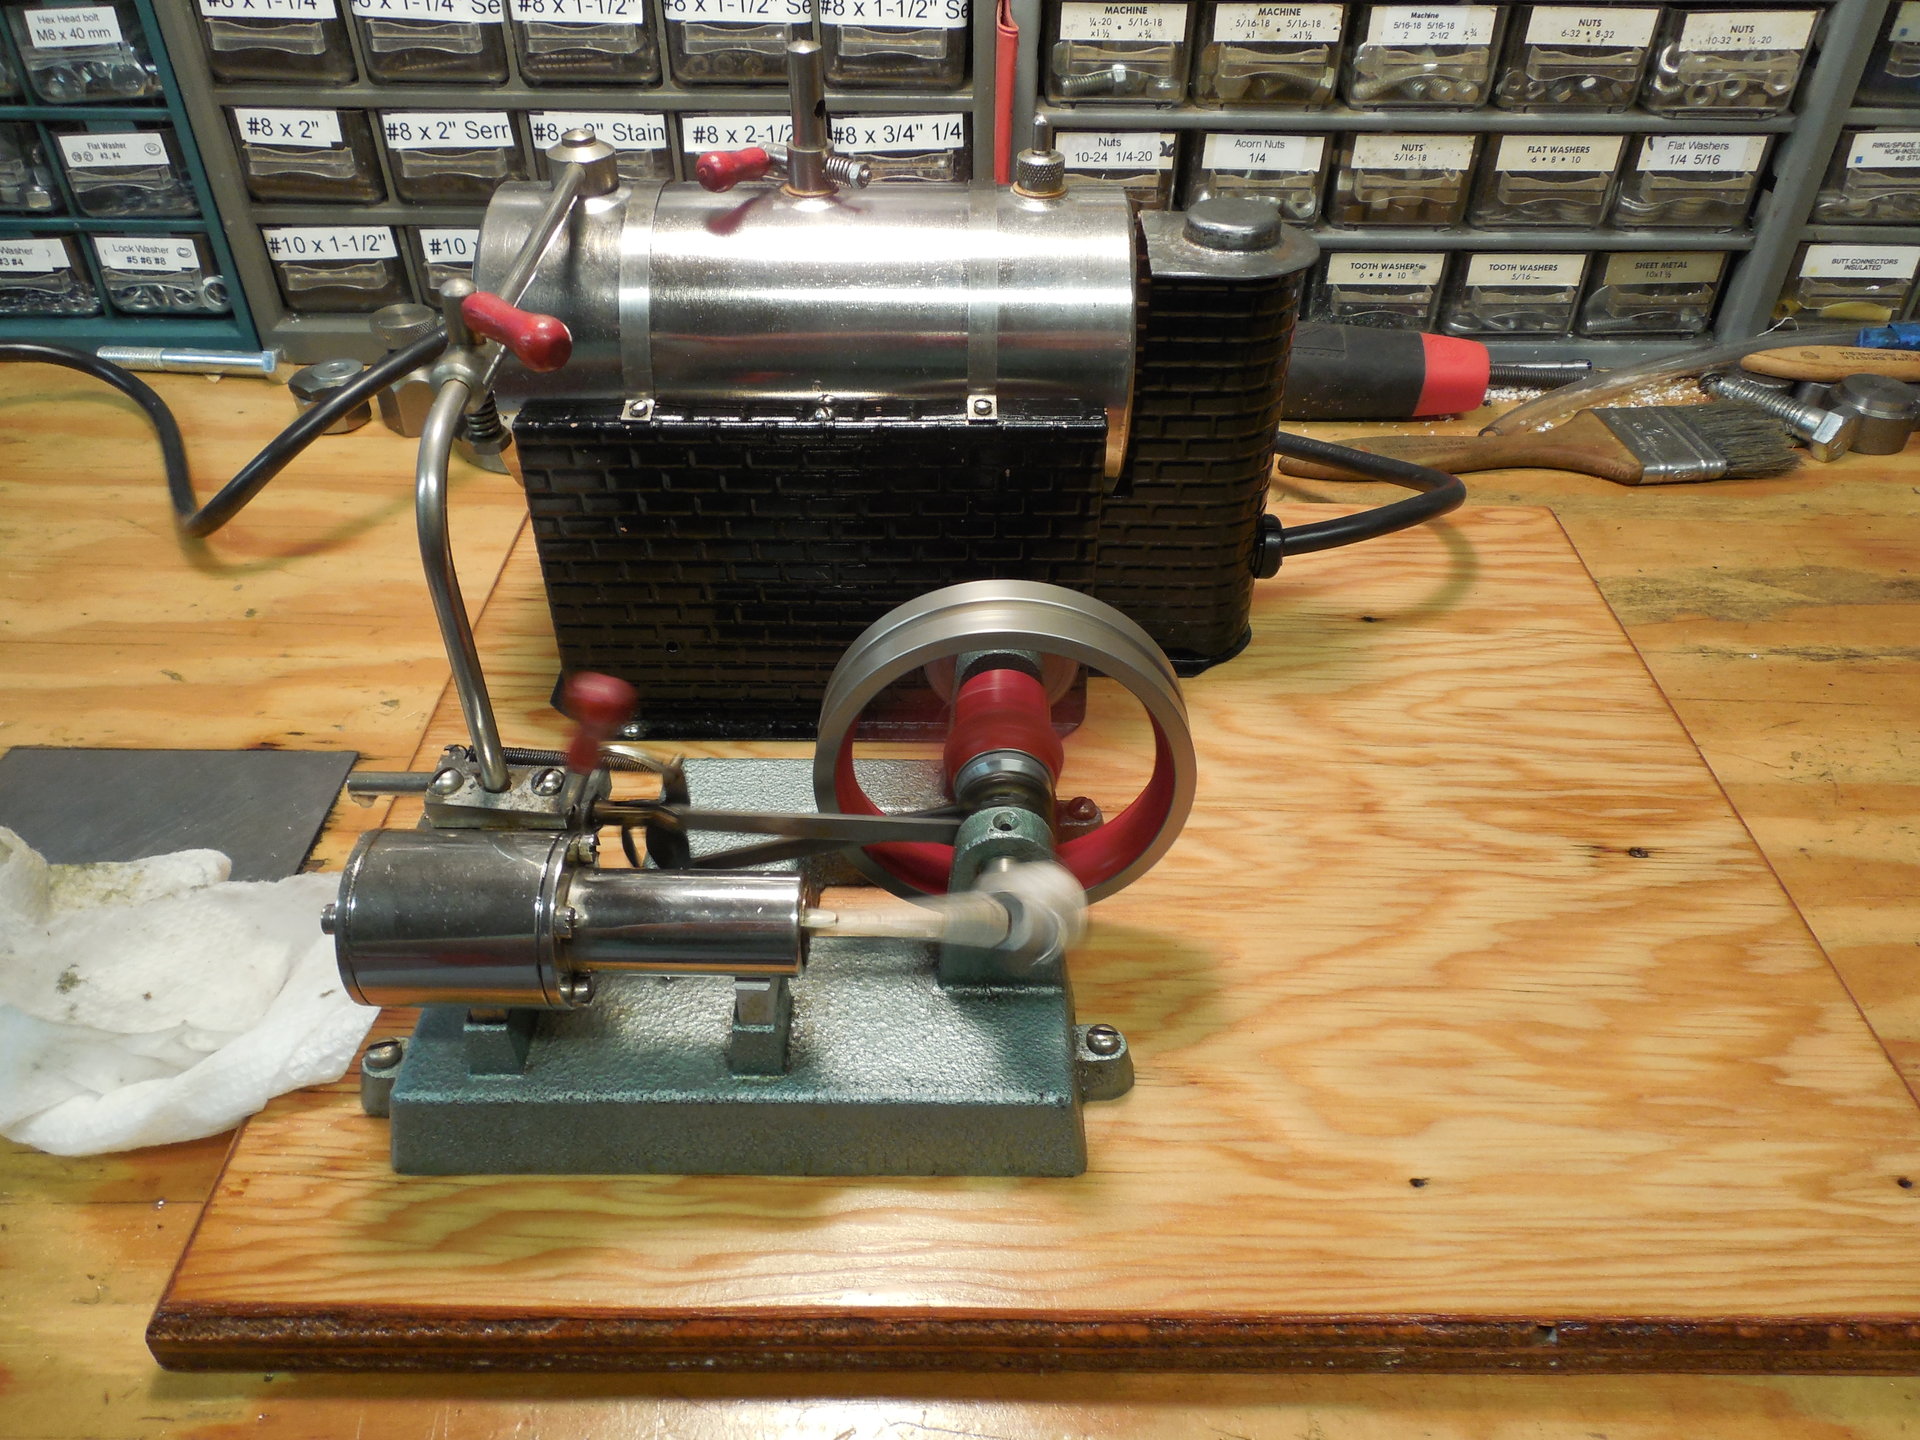
The board was stripped, sanded and got a few coats of polyurethane. Next the engine and boiler were installed for a quick shakedown run. Everything seems to be working fine.
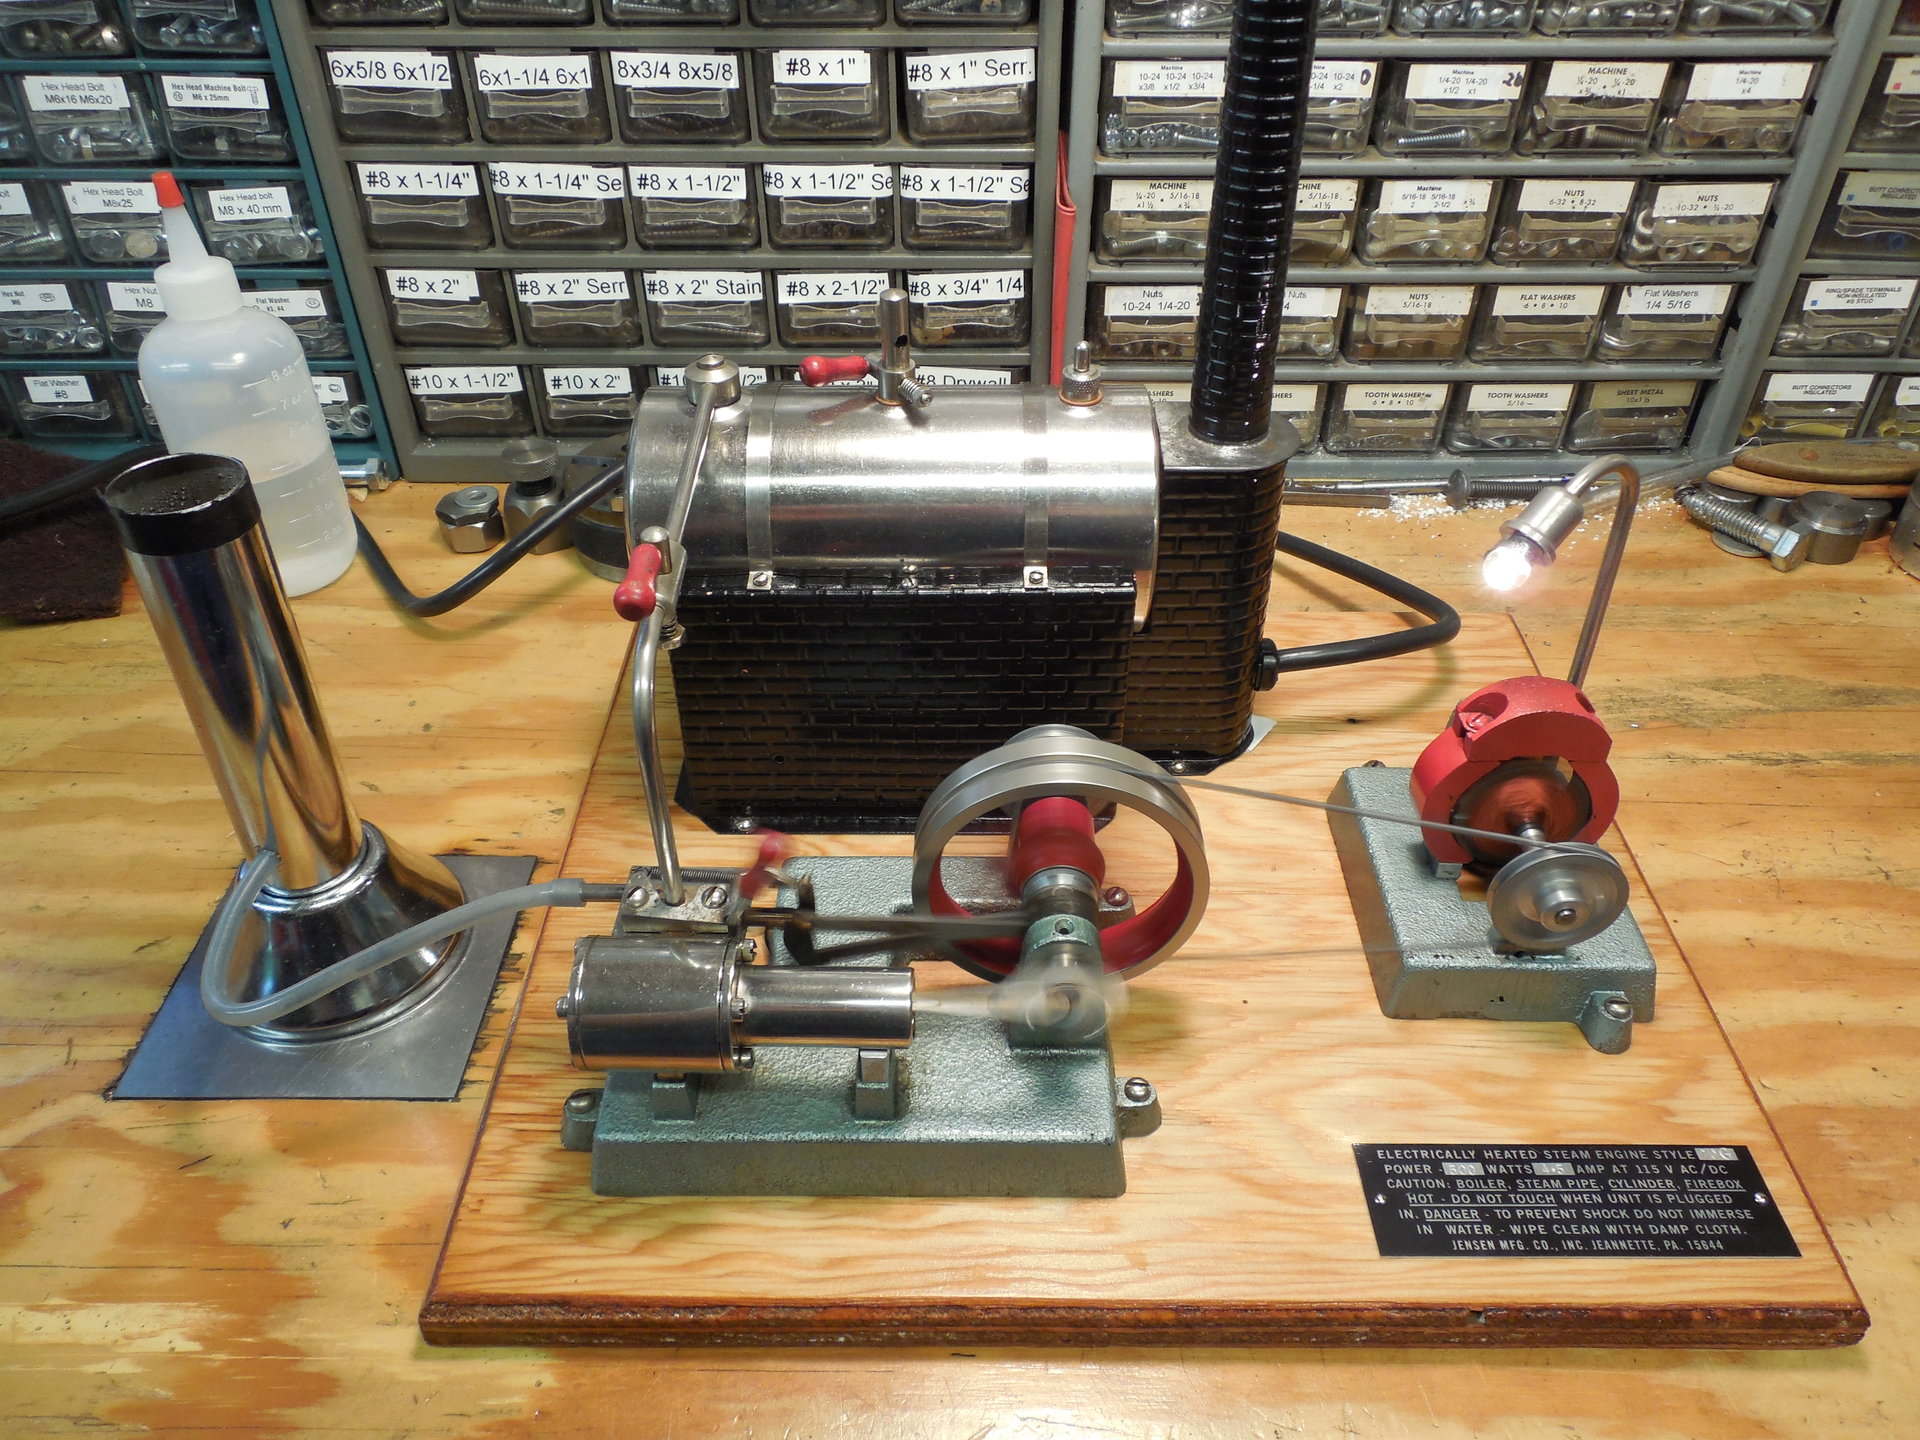
And here it is with everything installed and running. While the Wilesco chimney isn't stock, I kinda like it and think the big chimney looks good on this model. I have a few more tweaks to perform, but it's running great and looks like a new one.
and