Construction continues on the PM Research Number 2 Steam engine so make sure to check out Part 1 of this build if you haven't already. It's time to go back to the lathe and experiment with using CA adhesive aka Crazy Glue for holding small parts. The CA glue is used to temporary hold parts to a scrap aluminum round and is easily released with heat or a soak in acetone.
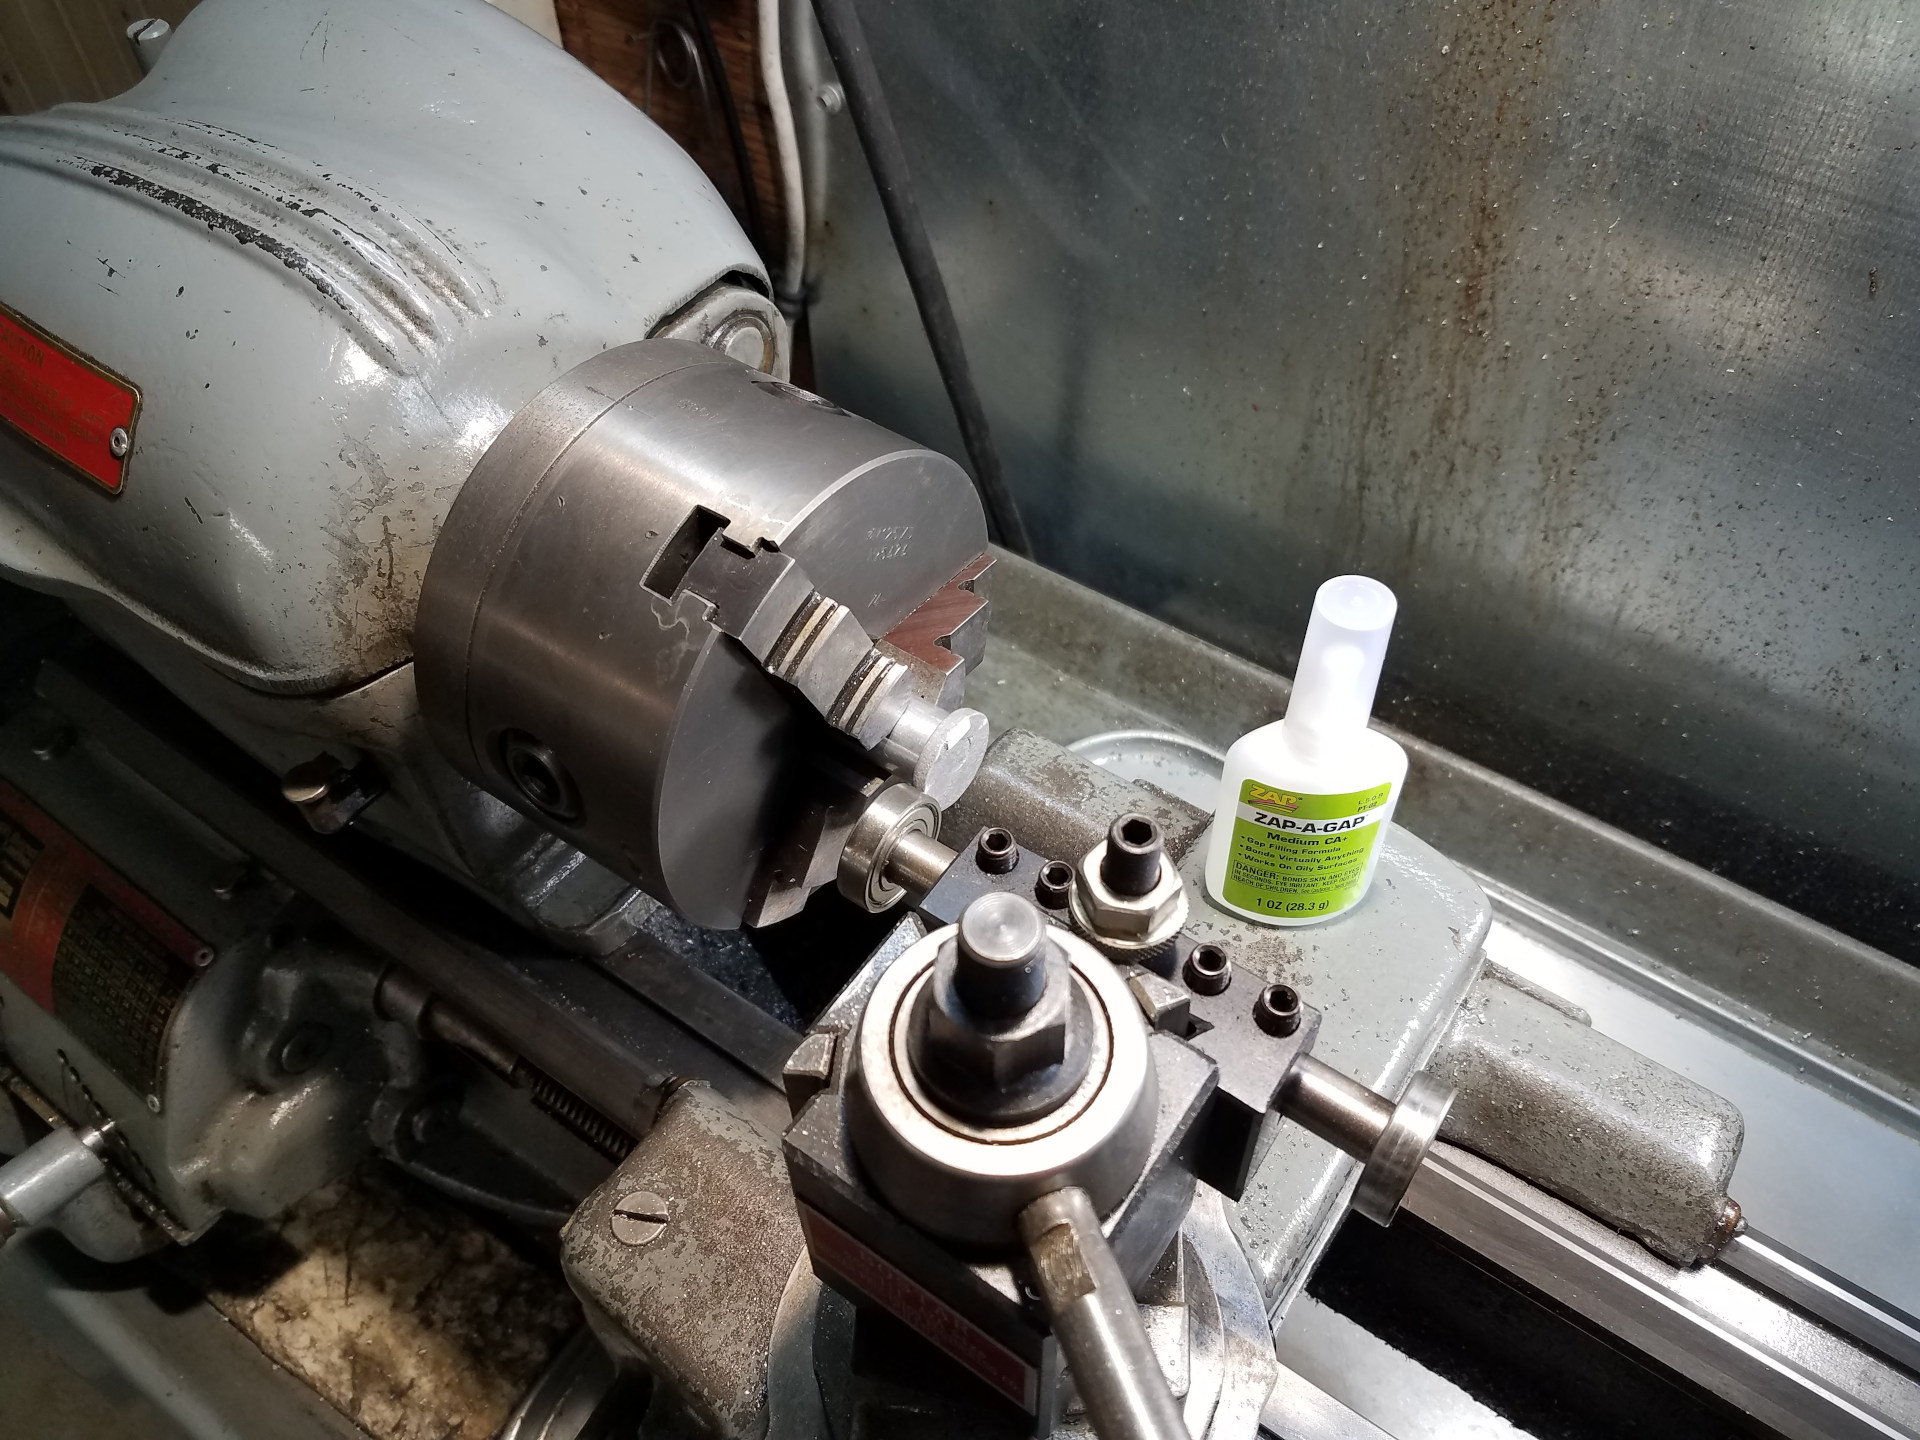
After facing-off the scrap piece of aluminum, a drop of CA and then the cylinder cover was placed on the round. As the glue started to setup, the alignment tool was used as a visual aid to get the cover running true as close as possible. It worked surprising well, although on later builds I found better ways of doing this.
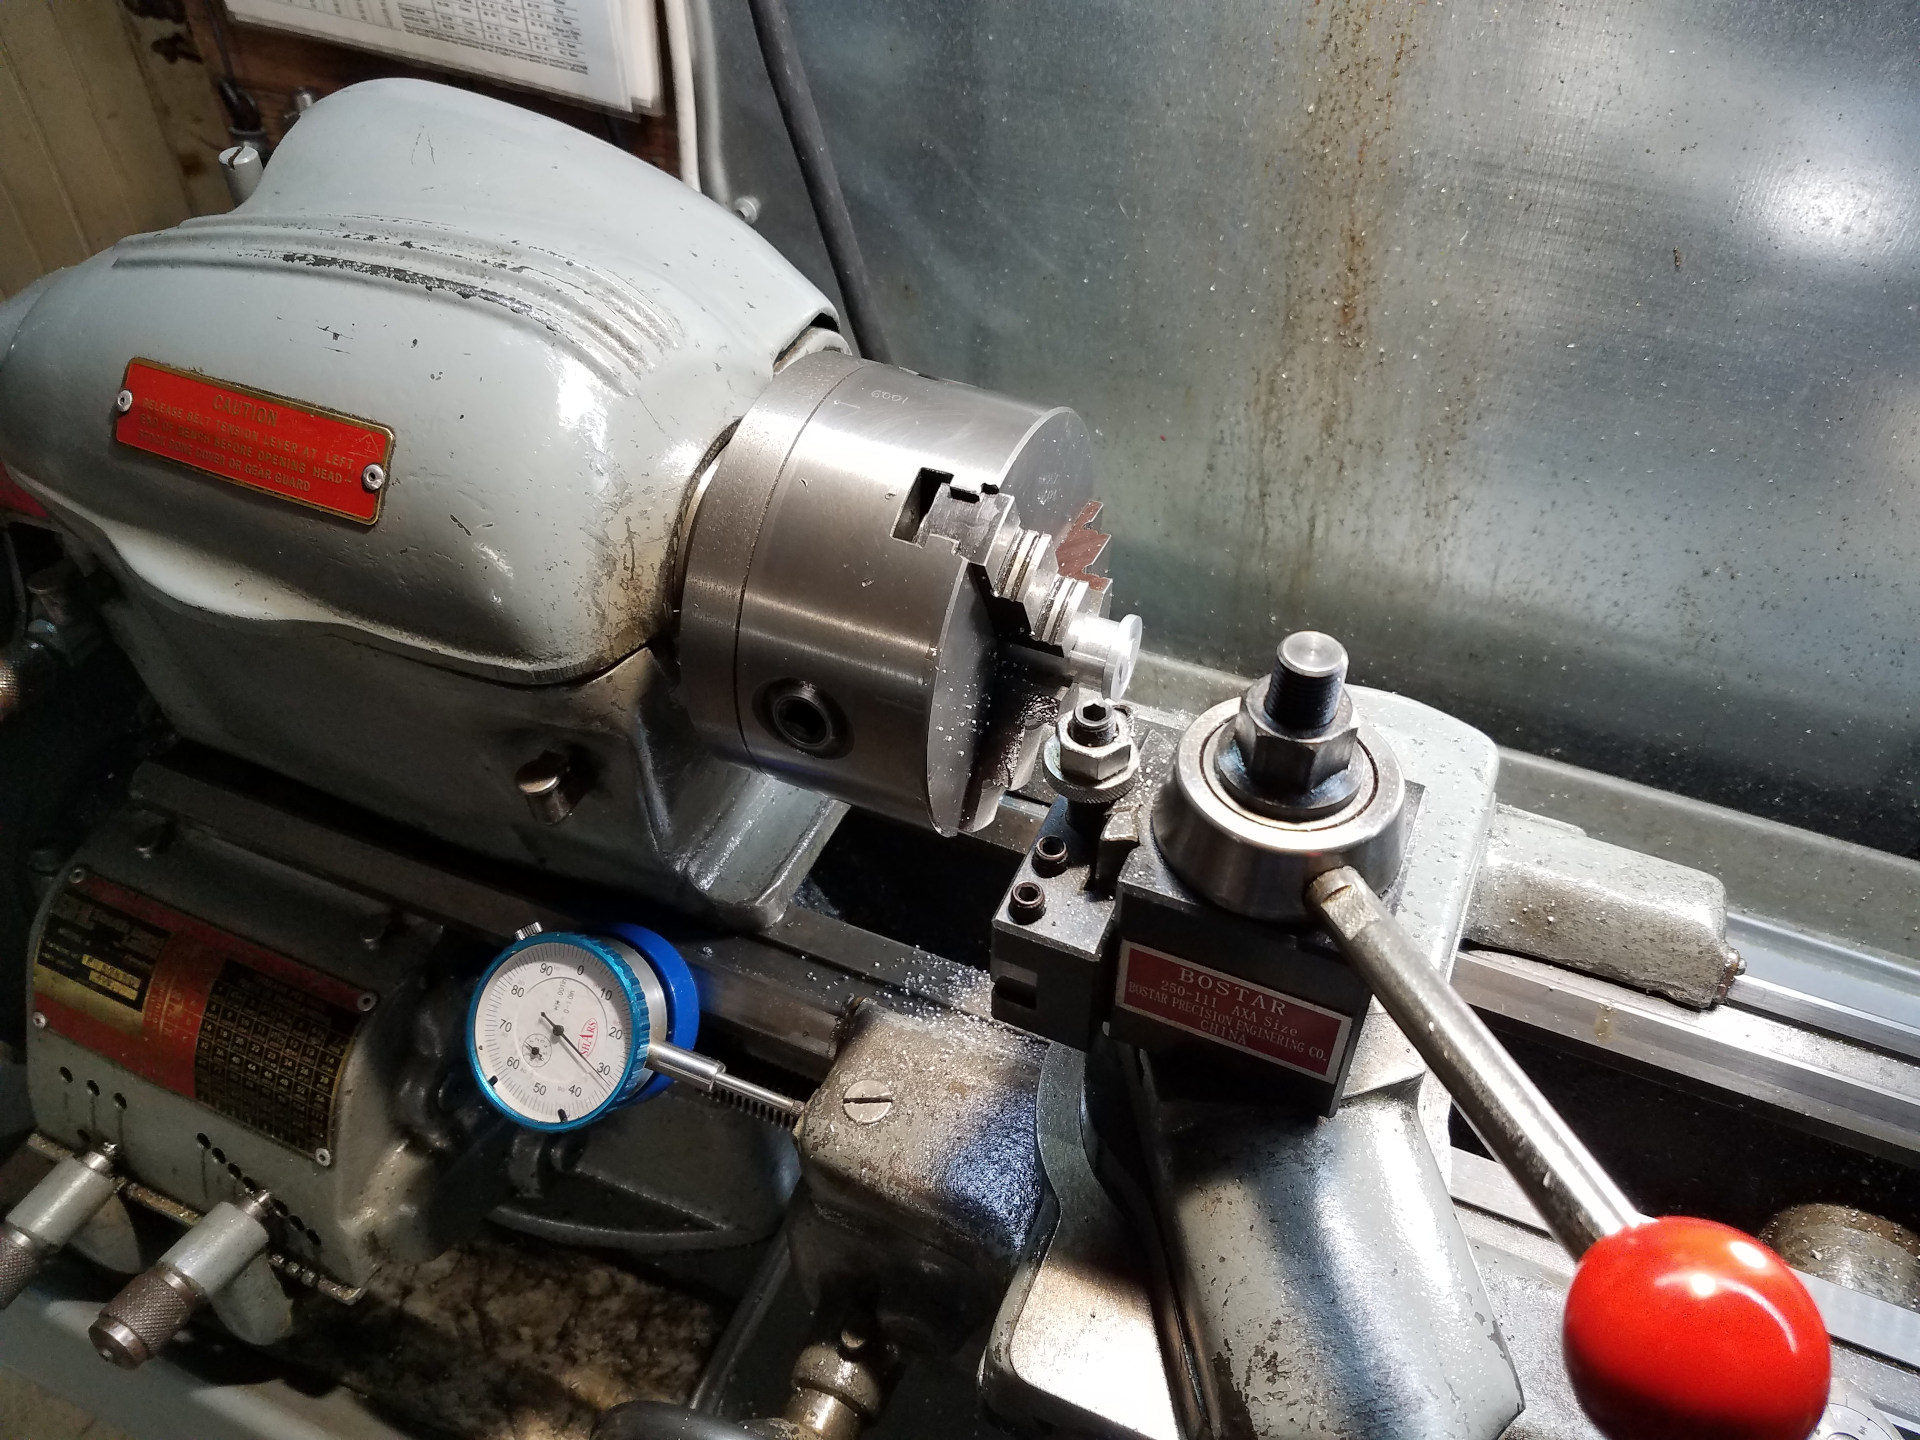
Went for a cup of tea and then came back to machine the cover without any difficulties. I added a tiny little divot with the center drill in the cover (this is the inside face) to help in the next operation.
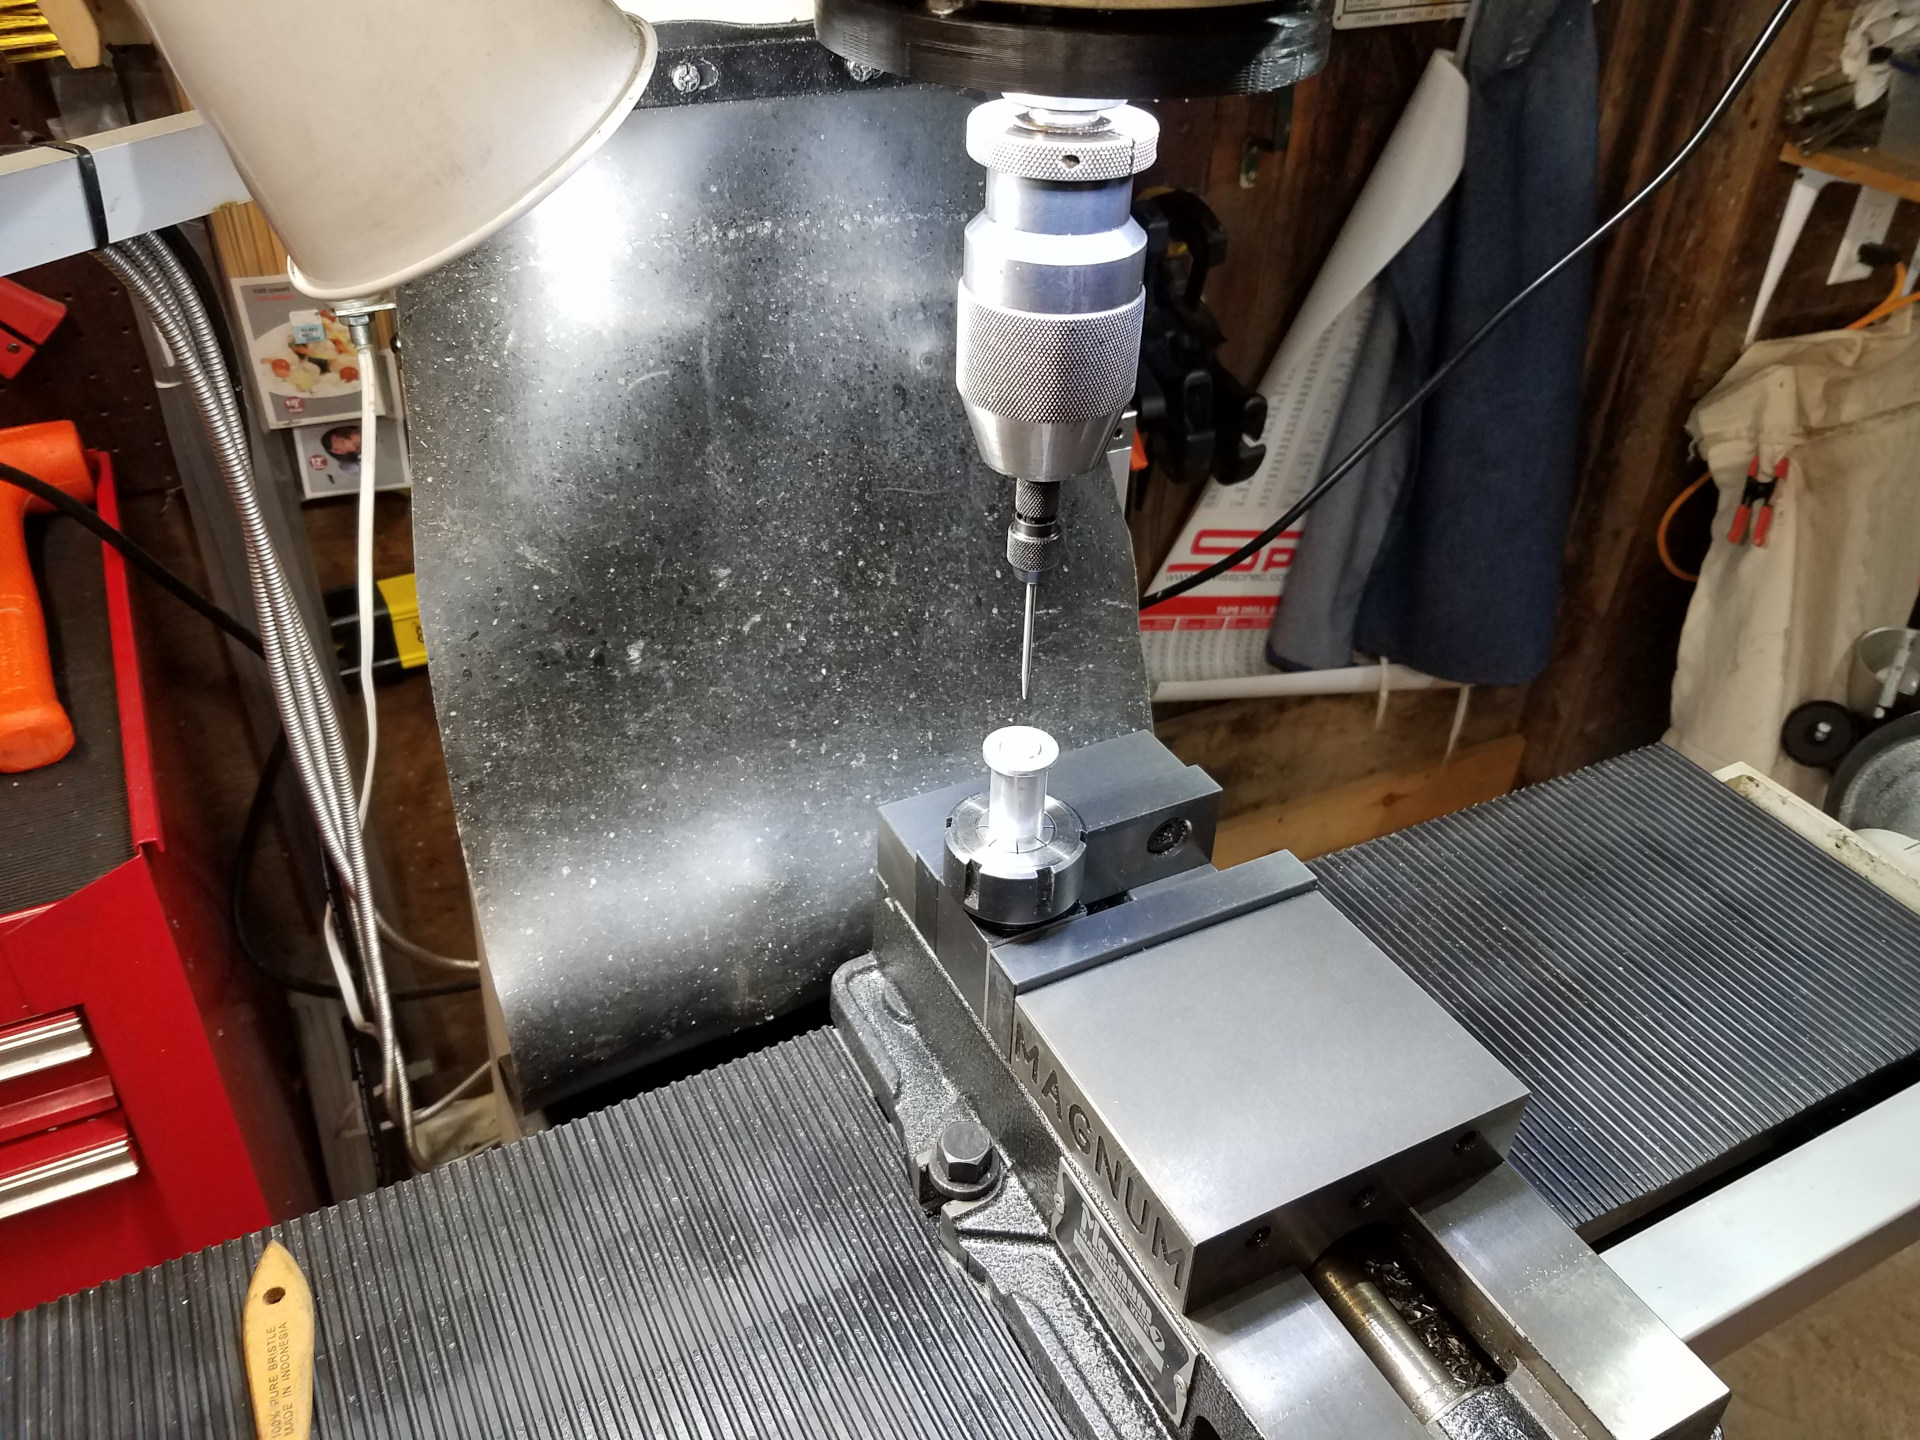
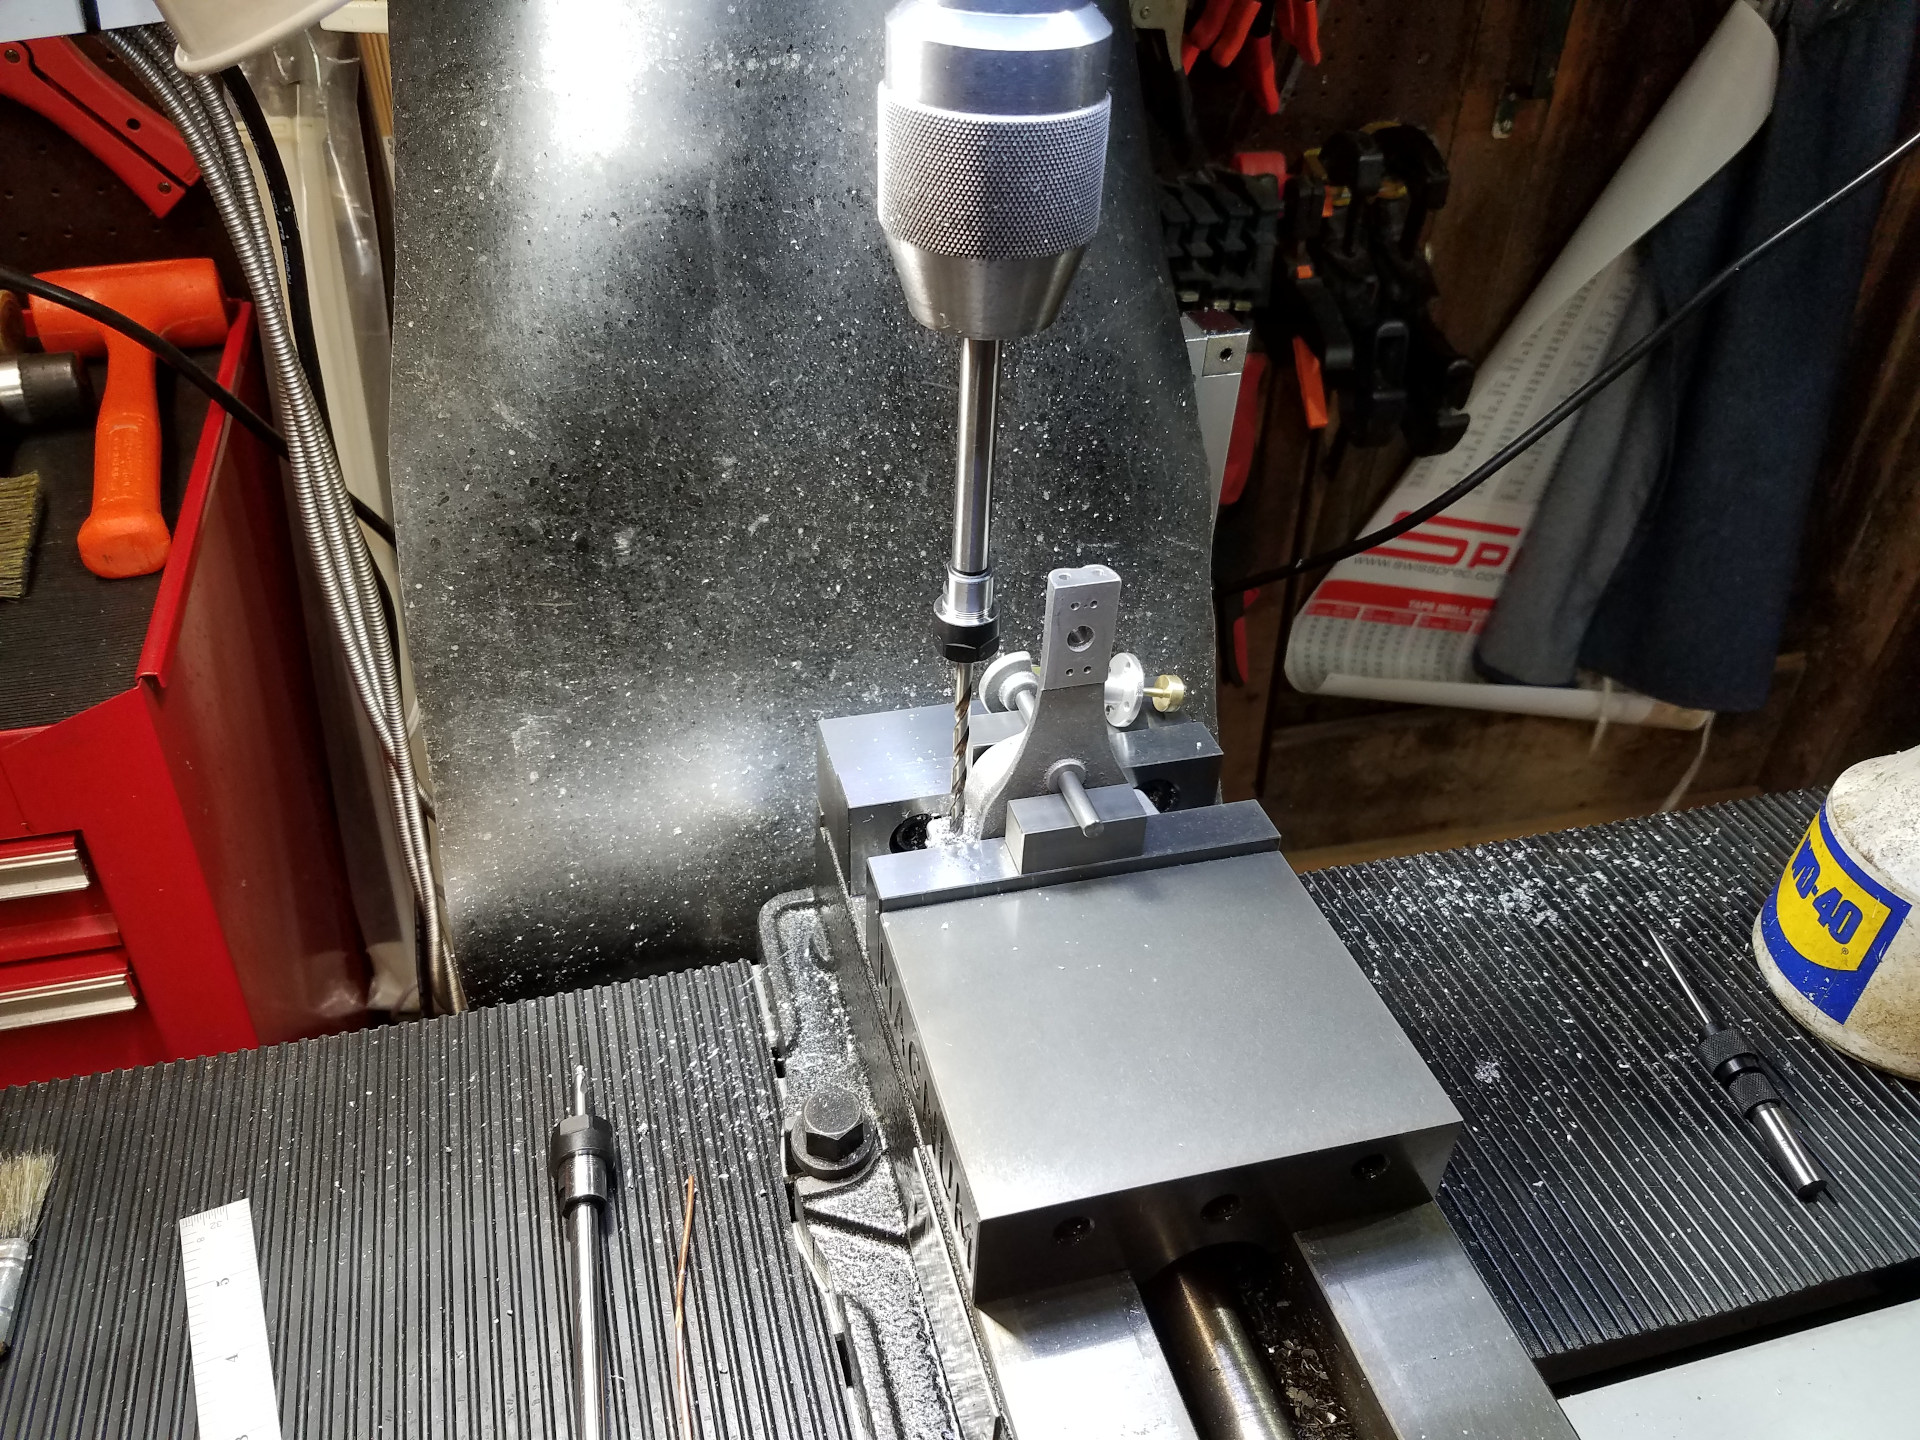
While still attached to the scrap piece of aluminum, the work was moved over to the mill and held with a ER-32 collet block. The center of the work was found with the wiggler and the bolt circle function of the DRO was used to drill the clearance holes for the head screws. When finished, a tiny bit of heat from a propane torch quickly removed the work from the round.

That worked so well I used the same technique on the crank casting. This CA technique for holding small parts works great and I definitely will be using it in the future.
I forgot to take pictures of a few of the next build steps. The cylinder steam holes were made using Mr Pete's transfer technique as described in the other wobbler build article. For the piston, I didn't bother with the teflon rings but just made a simple brass piston with a good fit in the cylinder.
Here I'm using a ER-15 collet holder as a drill bit extension to avoid interference with the body to get the mounting holes drilled into the base.

After a successful run-in and a bit of paint, the bolt holes in the gaskets were made with a mini punch set.
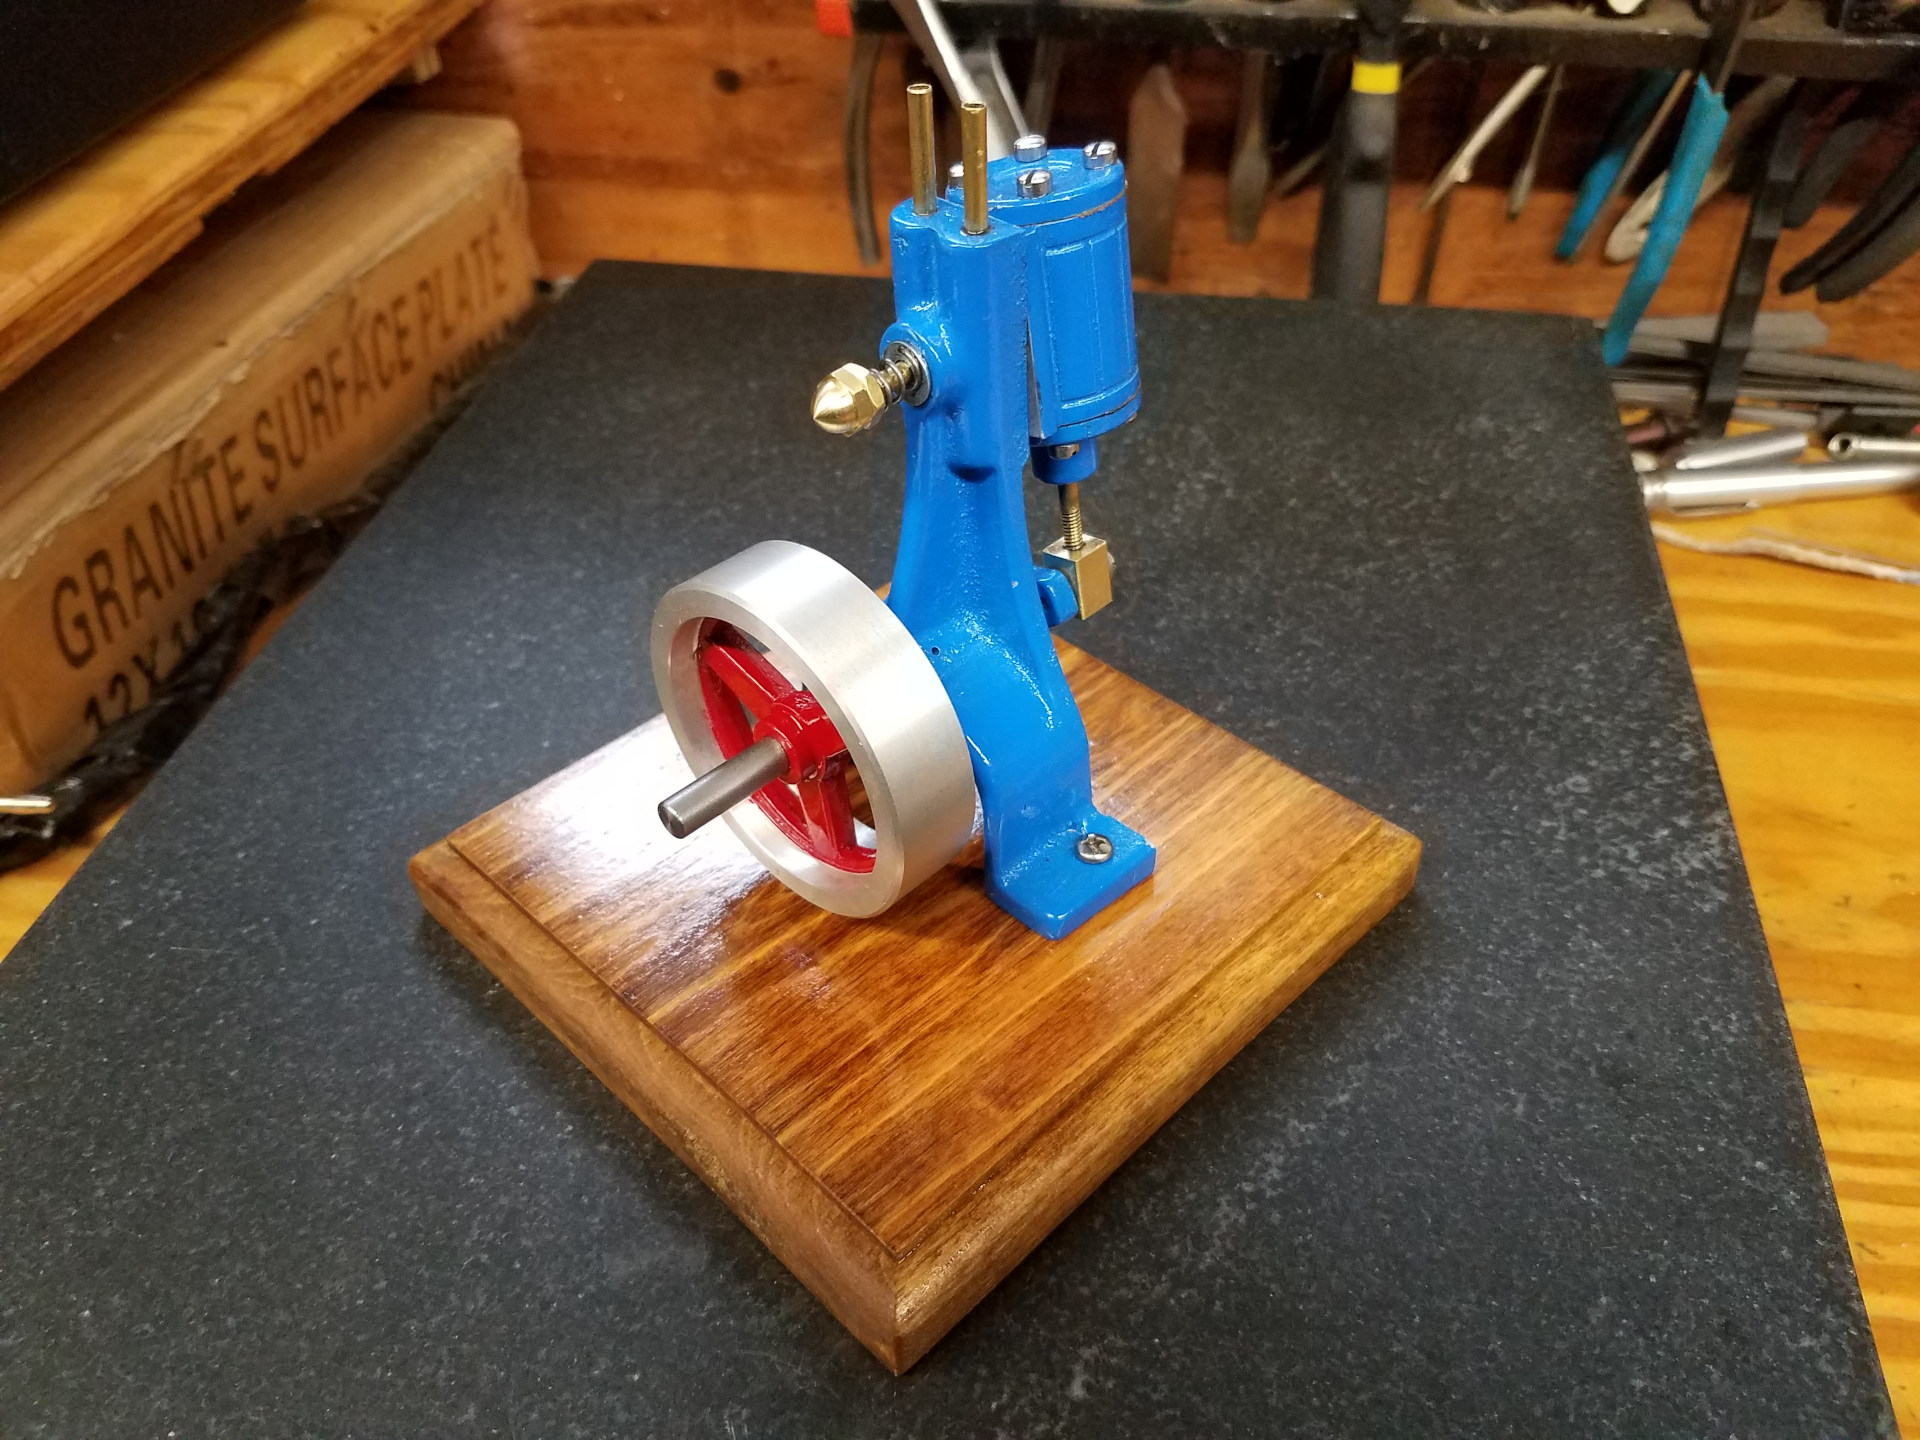
The completed engine. I didn't like the spring washer setup that came with the kit so I changed it over to a traditional coil spring with an acorn nut.
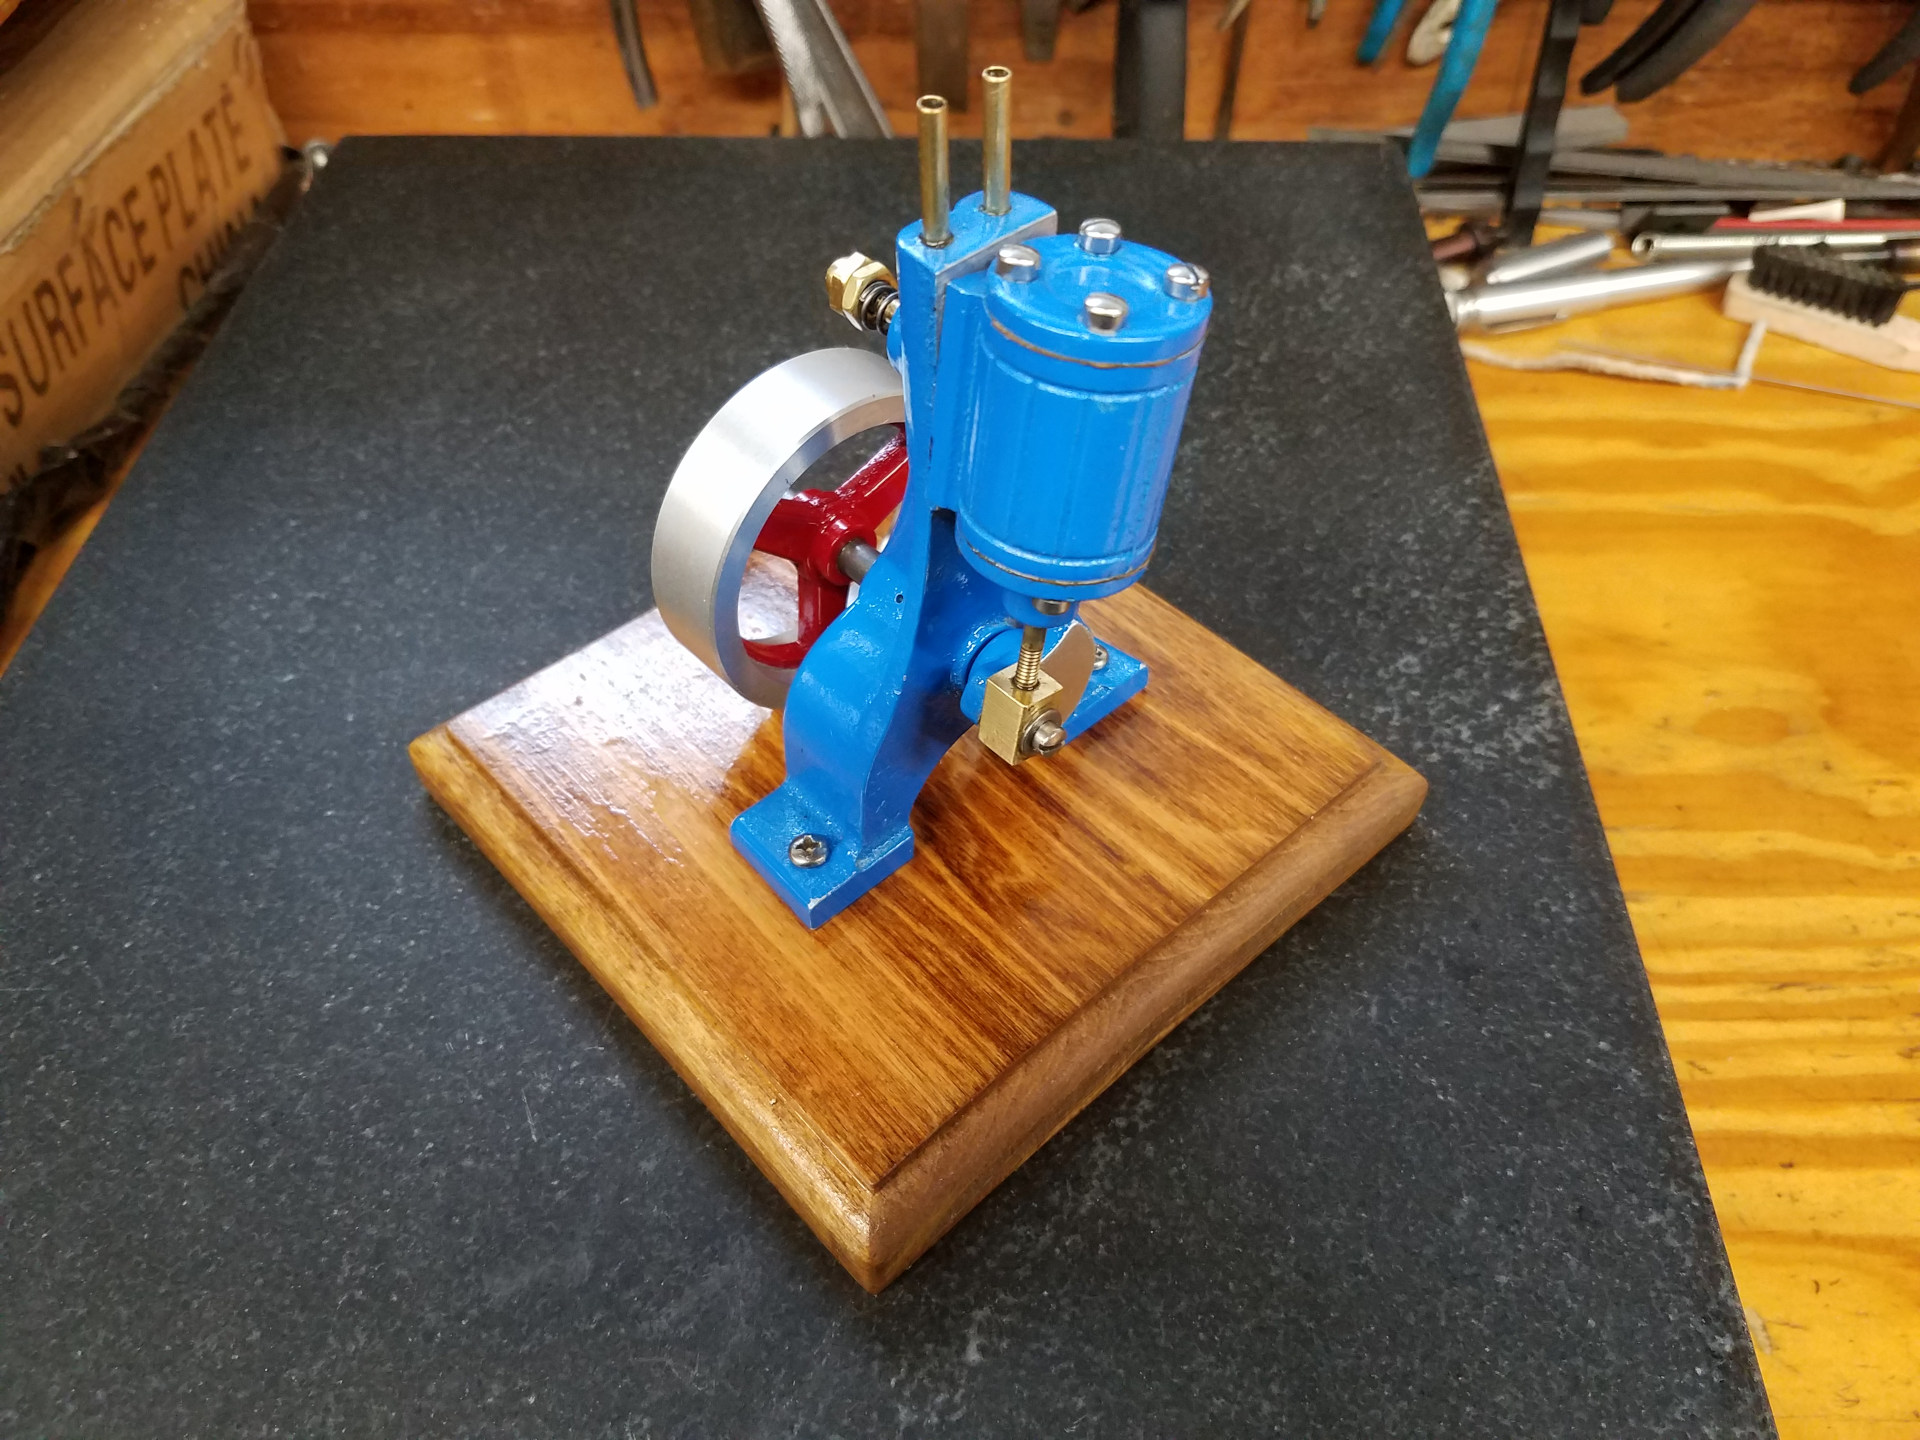
Side View.
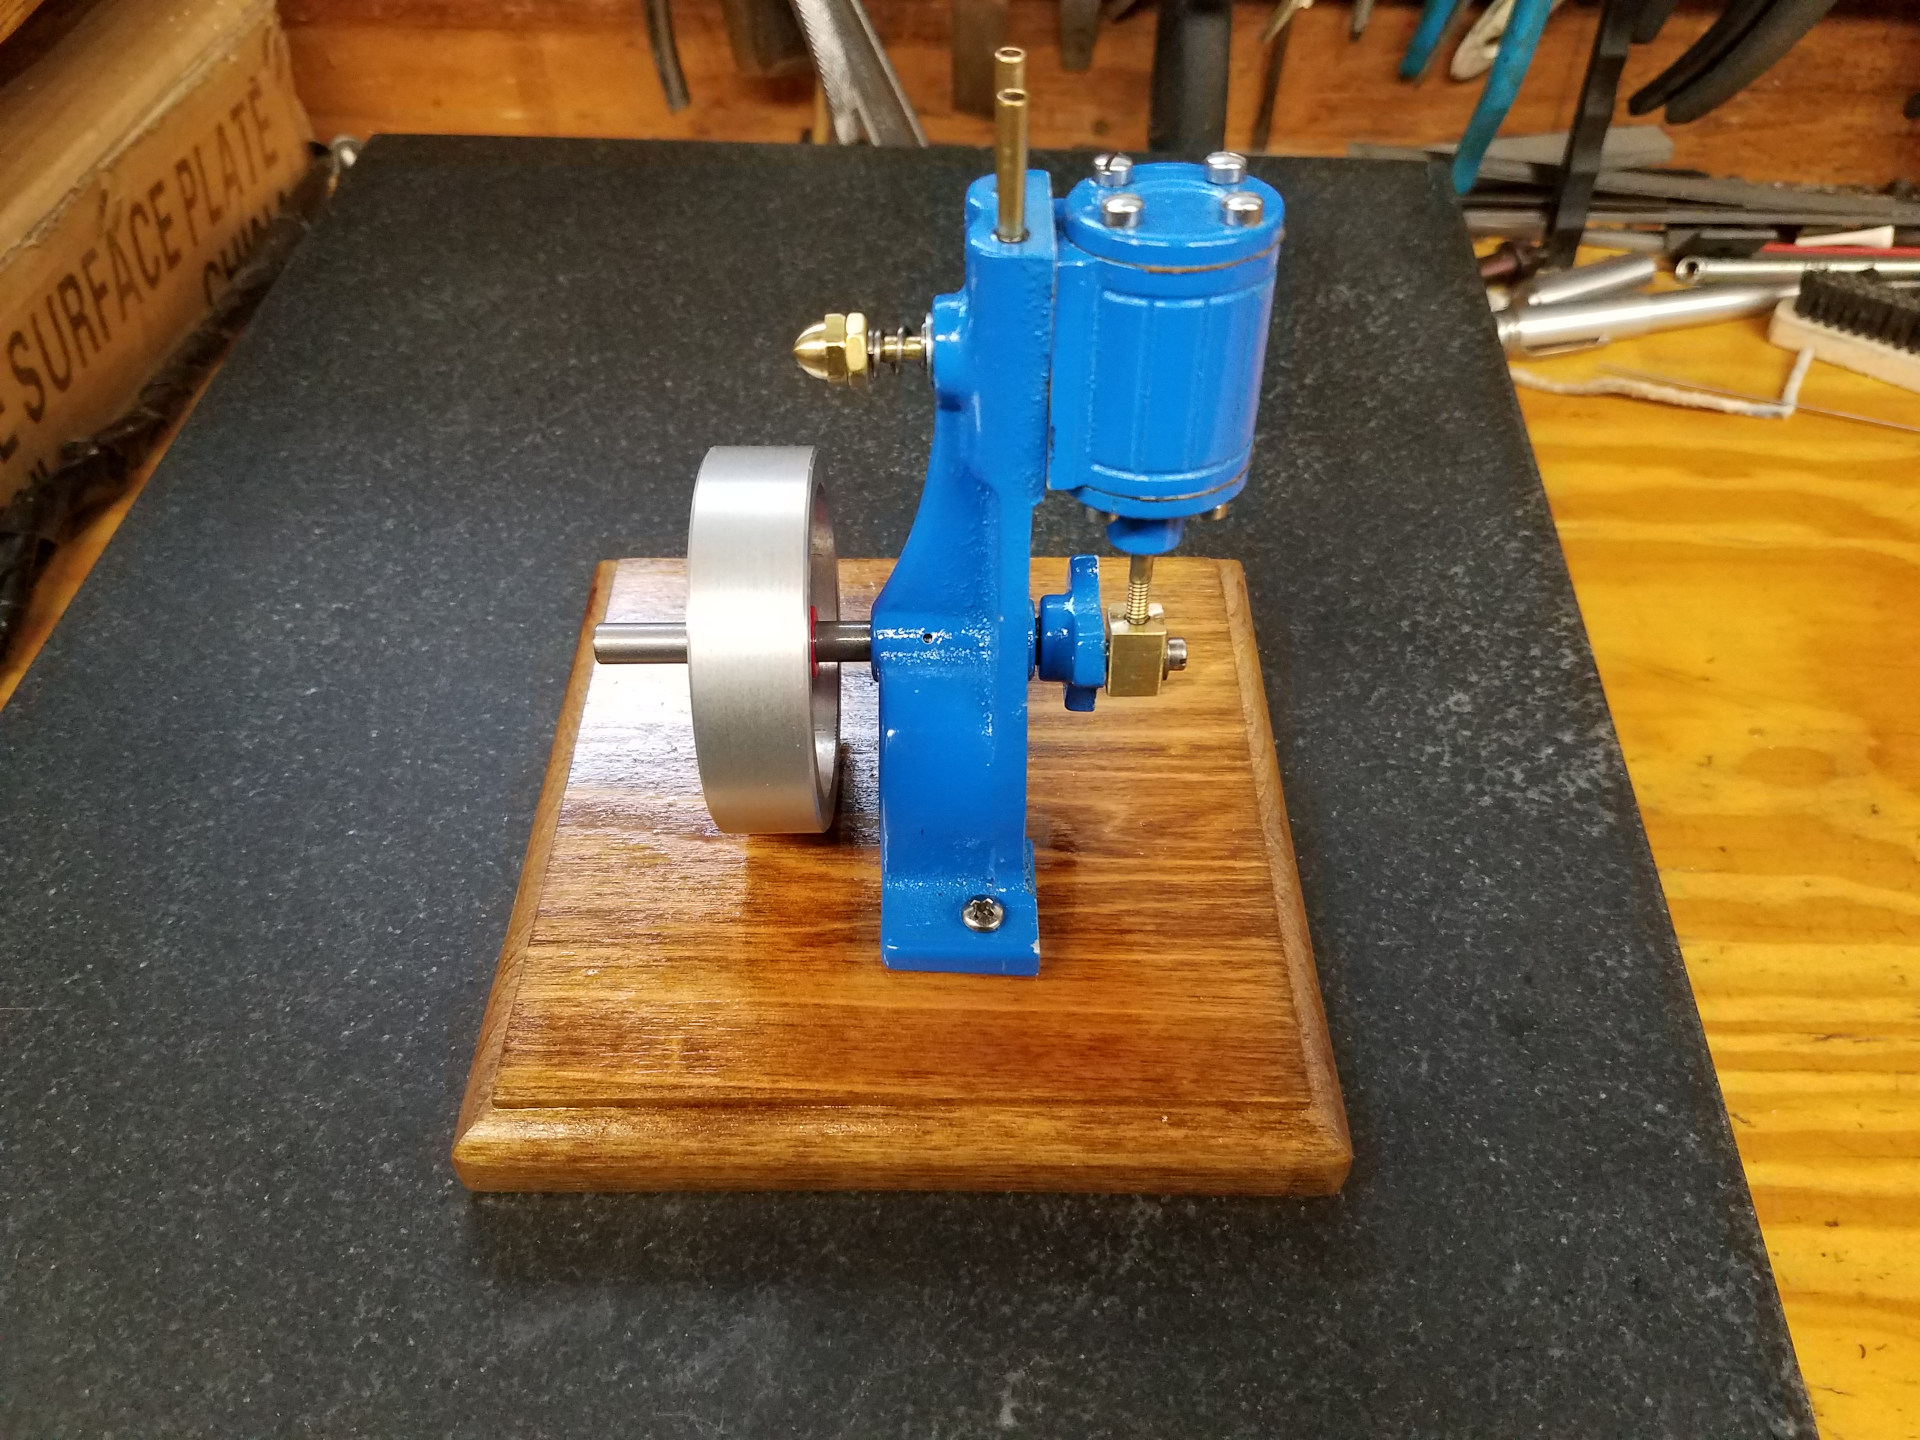
Another view.
The completed model running on compressed air.
The light weight aluminum flywheel doesn't seem to hurt the model's slow-speed performance too much.
It was a relatively easy kit to build and it provided some good practice with working with castings.