The newer lathe saddle finally spurred me on to start the Model Lathe Accessories (MLA) T-Slotted cross slide casting that I had in storage for quite a few years. This new cross slide will add quite a few capabilities to the lathe that are really nice for model engineering: a nice surface to attach work for line boring, the possibility of using a rear-mounted toolpost and the nicest feature is that it will be brand new.
Lathes from Europe, especially machinery sold with features for the model engineer, are often equipped with a T-Slotted cross slide: the excellent Myford lathe from Great Britain being a perfect example. For whatever reason, a T-Slotted cross slide was rarely an option for smaller lathes manufactured in the USA. Recognizing the need, MLA released a casting kit for South Bend Lathes.
https://www.metallatheaccessories.com/product-page/cross-slide-s-4382
I bought my casting kit a few years ago from the original owner of MLA, Andy Lofquist. After a few decades of selling castings, Mr Lofquist decided to retire and the company was transferred to new owners. Right now I see quite a few kits are out-of-stock, so the availability of these castings is somewhat in flux.
An excellent build article for this cross slide was done by Paula at the Practical Machinist web site way back in 2009.
https://www.practicalmachinist.com/forum/threads/machining-a-t-slotted-cross-slide.177054/
I'm mostly following along with Paula's excellent work as described in the linked forum post.
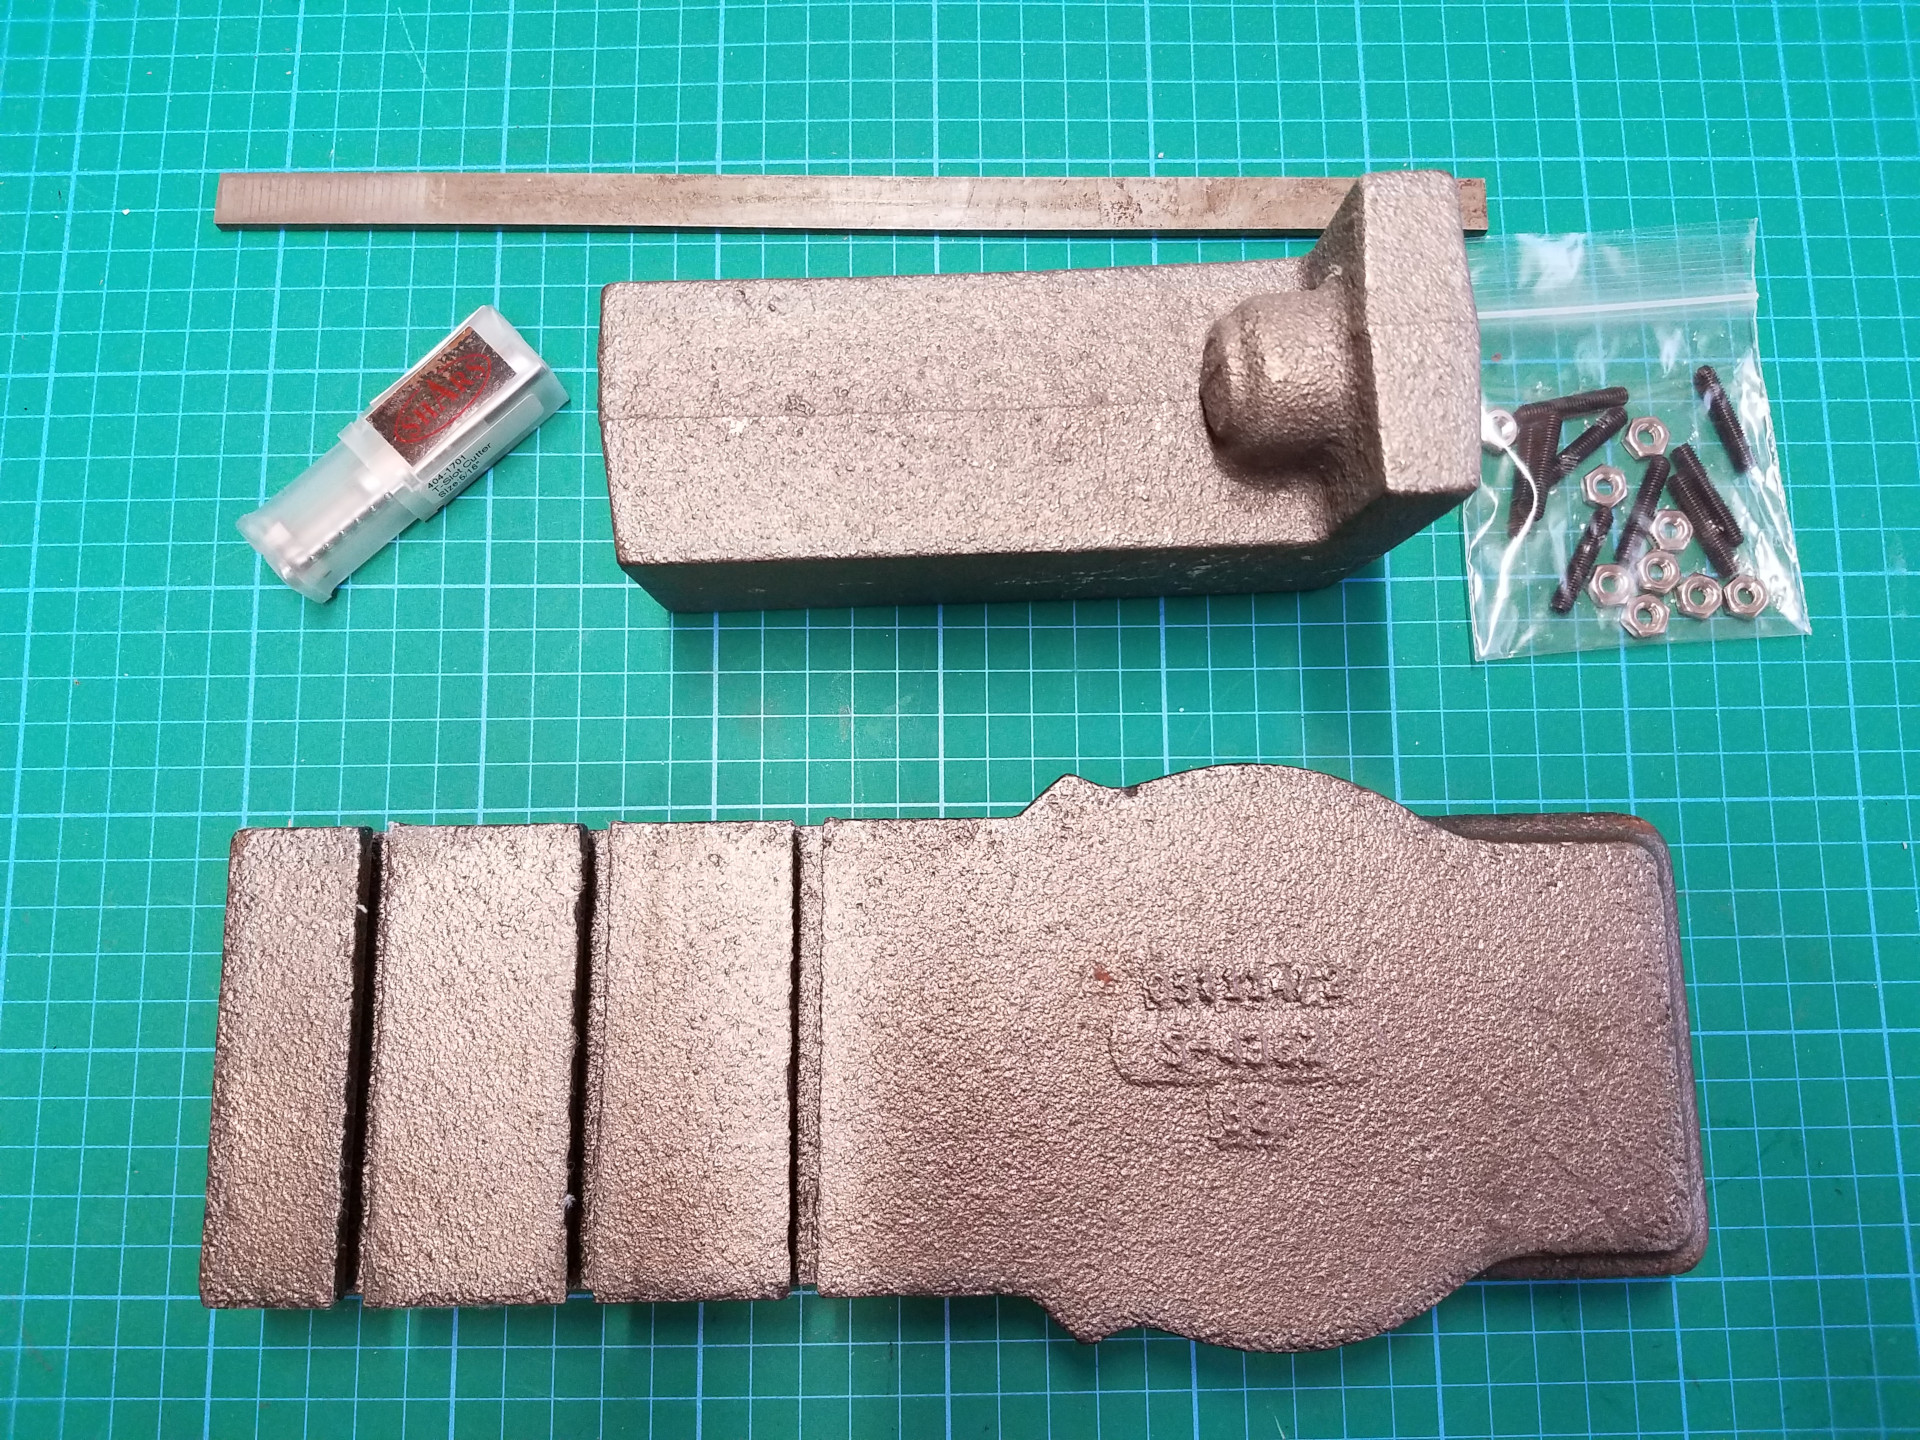
The castings as received. At the bottom is the cross slide (S-4382), right above it is the very heavy rear tool post casting (MLA-6) which I have yet to machine. The rest is the gib strip and hardware. The casting was generously sized and it machined well with no hard spots.
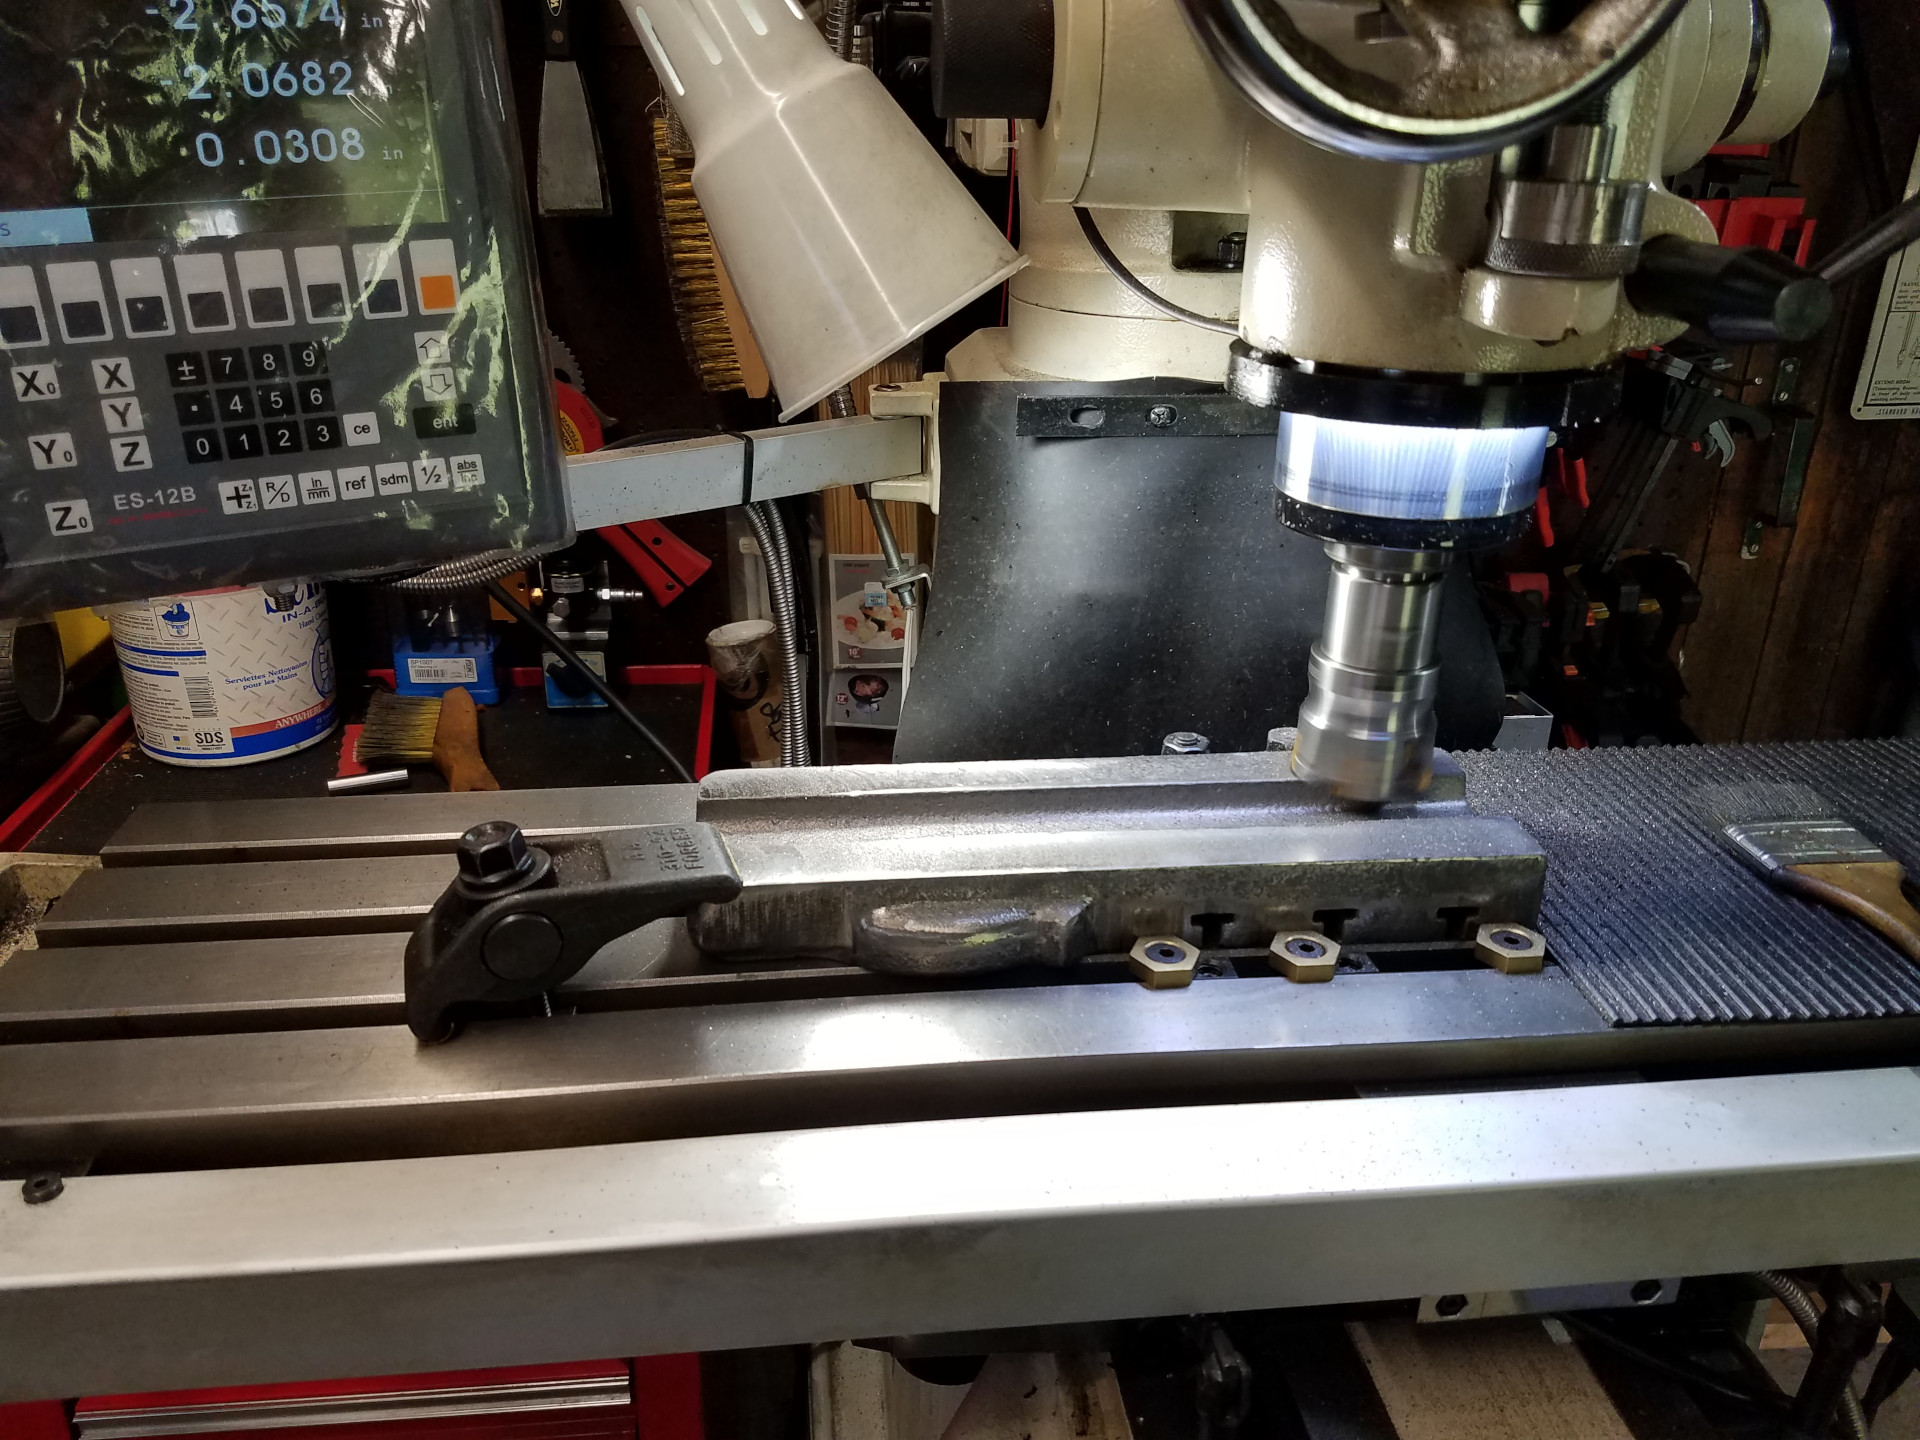
Here I'm using a carbide tipped face mill to break through the crust of the casting to get started.
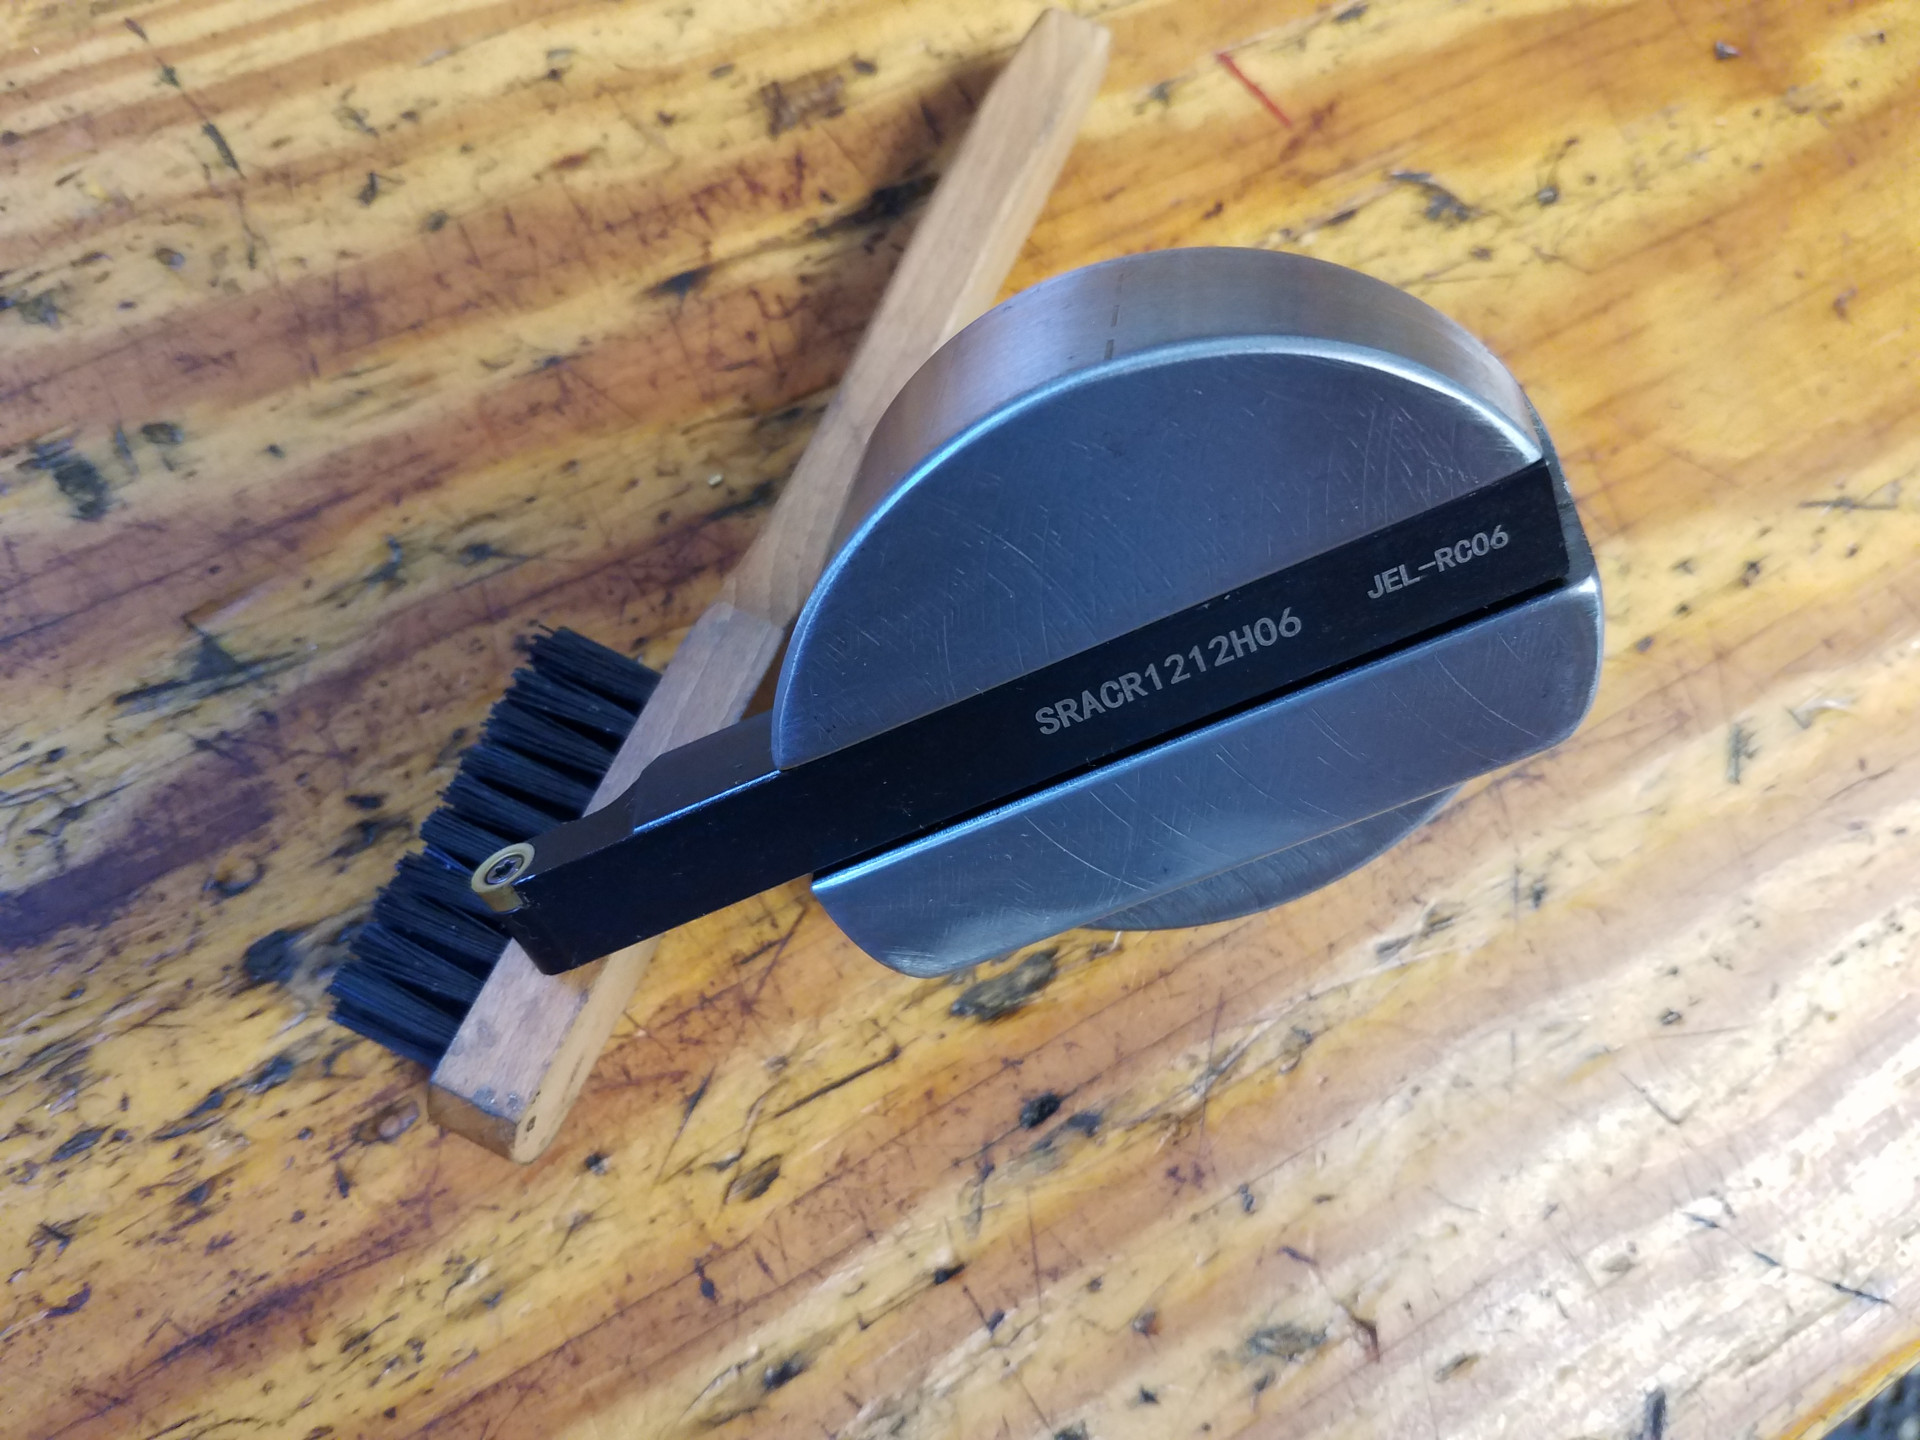
Much of the milling of the top and bottom surfaces of this project was done with a fly cutter and a holder using one of these round carbide tips. This worked fine as long as you take light cuts and with this setup I was able to face-off the entire width of the cross slide in one pass for the best finish.
I was using a RCMT0602 carbide insert in the holder, but the sharper RCGT0602MO insert might work better but I didn't know of it's existence at the time.
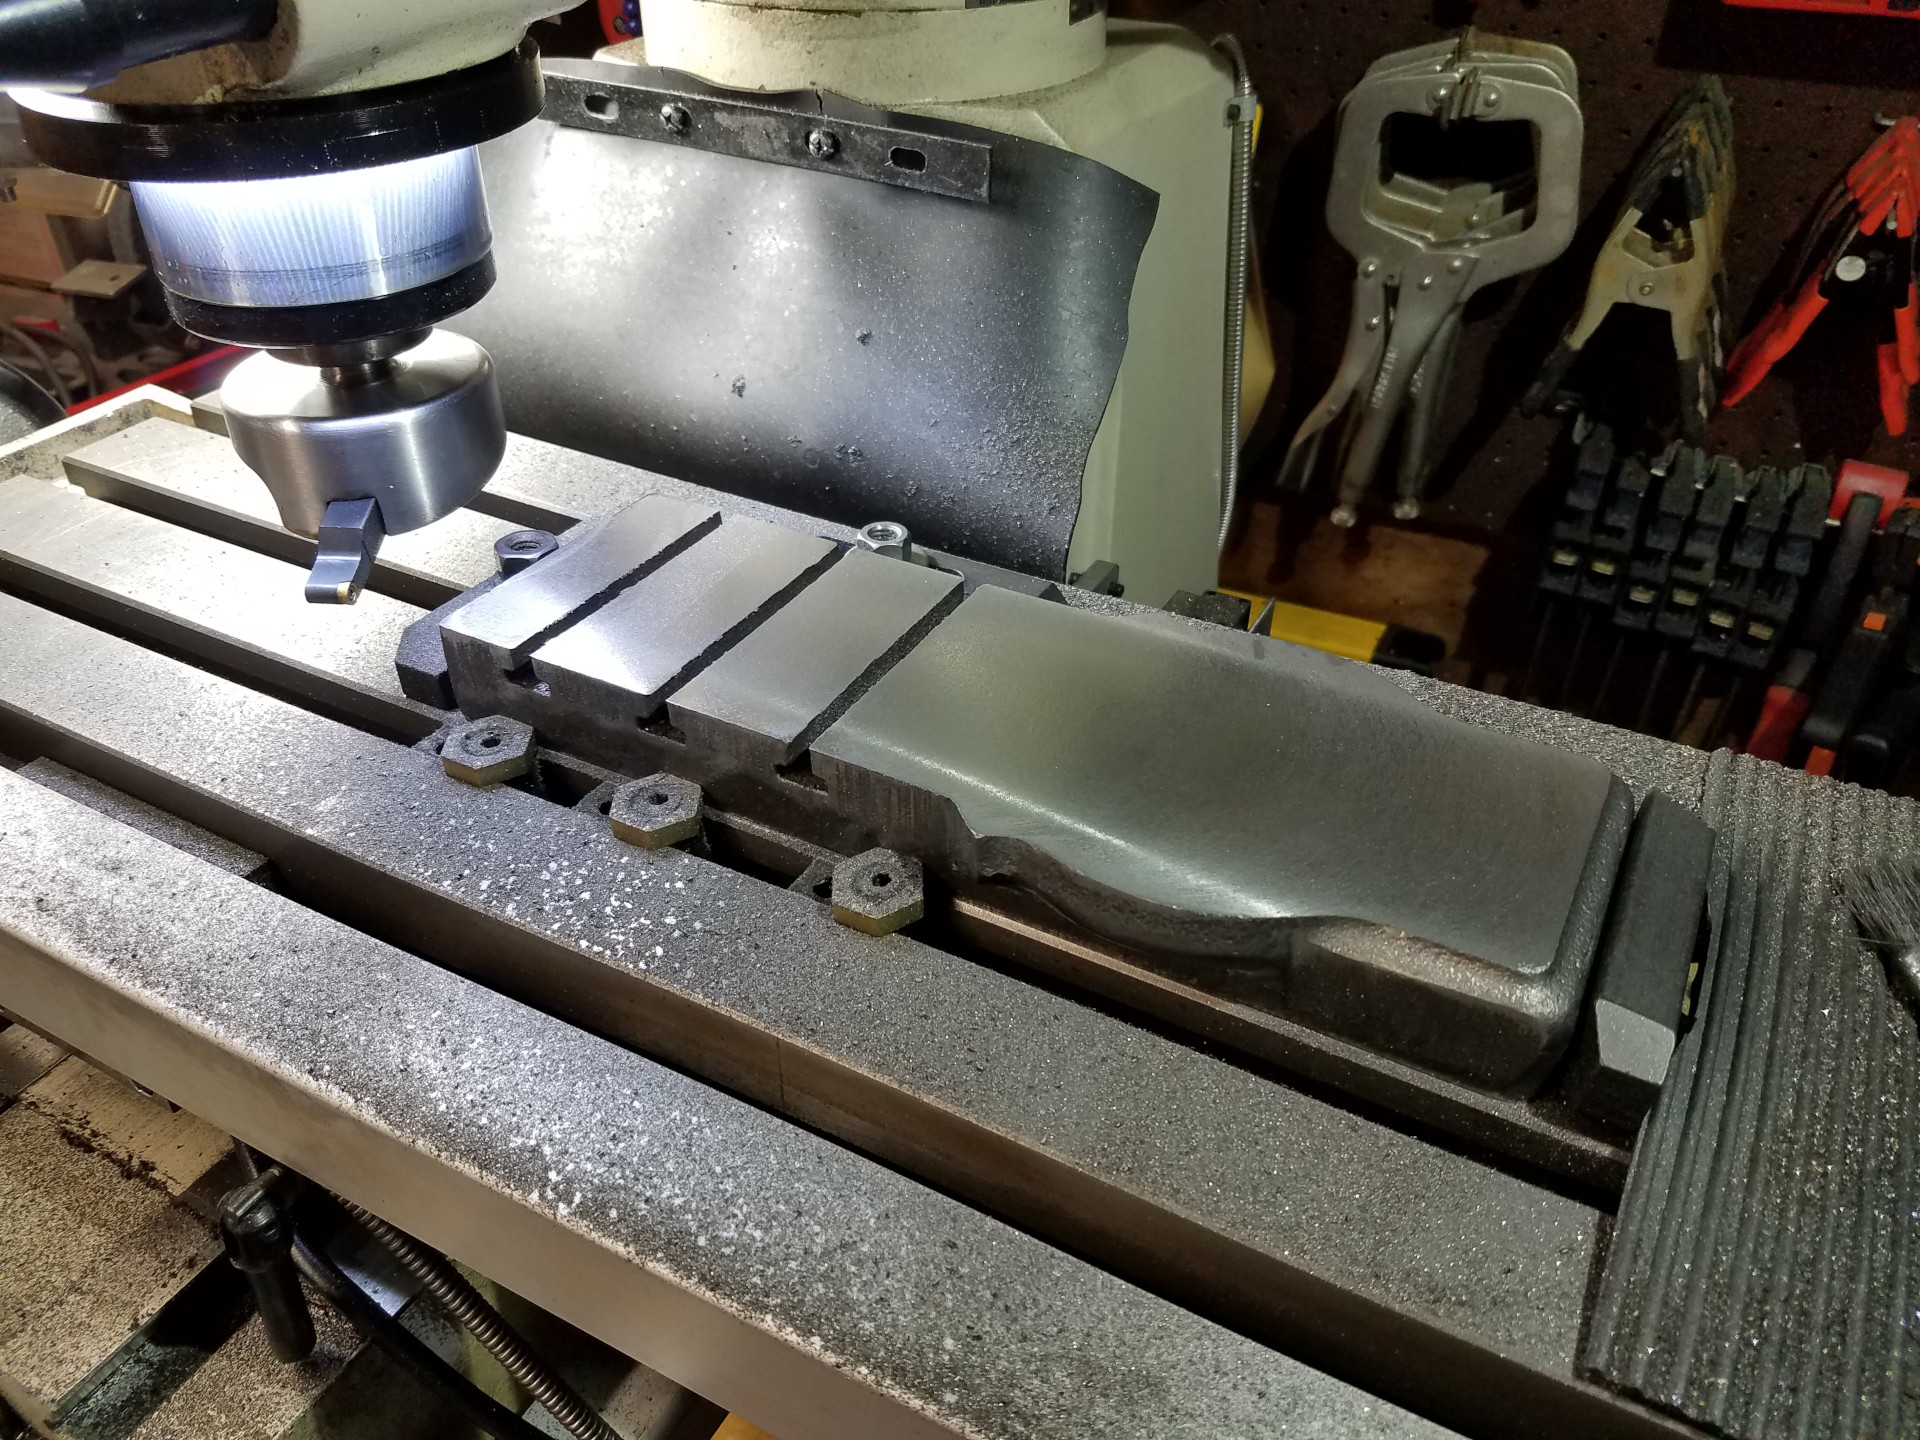
Results of the fly cutter. The mill has just enough table travel to completely clear the casting on both sides while using the rather long fly cutter.
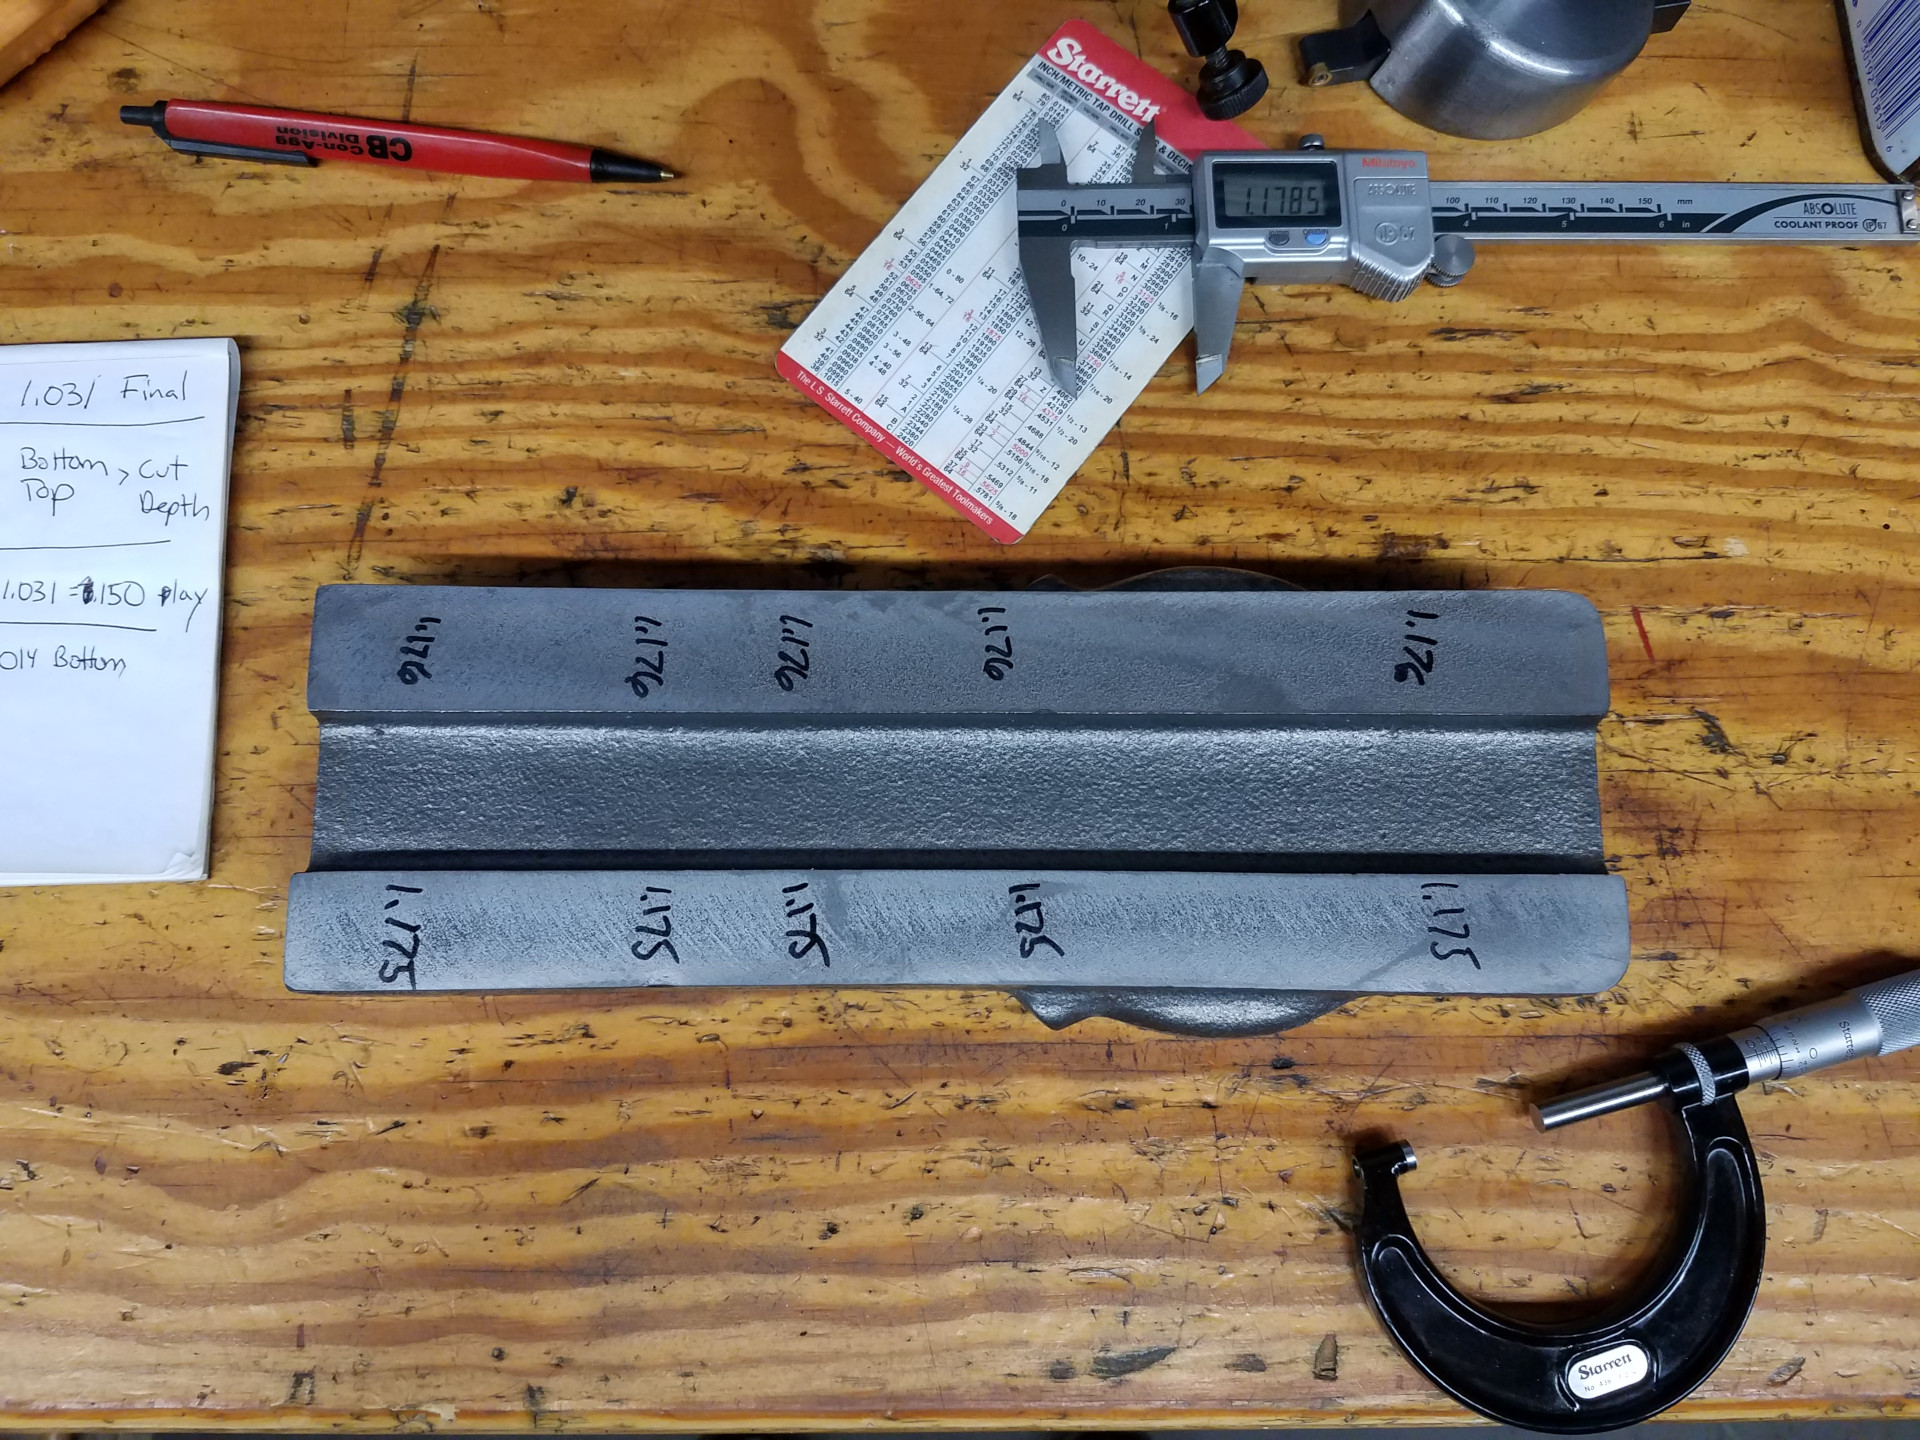
Throughout this project I was taking measurements to make sure the cross slide was staying as flat as possible. Once I took some cuts on the top and bottom, some shims were used during the next milling operation to make the casting flat.
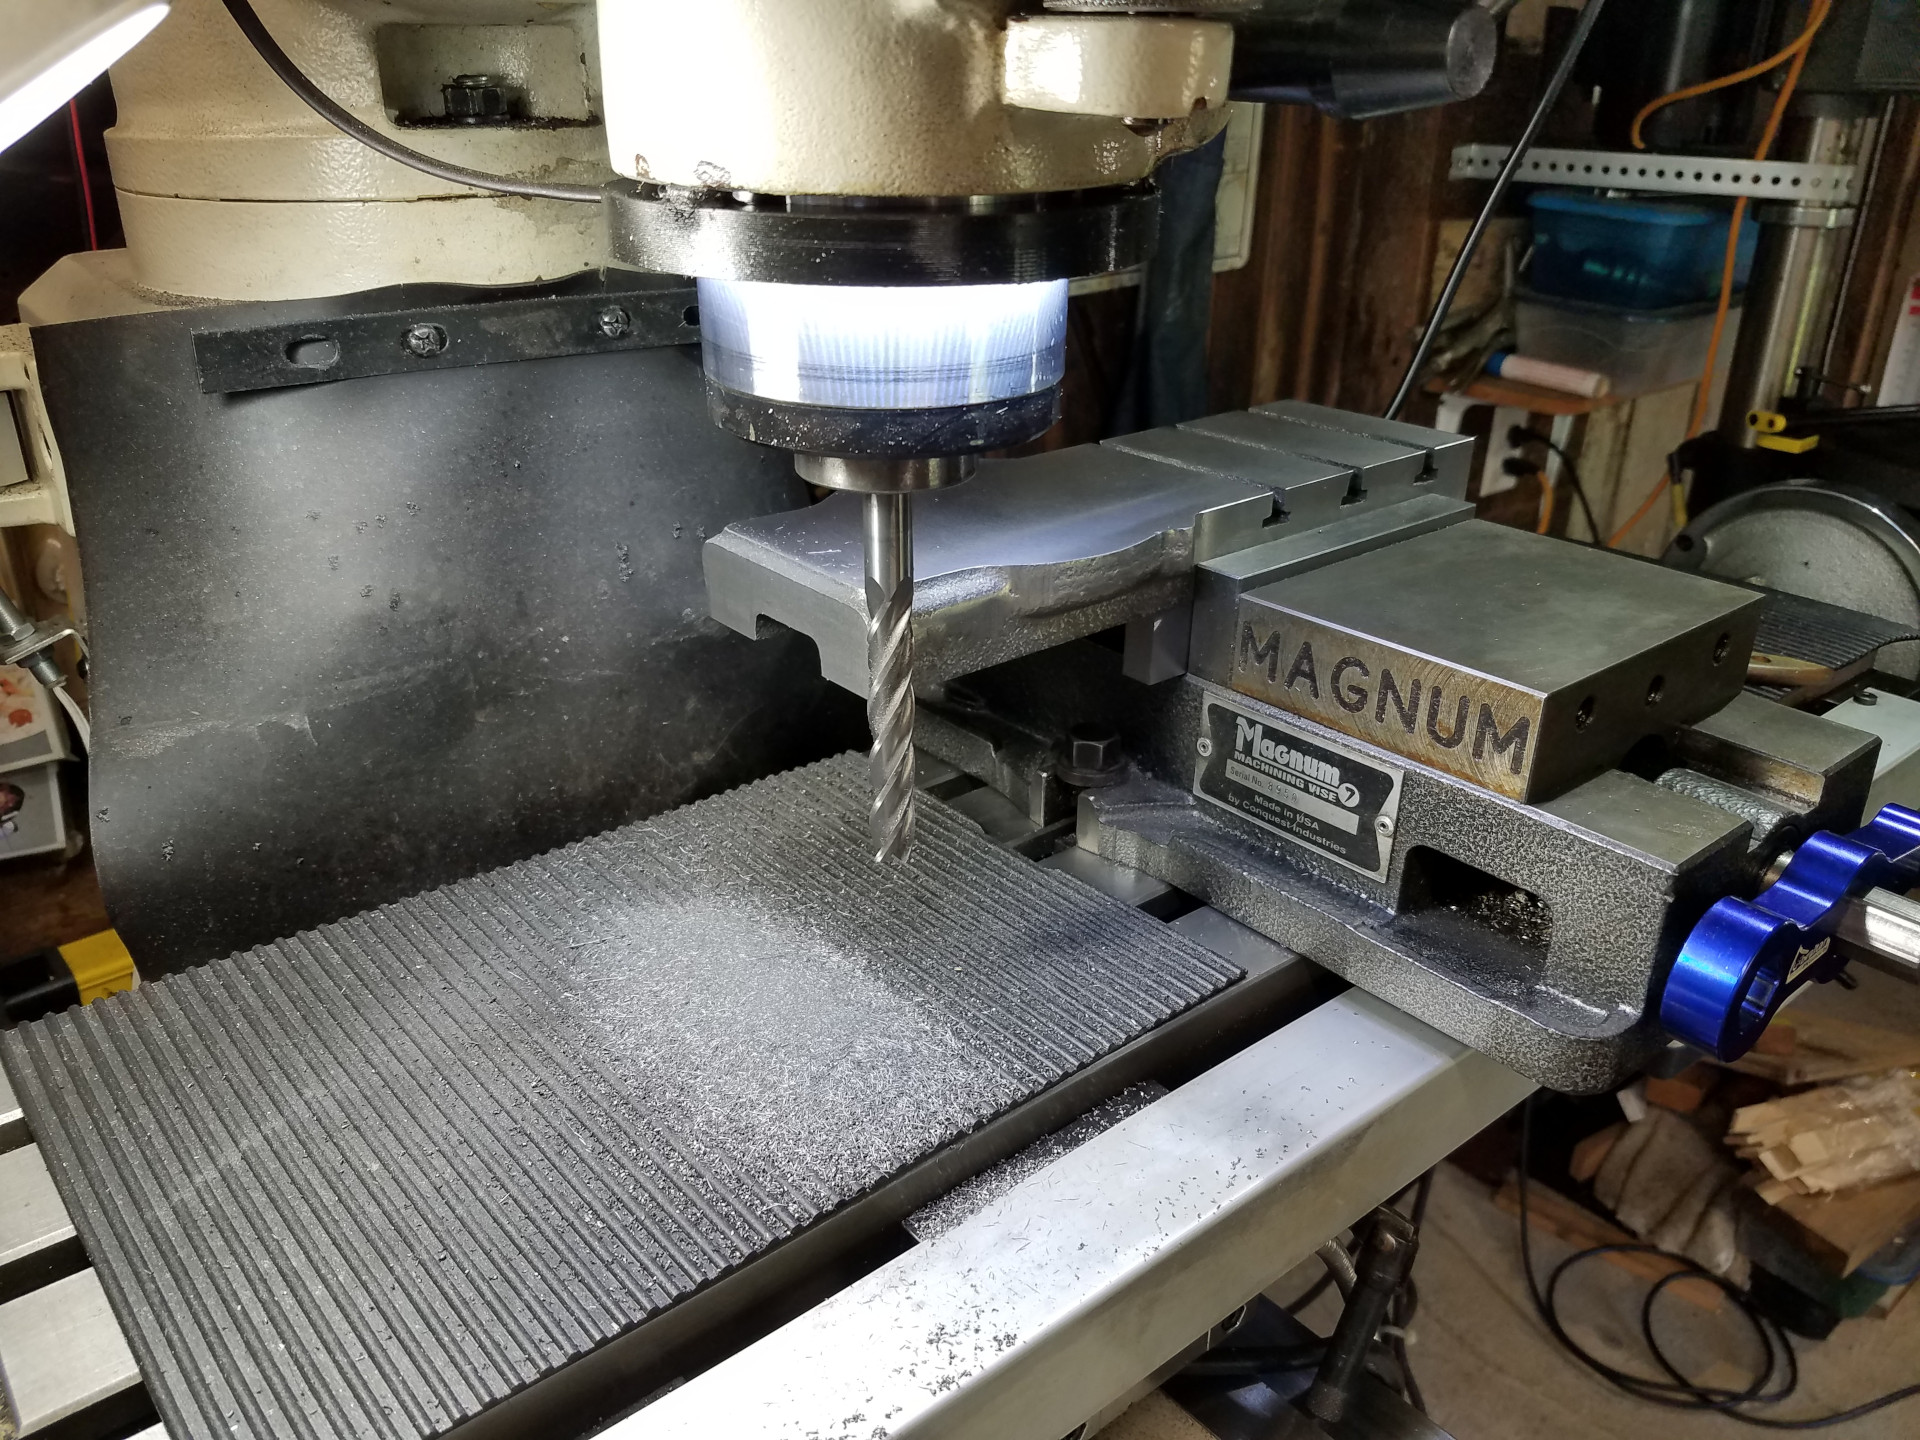
Milling the ends. Once I got the sides of the cross slide milled the milling vise was used to hold the casting for the rest of the work.
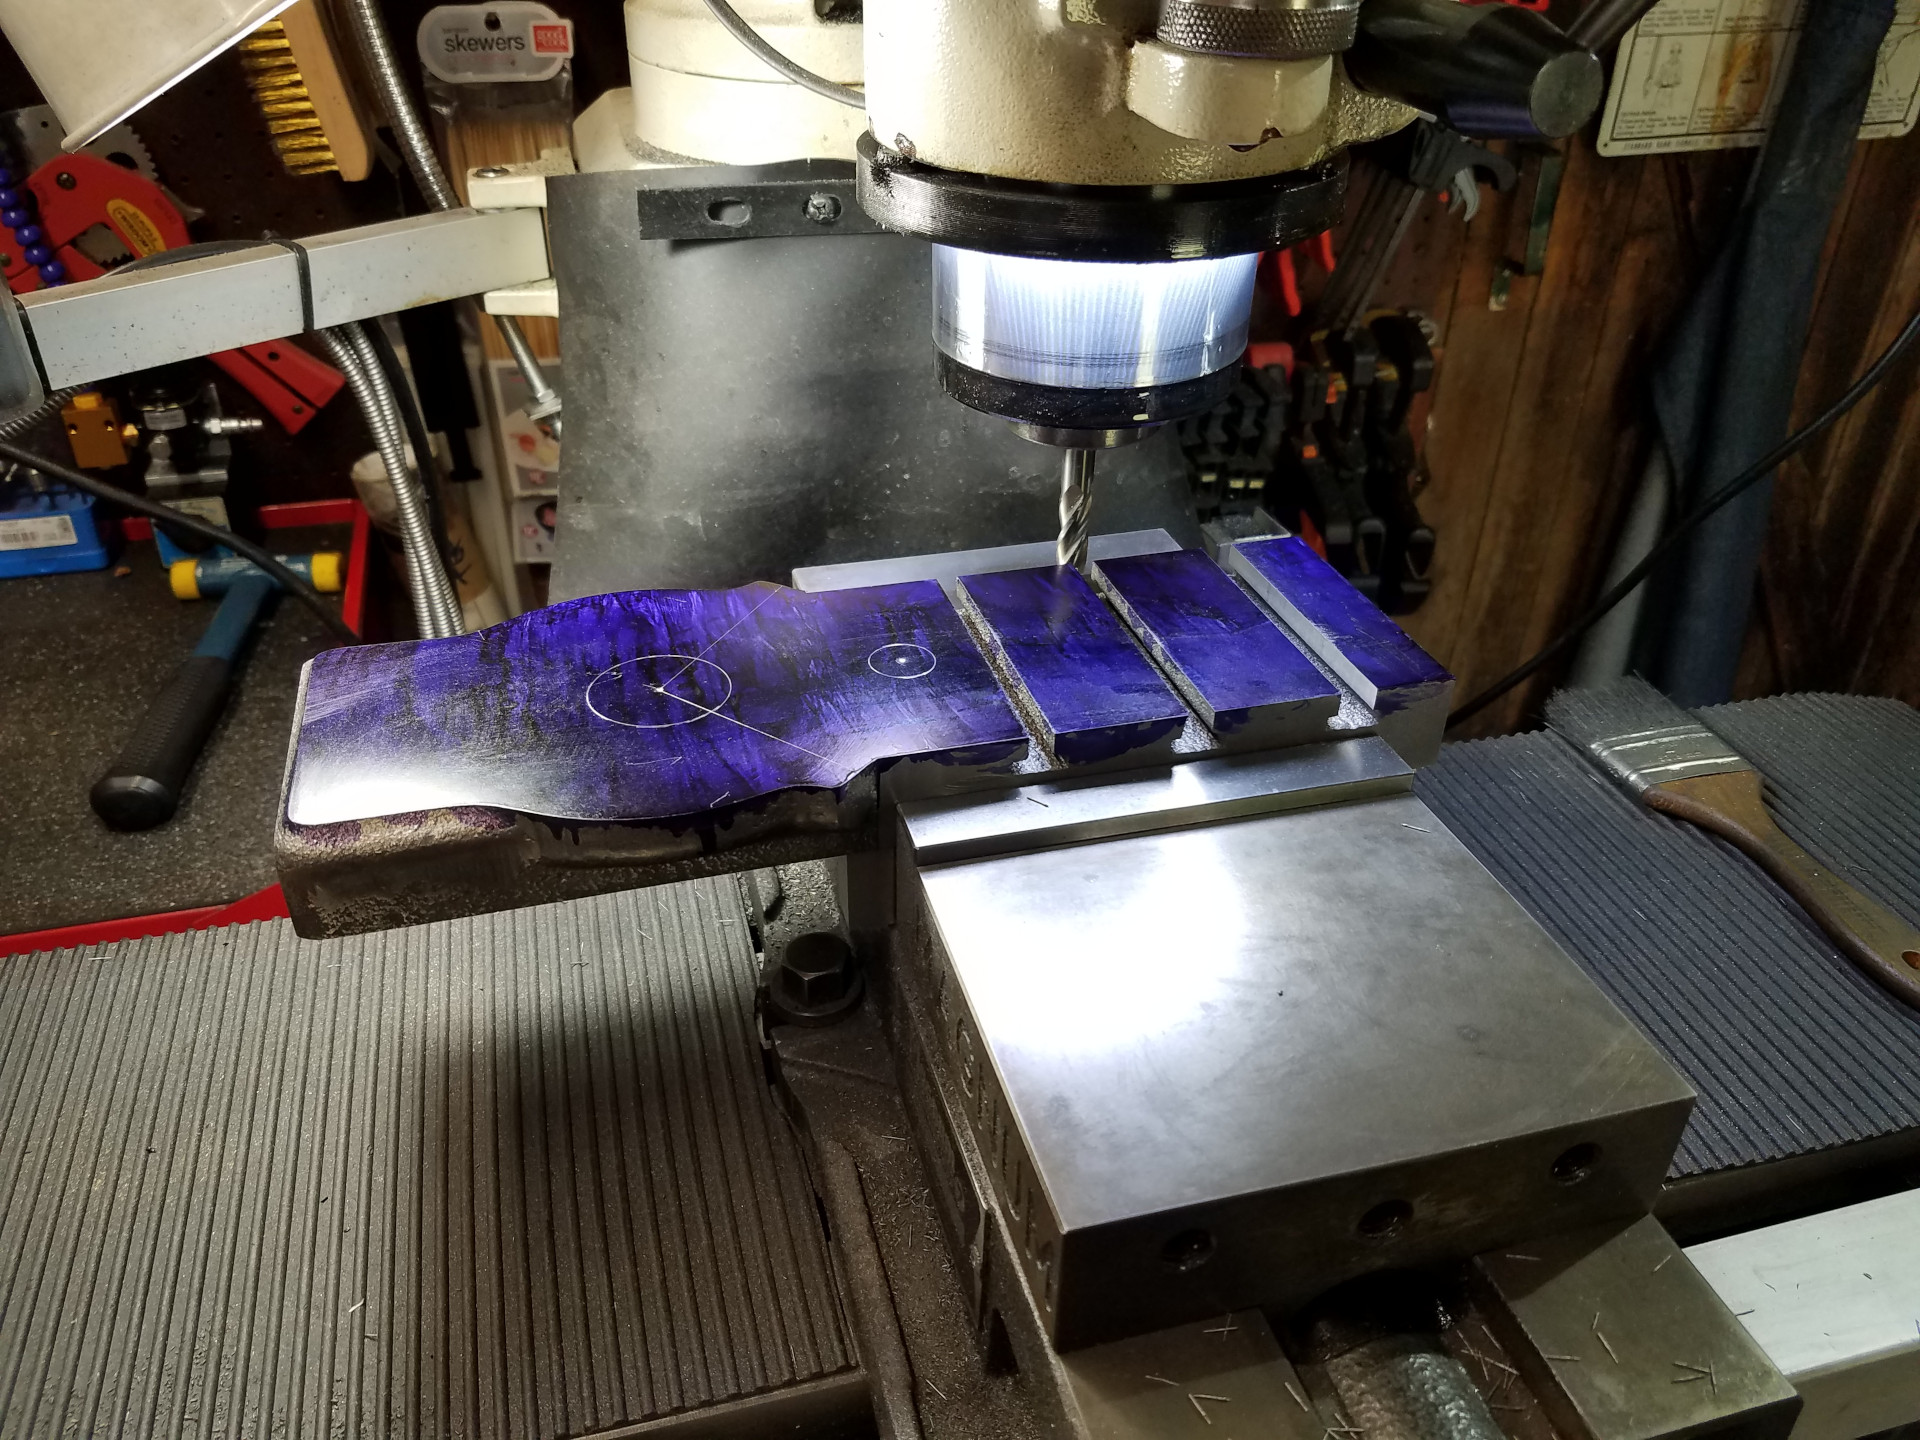
Getting started on the T-Slots with an end mill to open them up.
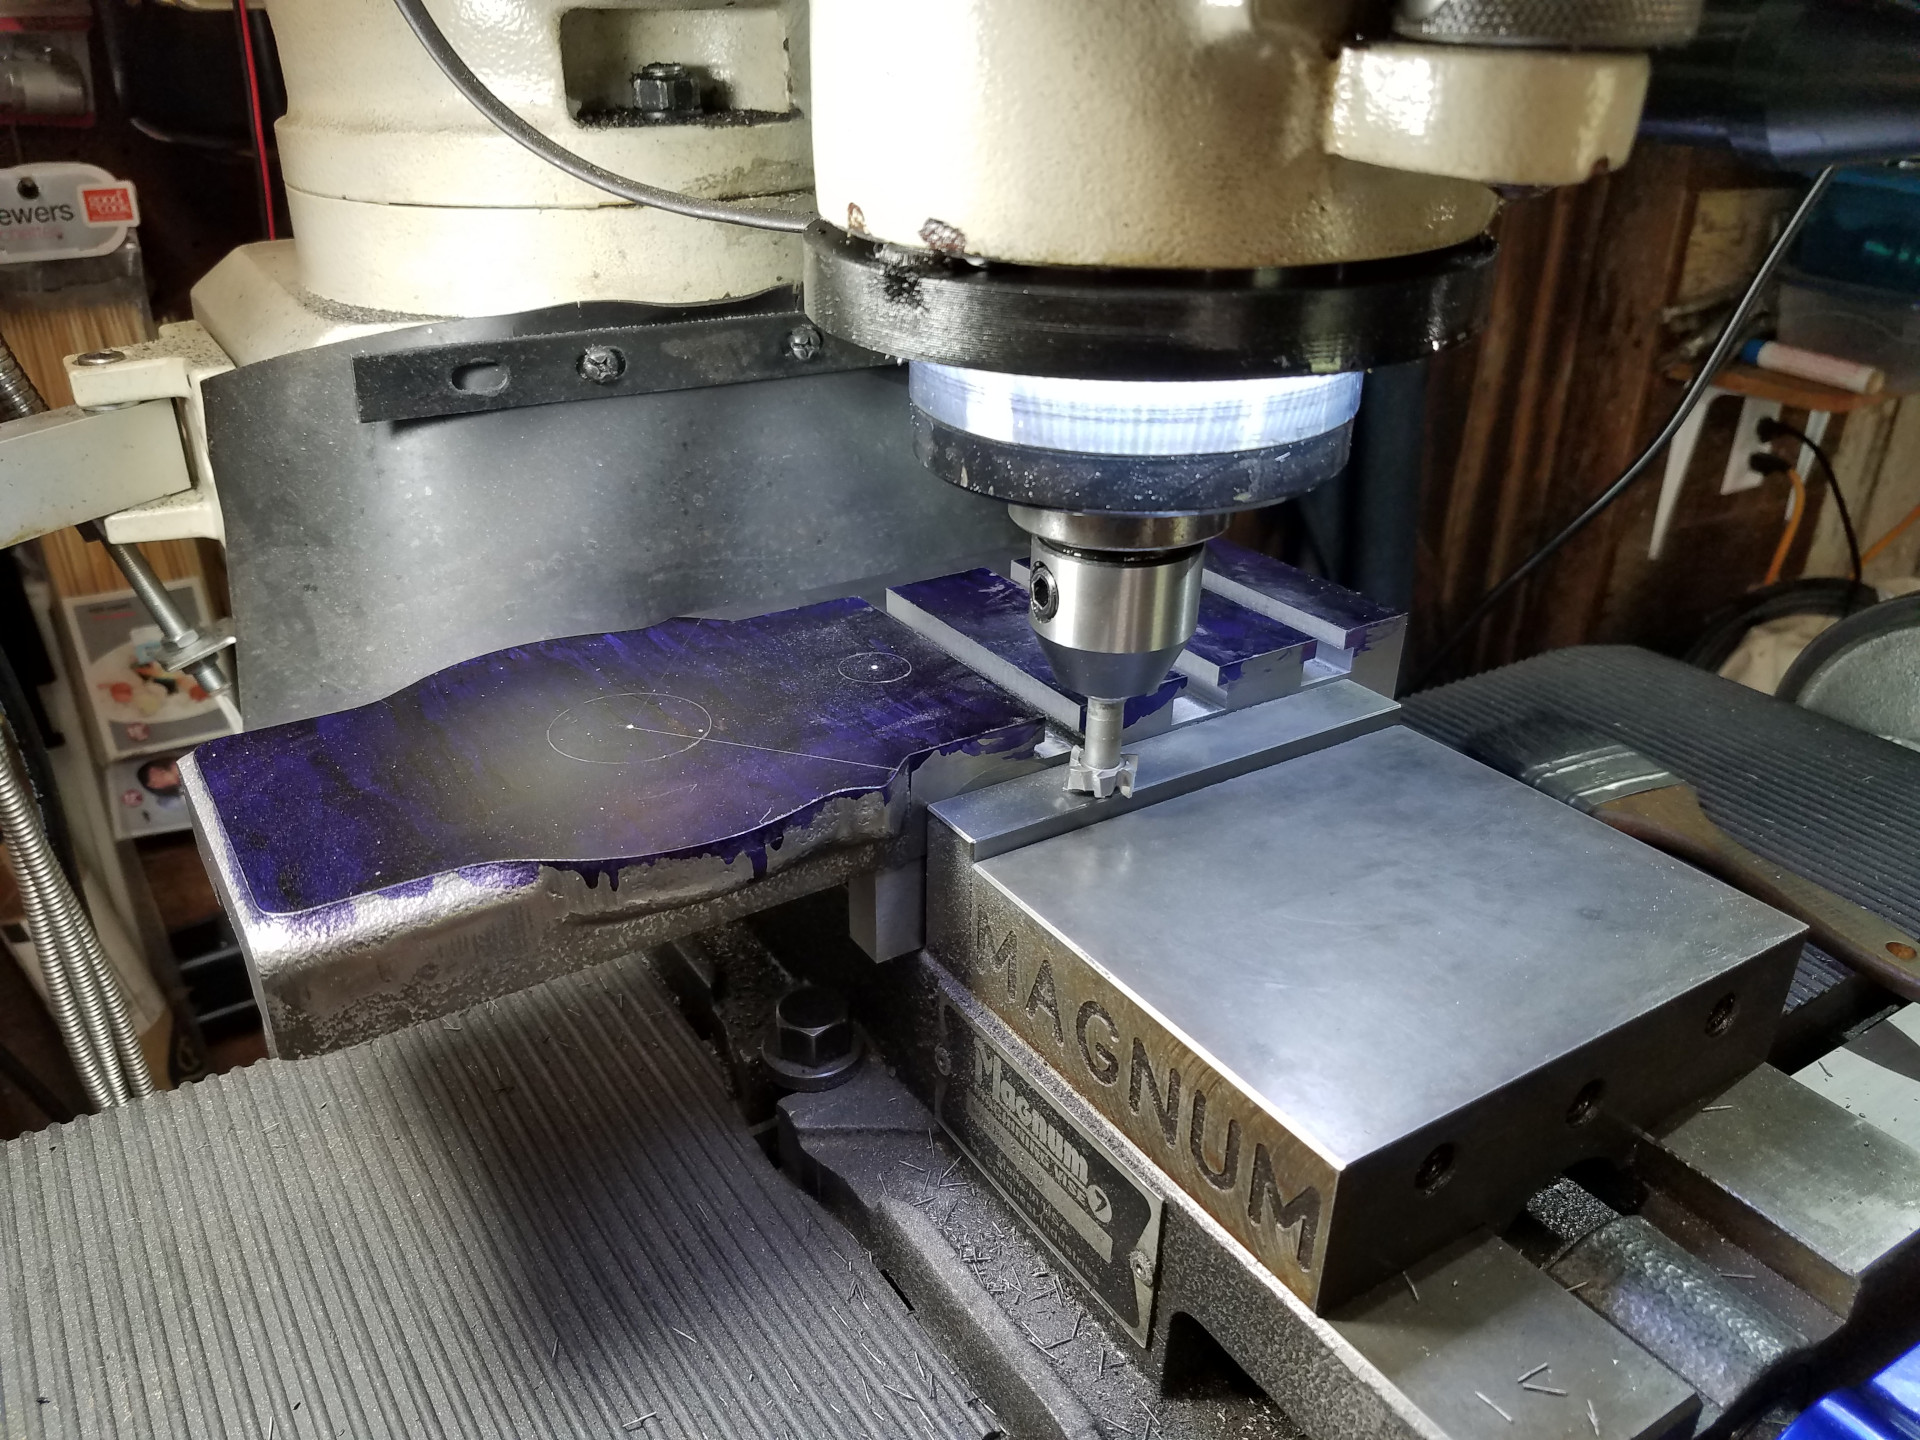
Finishing the T-Slots with the special T-Slot cutter held in an end mill holder.
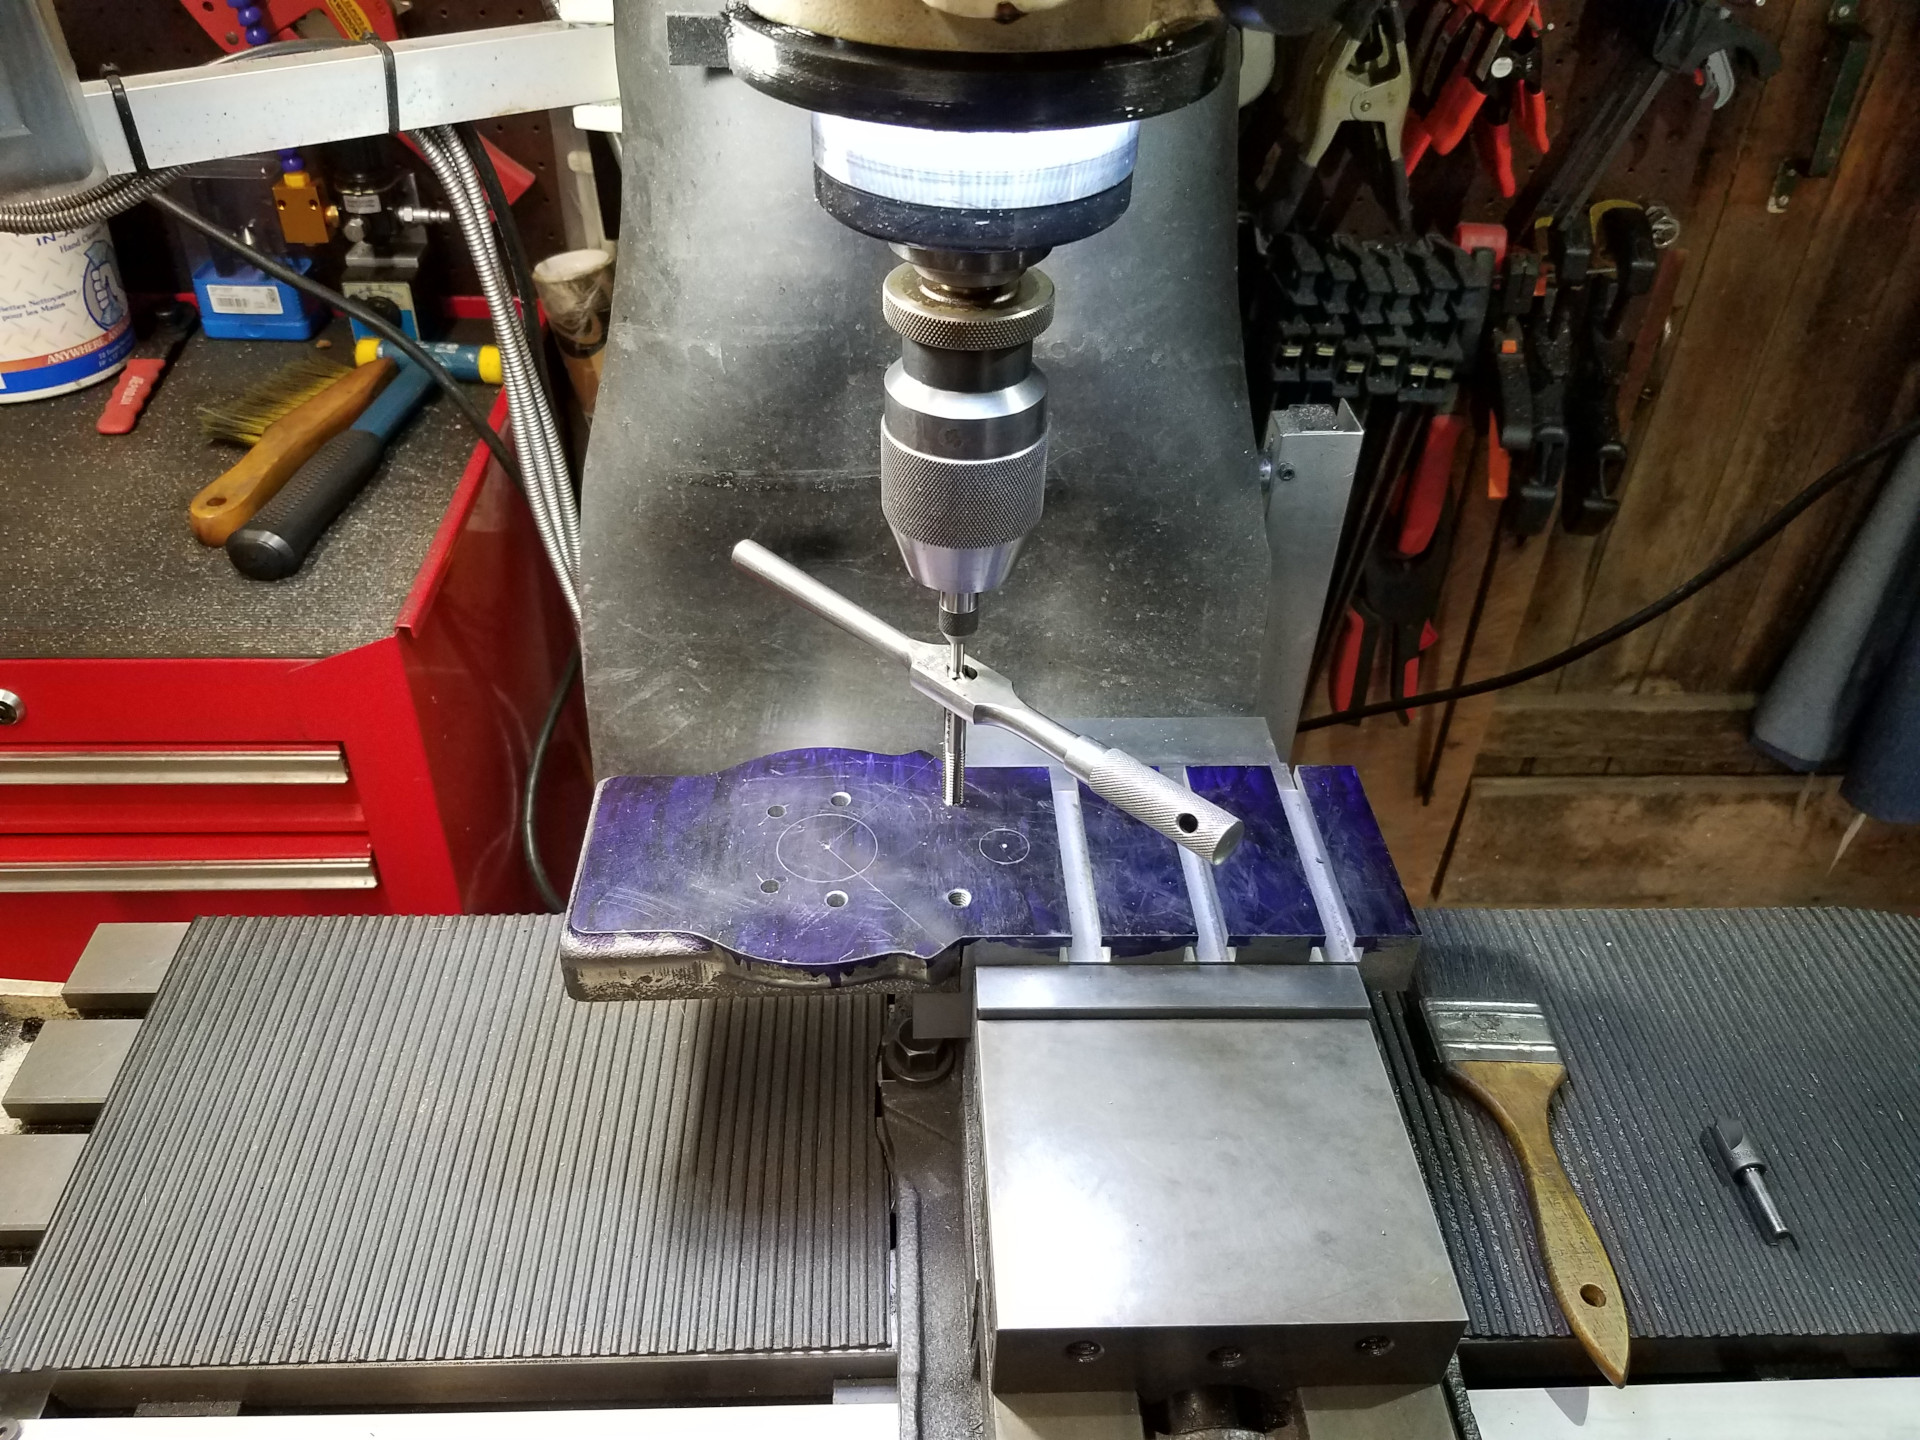
Along with the T-Slots, there are an array of tapped holes below where the compound usually sits to also aid in holding work. Here I'm tapping one of the holes.
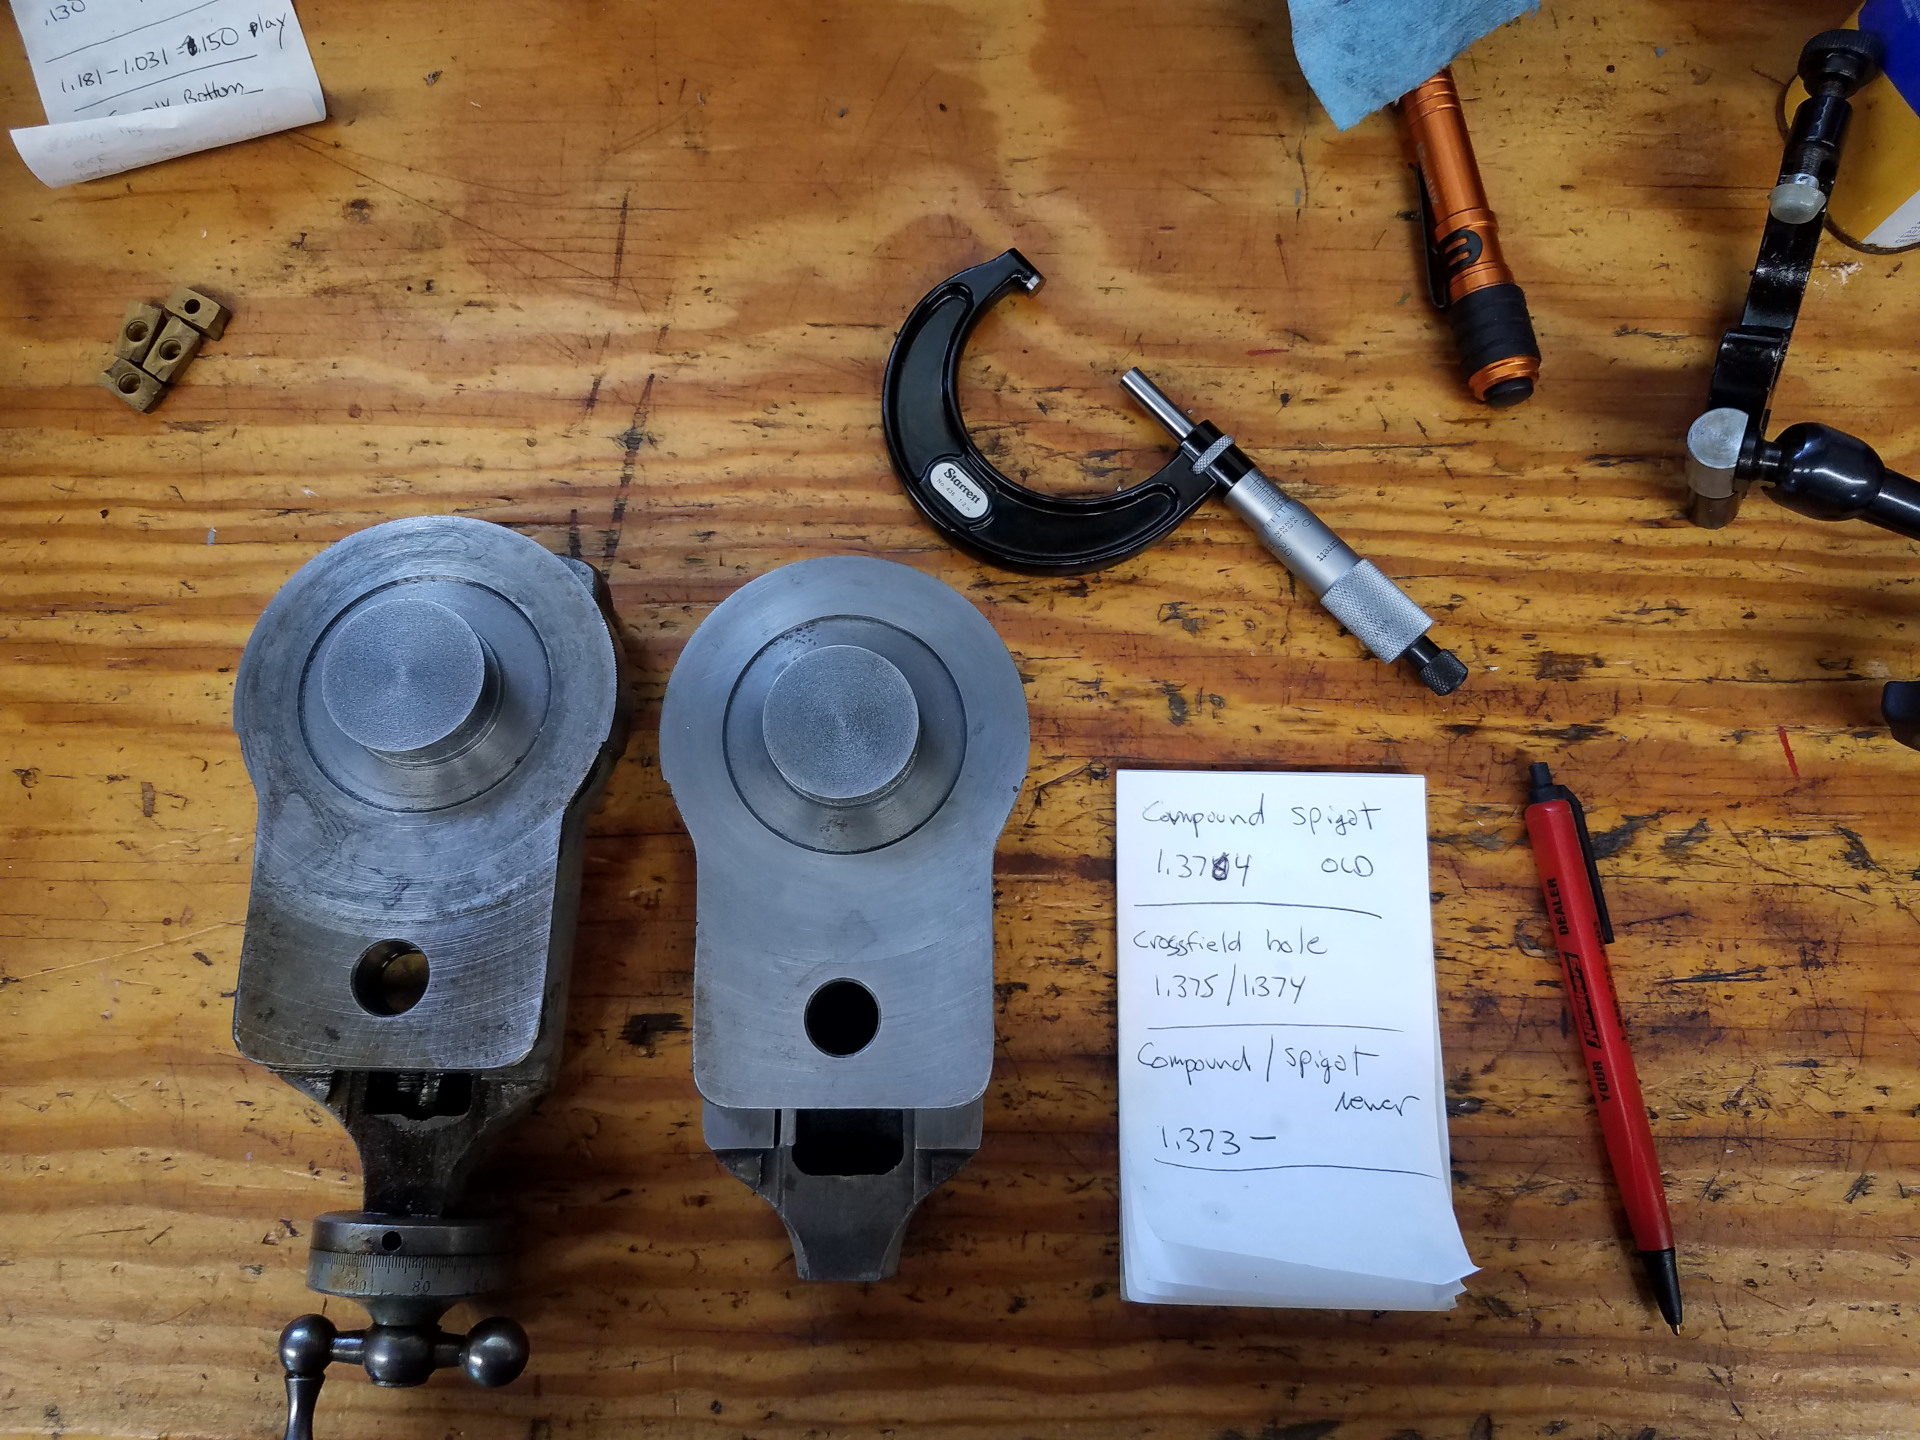
As mentioned in a earlier article, I had another compound/base in better shape to use with this new cross slide. The mounting point diameters of the compound bases are slightly different in size, so you need to make sure you make the hole in the cross slide to match the one you wish to use.
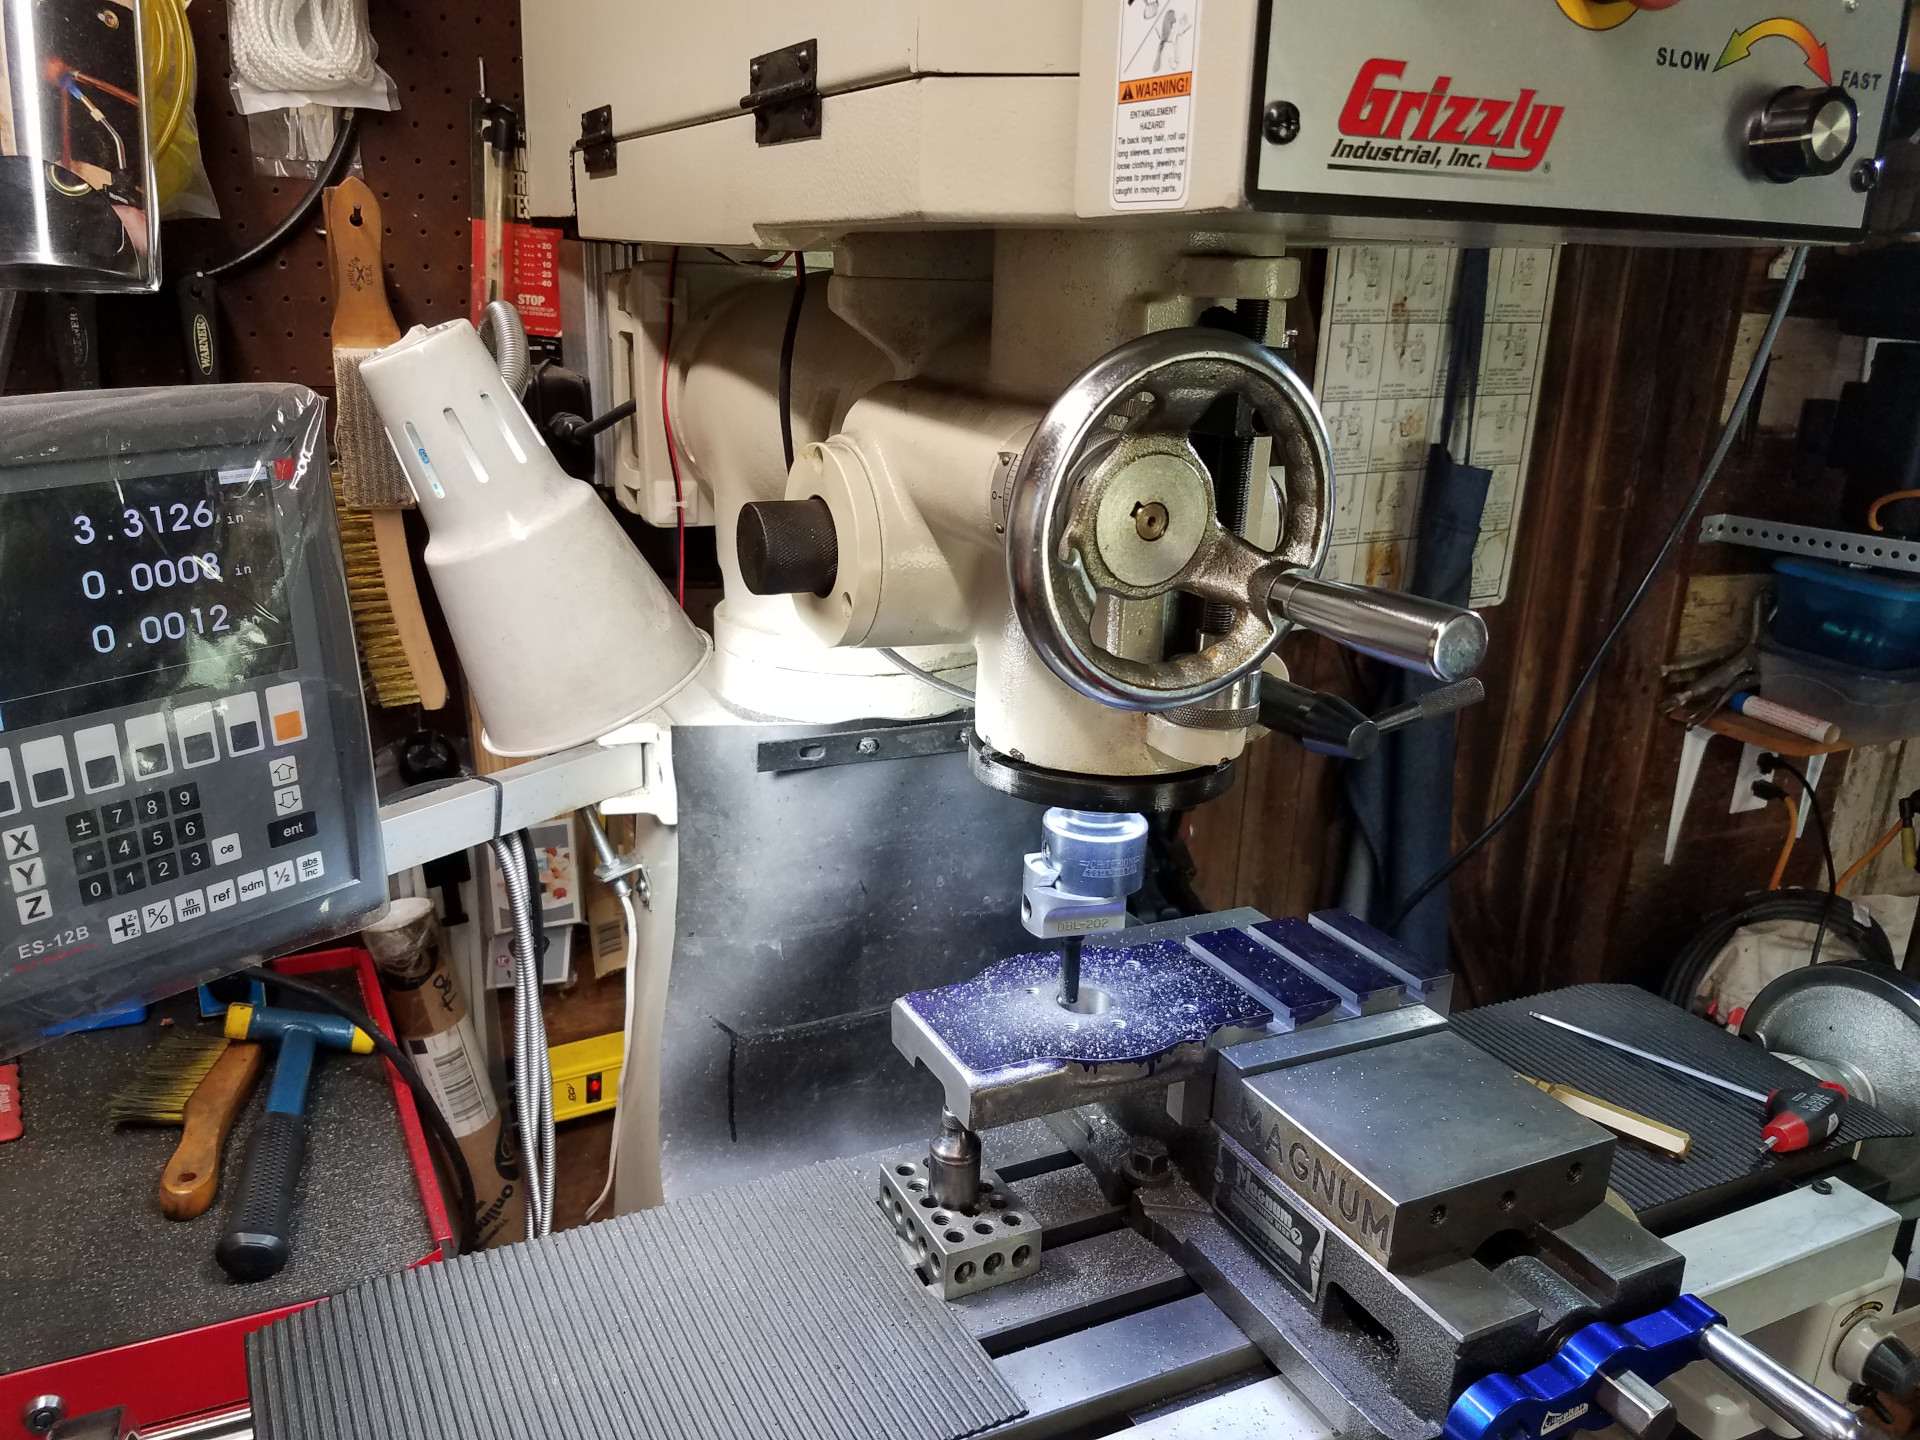
Using a boring head to create a precisely sized hole to fit the compound base mounting point. This is one of the few times I've used the fine feed for the quill for the best finish in the hole.
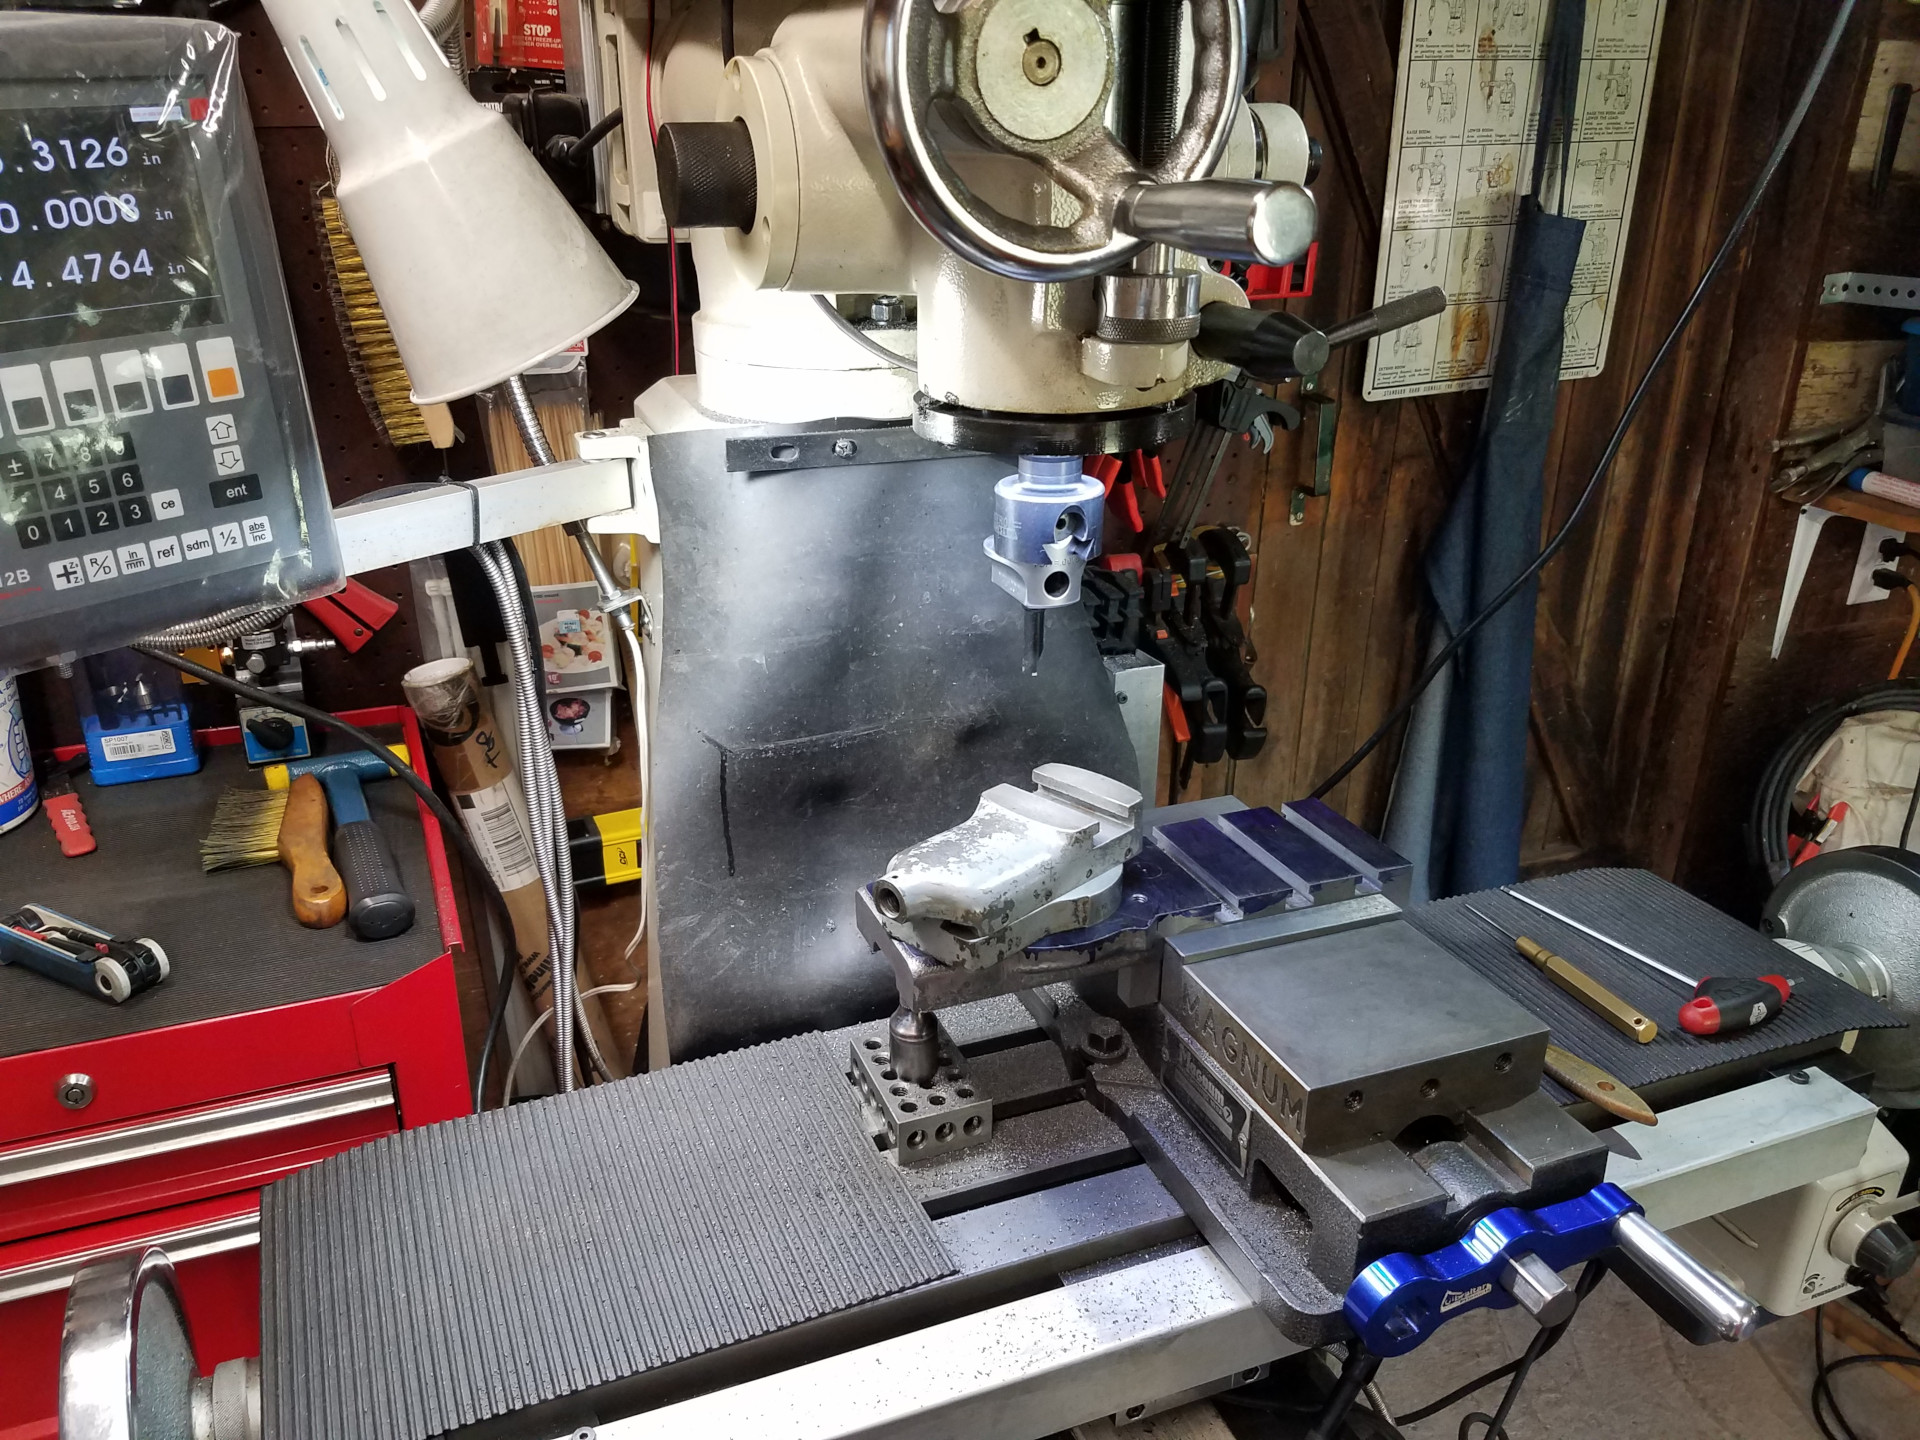
The newer compound fits great with no slop when inserted in it's mating cross slide hole.
The machining of the new T-Slotted Cross Slide will continue in the next article.