Machining of the T-Slotted cross slide continues with some metrology of the old cross slide and the newer saddle to make sure the dovetails will be cut at the correct location. The dovetails are then machined with the dovetail cutting tool. Machining the gib requires some custom fixture hardware, so that is manufactured and the gib is shaped to size. Holes are then drilled and tapped along the side of the cross slide for the gib mounting screws.
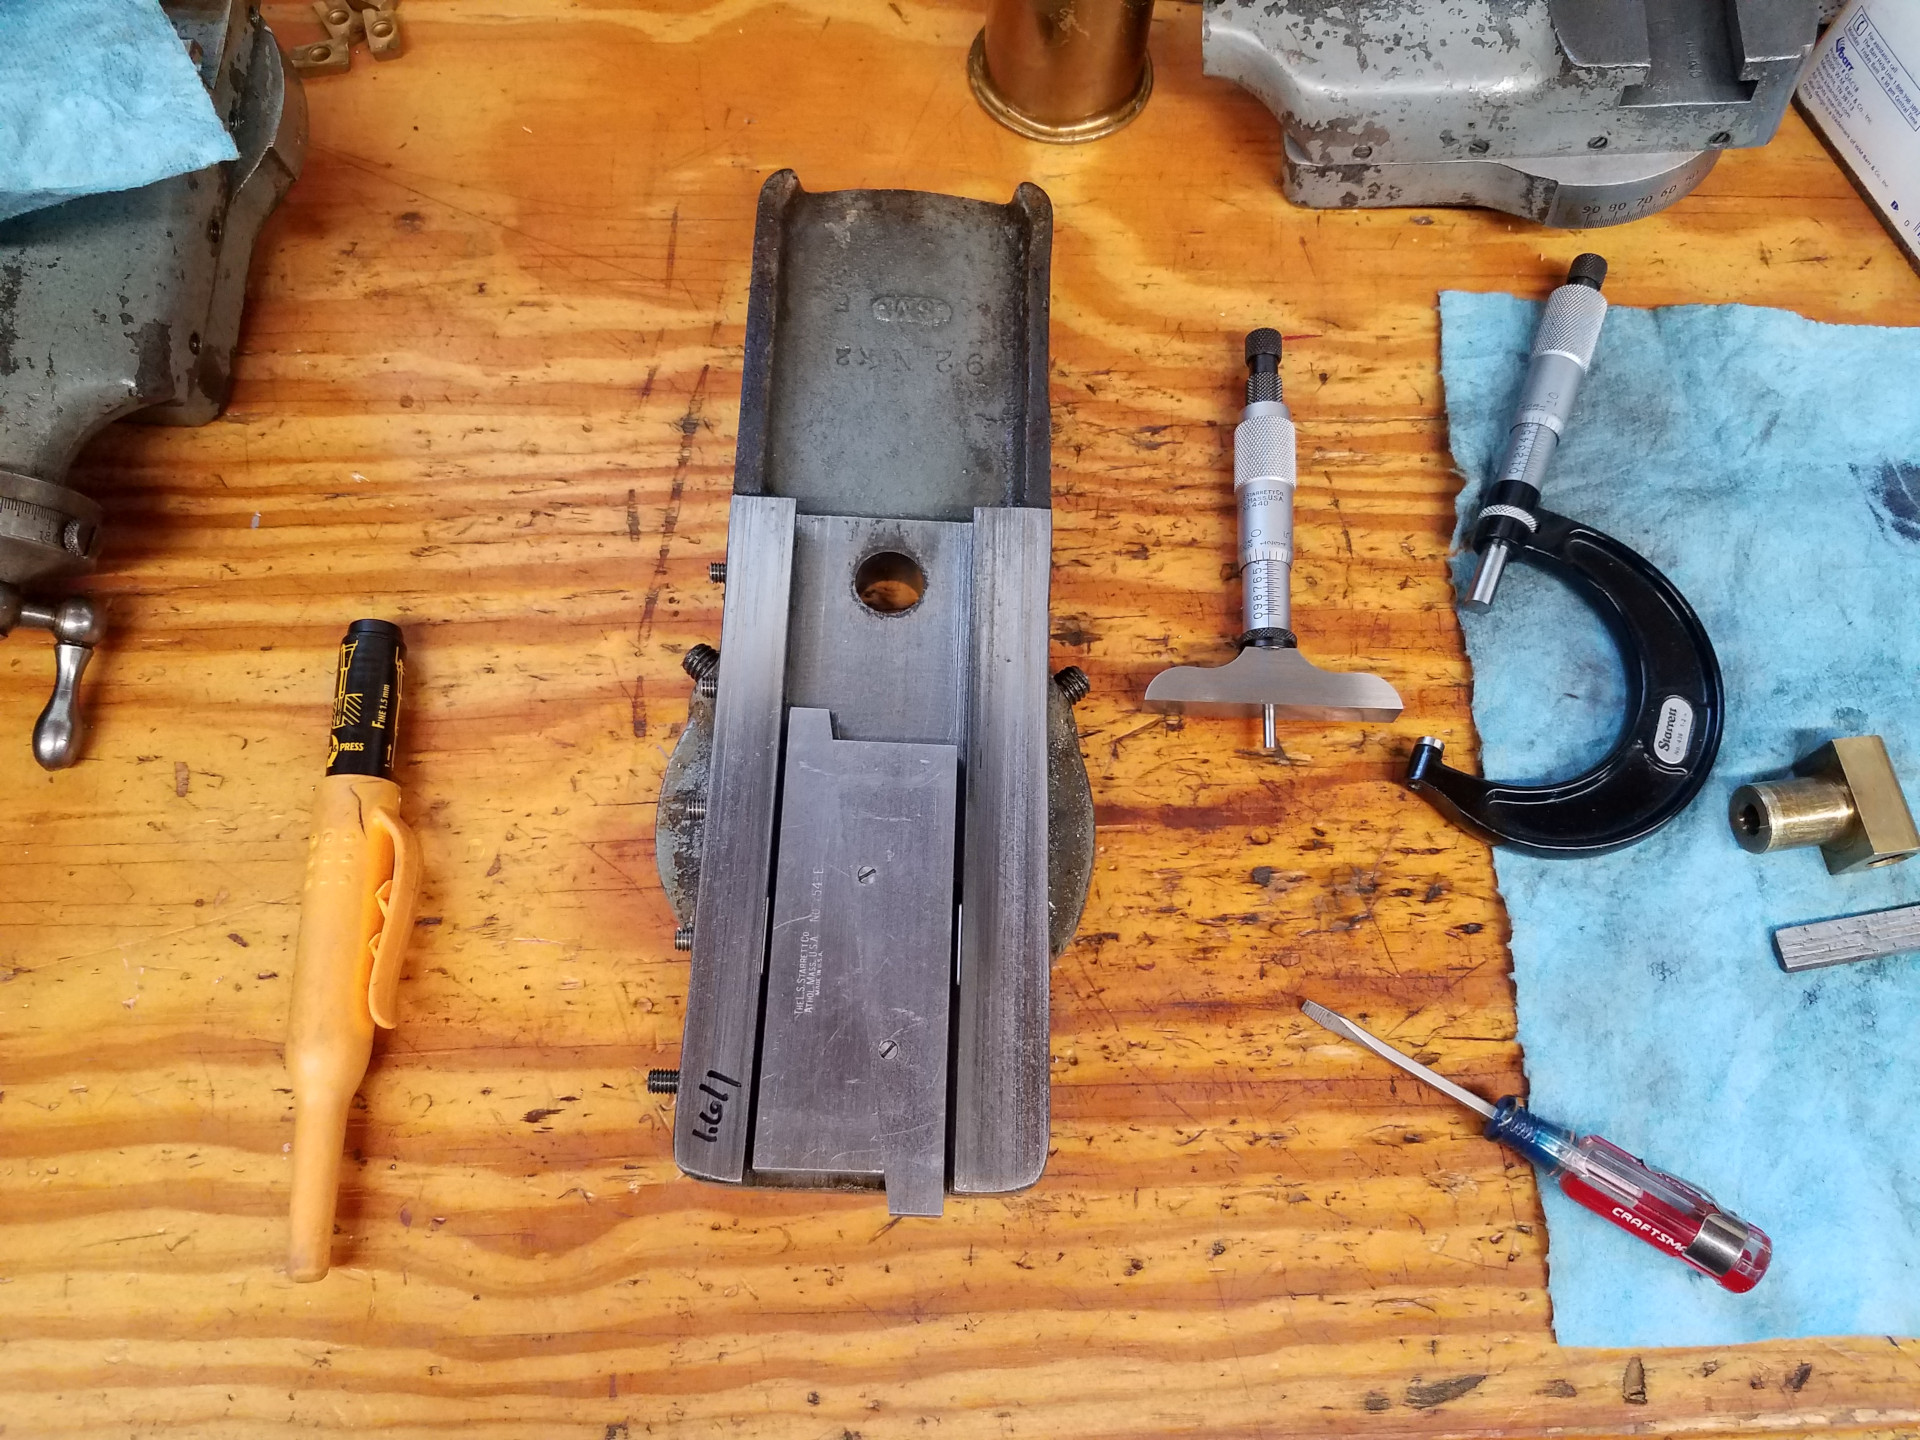
Here I'm comparing the old cross slide with the plans in Paula's build article which was linked in PT1. Inspection confirmed the old cross slide had a noticeable amount of wear in the non gib side dovetail and along the height of both dovetails. If you have an older lathe with wear, now is the time to plan for the fit of the cross slide to the saddle as the cross slide screw in the saddle might now be slightly off-center because of dovetail wear. For smoothest motion you need the screw in the saddle to align perfectly with the cross slide nut. Luckily the newer saddle installed in a previous article had little wear and I was able to just use the dimensions in Paula's plans which were drawn from a lathe which also had very little wear.
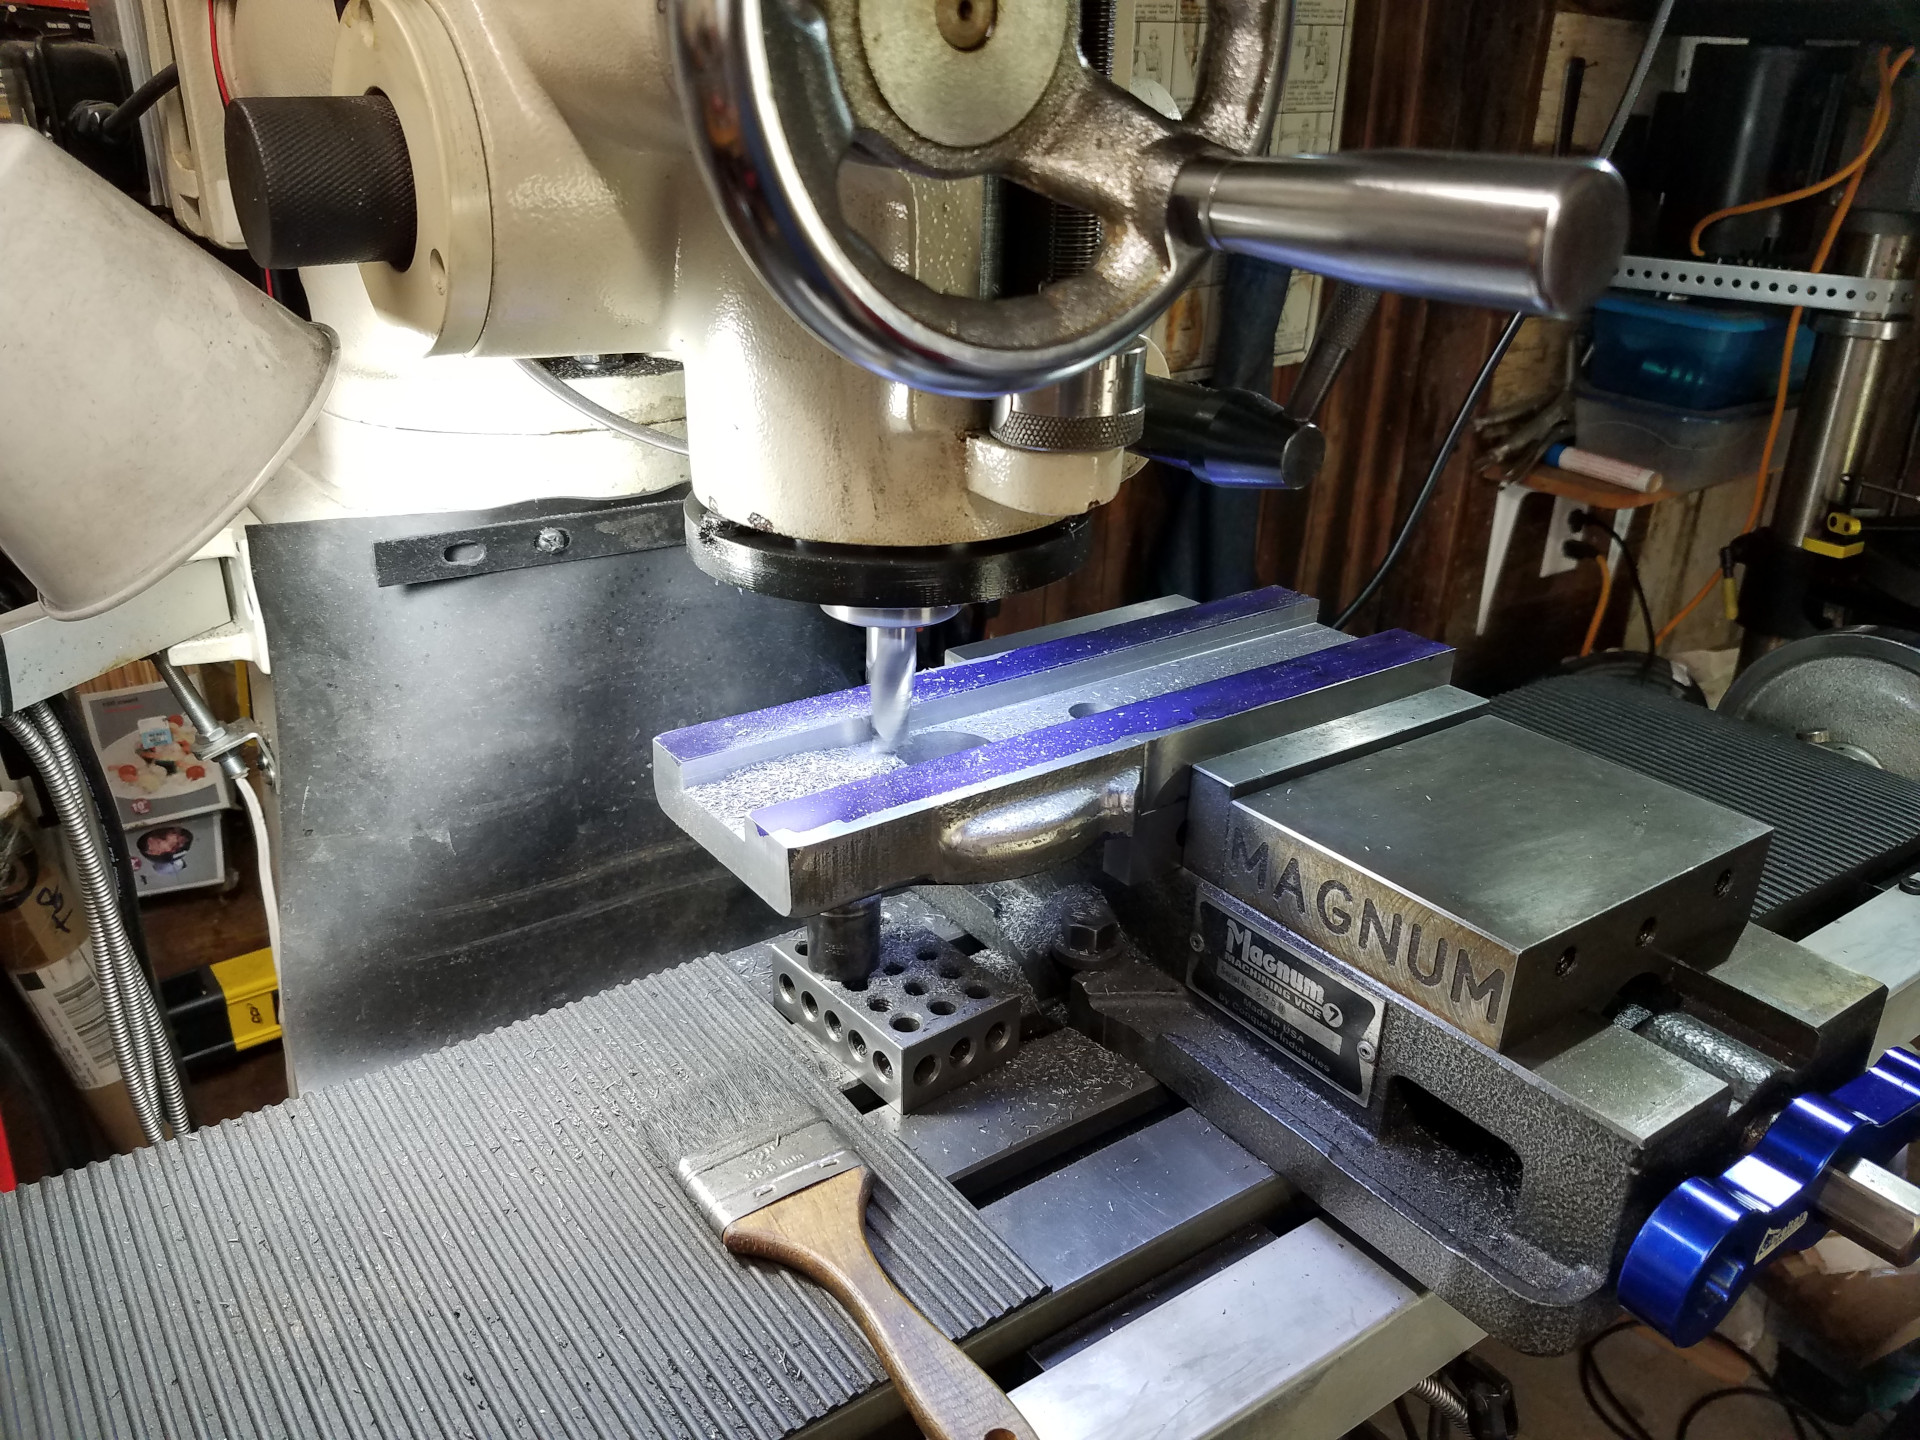
Getting started on machining the dovetails by opening up the space between them with an endmill.
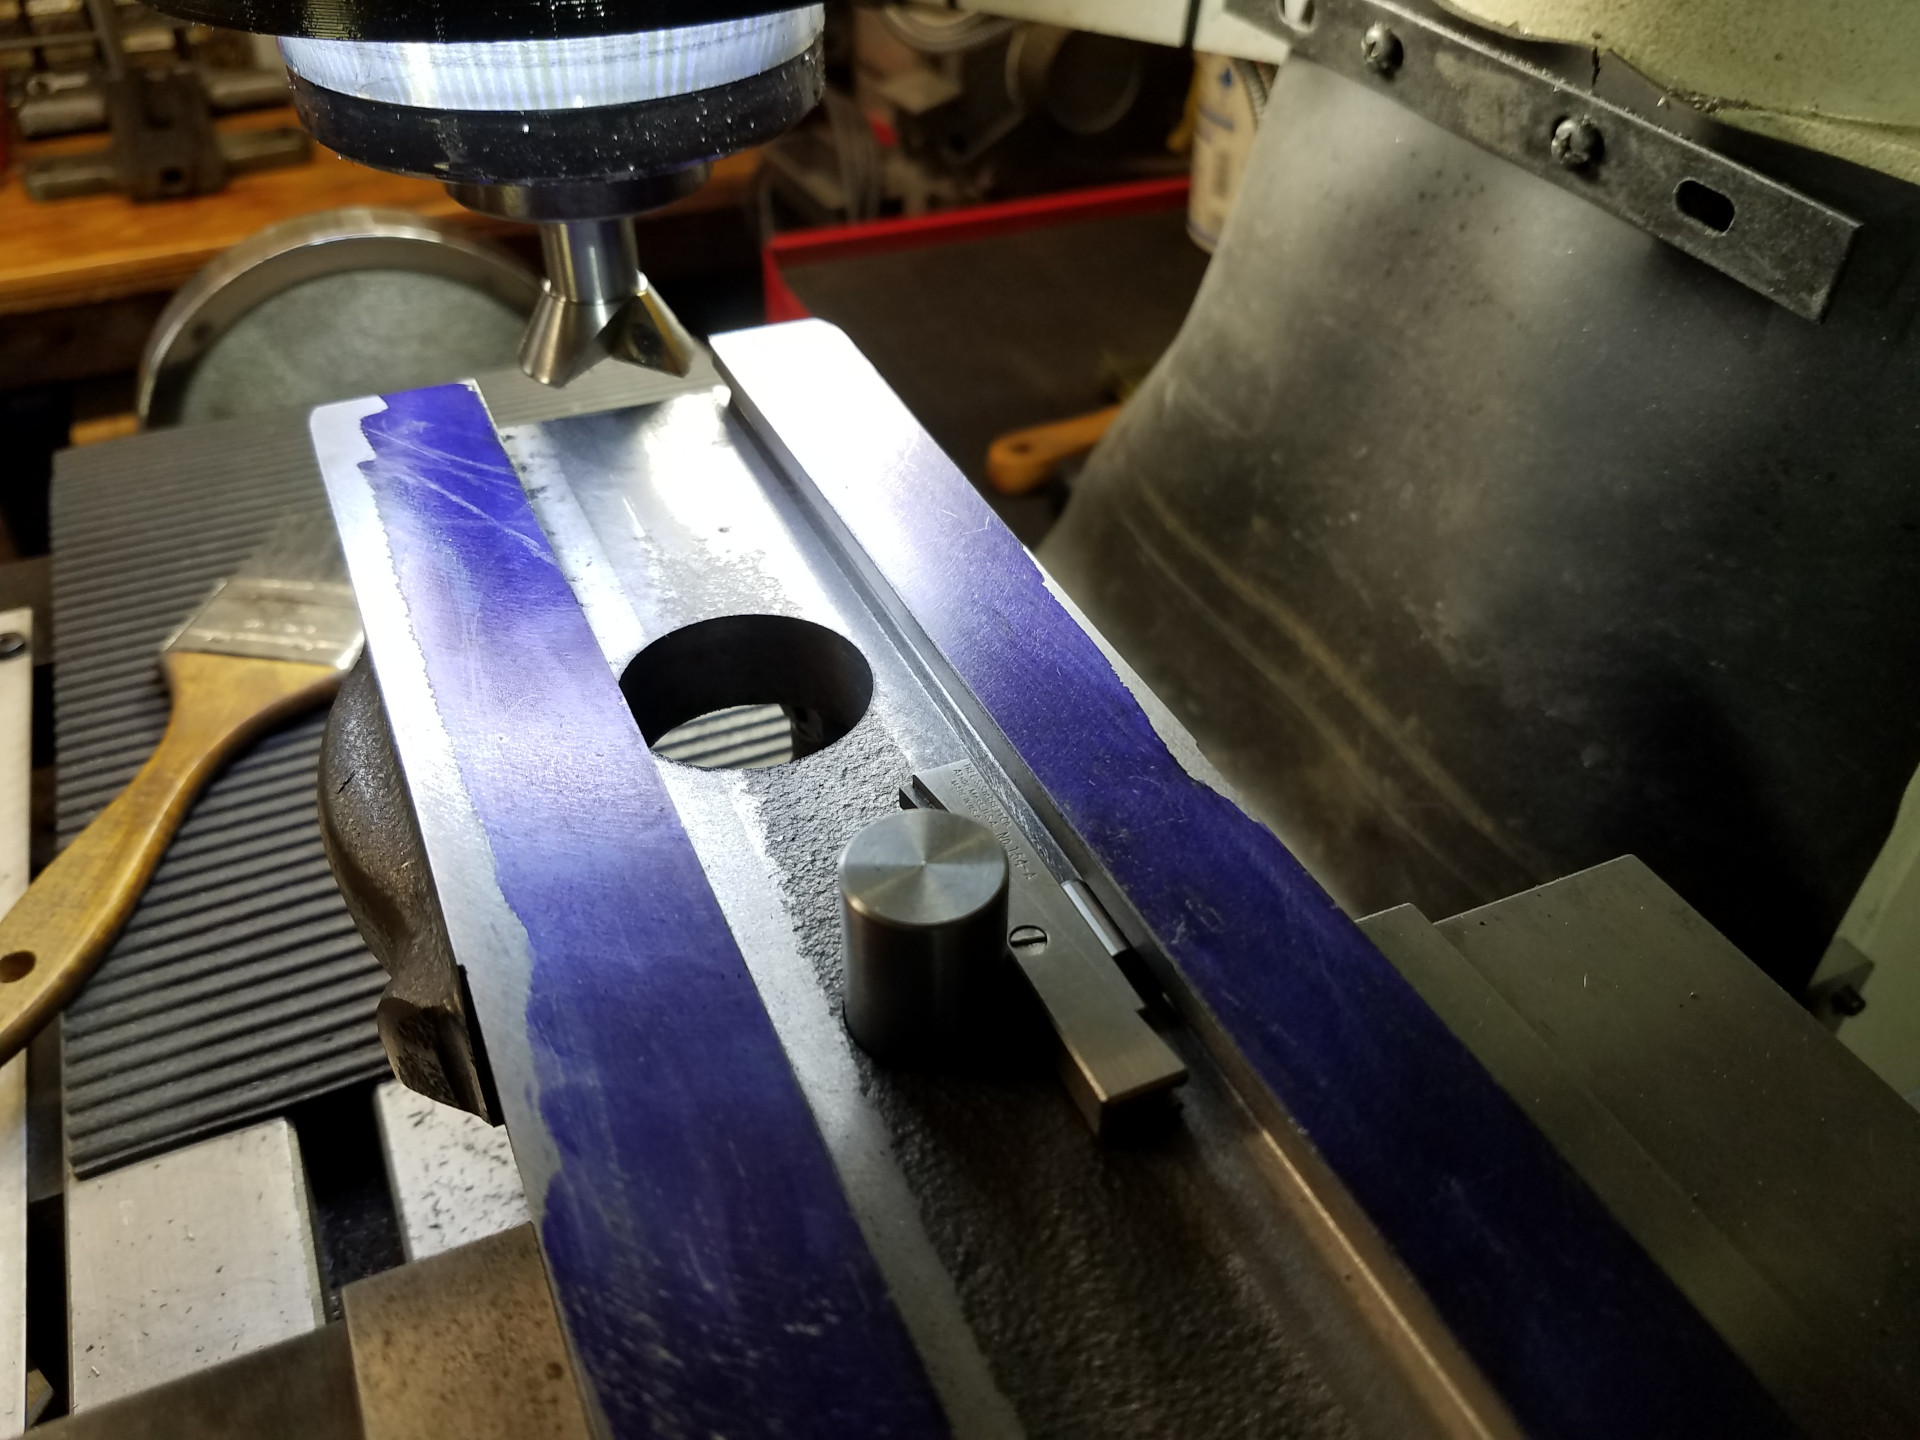
After using the Randy Richard dovetail cutter to machine the one dovetail, I'm measuring the distance of the dovetail from the screw nut hole. The plug for the screw nut hole was made beforehand with a very precise fit for an accurate measurement.
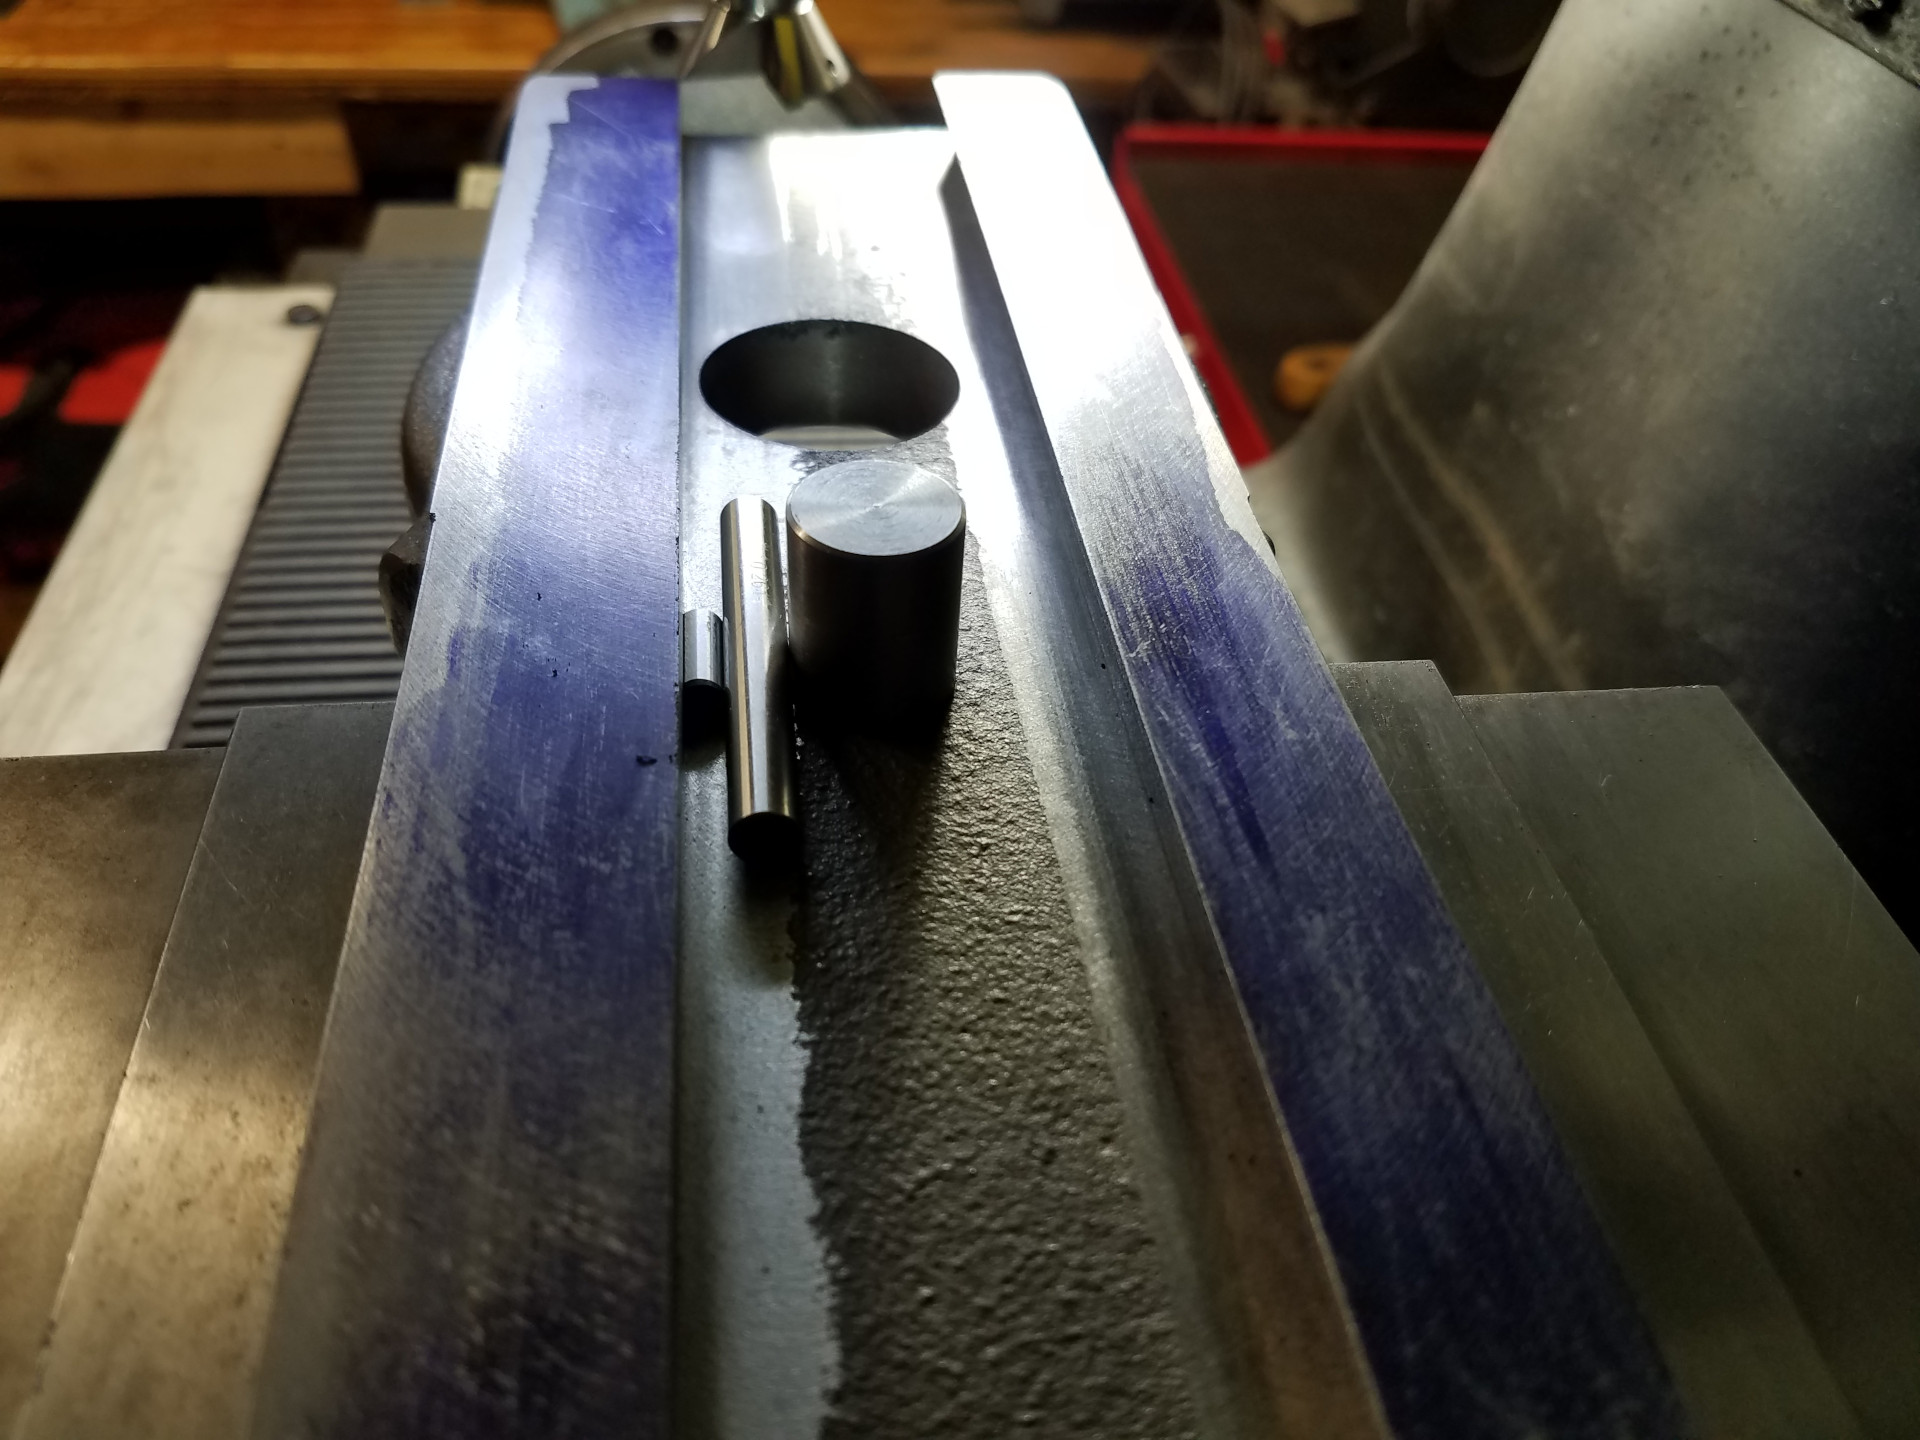
Because of the gib the dovetails are cut with a different distance from the screw nut hole. For proper screw and cross slide nut alignment the dovetail side shown here has to be machined right on the money. Minor fit problems with the other dovetail side can be adjusted with the gib.
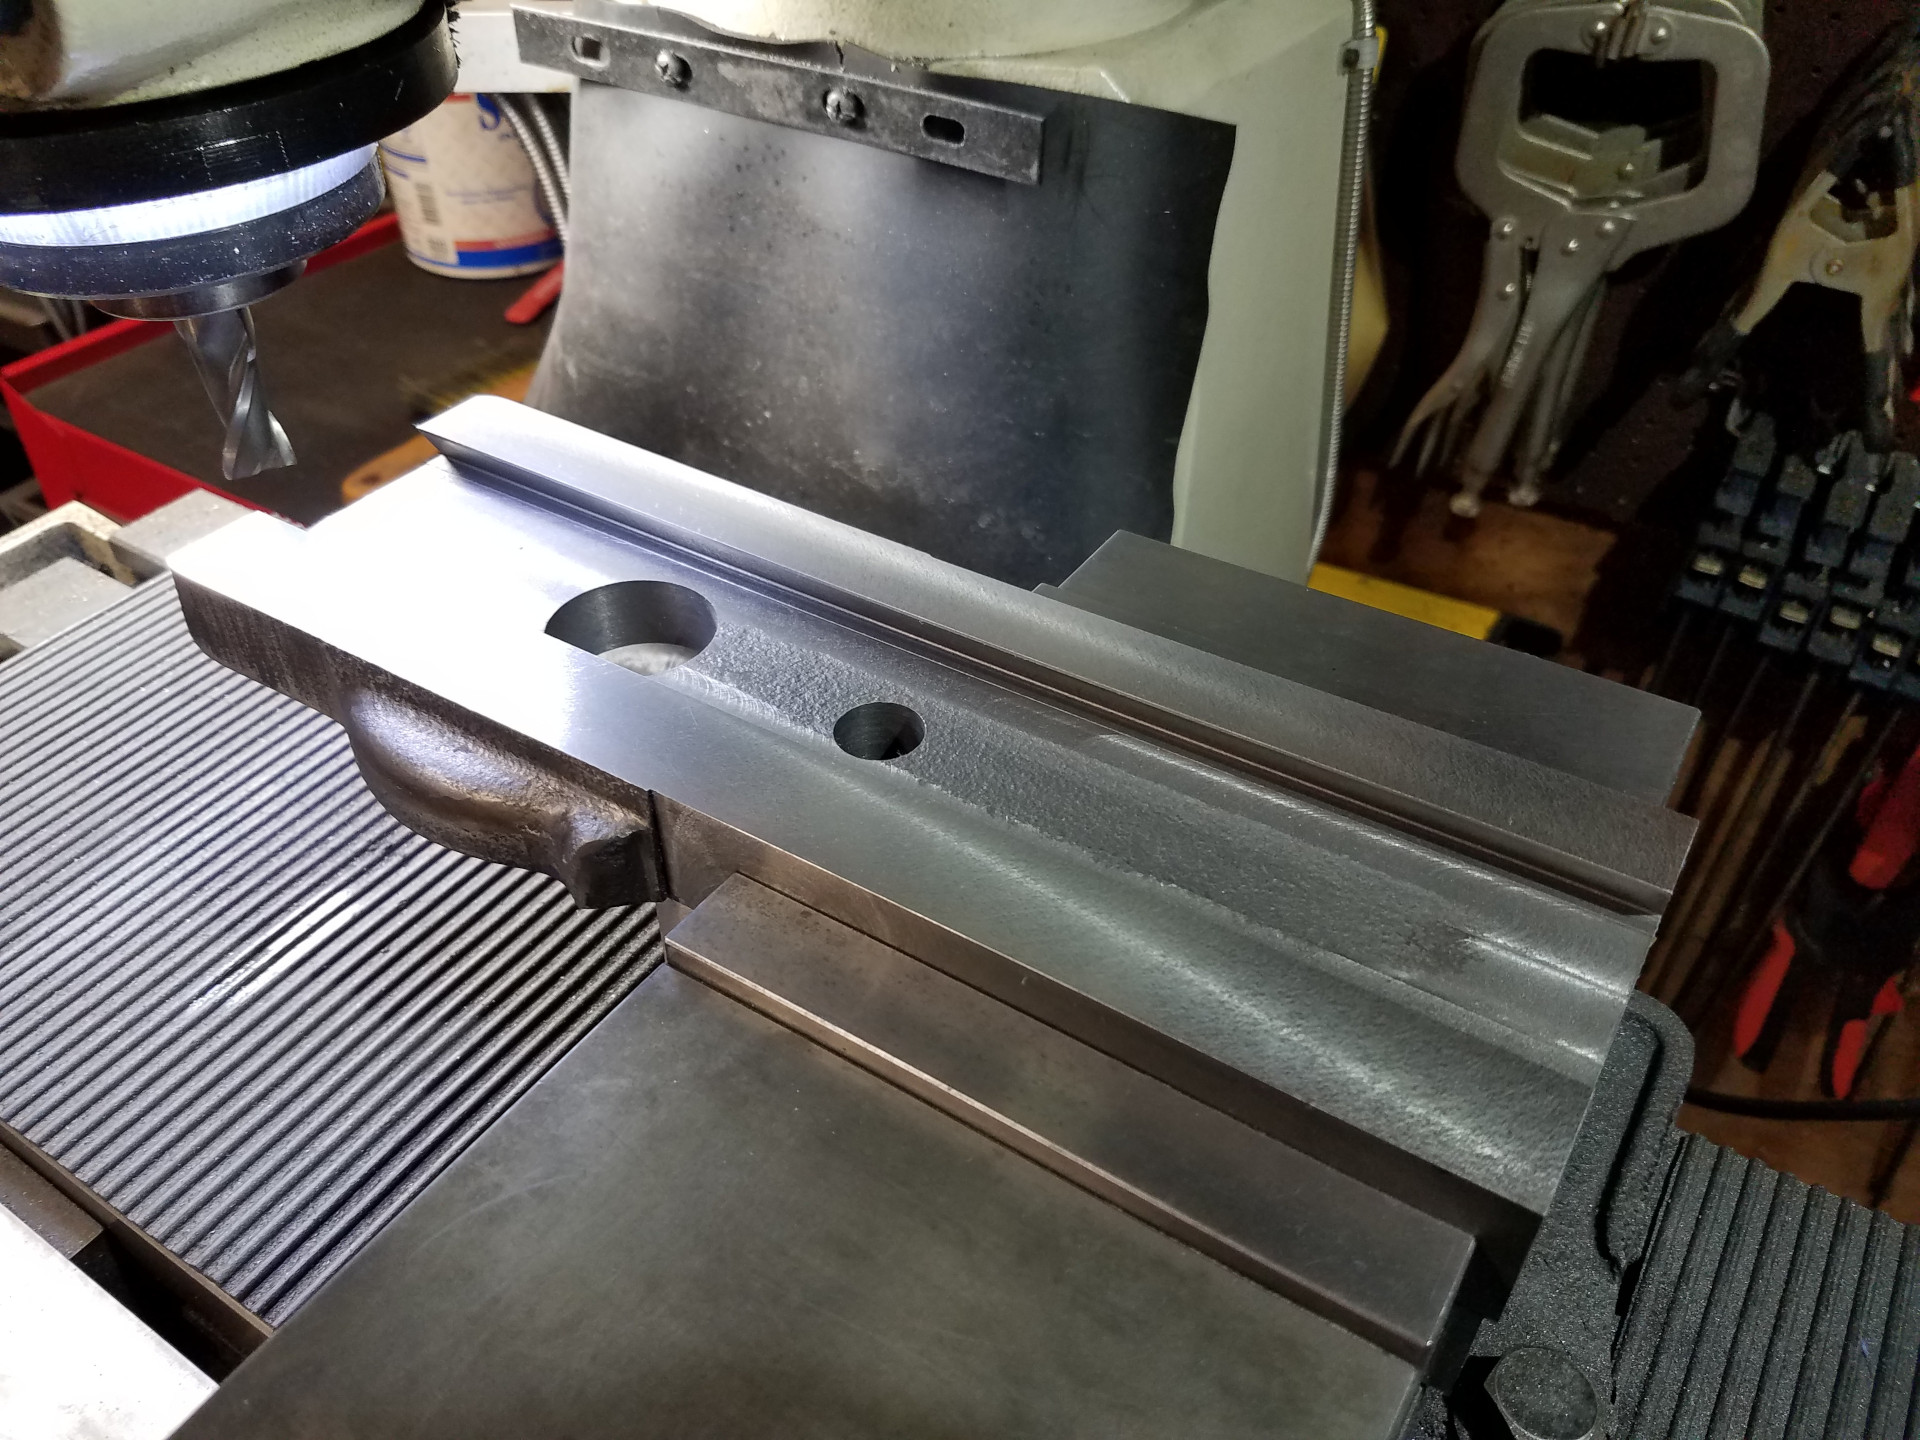
Using an endmill to relieve the center portion of the cross slide as it only touches the saddle at the dovetails. Here you can see I almost screwed-up and didn't leave enough material on the bottom for clean-up and probably should have made less passes on the top of the casting to achieve the same cross slide thickness. Fortunately, since the material at the dovetail is all that matters the slight dip in the middle of the cross slide casting is harmless.
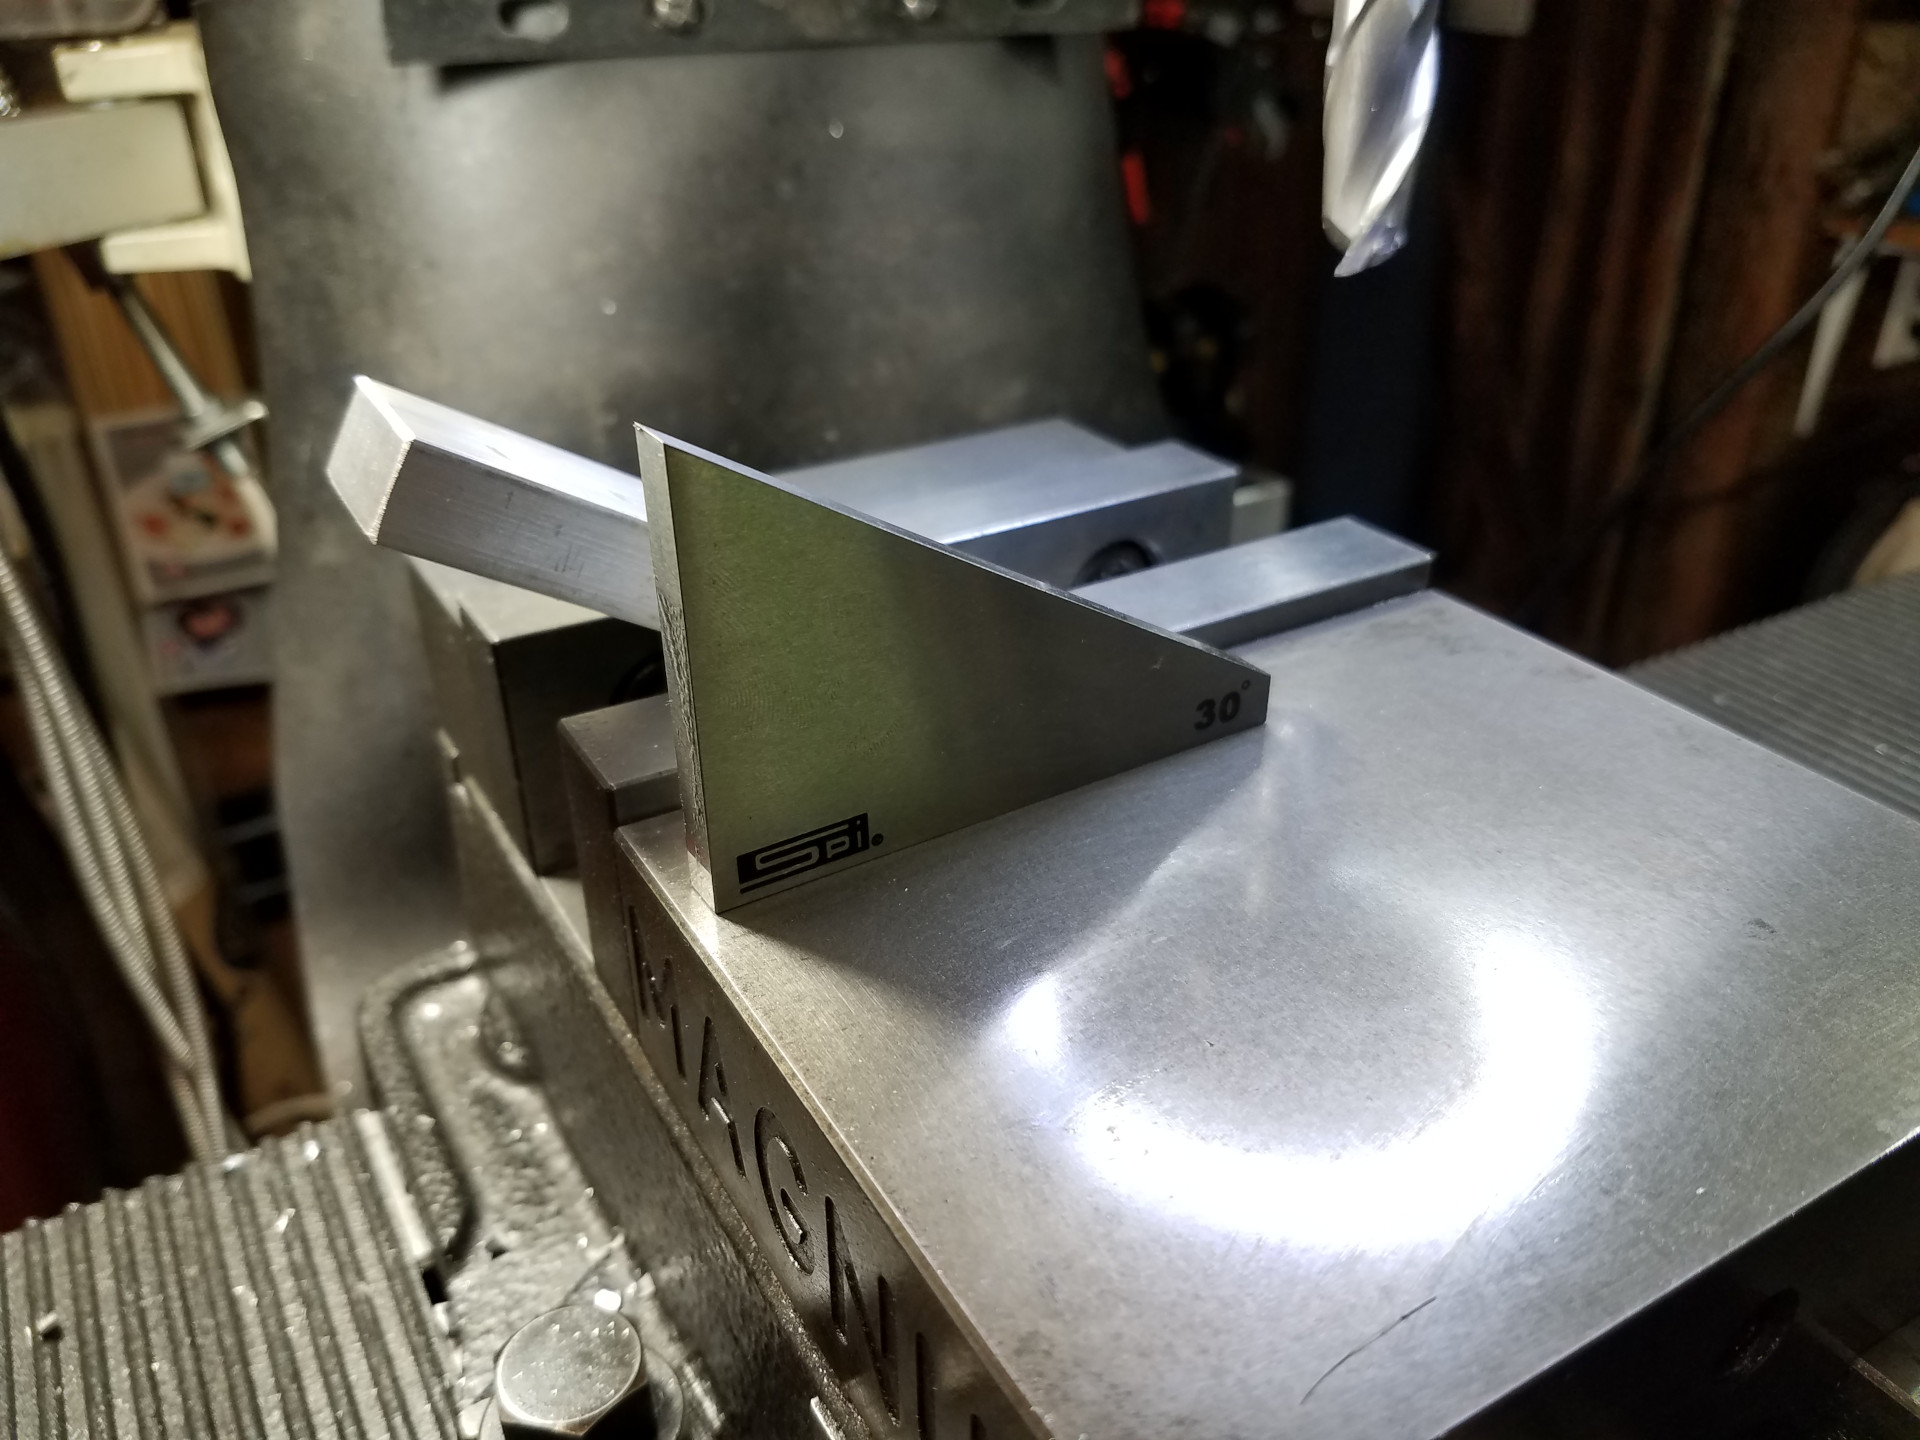
Making the gib will require some special fixture tooling aka gib spreader clamps. This is the beginning of the process by milling an angle in this aluminum strip.
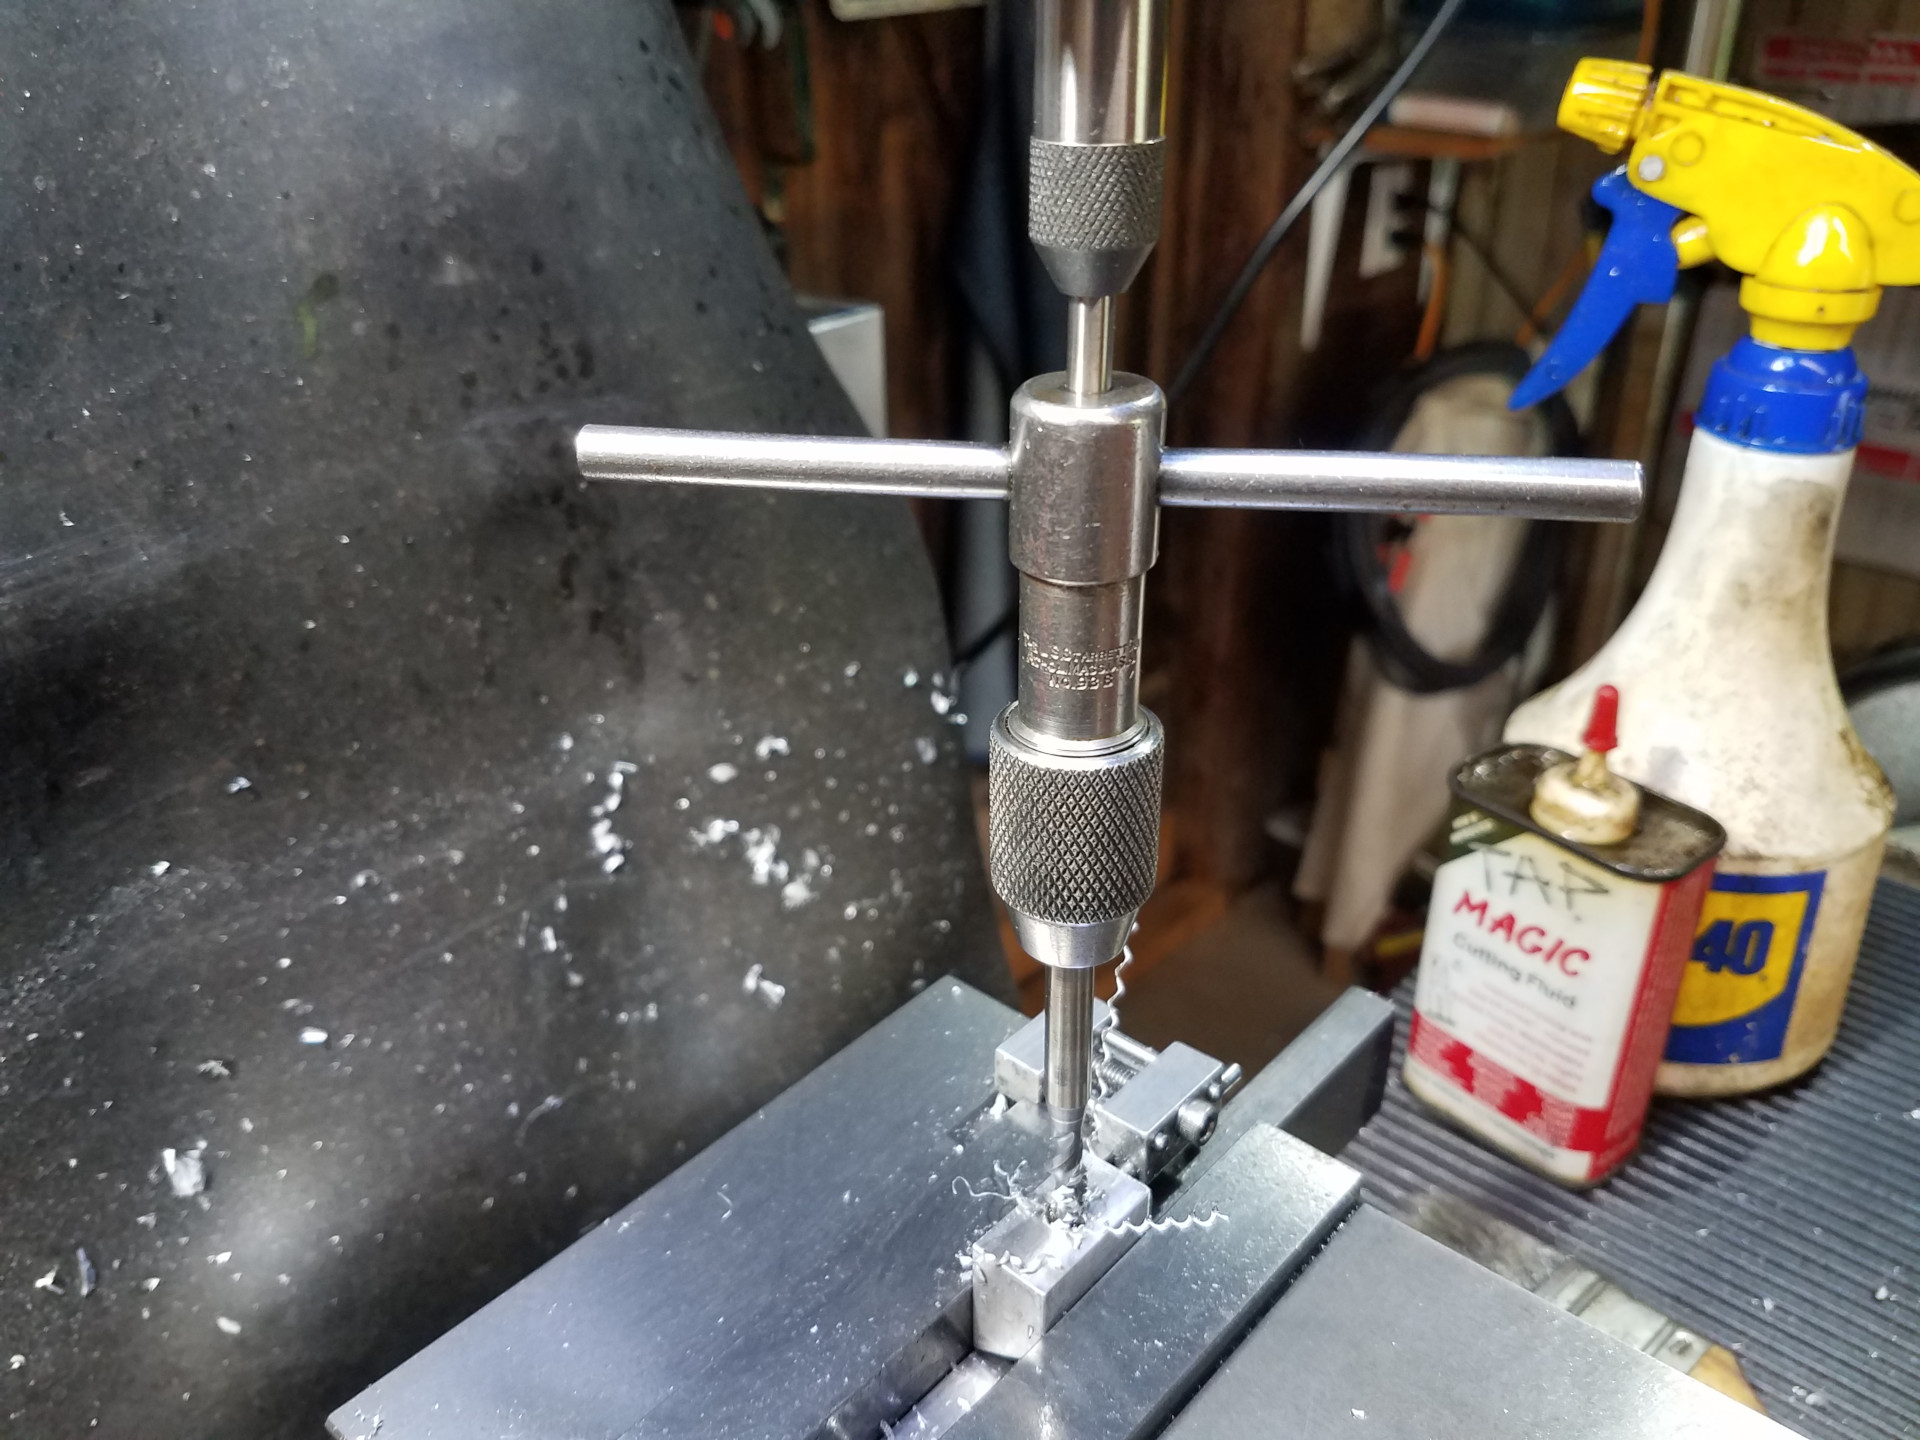
The angled piece was cut to size and a tapped hole was added for a threaded rod. Only the smaller piece of a clamp set is threaded.
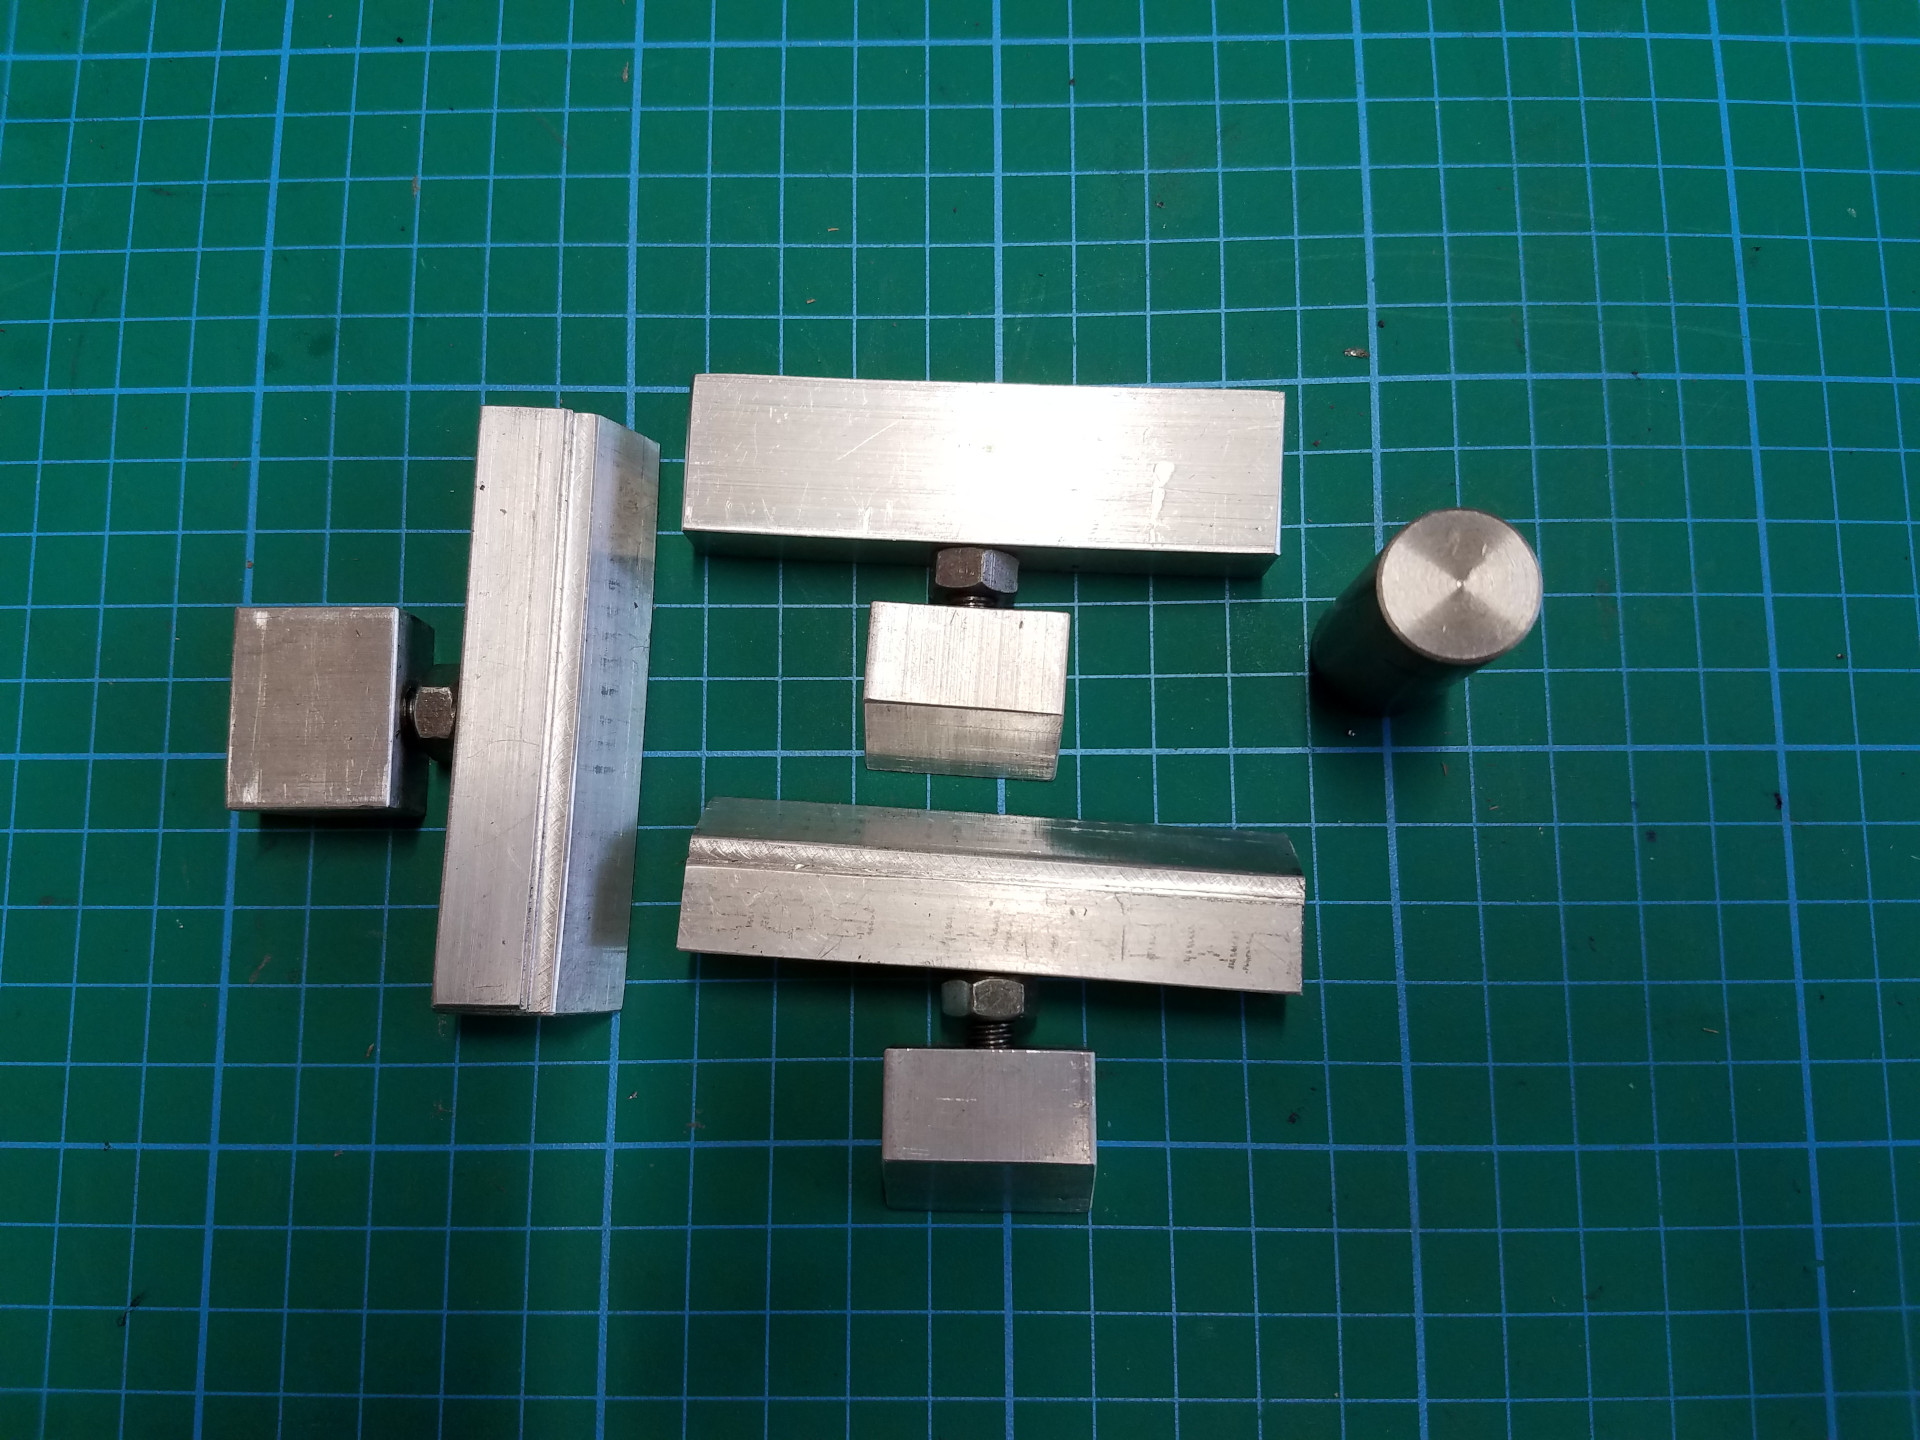
The completed gib spreader clamps.
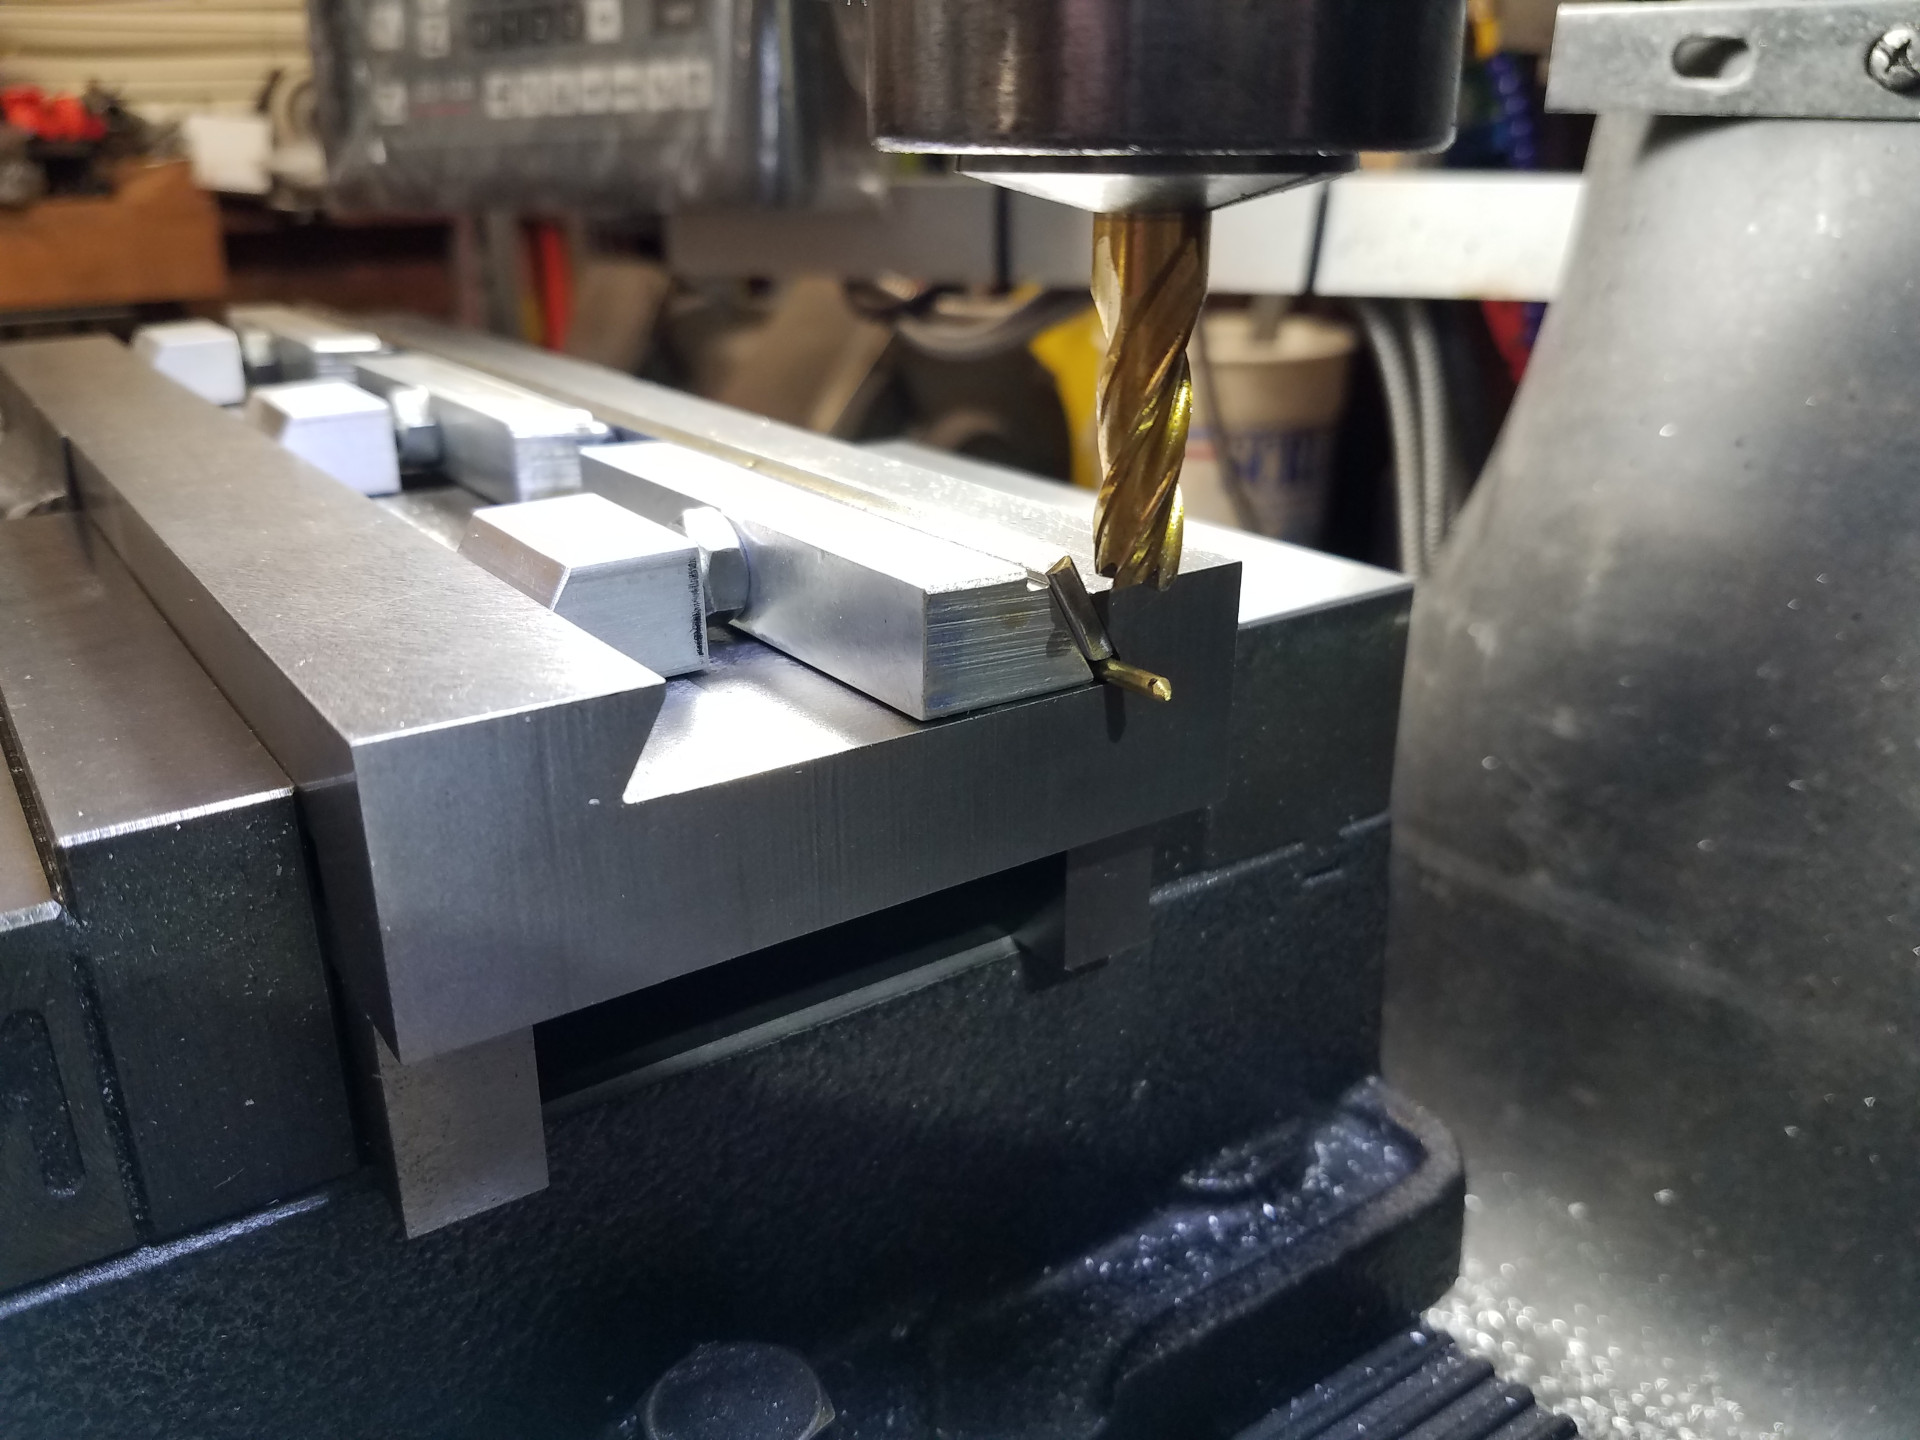
Here the gib spreader clamps are holding the gib in the dovetail so the correct edge angle can be milled into the gib. A brass rod below the gib serves as a spacer and raises the gib up enough so the end mill doesn't cut into the cross slide.
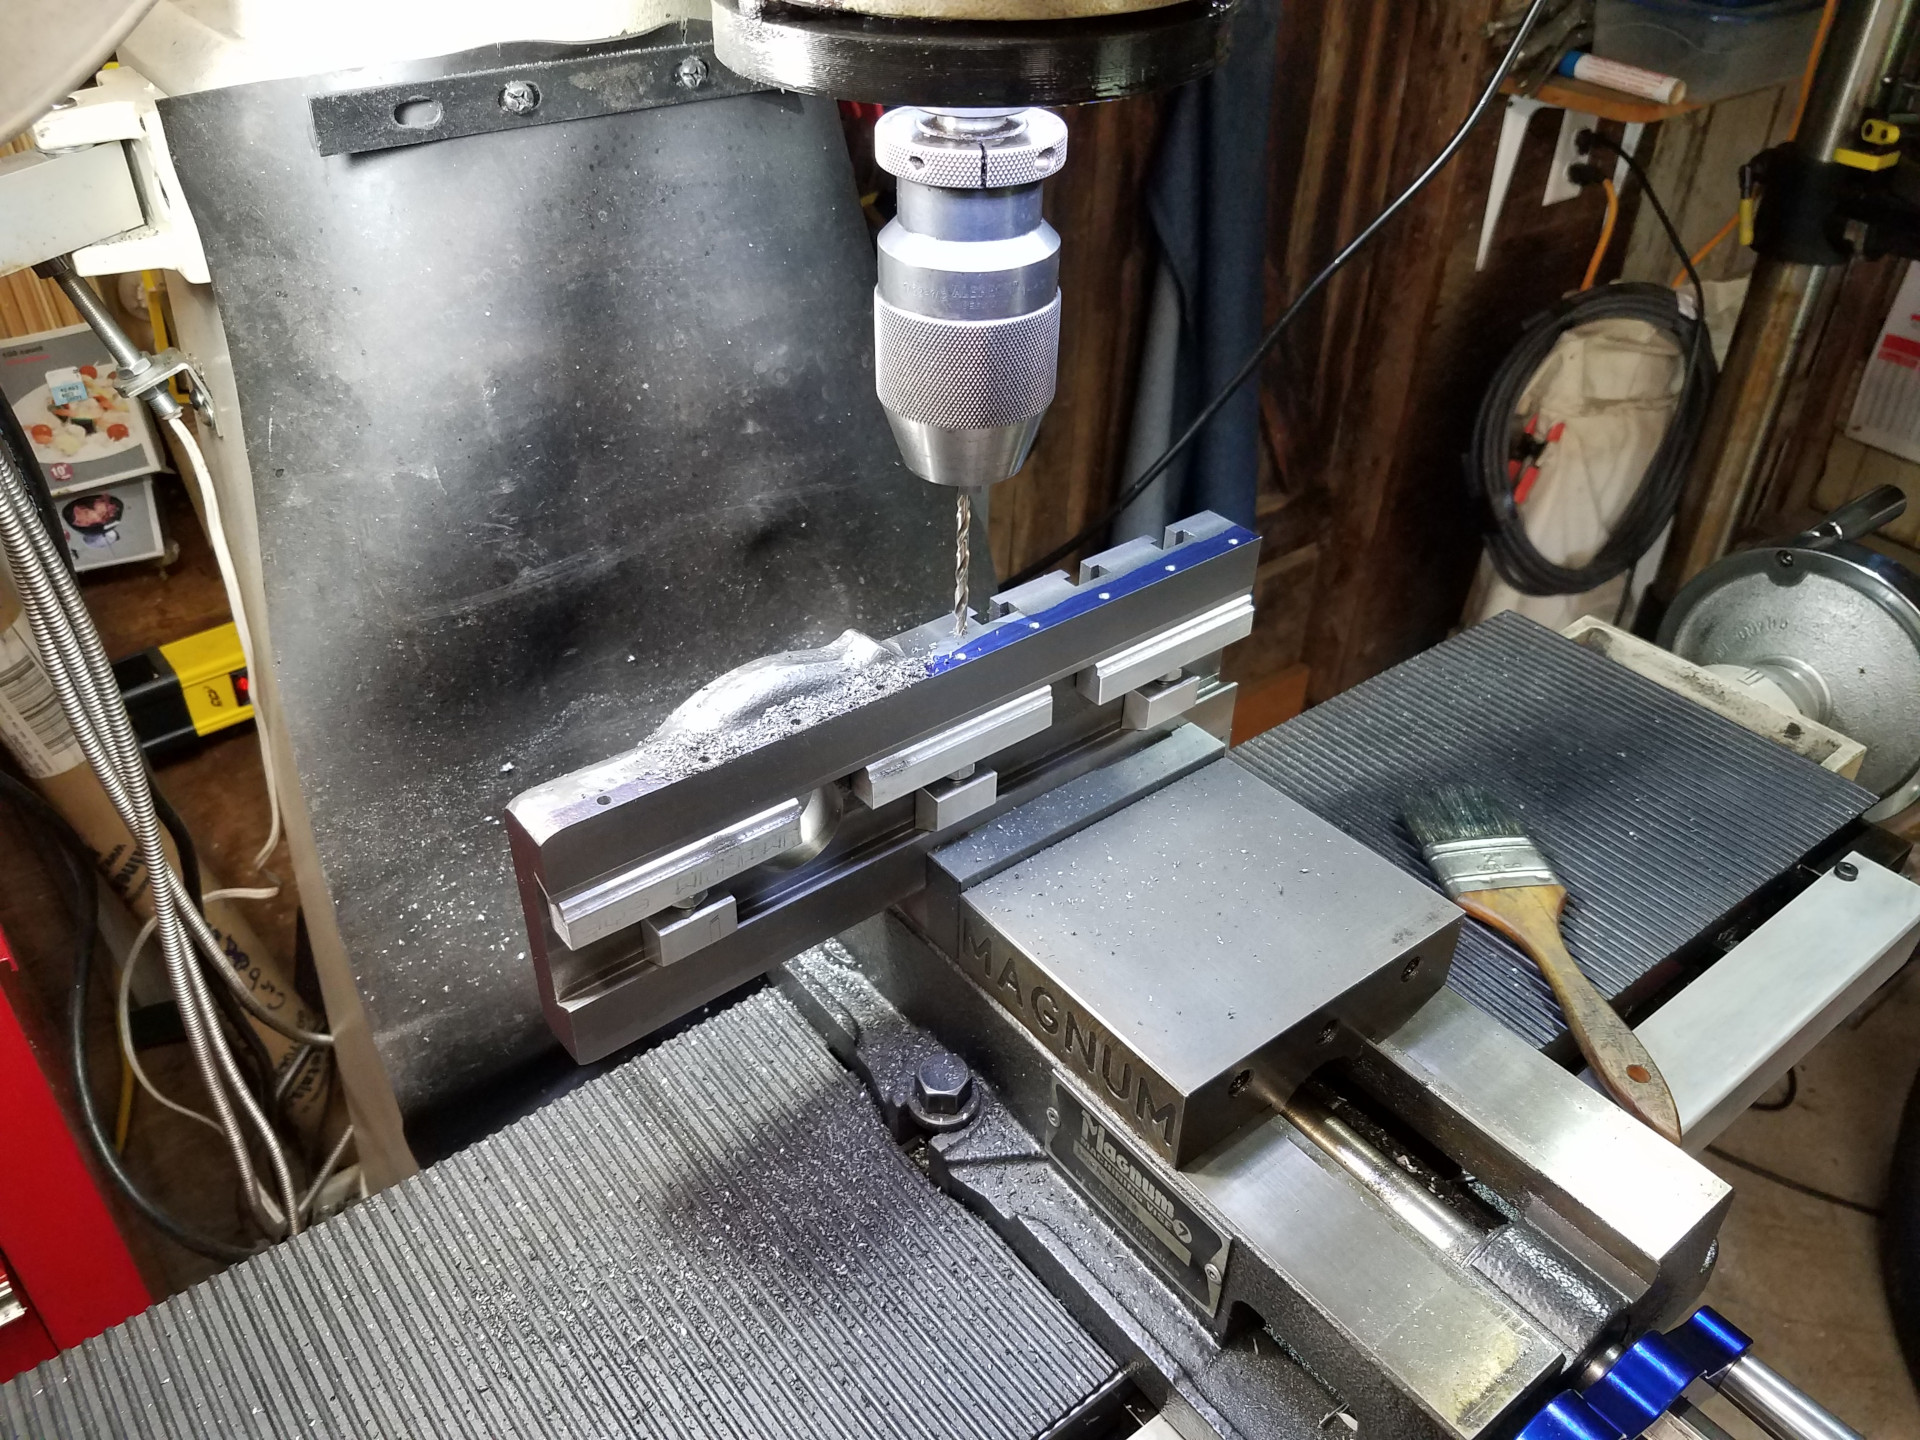
Using the gib spreader clamps again, the gib is now held in place while the holes are drilled into the side of the cross slide for the gib screws. The drilling depth is set so the gib is drilled into slightly. For the next operation the gib was removed and the gib screw holes were tapped.
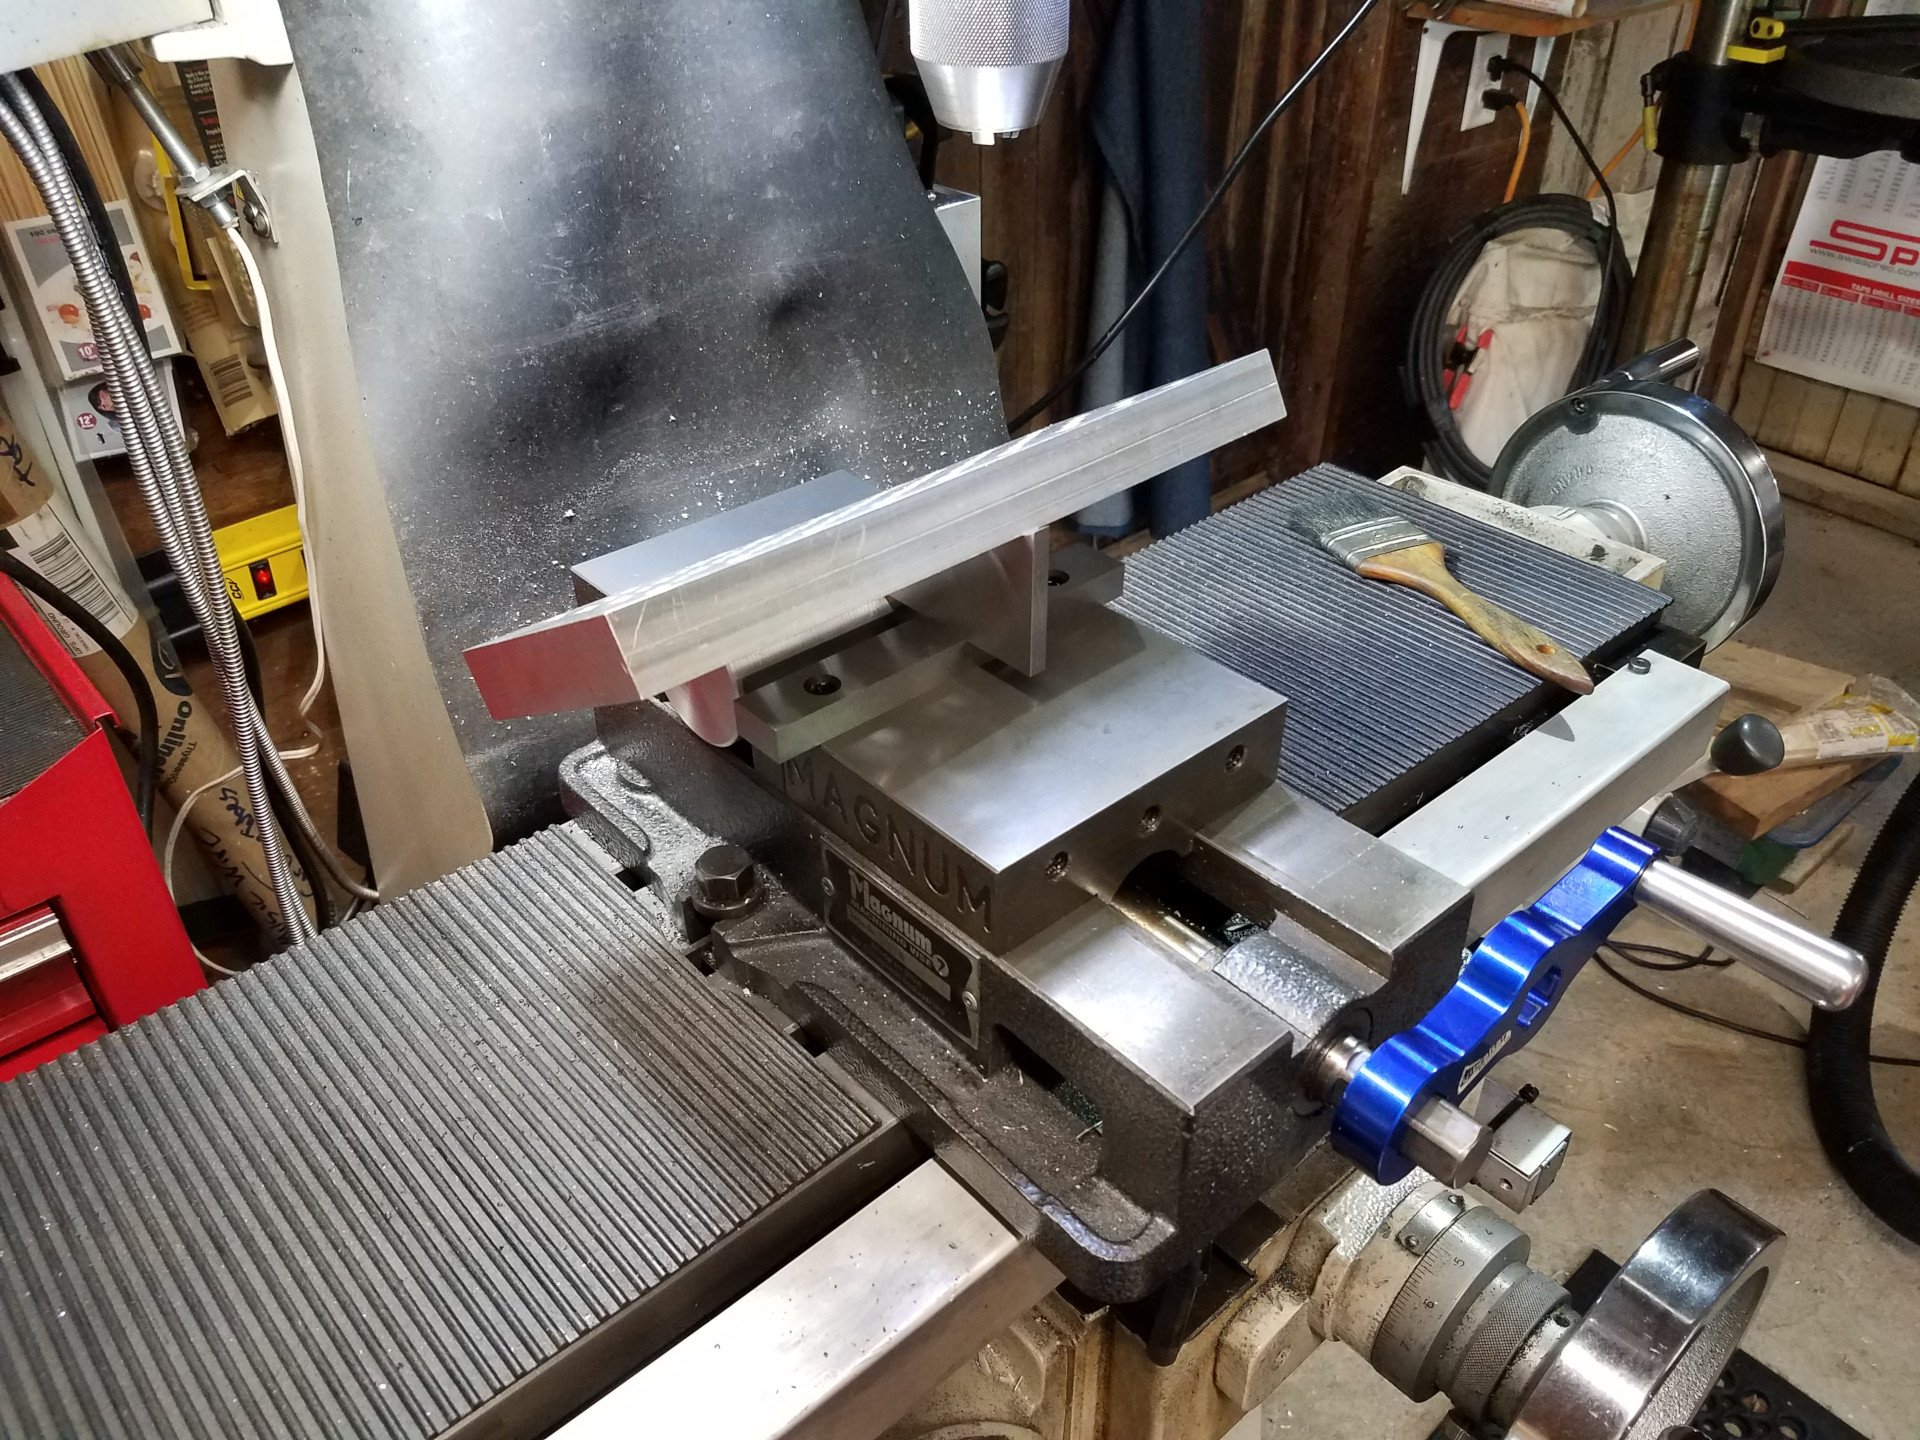
Setting up the fixture plate angle for the next gib machining operation using those handy angle plates.
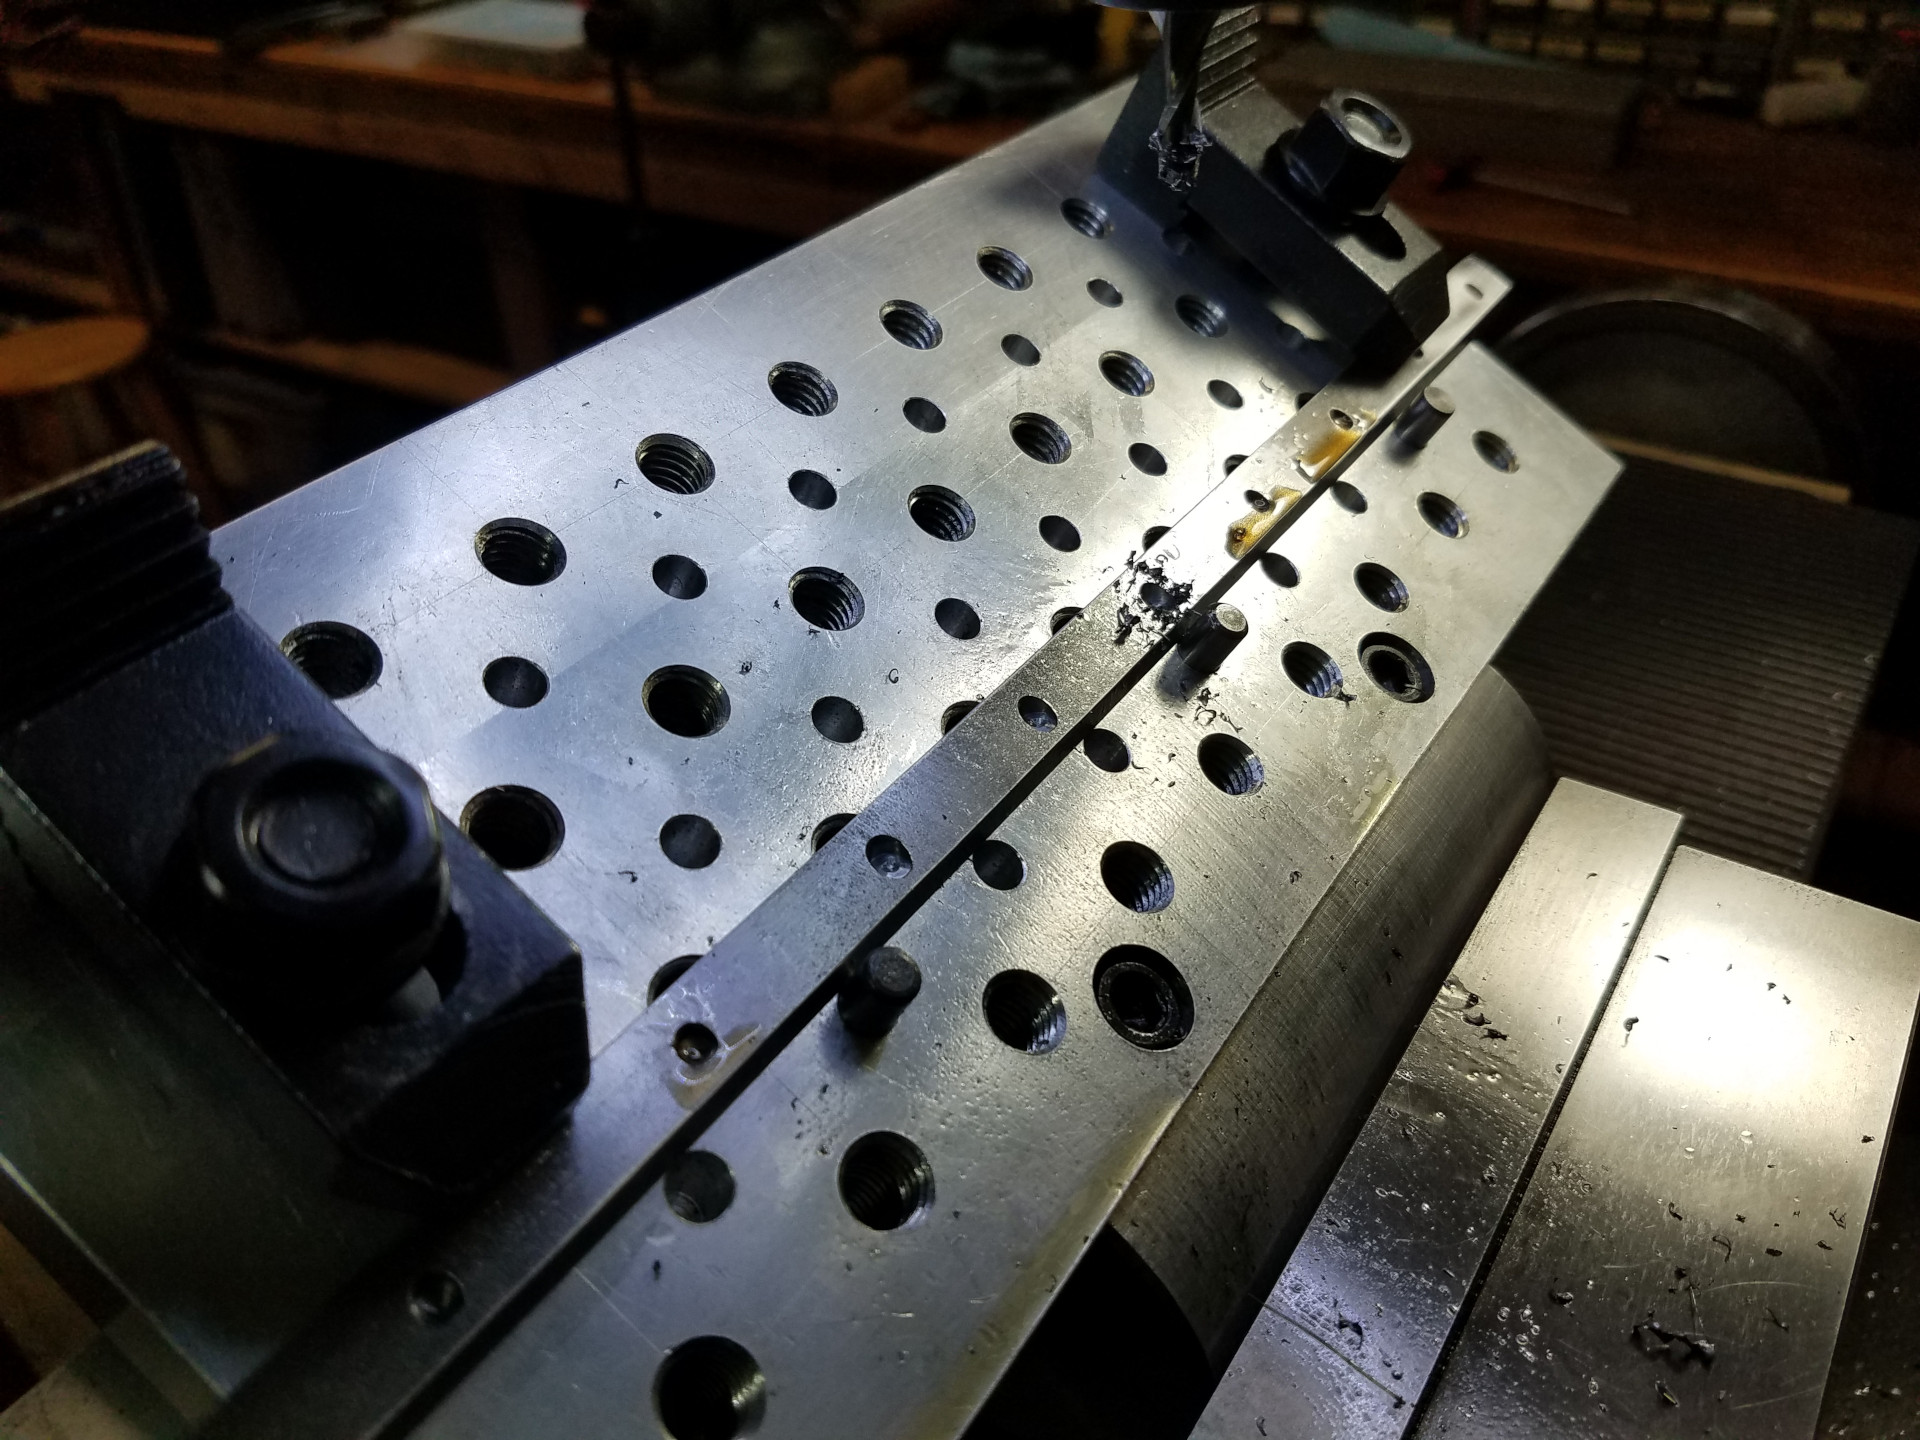
A small endmill is used to form the gib screw pockets in the gib. You need an angled, flat hole to best capture the end of the gib screw.
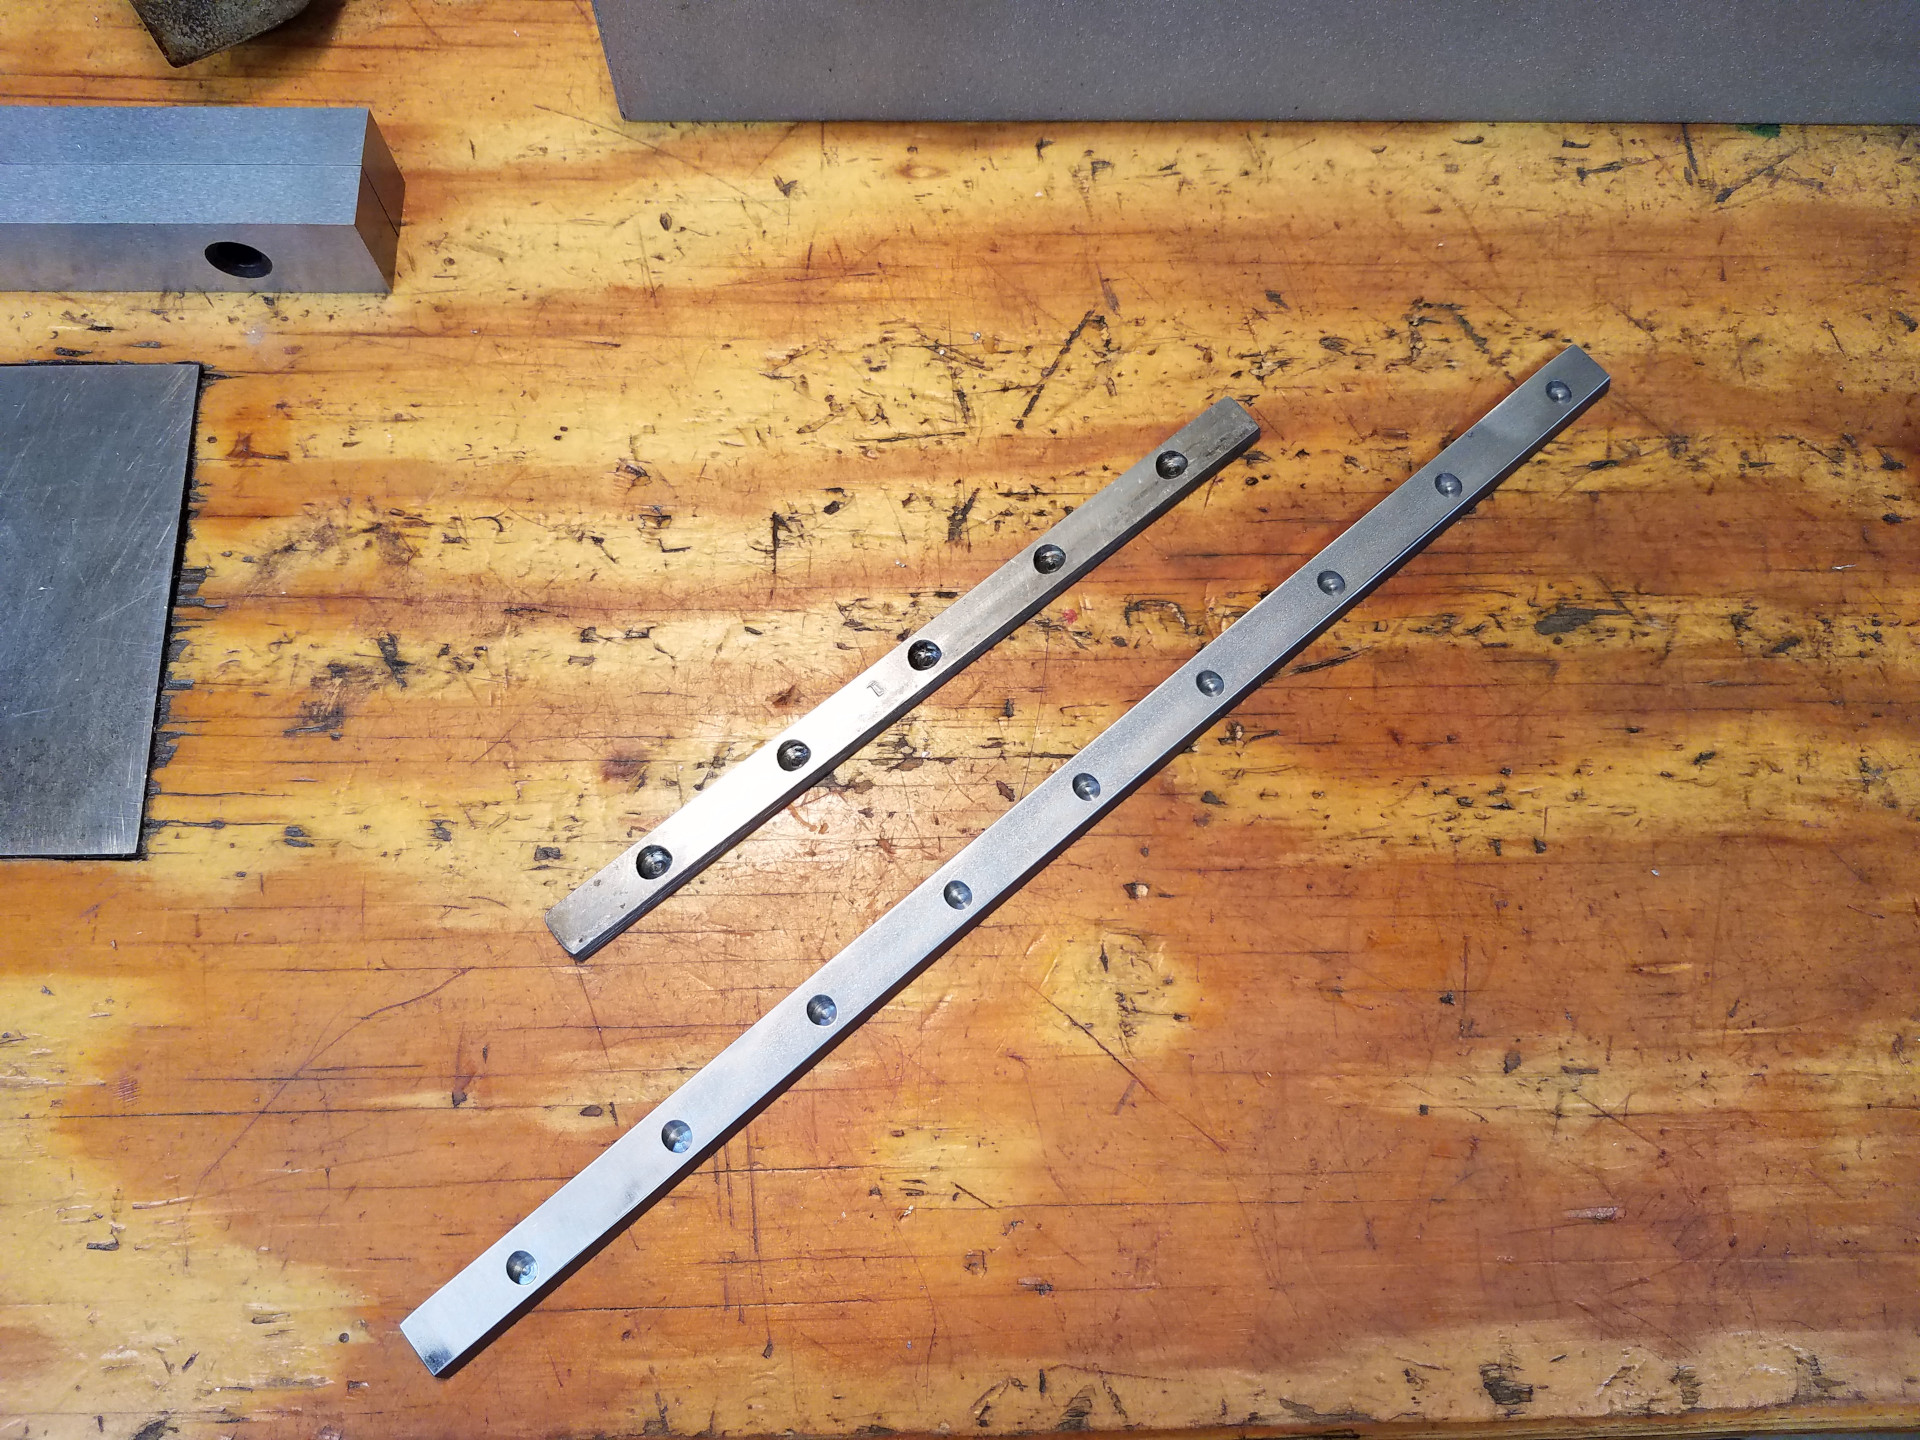
The completed new gib beside the factory one. Notice how much longer the gib is on the new cross slide compared to the factory cross slide. This extra length should greatly reduce the hour glass wear pattern in the saddle's dovetails with longer engagement.
Construction of the T-Slotted Cross Slide will be completed in the next article.