Bought this Jensen 55 a few years ago at the Cabin Fever Expo auction in Lebanon, PA. It's been sitting around patiently but now it's time to get to work and bring this engine back to it's former glory. The Jensen 55's gimmick is that it uses two cylinders timed so that at least one is in a power stroke. This allows the engine to be self-starting and run very smoothly at slow speeds.
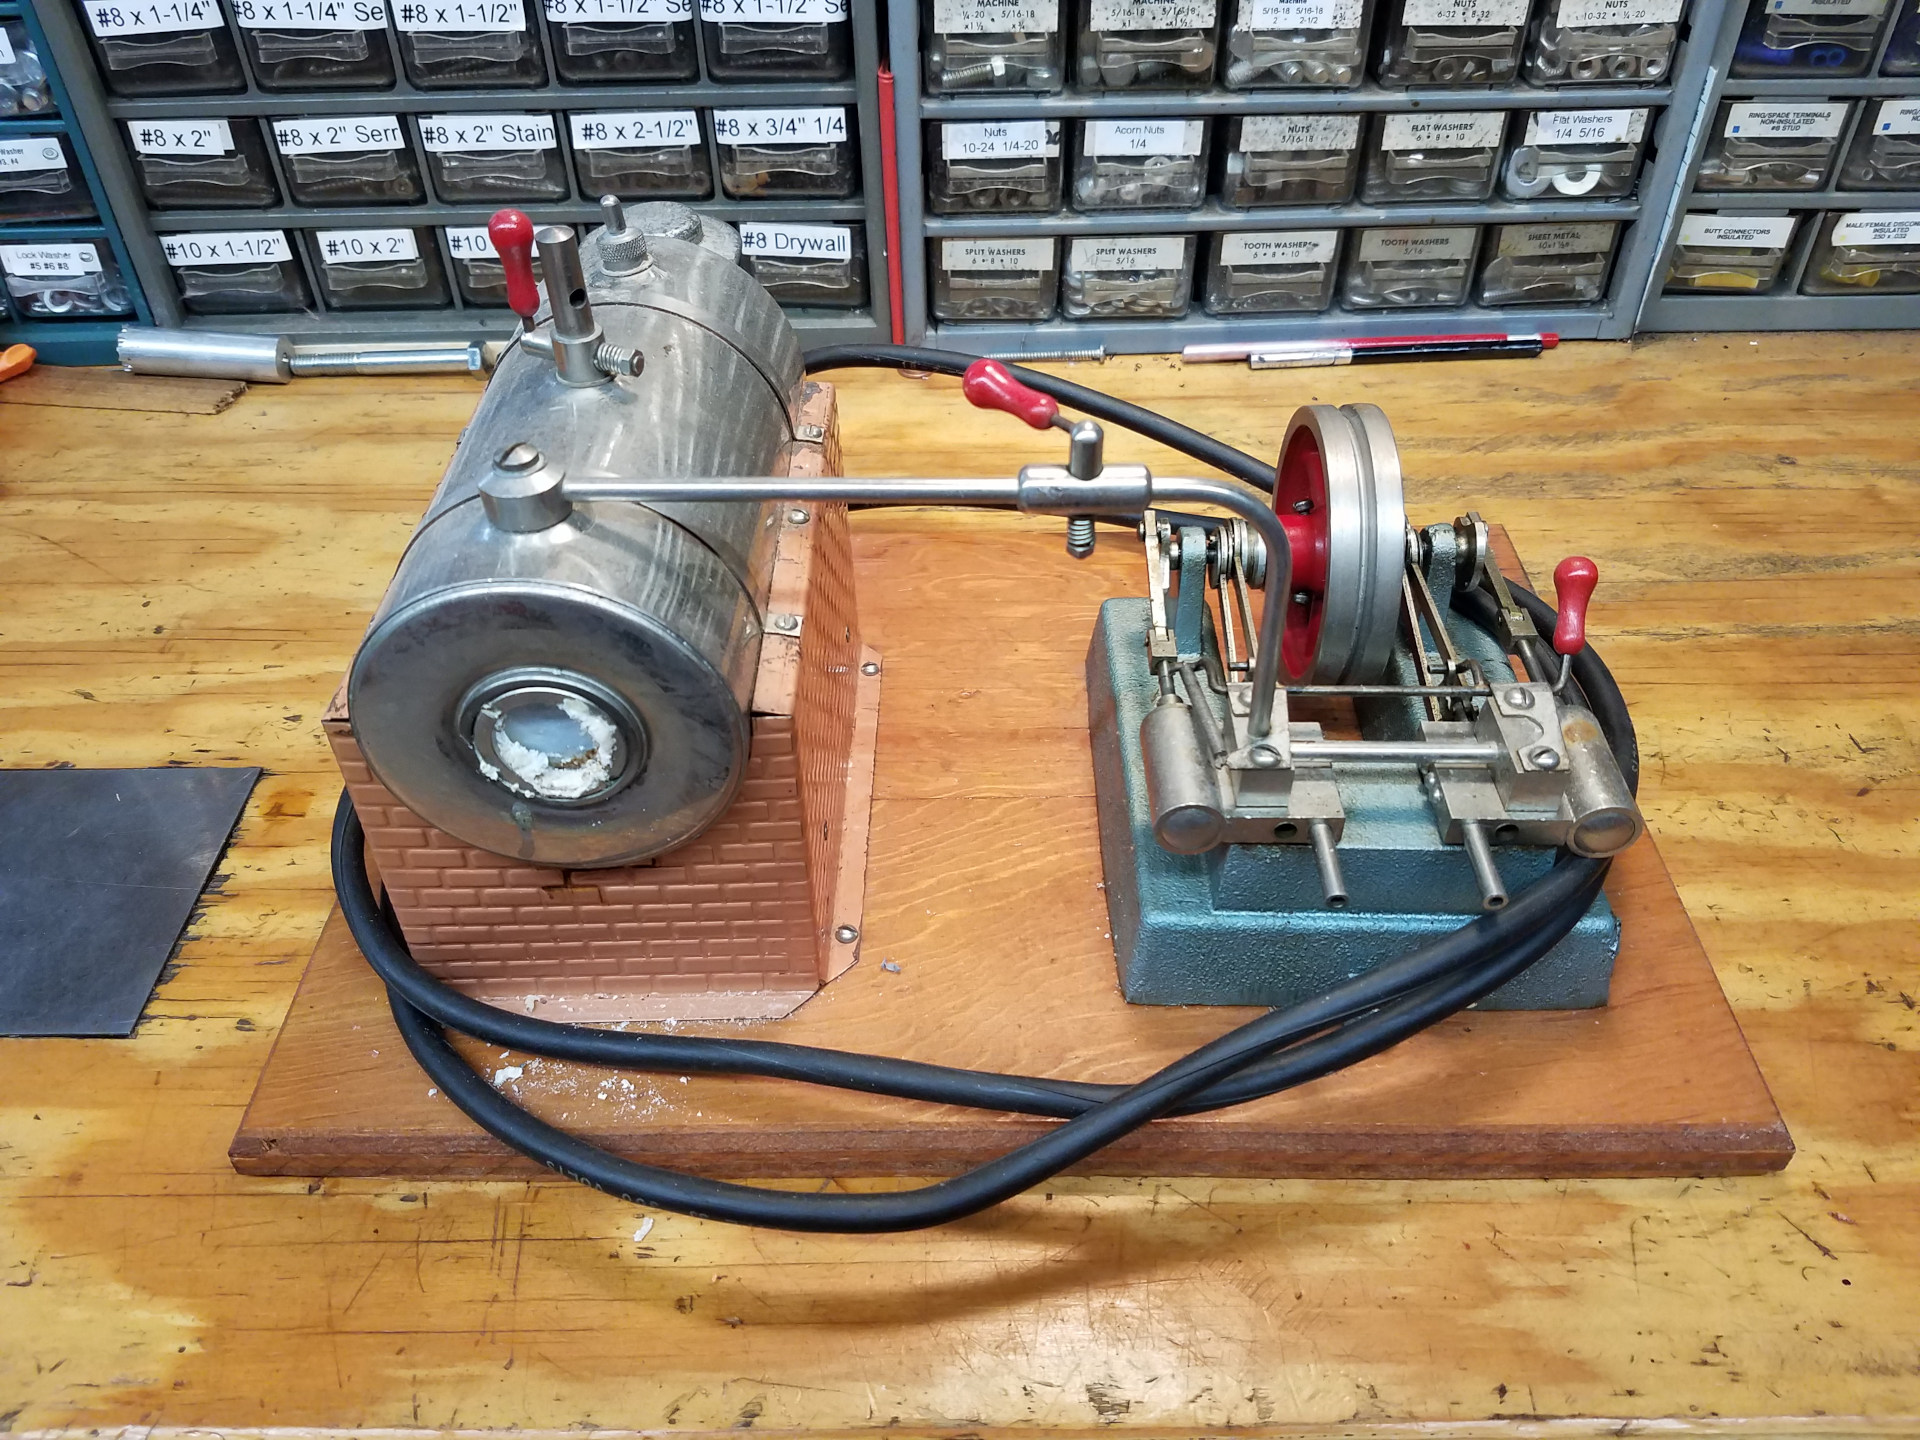
The overall condition of the engine is good, but it has been exposed to some seriously hard water in the past. I always use distilled water in the boiler to avoid this mess.
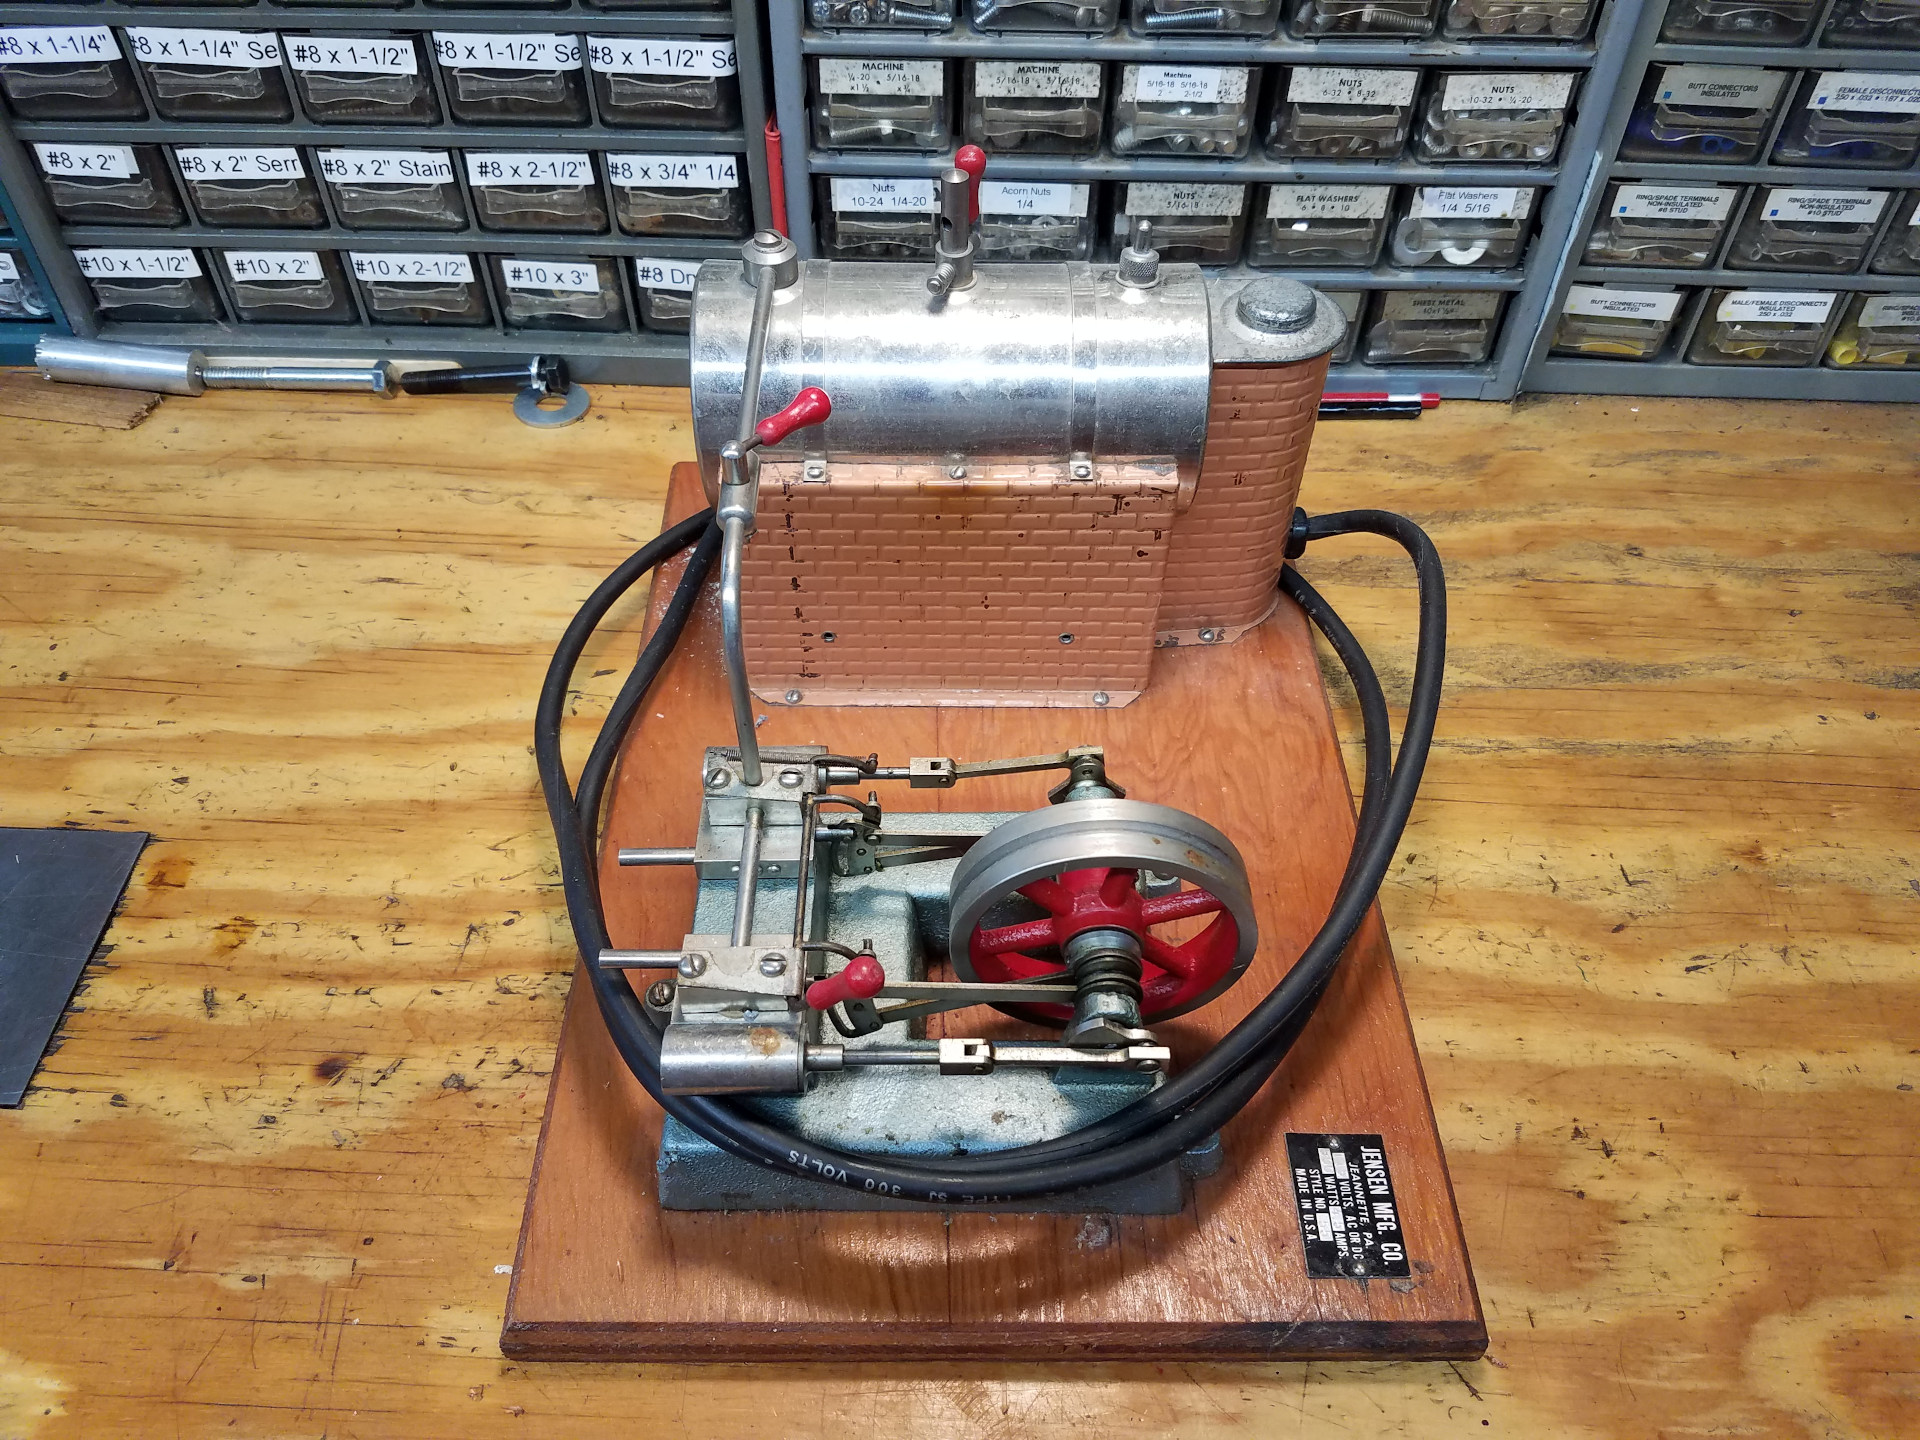
Beyond the water scale, there is no obvious damage and none of the parts are missing. While I'm not exactly sure, I would say this engine was probably made sometime in the seventies. That's my favorite era, as I was made in the seventies as well.
Here's a plug for two websites you need to visit if you are interested in restoring a Jensen steam engine.
http://www.jensensteamengines.com/
Amazingly, Jensen is still in business and hand producing their steam engines in Jeannette, PA. They stock and sell lots of parts, even for engines that are out of production.
Rog's website "The Temple of Steam" and especially the Restorer's Toolbox section provide an absolutely vital treasure trove of HOWTO's and advice on how to restore and maintain these steam engines.
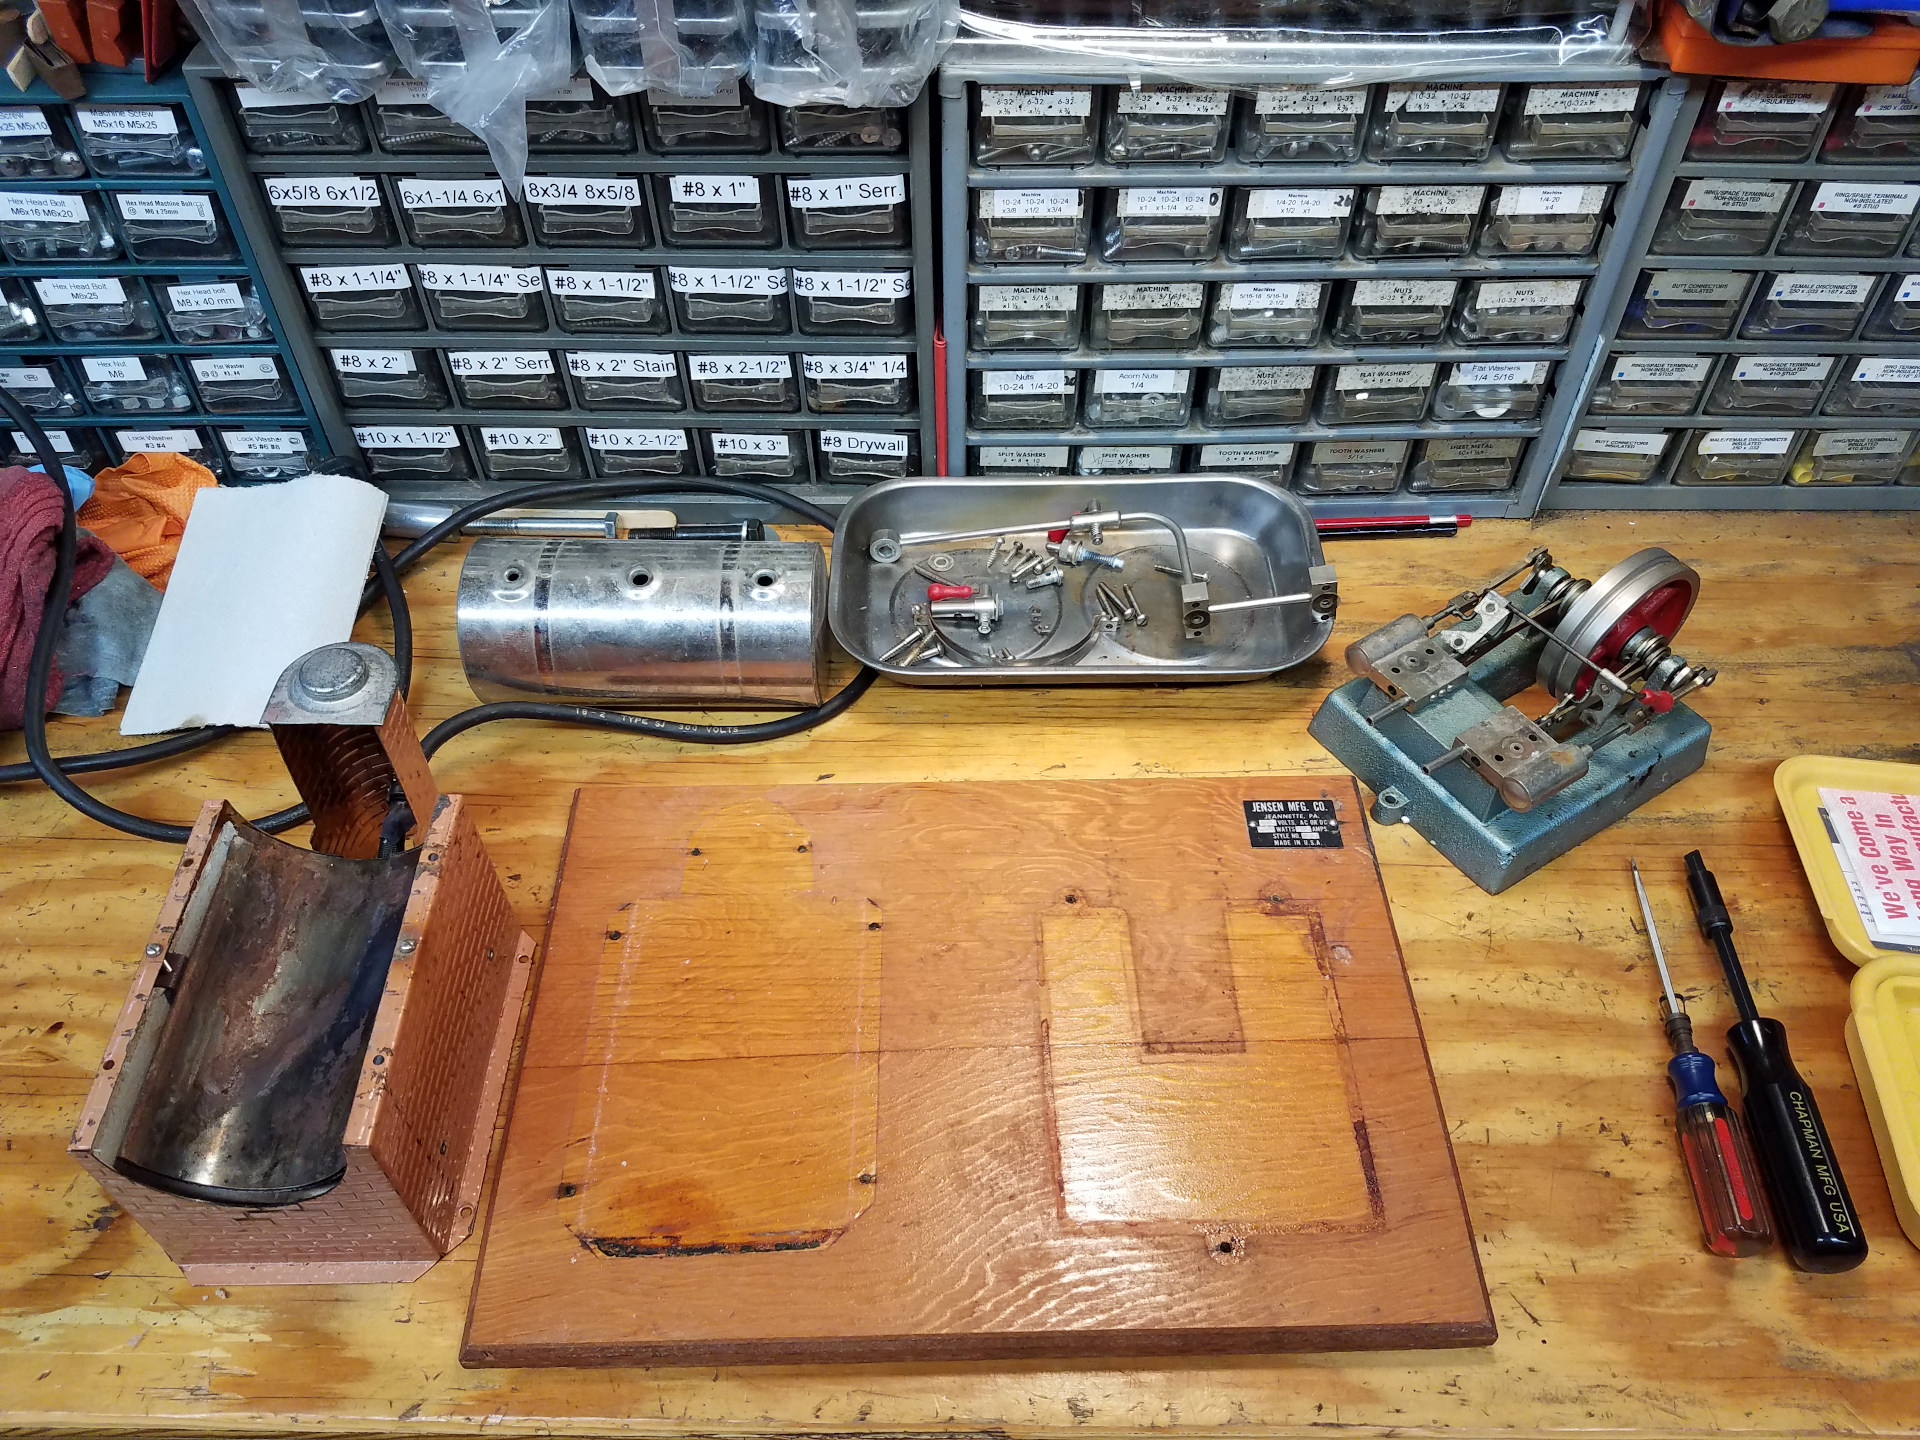
Got everything off the board except the tag. A bit of careful prying with a razor blade and it will come off as well.
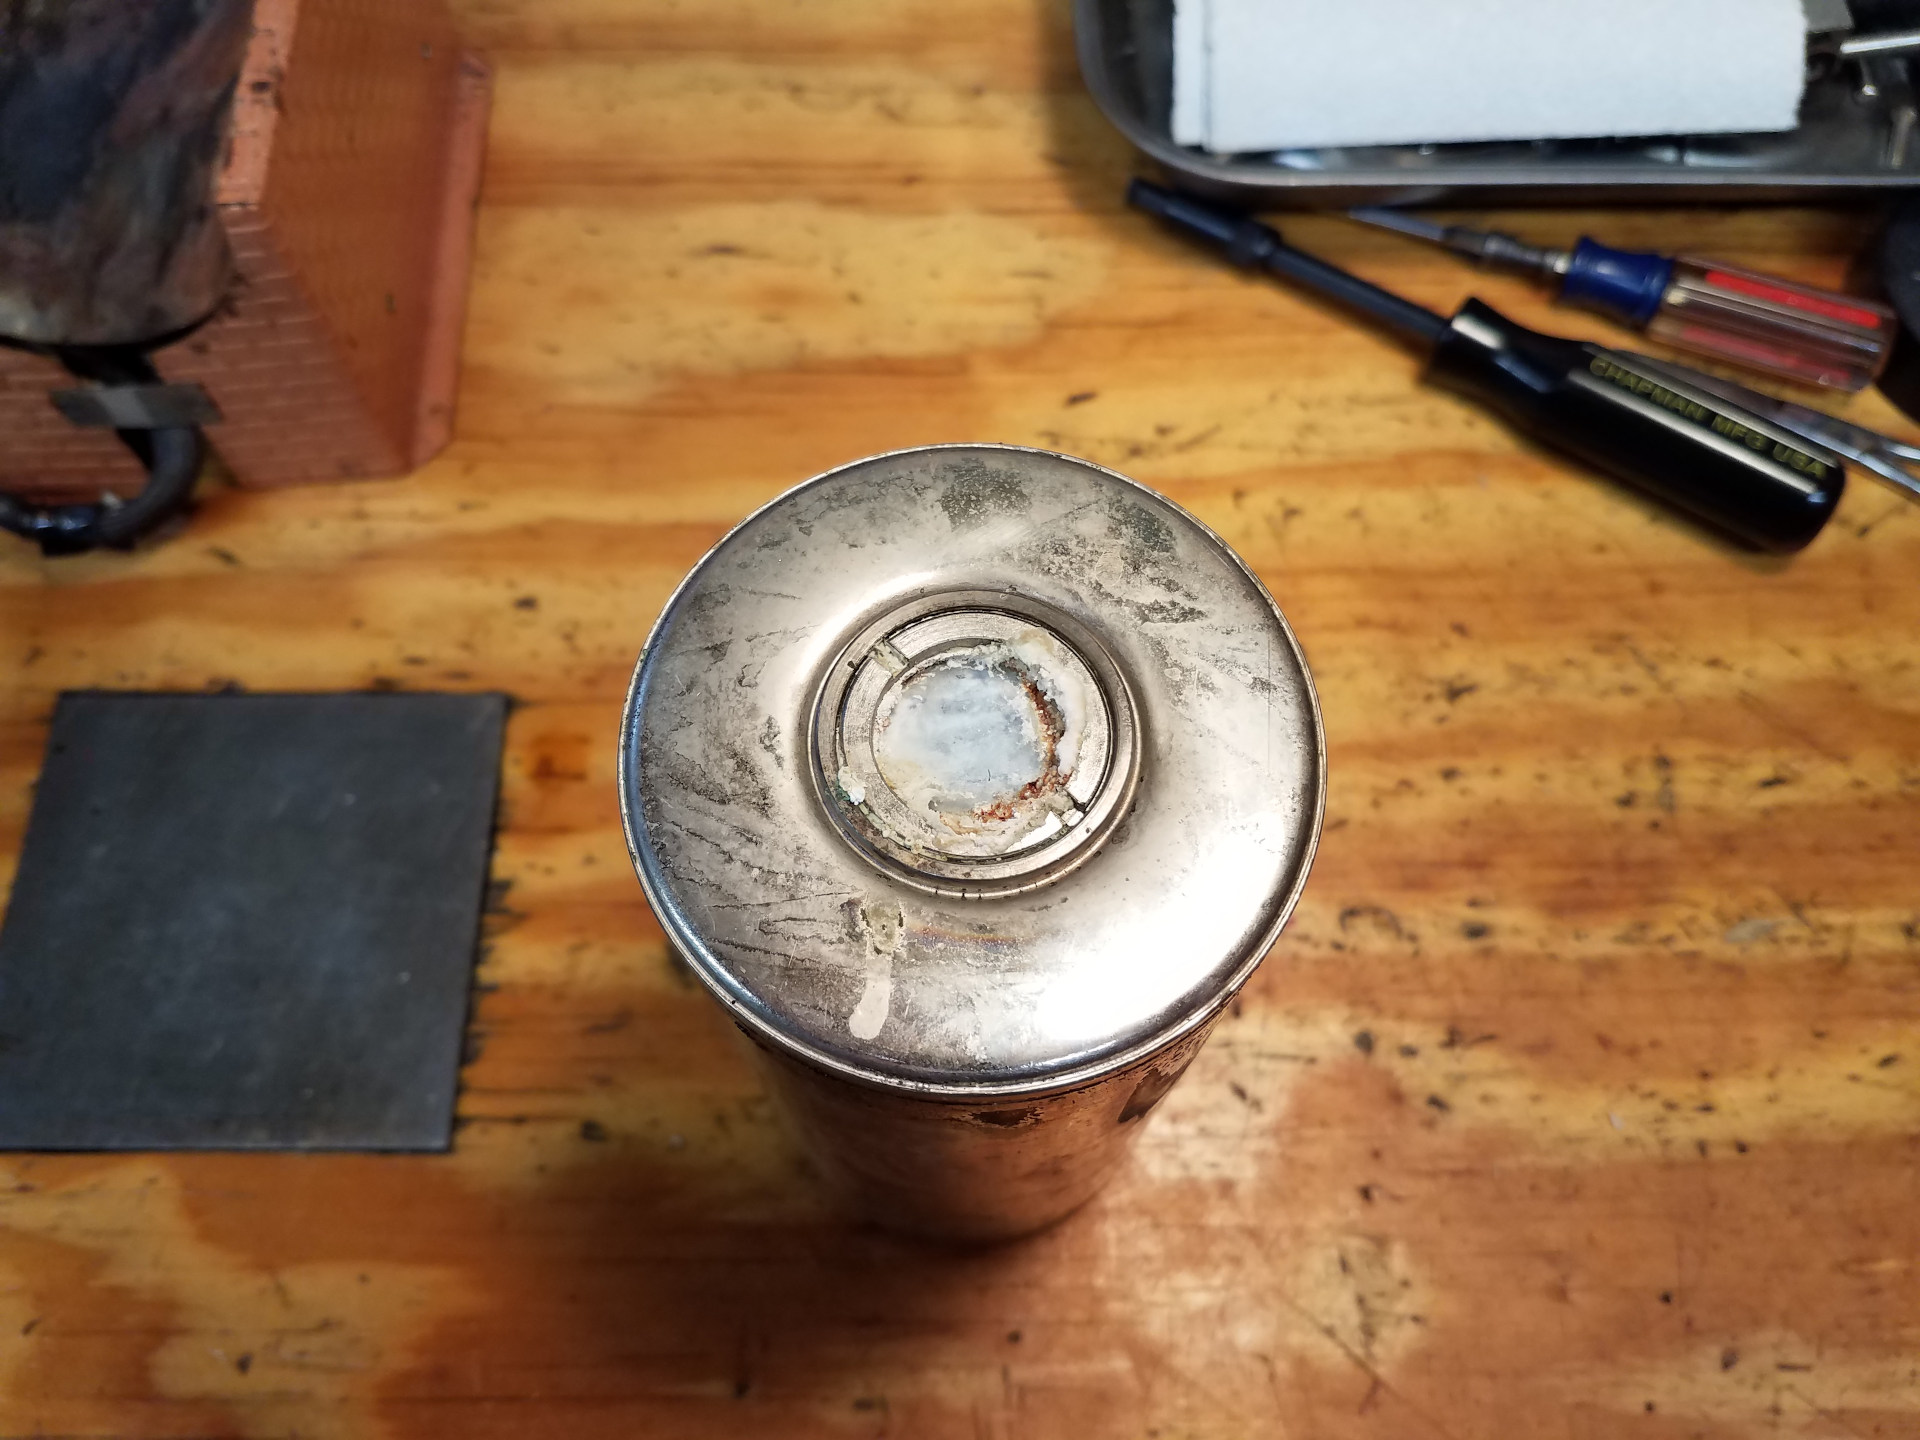
Might as well start at the hard bit, that nasty scaled and corroded sight glass screw, which Jensen calls the round window ring nut. Usually a clean with a bit of white vinegar removes the hard water scale, but this time I'm going to soak the screw with CLR overnight and then use some penetrating oil.
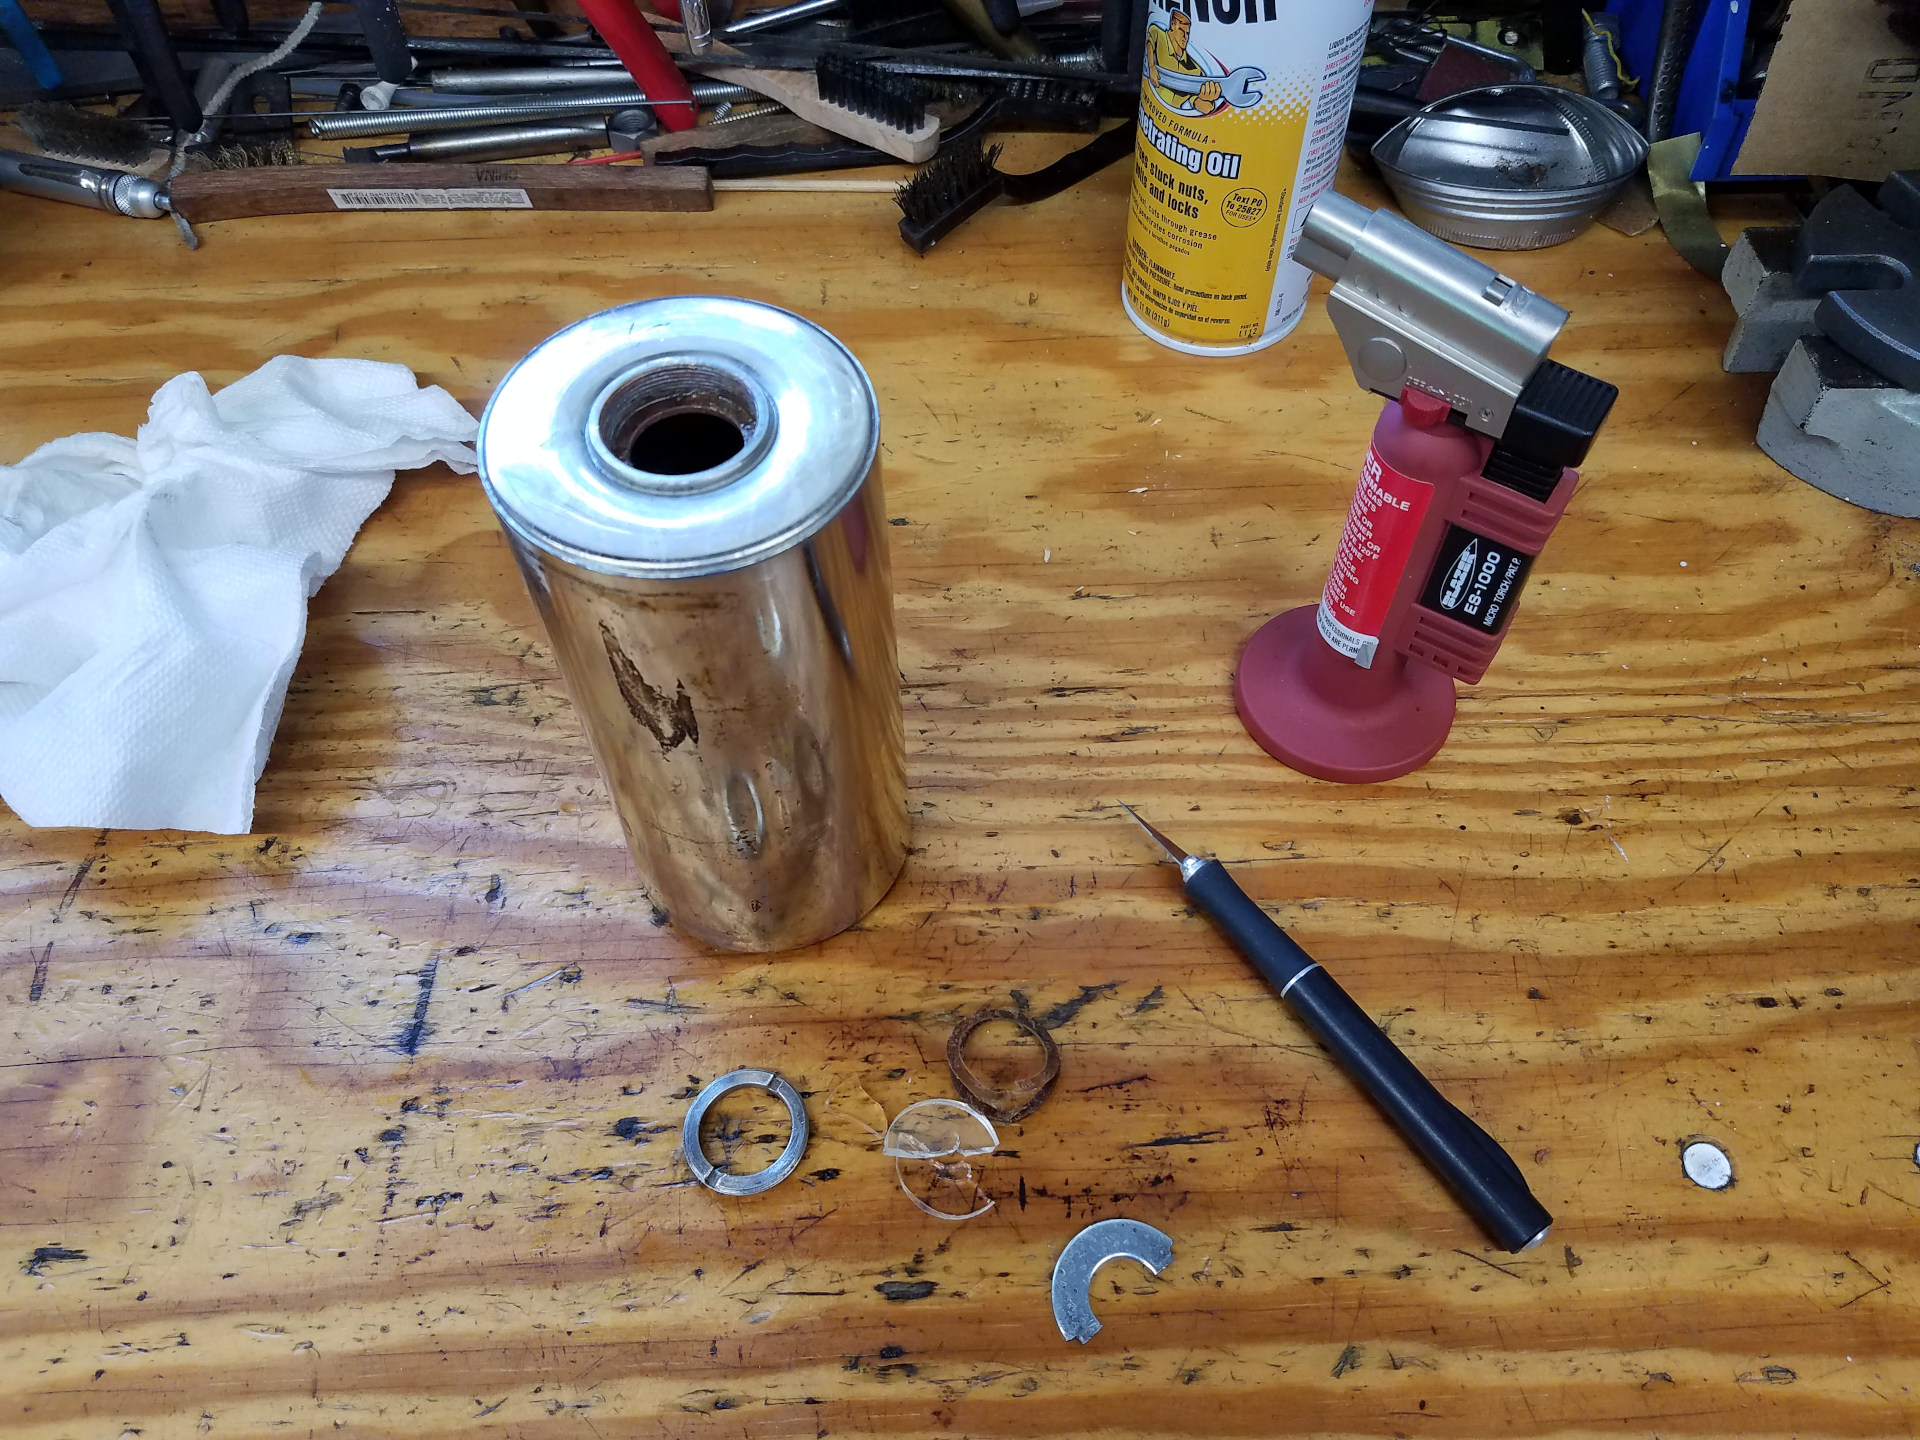
Success! The custom ground flat washer in the middle of the picture is the tool I used to remove the sight glass screw. The washer is held in a shop vise while holding the boiler with both hands and turning. This was the most difficult screw I have ever tackled, but after much effort it finally relented and was removed without damage to the screw or the boiler. The sight glass, however, was a casualty of the operation, but luckily I had a spare in stock.

Like most people, I'm not a huge fan of the salmon-colored paint on the firebox so I paint them black whenever the chance arises. Not sure if it's necessary, but I use high-temp enamel paint.
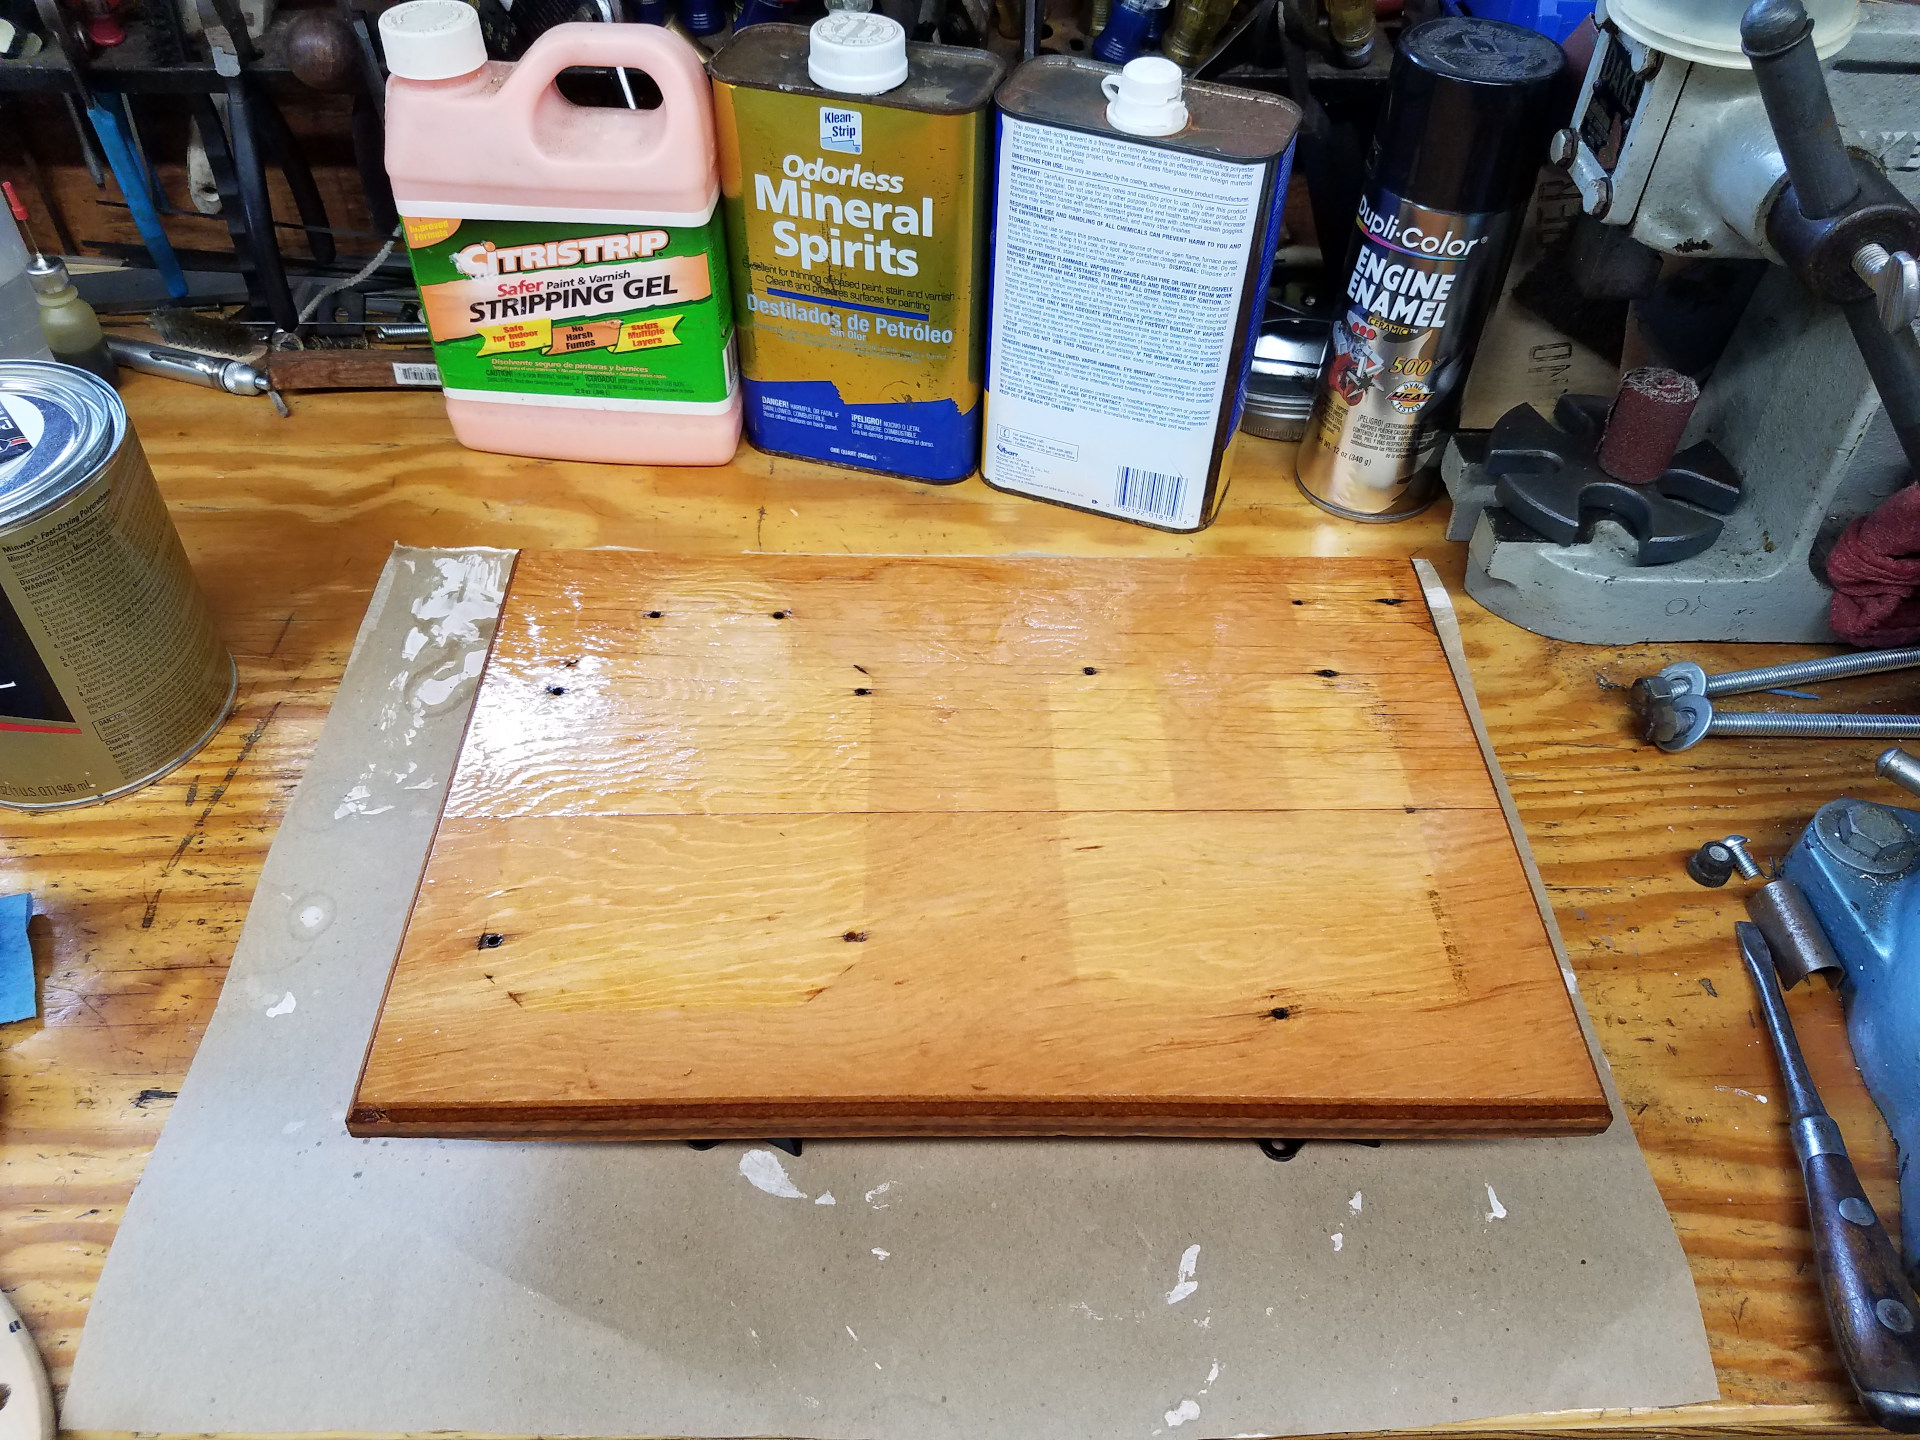
The shellac coating on the board had crazed and looked ugly, so paint stripper was used to remove it. The board, however, was not sanded as I wanted to retain the natural age darkening. A few coats of polyurethane will seal the board from water.
Stay tuned for Part 2 to see the Jensen 55 steam engine restoration completed!