Test bars are very straight, very round bars used to setup machinery and work fixtures in the shop. They can also be handy for inspecting run-out in chucks and collets. You can buy them commercially, but like most metrology equipment they can be very pricey and therefore hard to justify for the limited use seen in the home shop. In this article a moderately priced bar is made that should satisfy most home shop needs.
Most of this project is based off this video series from Mr Pete:
Instead of the drill rod Mr Pete used in his videos as the basis of the test bar, I suggest using a linear motion shaft.
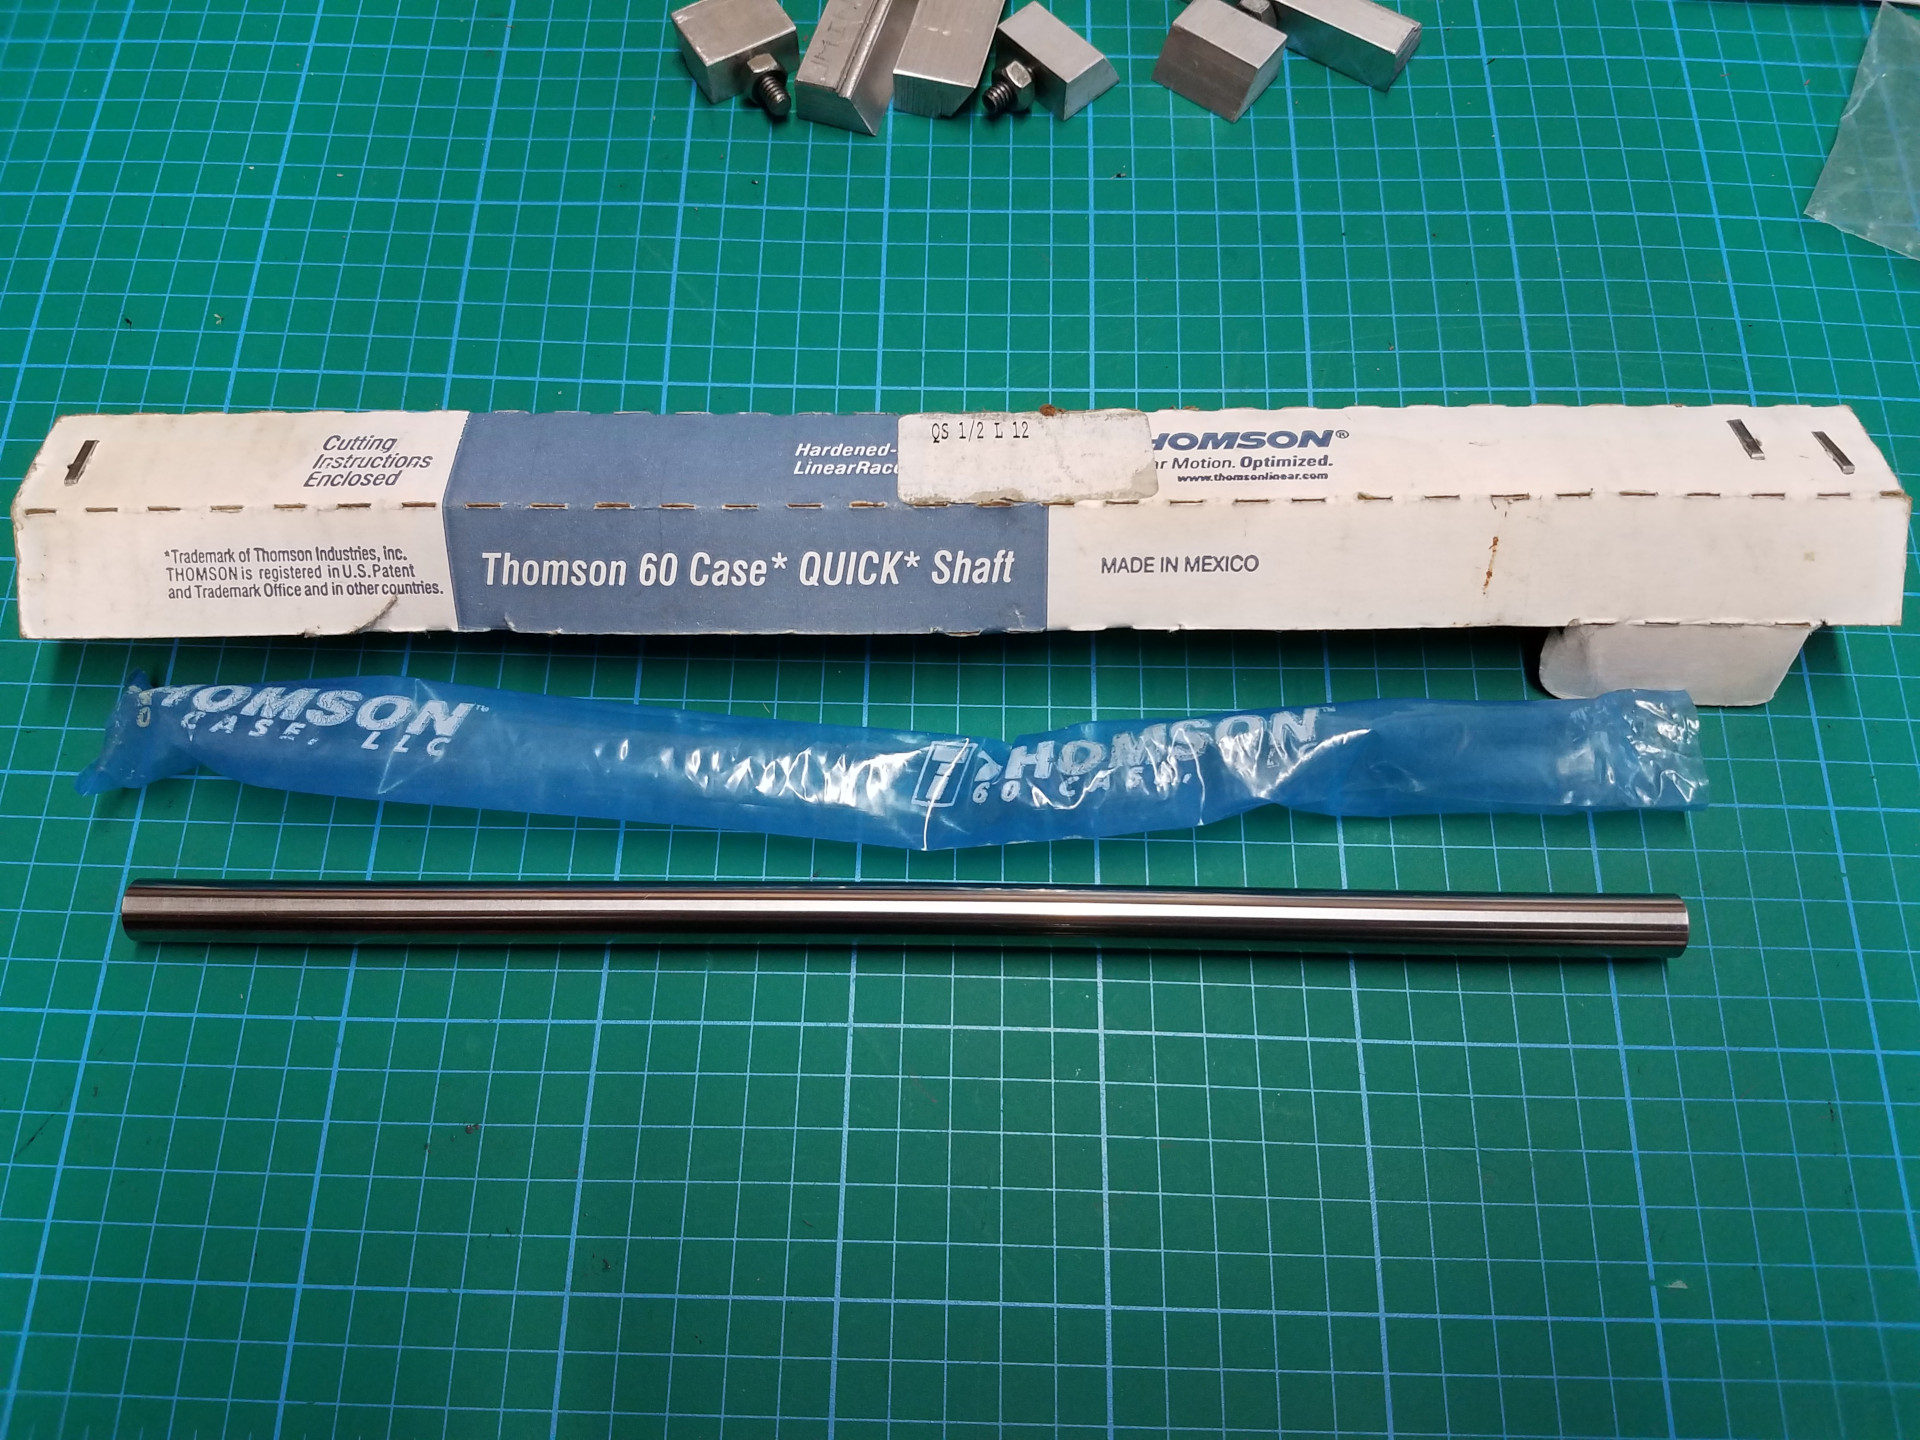
A good linear motion shaft will come with specifications for straightness and roundness that would be difficult to match in the home shop. Also, the shafts are case-hardened so they retain their accuracy. In small lengths, they aren't that expensive as this one (1/2" diameter, 12 inches long) was around $10. The only thing needed for test bar use is an accurate center hole machined at both ends.
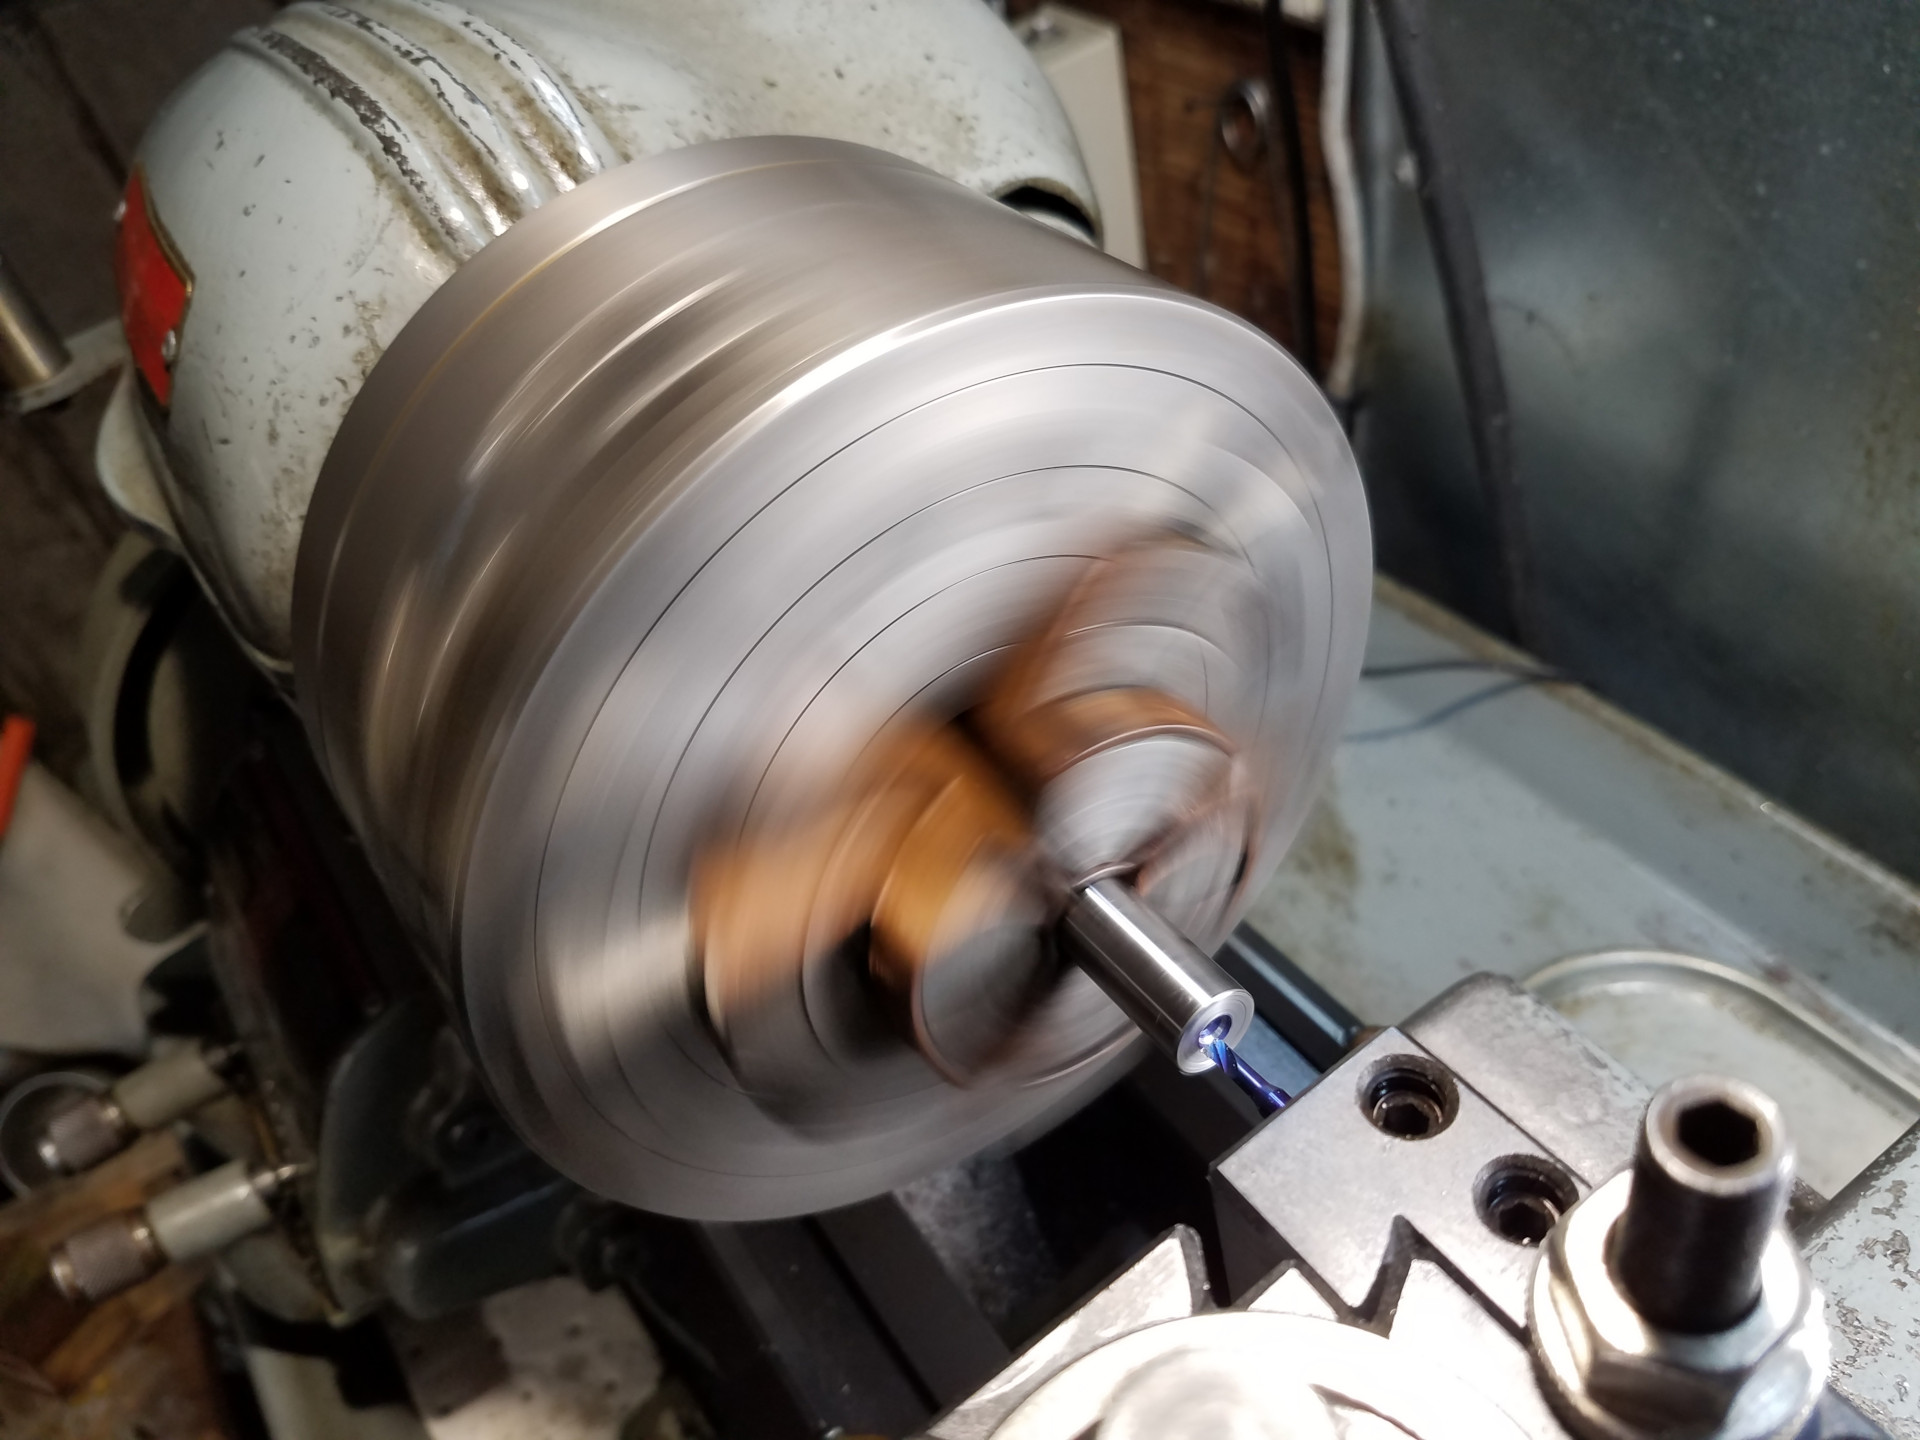
While they are hardened, the inside of the shaft is still soft and machinable. You can cut through the tough outer layer with carbide tooling by starting from the inside and cutting outwards when facing off the end.
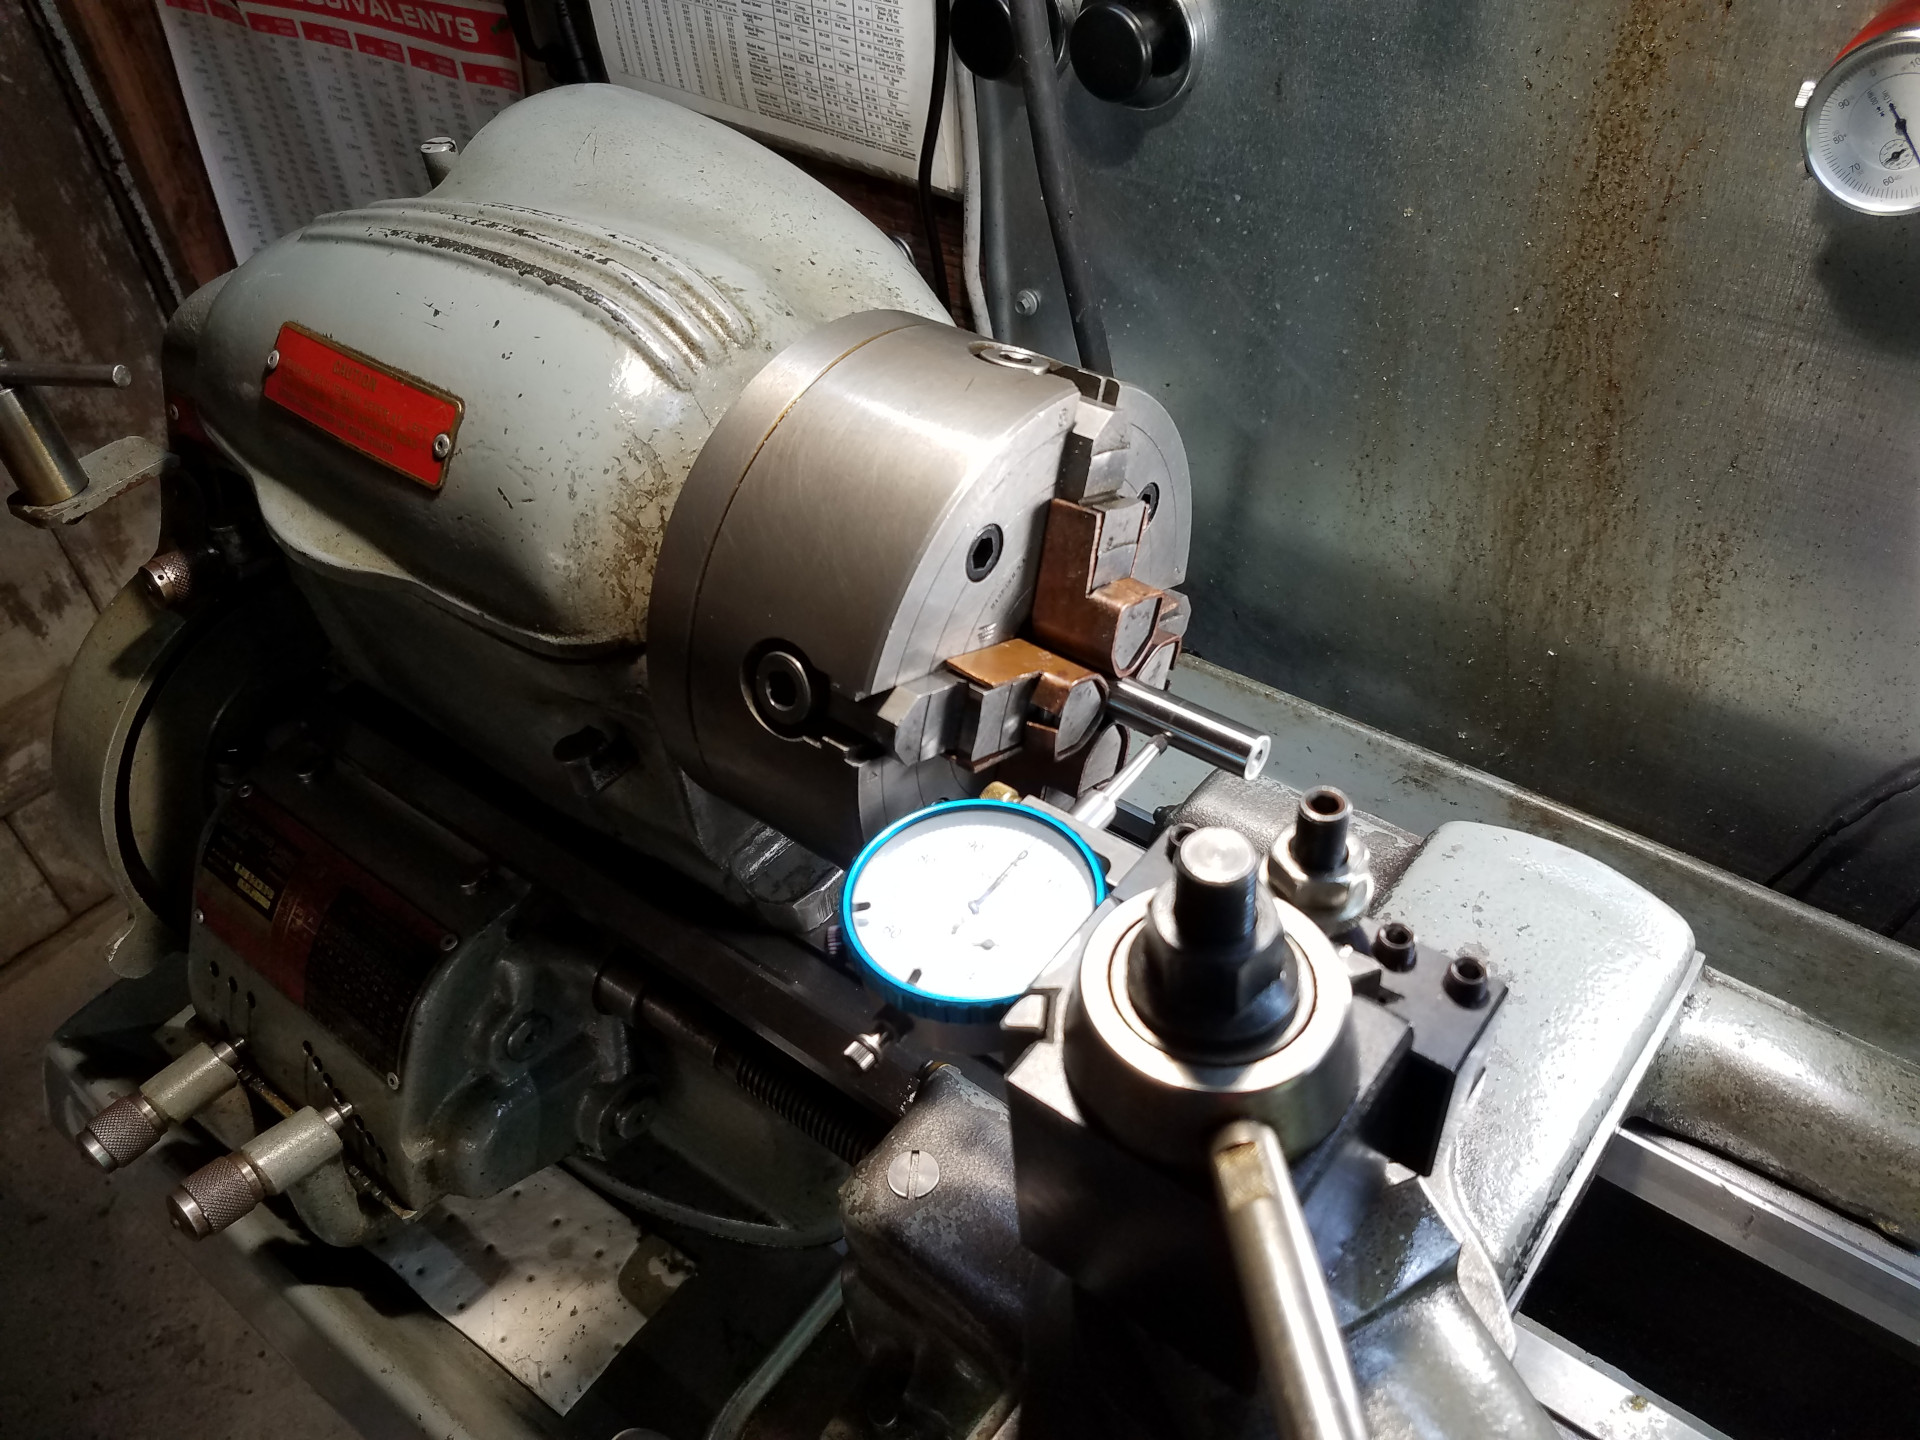
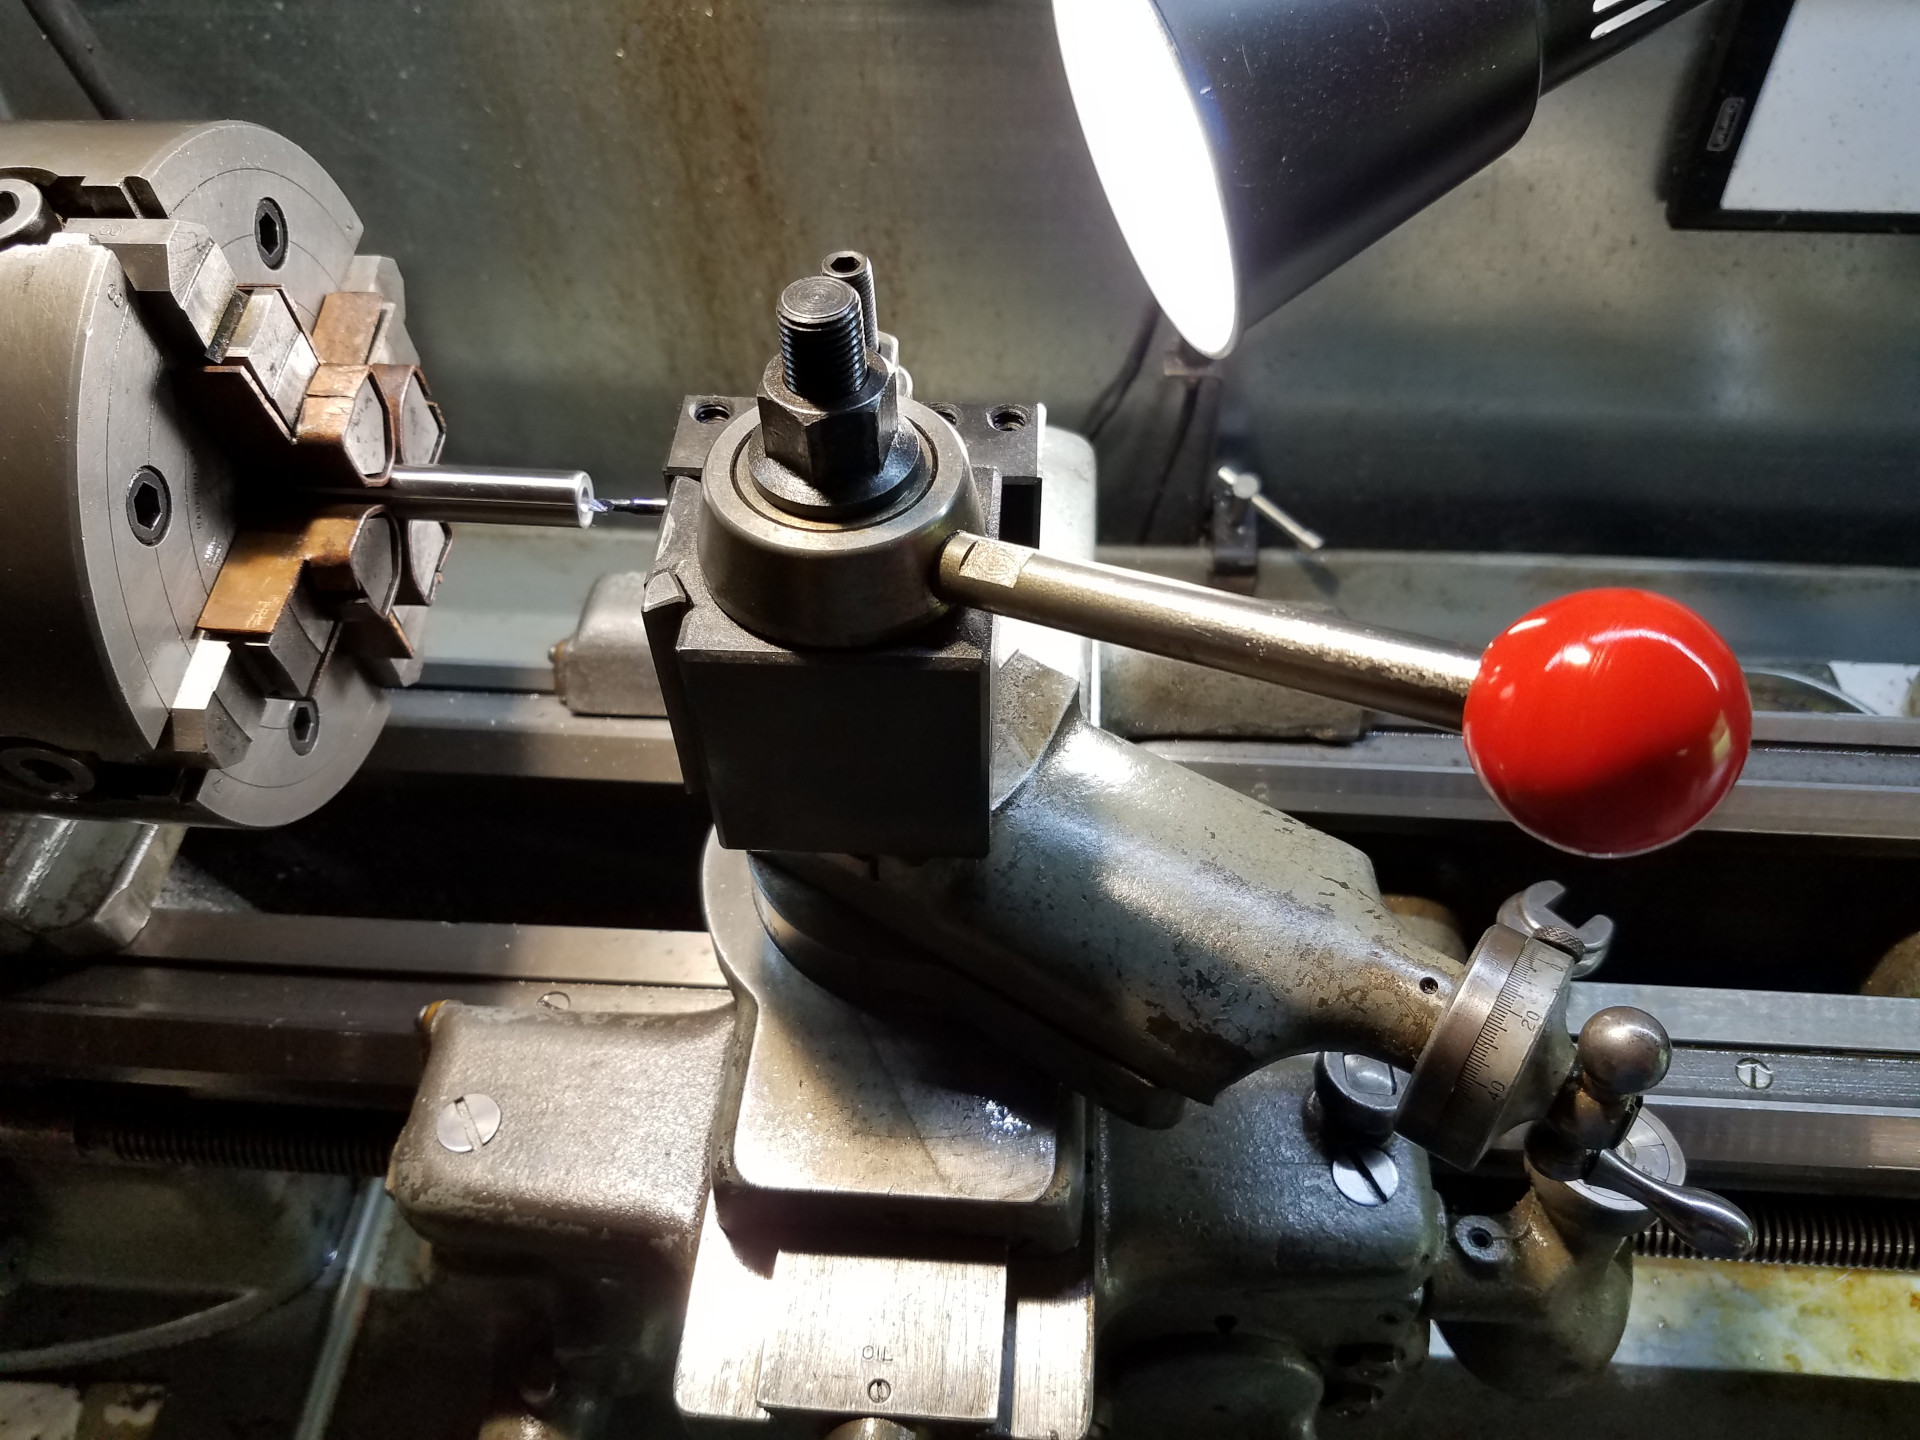
Here a 4 jaw chuck and dial indicator are used to setup the bar for the least amount of run-out. Do the best you can, because much of the accuracy of the test bar is dependent on how good a job you can do with the center holes.
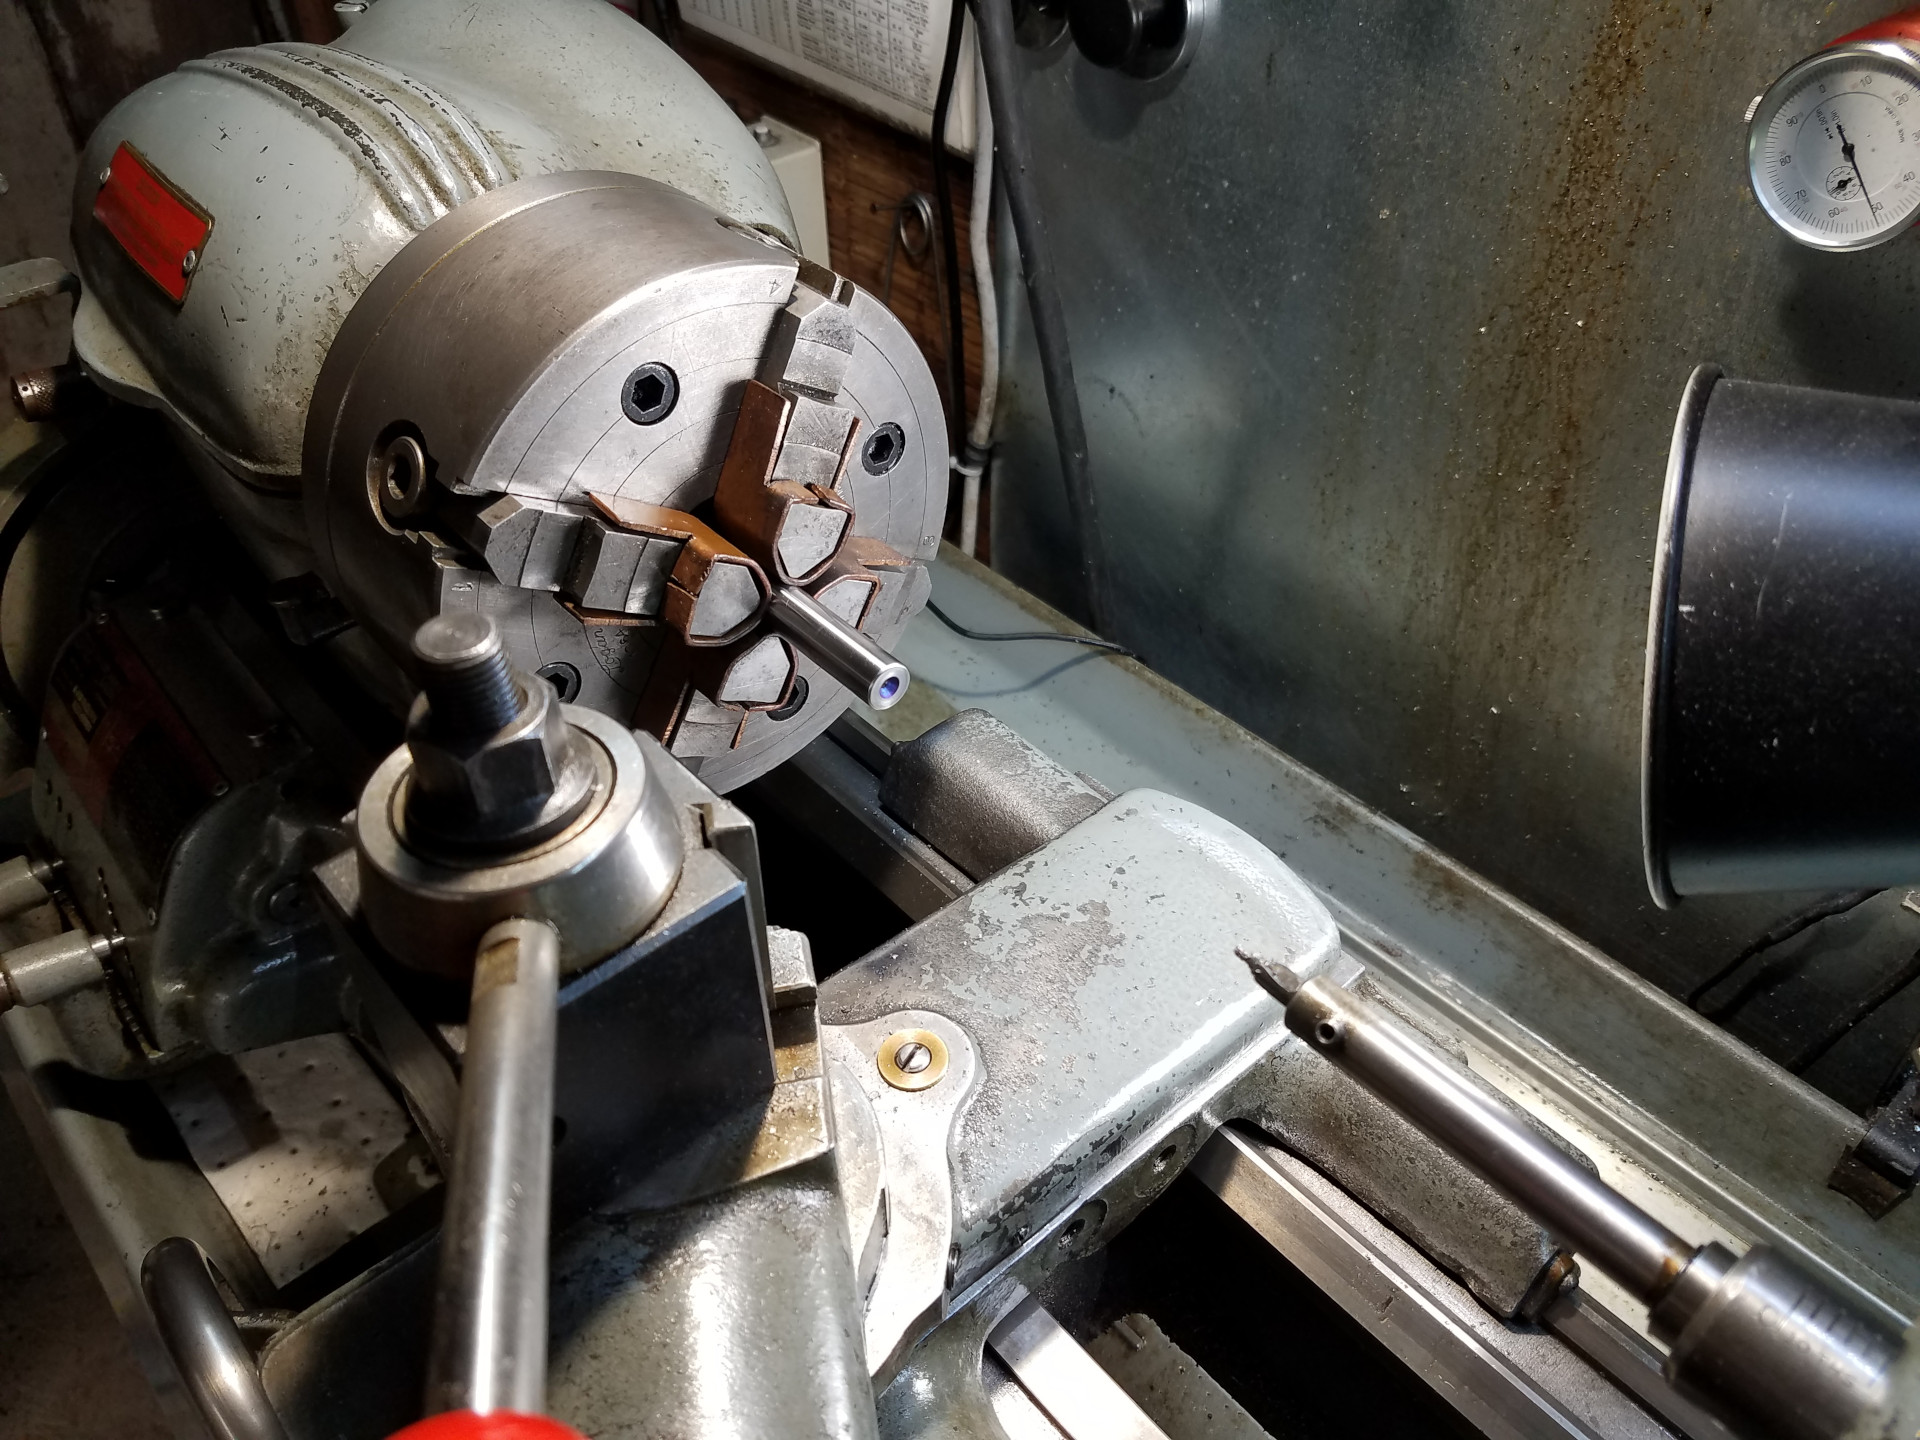
A center drill is used to form the hole. This process alone isn't accurate enough for a test bar, so the hole is inked blue for the next step.
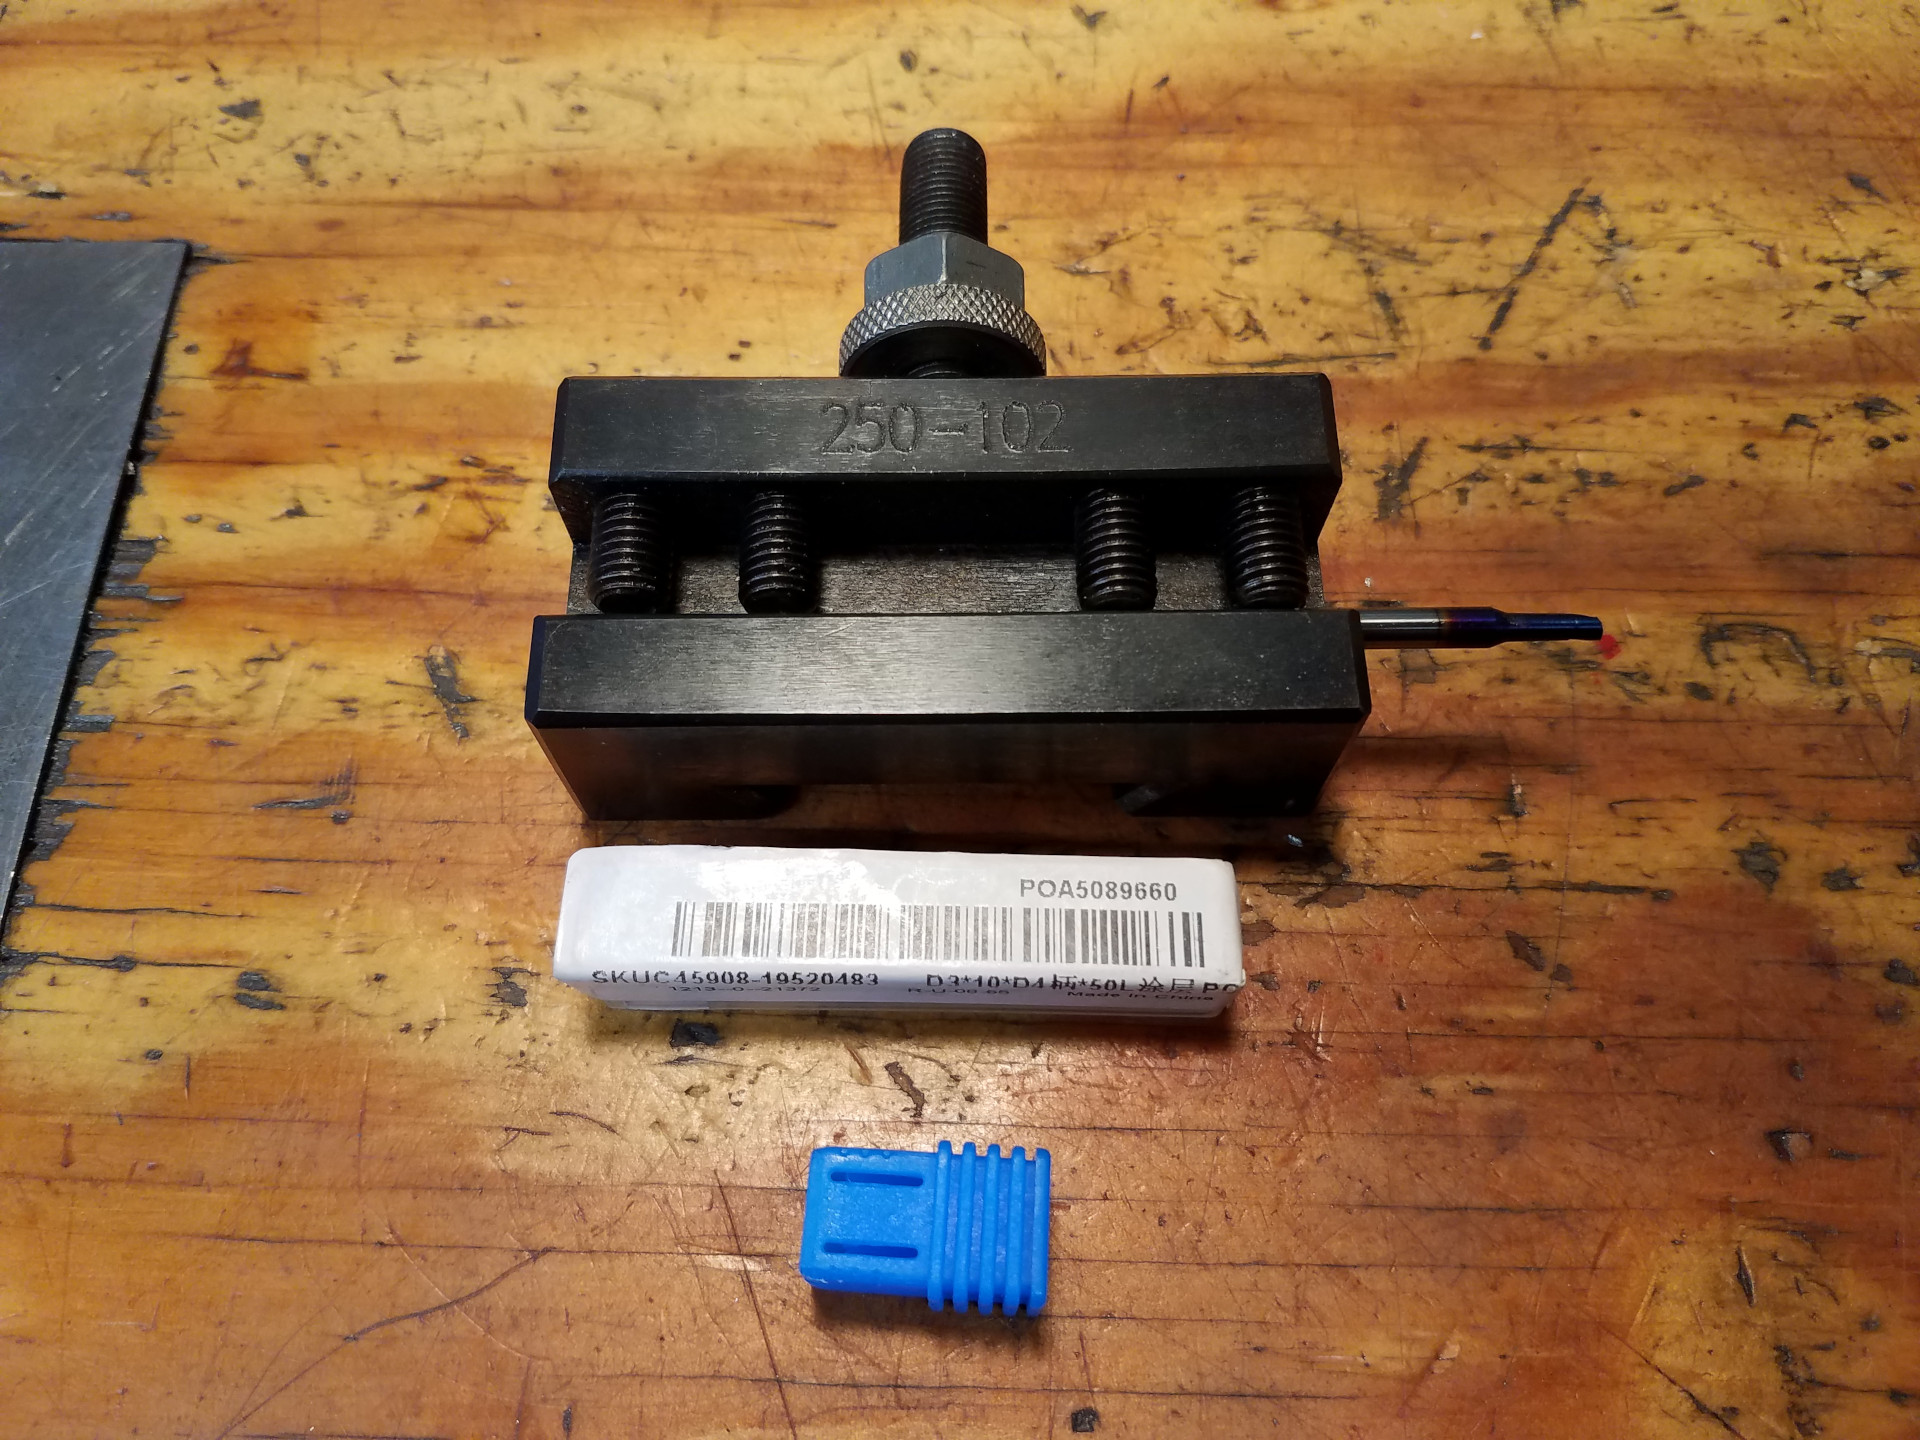
A tiny carbide boring bar is loaded into a tool holder. If you don't have one of these, you can make something similar by grinding a HSS tool blank to the proper shape.
The boring bar is mounted in the QCTP with the compound set to cut a 60 degree included angle.
Here the tapered hole made with the center drill is "touched-up" with the tiny boring bar using the compound rest. Don't go crazy here, just remove the least amount of material using the ink in the hole as a guide. Repeat the center hole process on the other side of the bar.
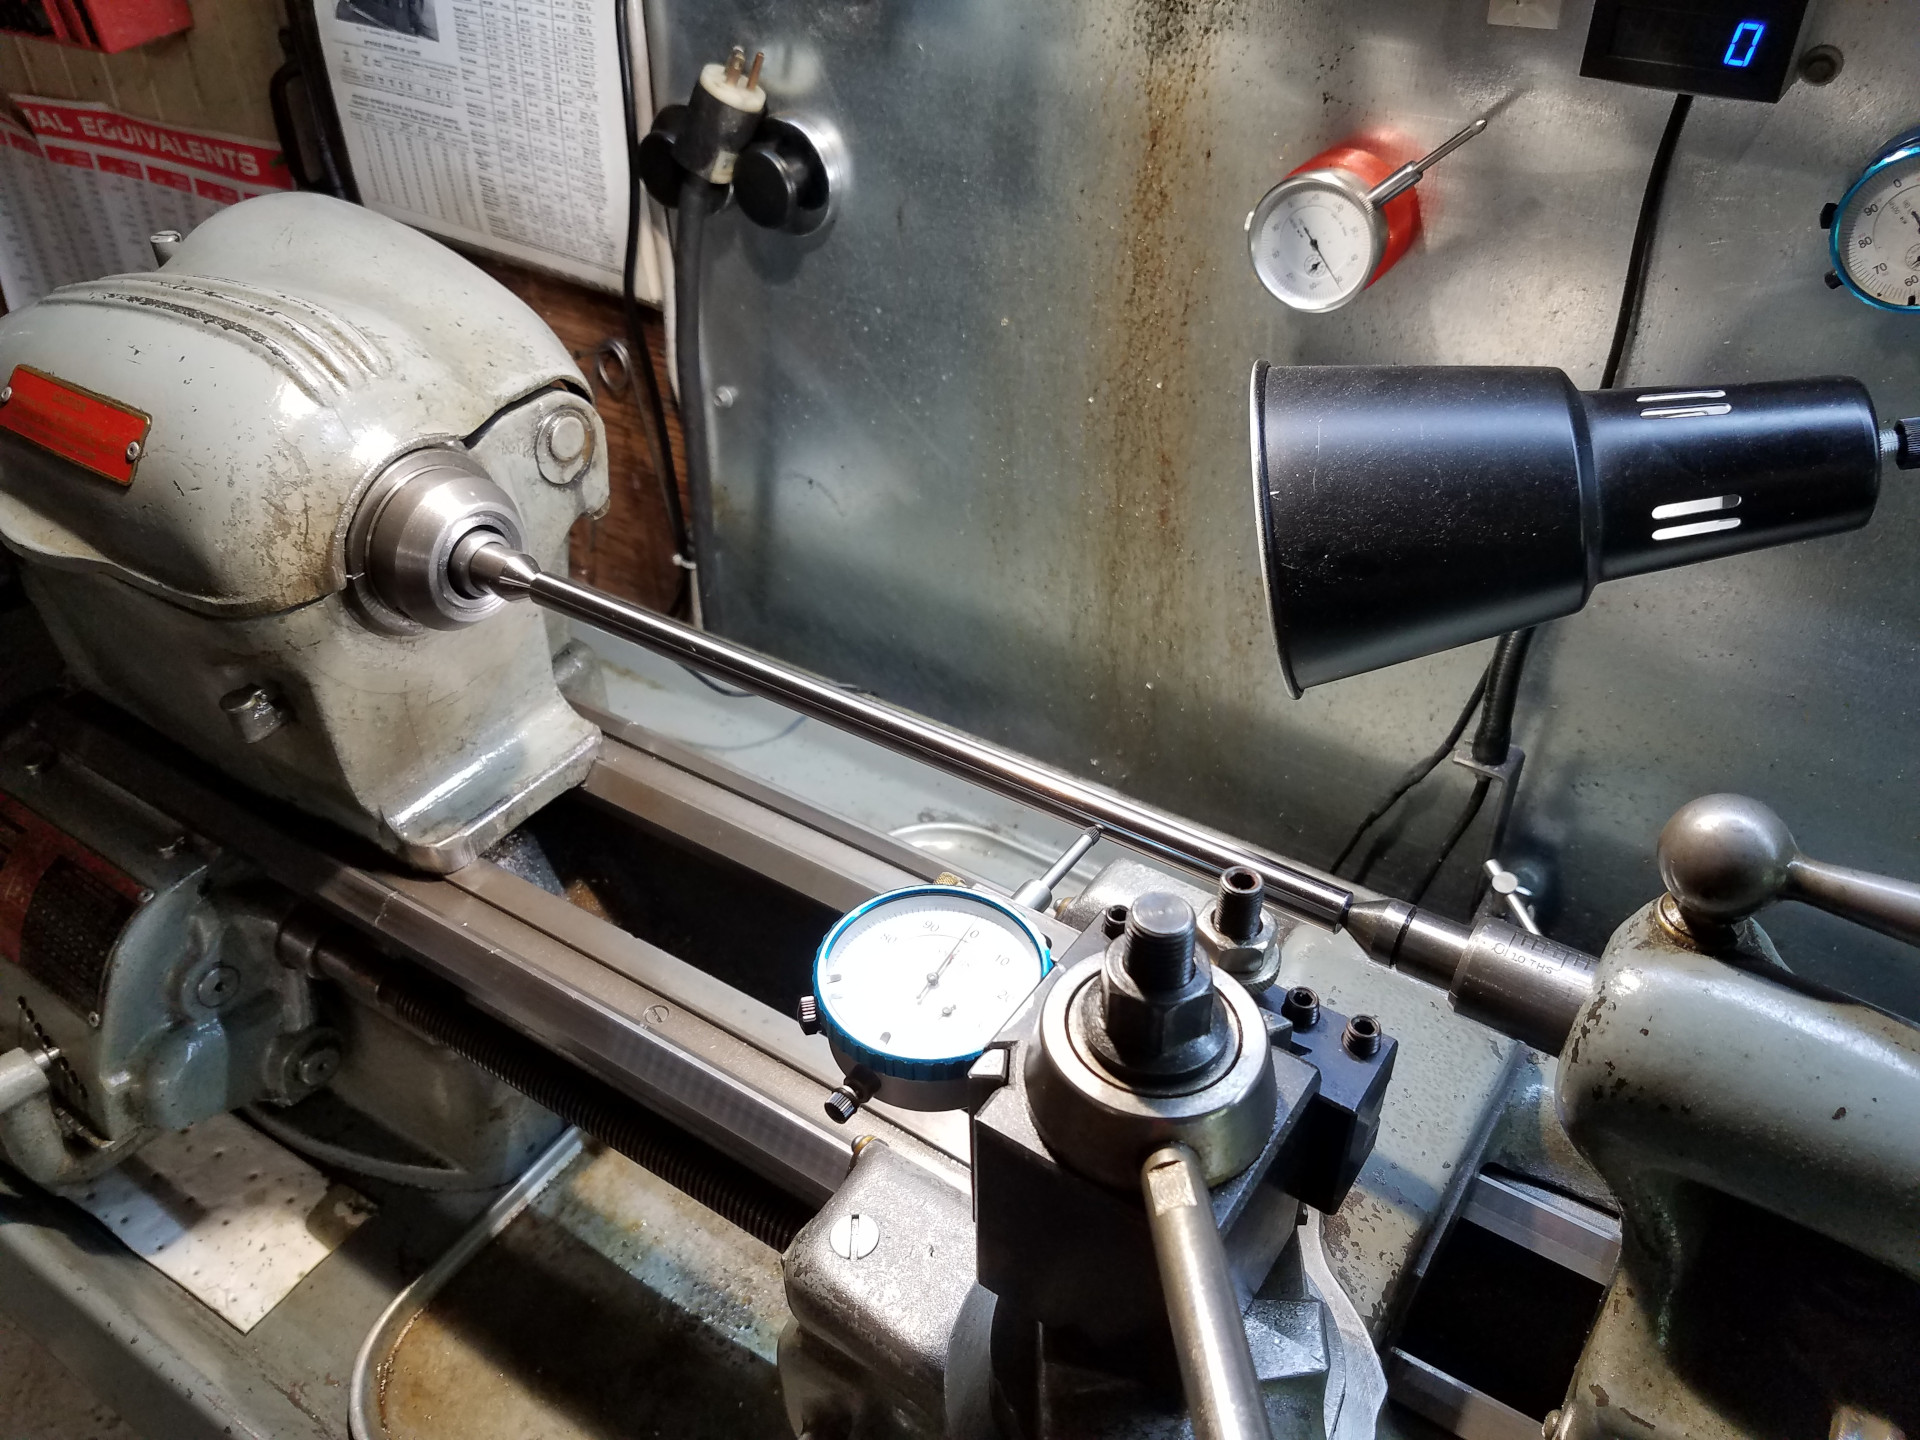
In this picture the test bar and a dial indicator are used to align the lathe's tailstock with the headstock. The test bar is also useful at the mill for aligning a dividing head or rotary table with a tailstock.