On my SB 10K, the nut used to tighten-down the steady rest is sometimes awkward to reach. It's obvious that SB intended the use of the tailstock wrench, unfortunately over the years the original nut was lost and replaced with a modern 7/16-14 HD nut. The tailstock wrench is 25/32 and it's been a long time since you've been able to buy a nut that size. Well, I have a lathe and a mill that just happens to have a rotary table installed so this seems like a good time to make some nuts.
Many people wonder about the 25/32" size. No, it's not SB specific but a very old specification. My large-print 26th edition of Machinery's Handbook didn't have squat about it, but luckily I have a 12th edition and it had the needed chart:
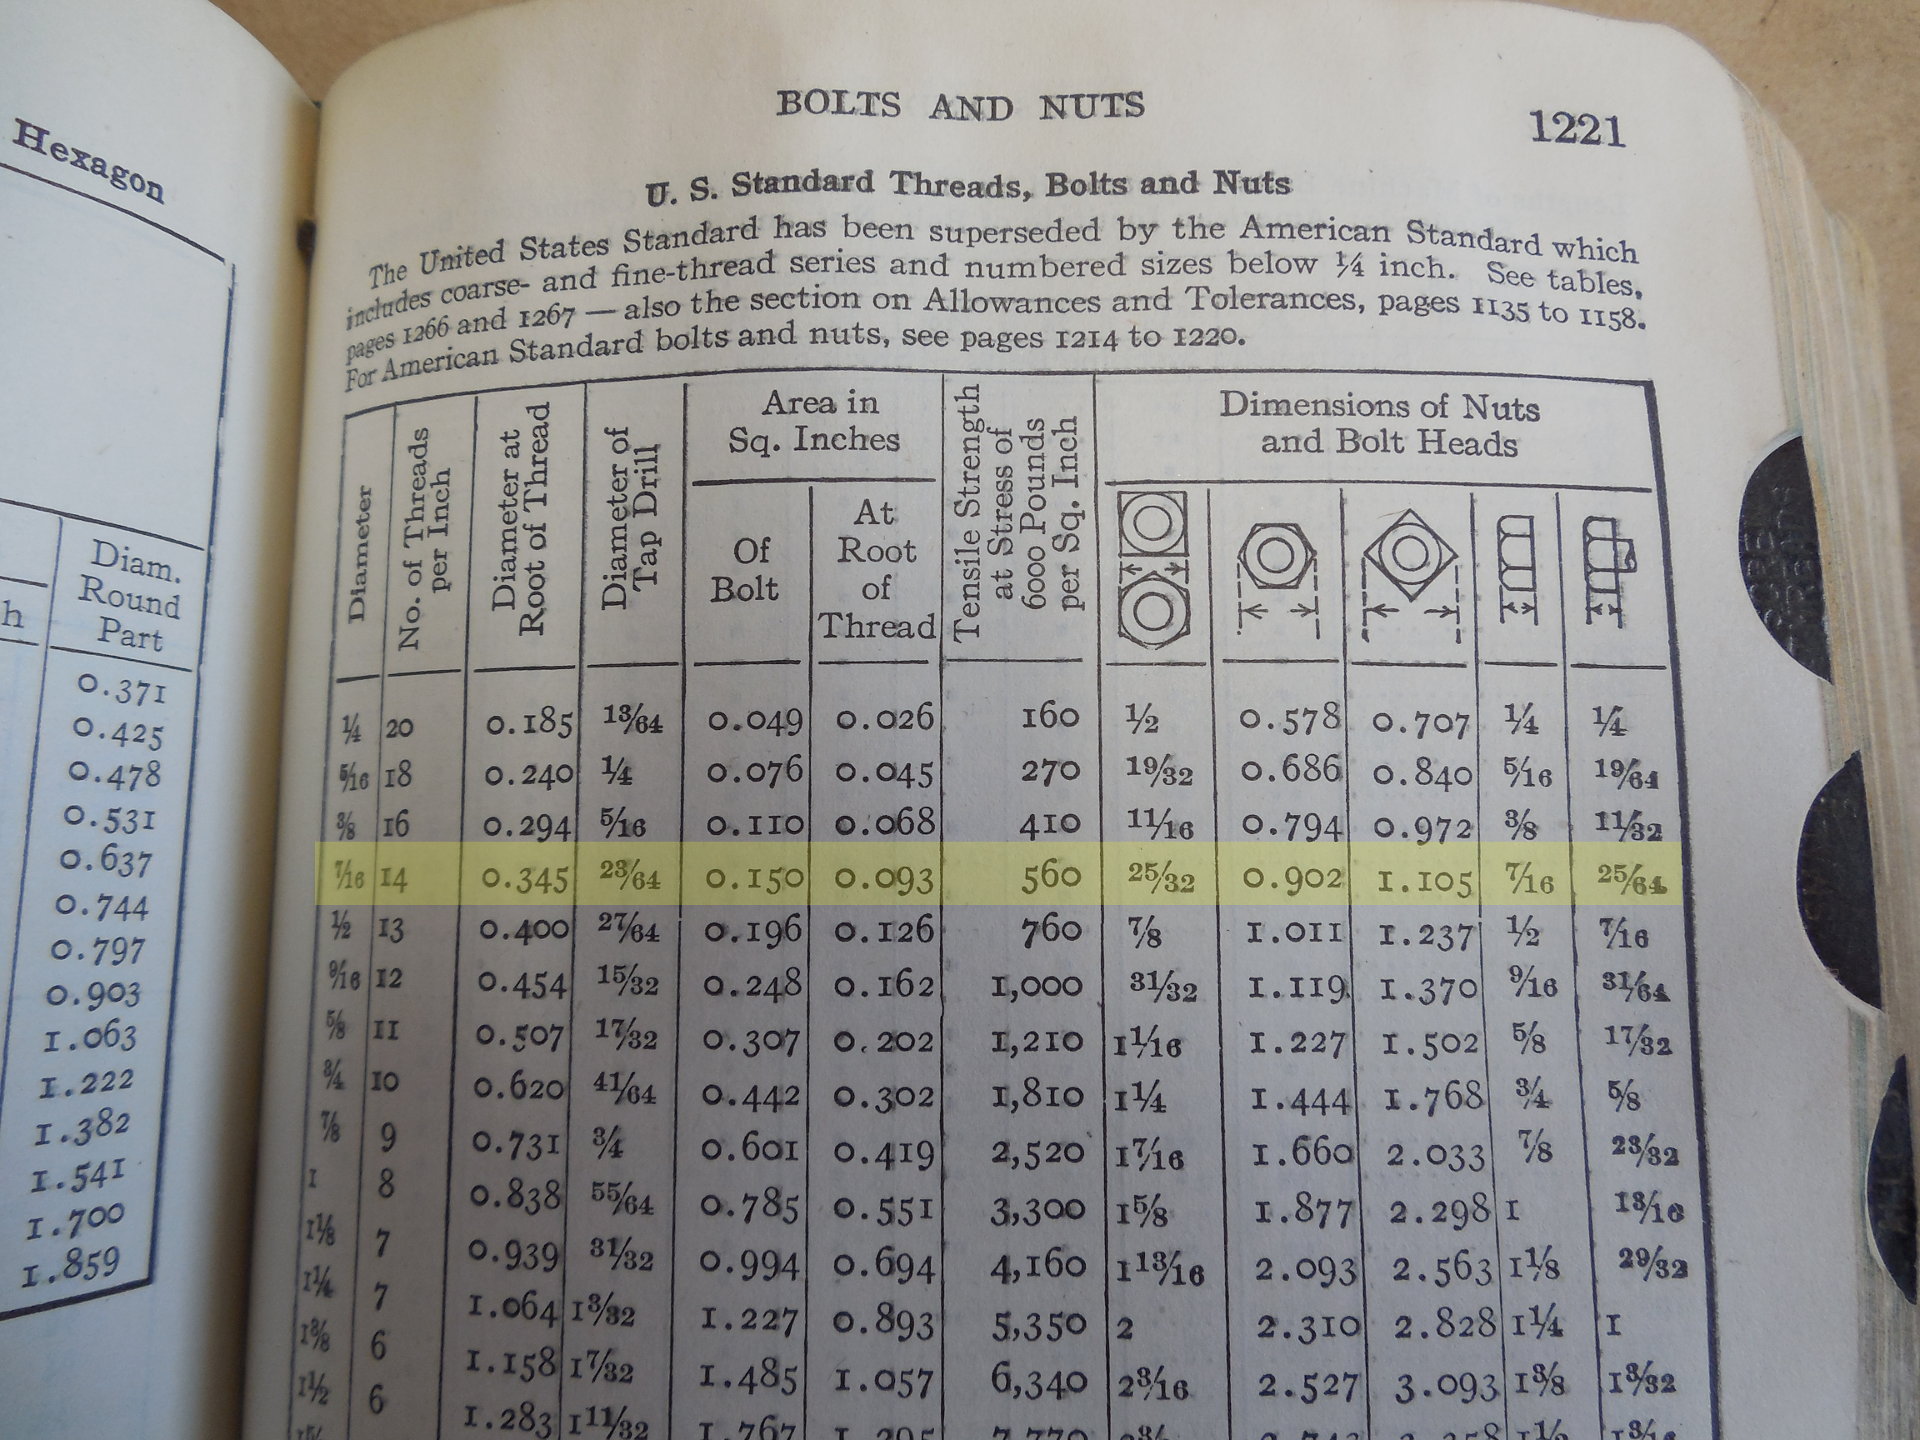
As you can see a 7/16 bolt has 14 TPI with 25/32" outside diameter. I guess SB still using these specifications in 1972 is part of the charm.
I needed to turn down a round bar to .902" and since I'll need them later I went old-school and turned the bar between centers. I even dug-out the Concentric live center.

You know these were expensive back in the day because they came in a wooden presentation box. As you can see from the label, their claim-to-fame is that they are a spring-loaded center, so if your work piece heats up and expands it won't crowd the bearings. For me, this would rarely be a problem, but I liked using this center because of the skinny point for fine work. Eventually I purchased a lovely Royal "CNC" center and it too has a skinny point which means the Concentric spends most of it's time in the wooden box- but not today!
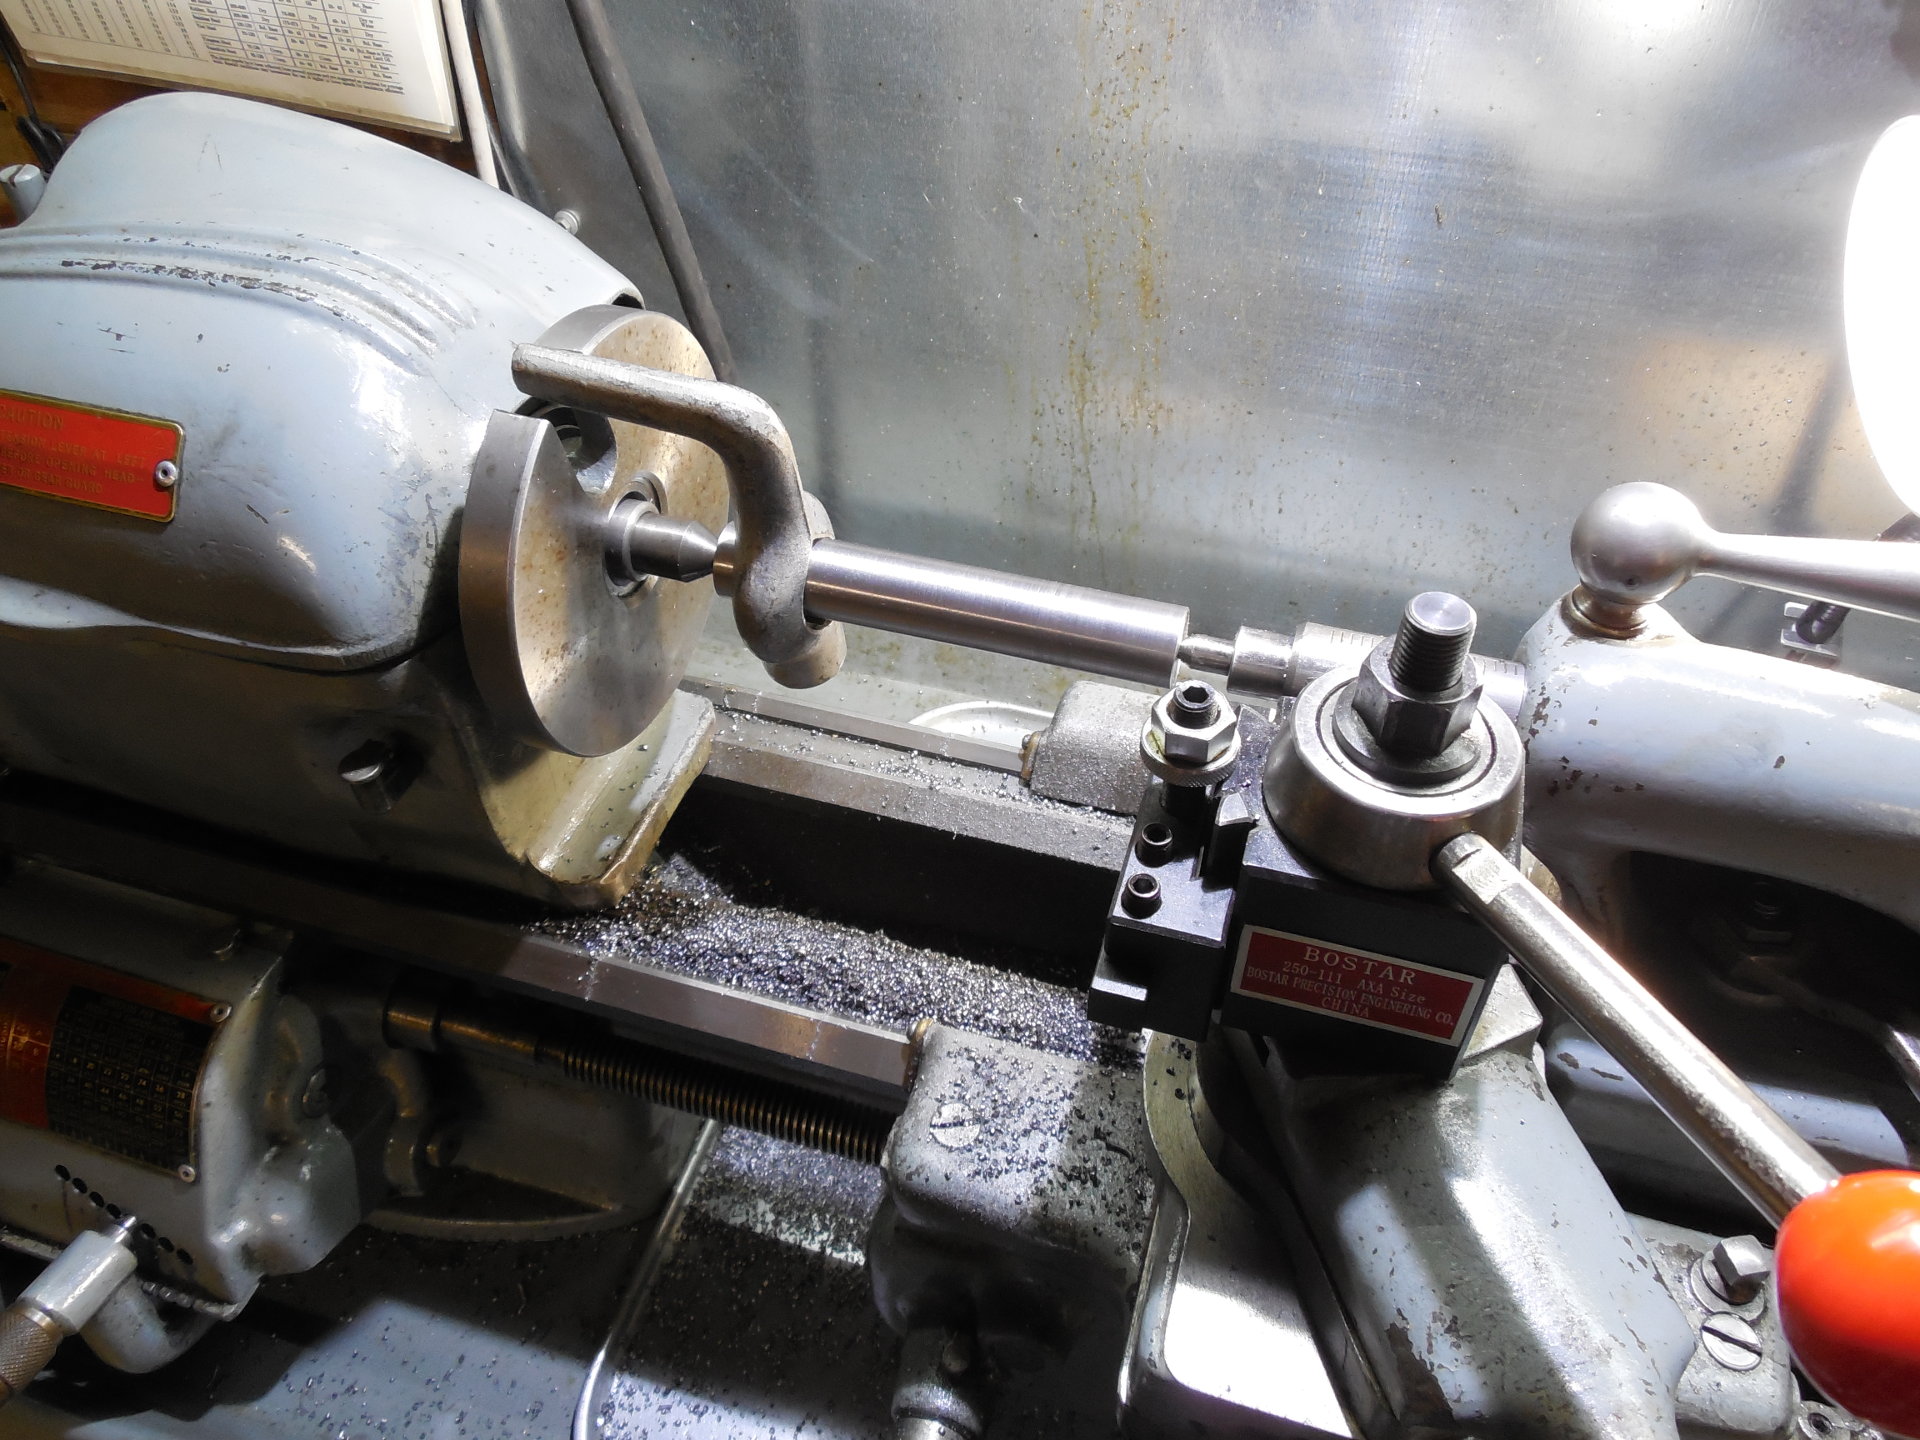
I believe the shaft was already flipped around in this picture which is the killer feature of turning on centers. That spinning dog sure keeps you alert. The trouble with the Concentric center on this machine is that it's such low profile you really have to extend the quill out so the saddle doesn't hit the tailstock. The extended point on the Royal doesn't have this problem which is one of the reasons I use it almost all the time.
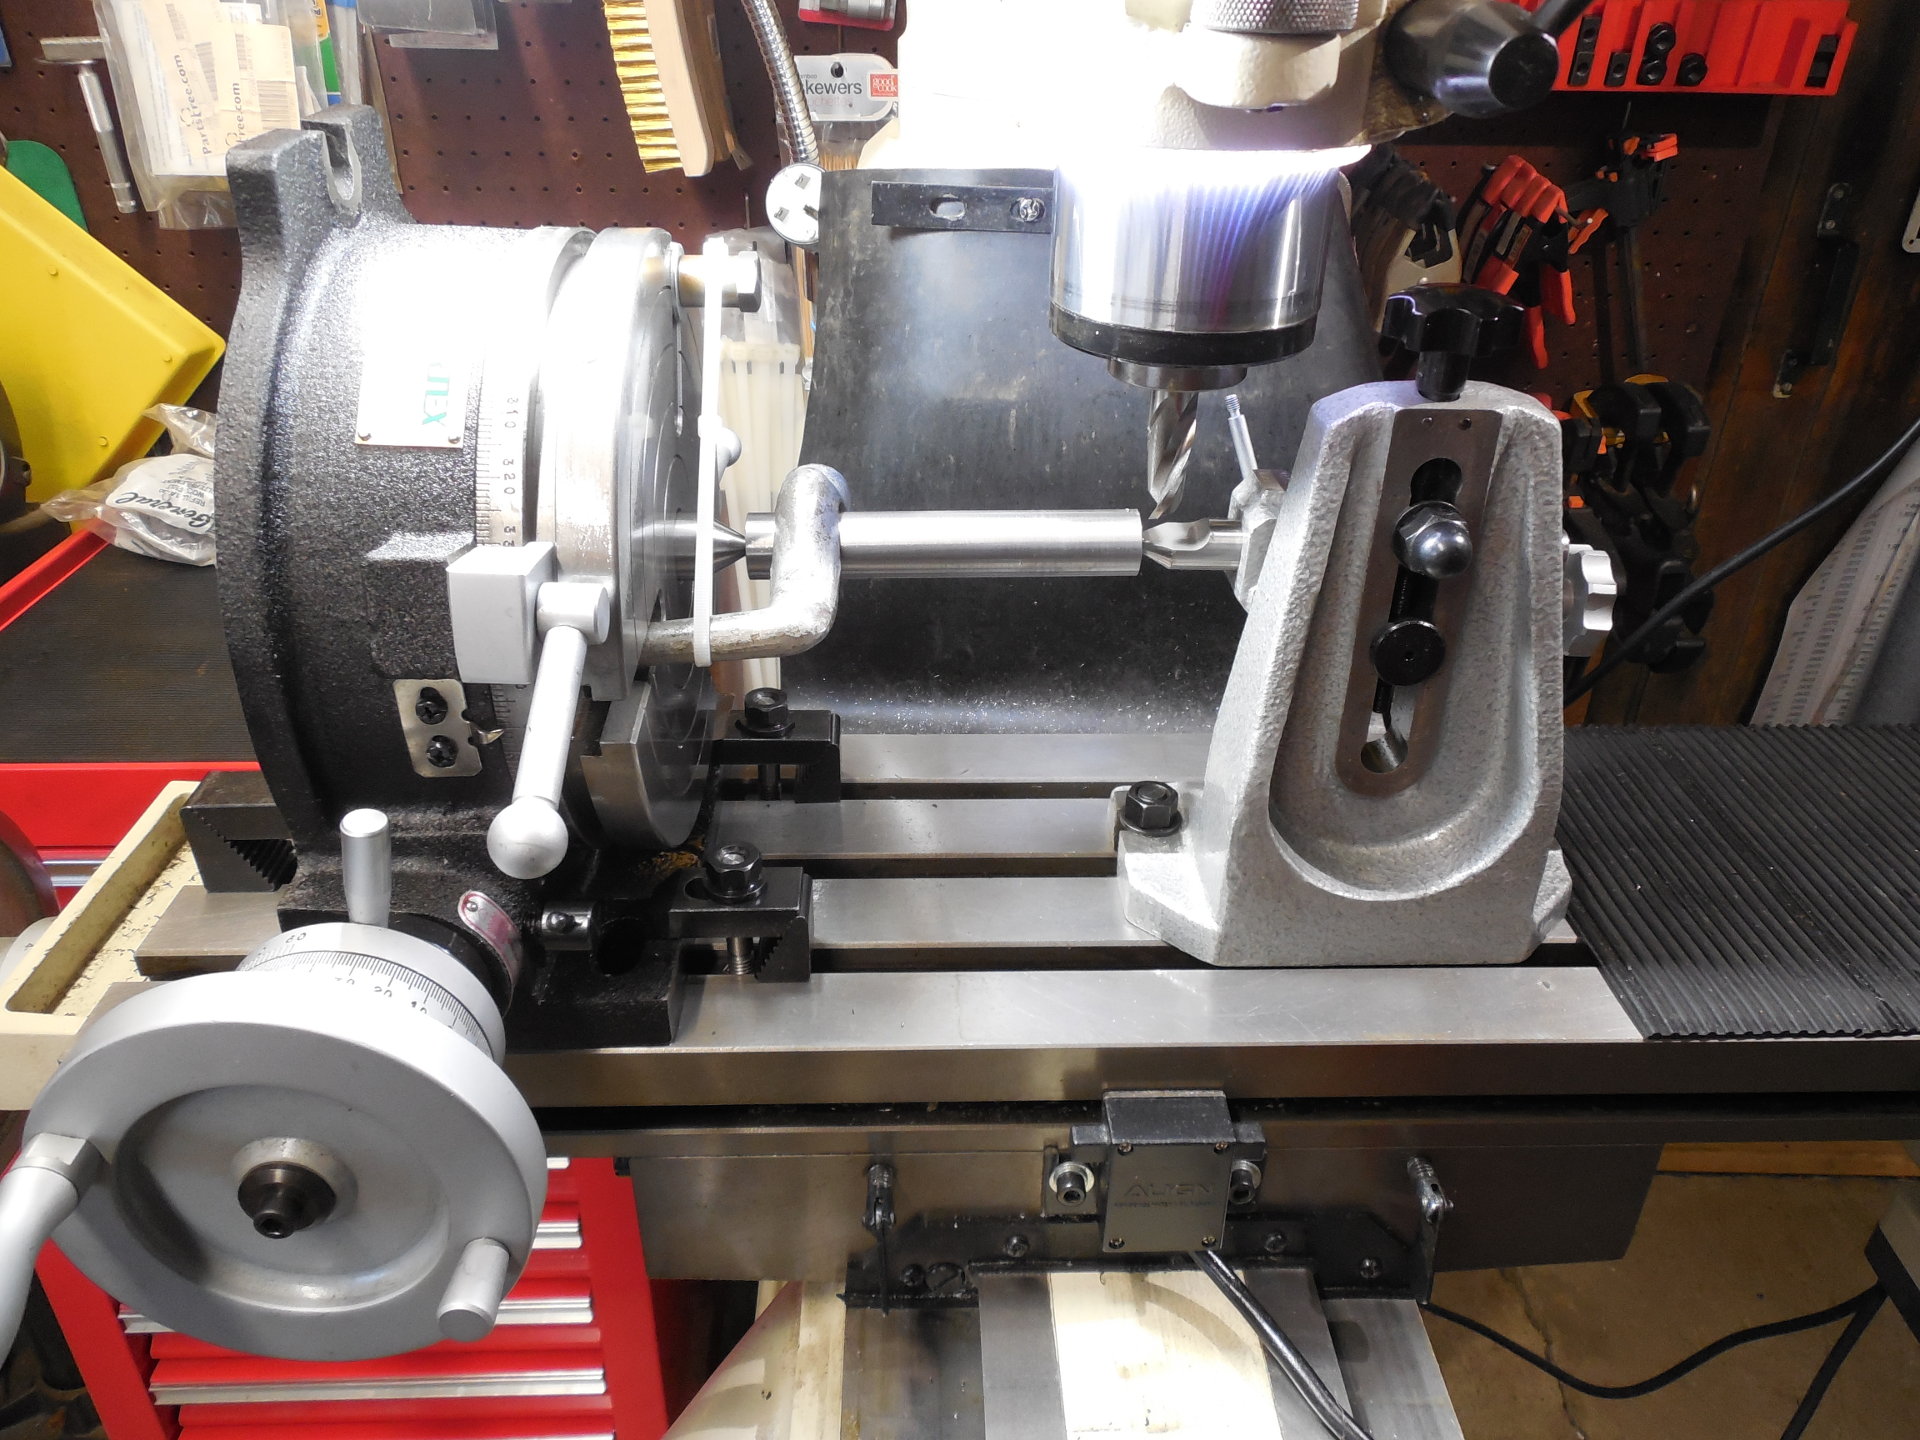
And here is the .902 shaft mounted between centers on the mill ready for the initial cut. The shaft was indicated to make sure it was in straight.
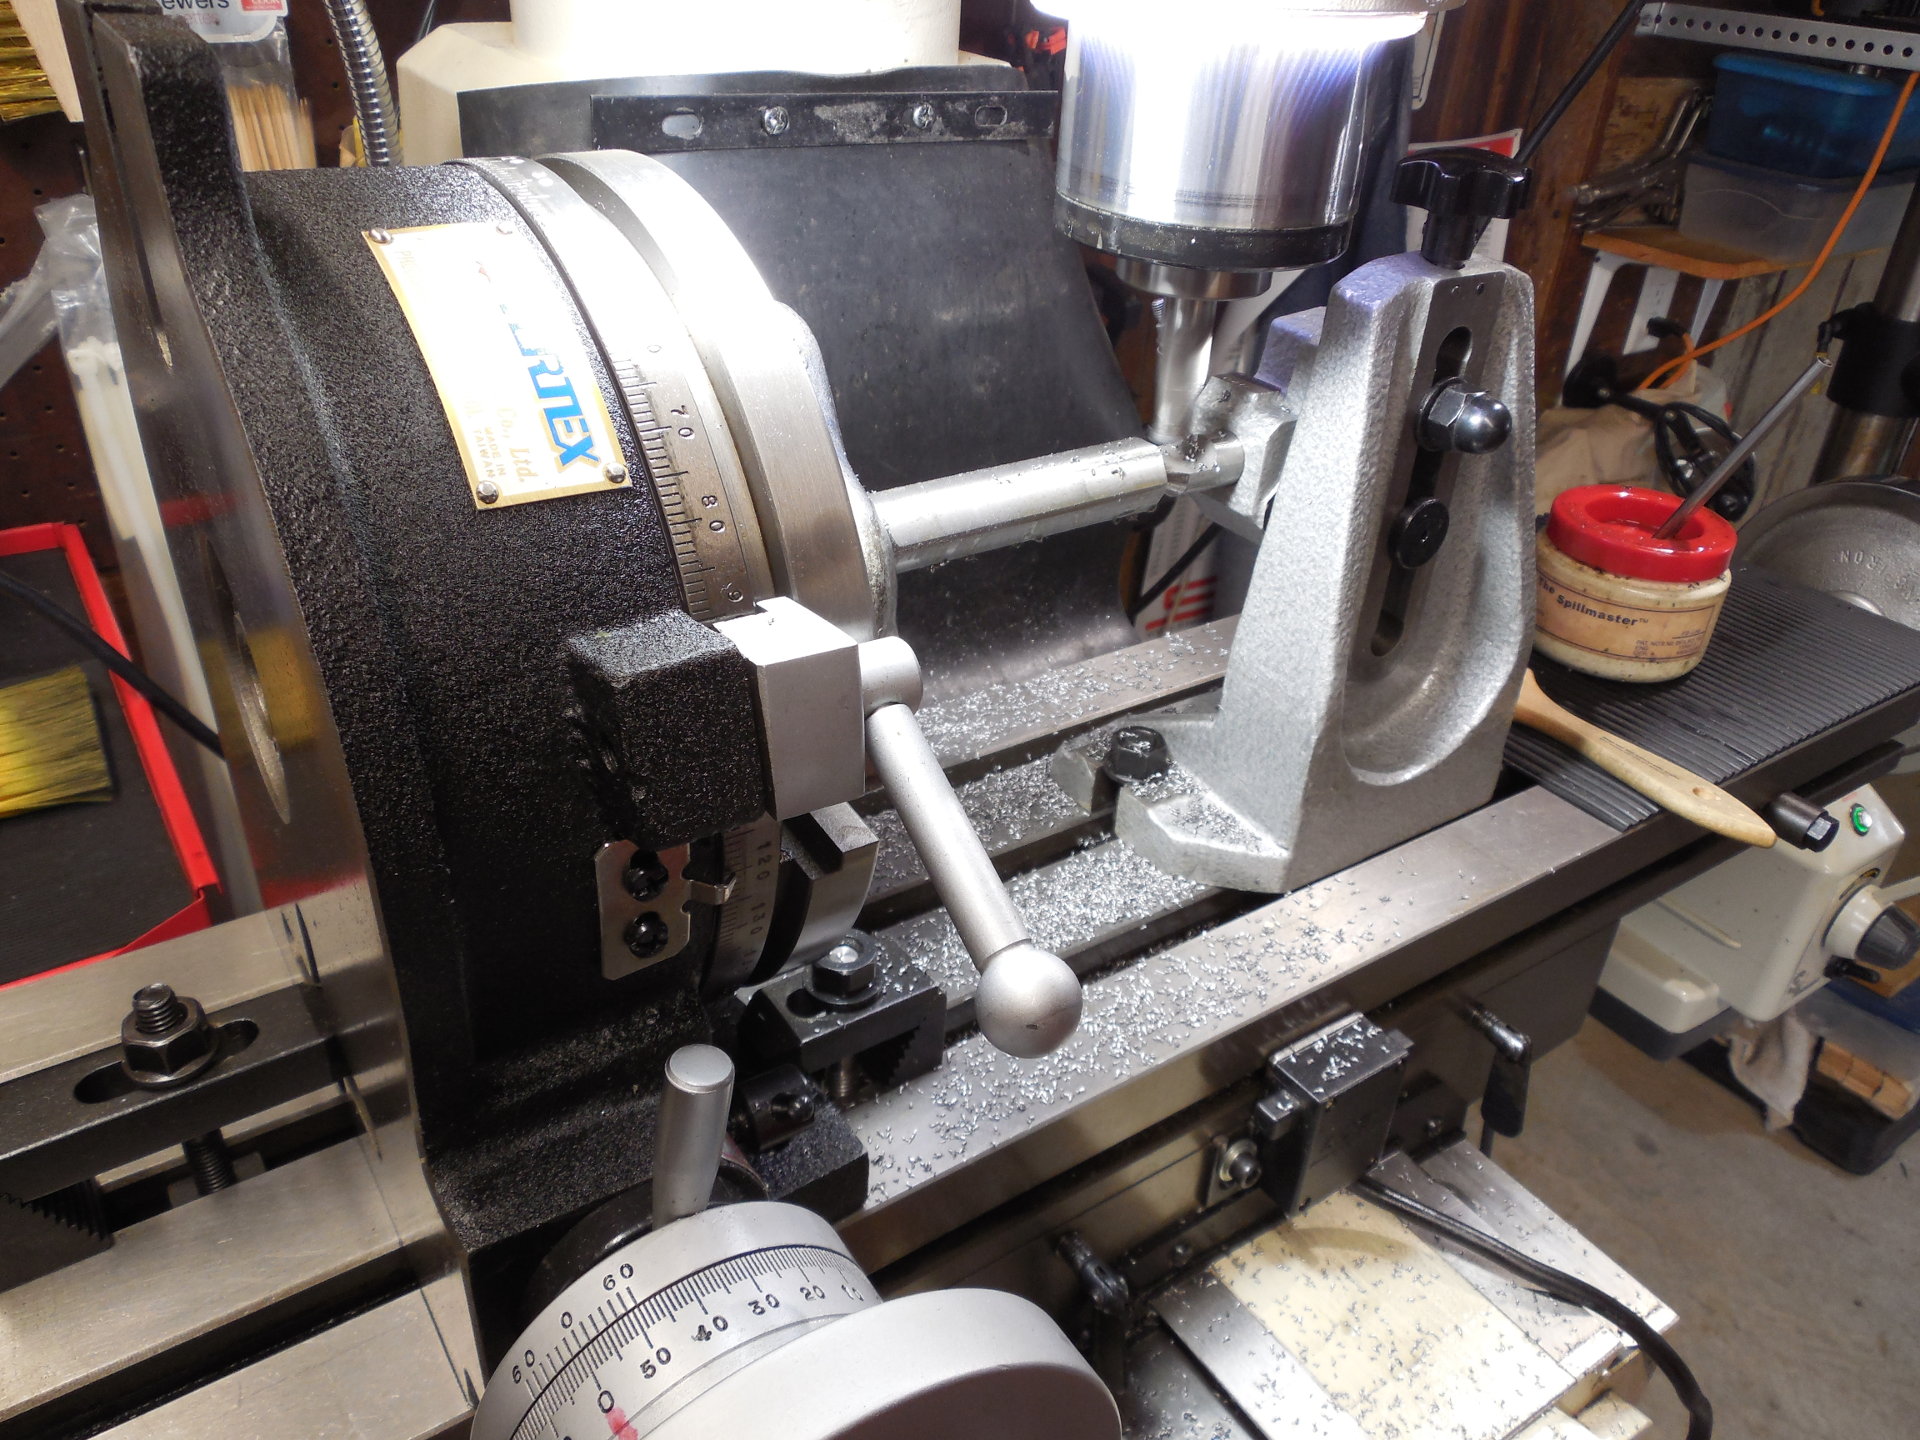
I have the division plate kit for this rotary table and with them it will do any division from 100 on down. Indirect dividing wasn't necessary (90/6=15), so I just marked the zero on the dial and counted off the turns. I made several passes as I didn't want to over-cut and after awhile I had a 25/32 hex bar.
The hex bar was then cut on the drop saw into slightly over 5/8" chunks for finishing on the lathe.
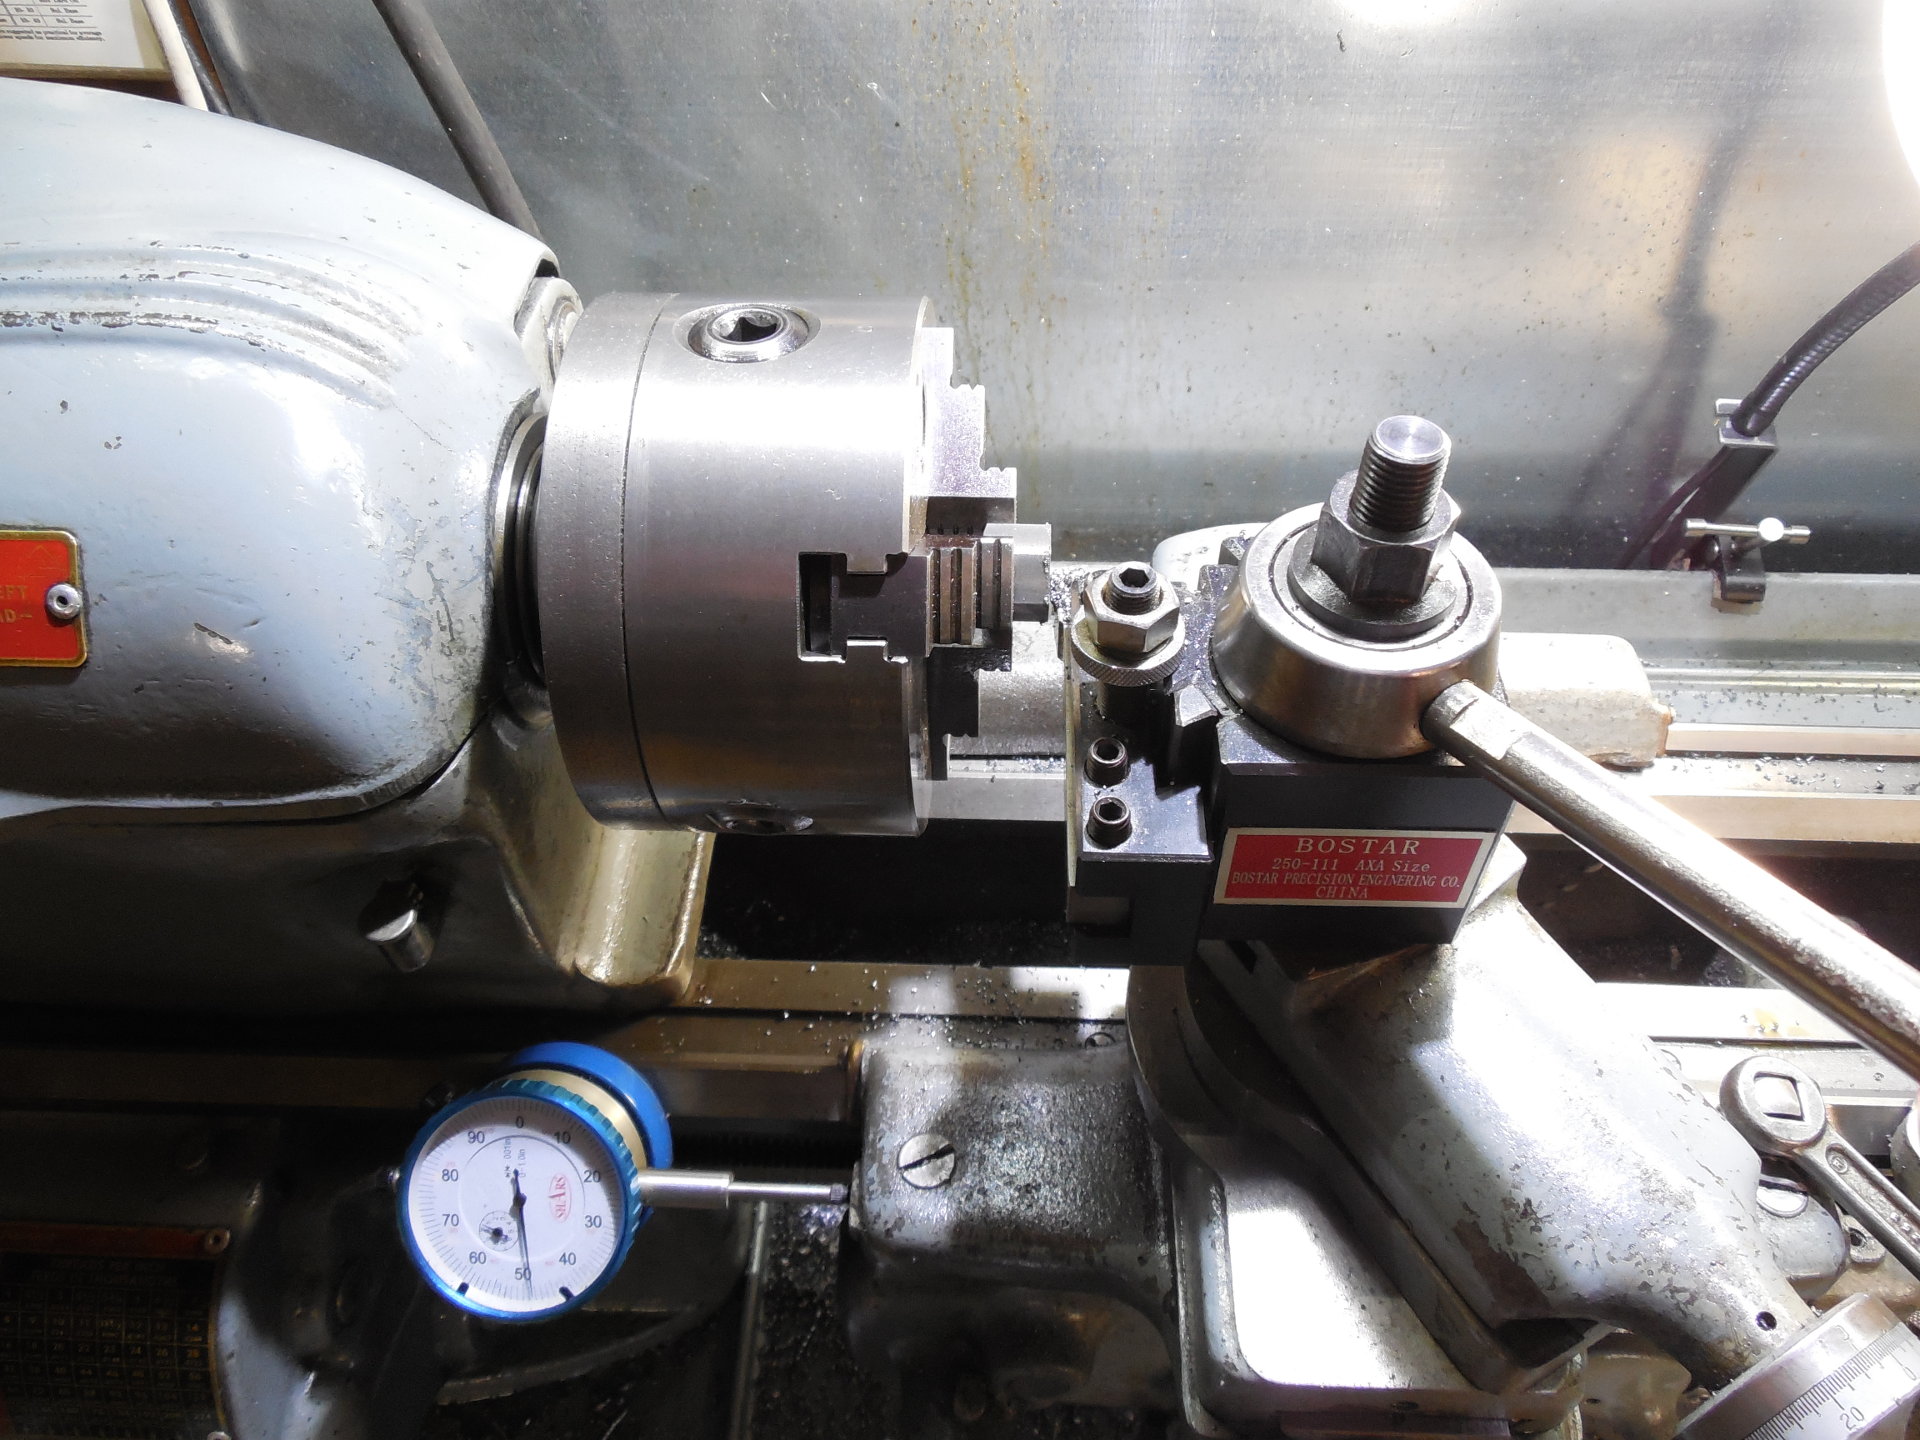
The nut was faced-off, chamfered, flipped around and faced-off again to the correct length with the help of a mag-backed indicator.
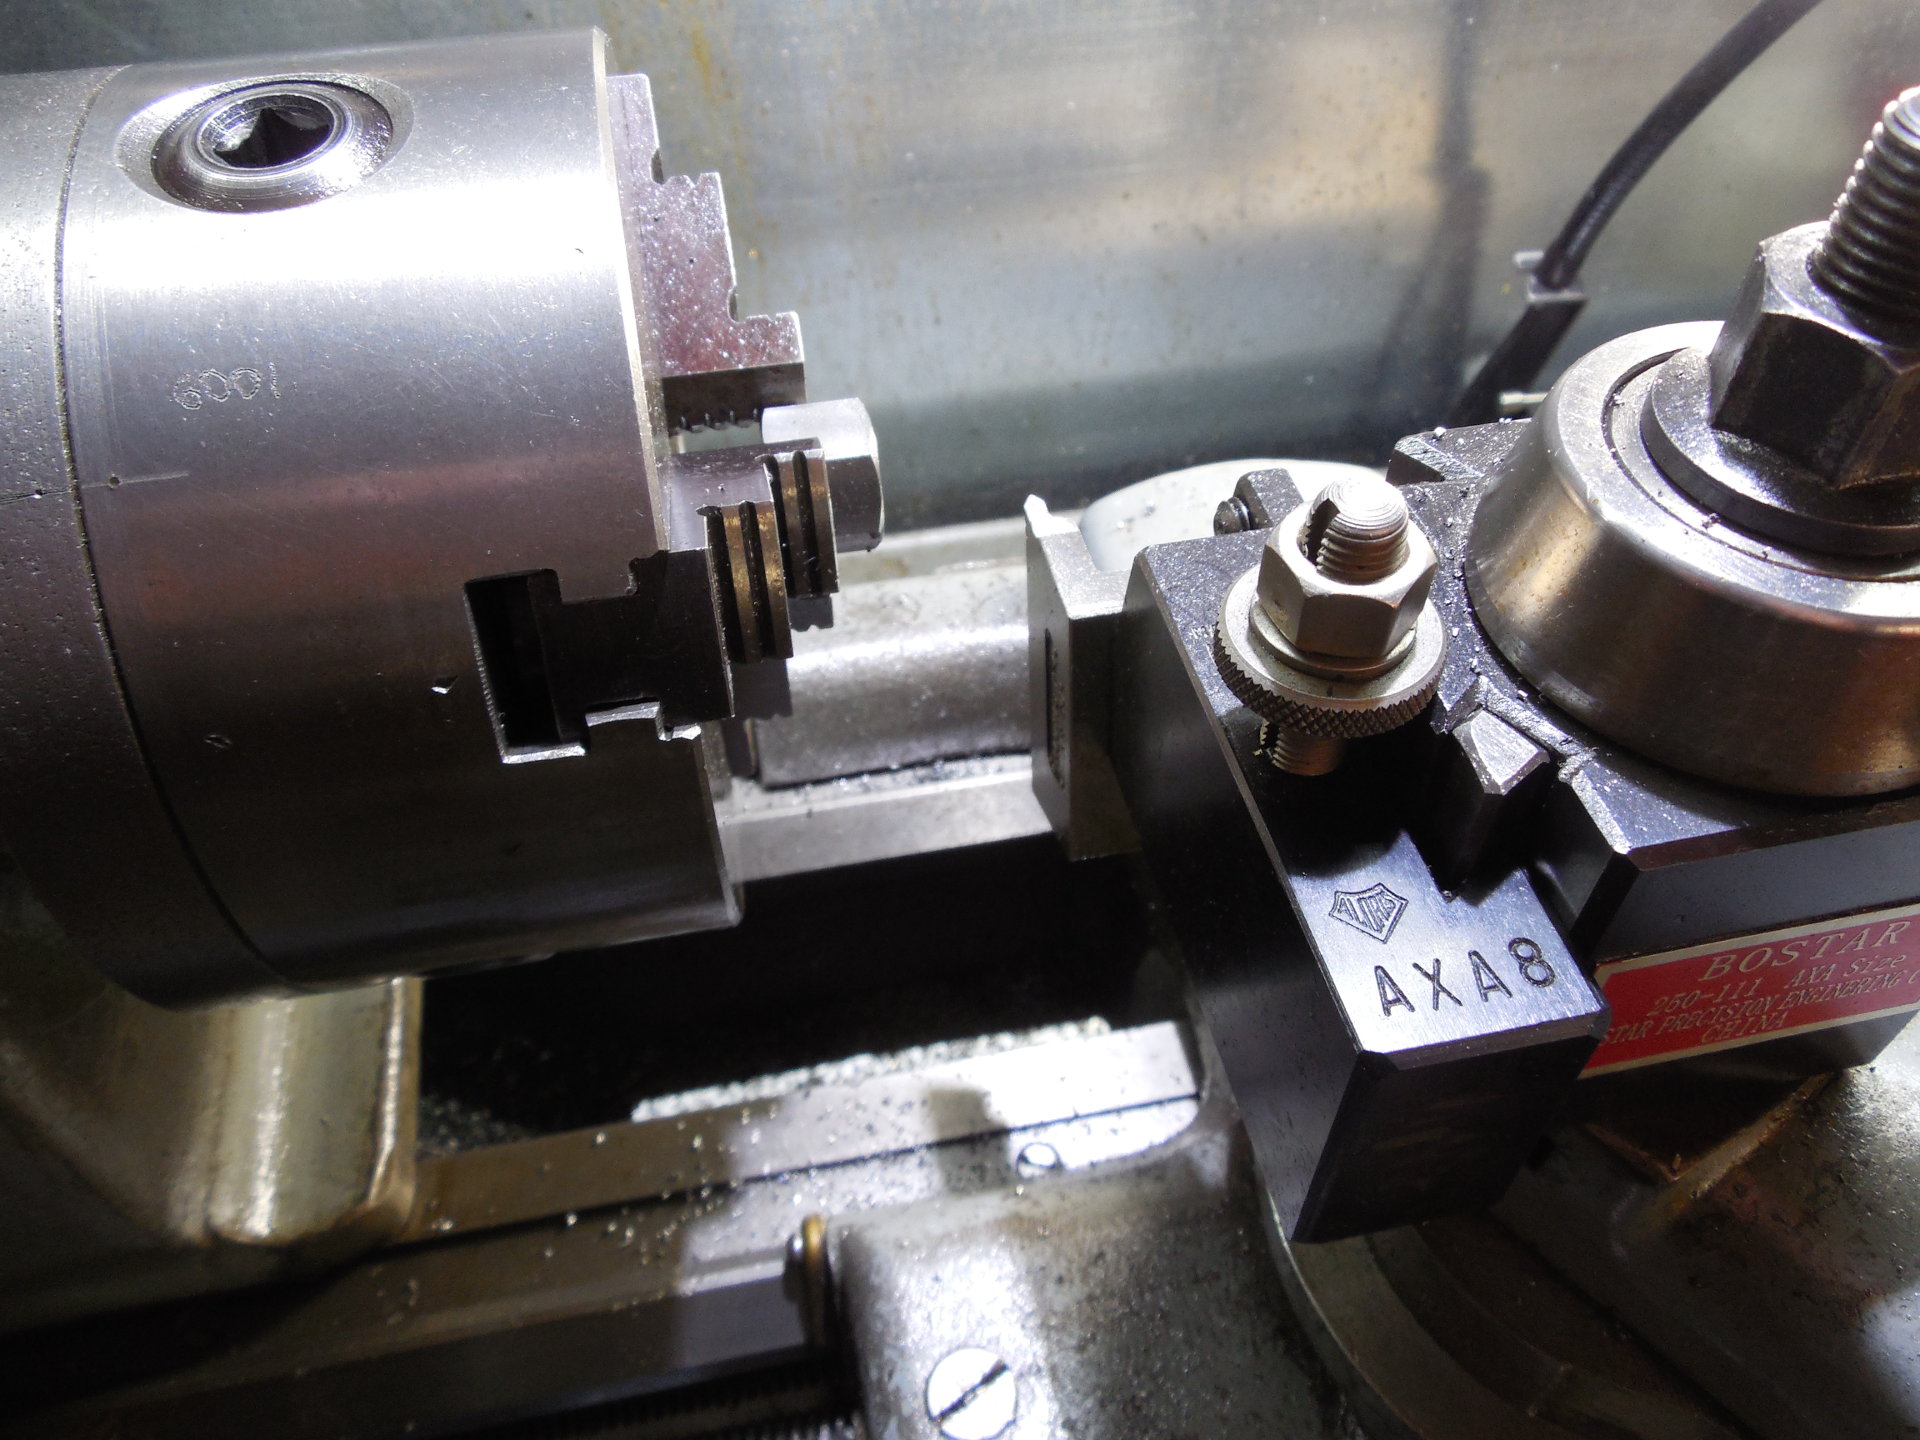
Using the Aloris threading tool to cut the chamfer on the edge of the nut.
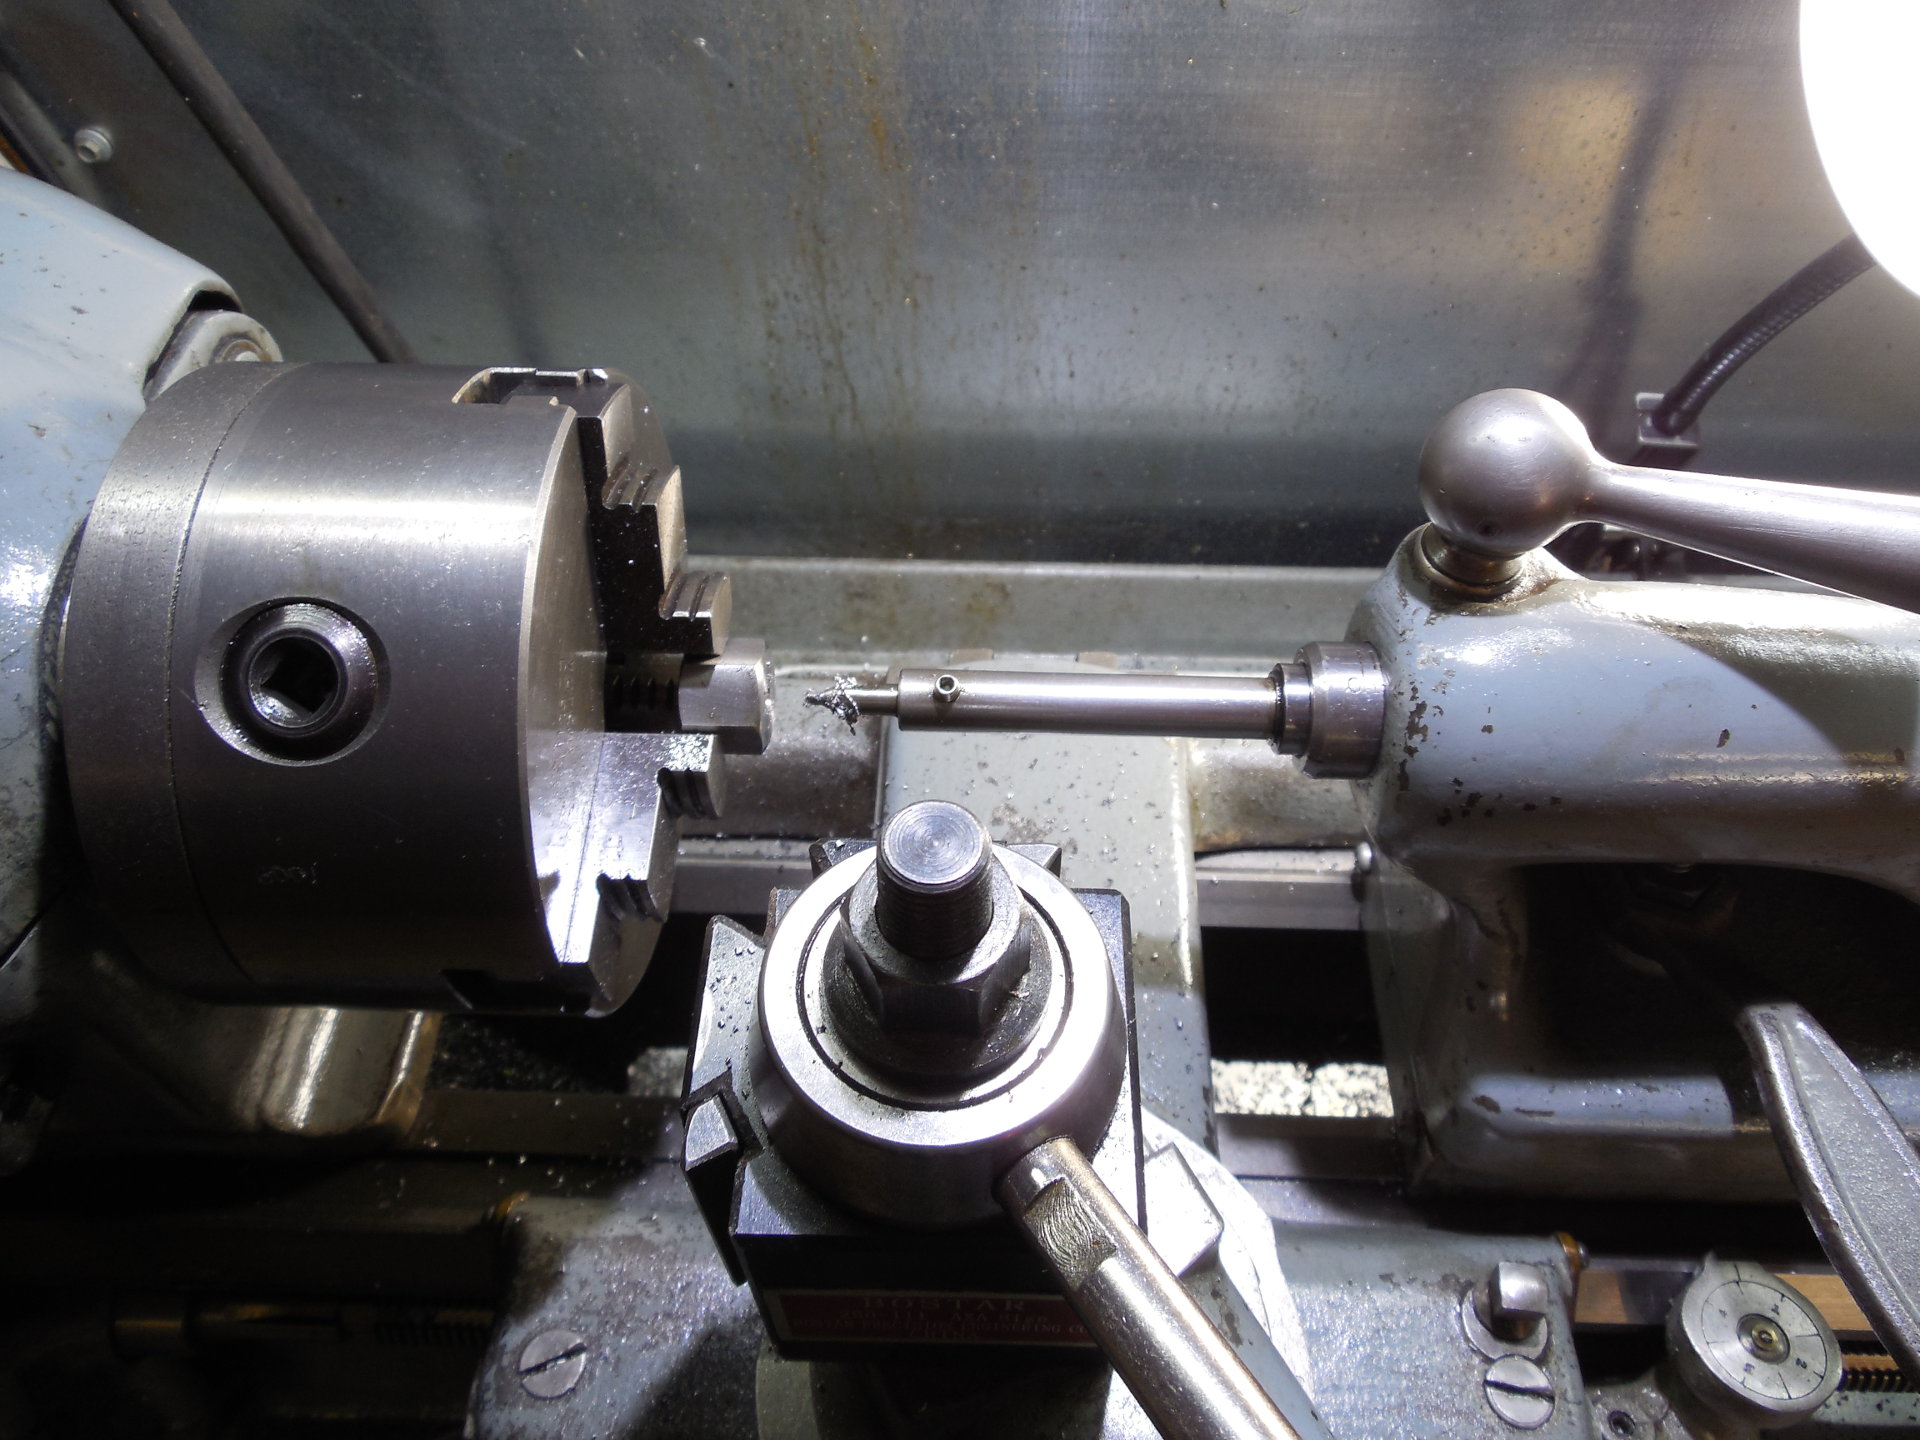
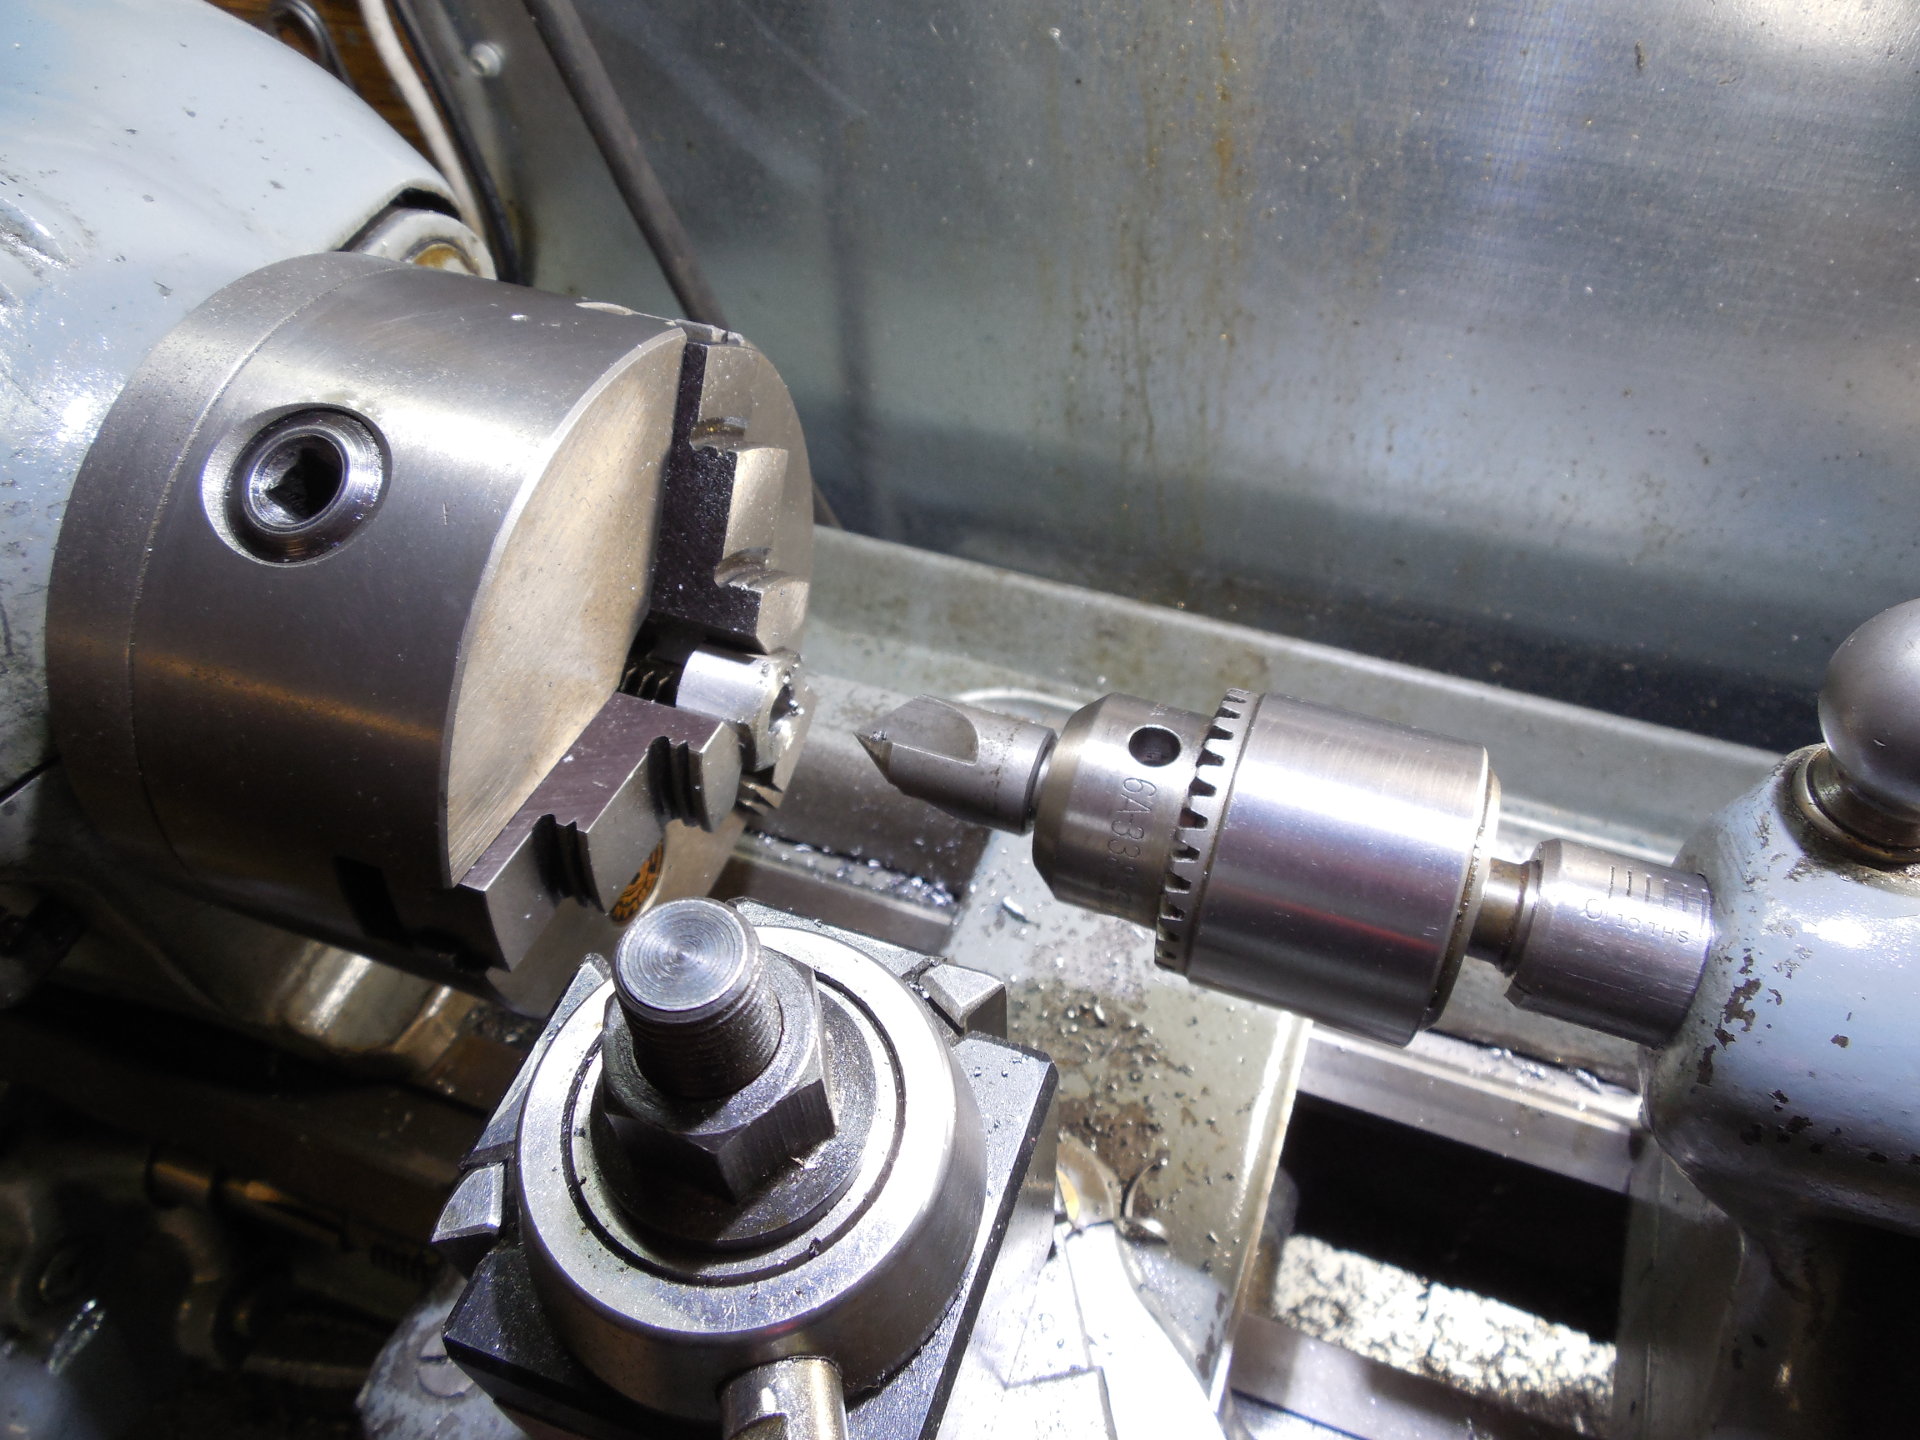
Spotted the hole with the extended center drill holder. This was a great early lathe project that I use all the time.
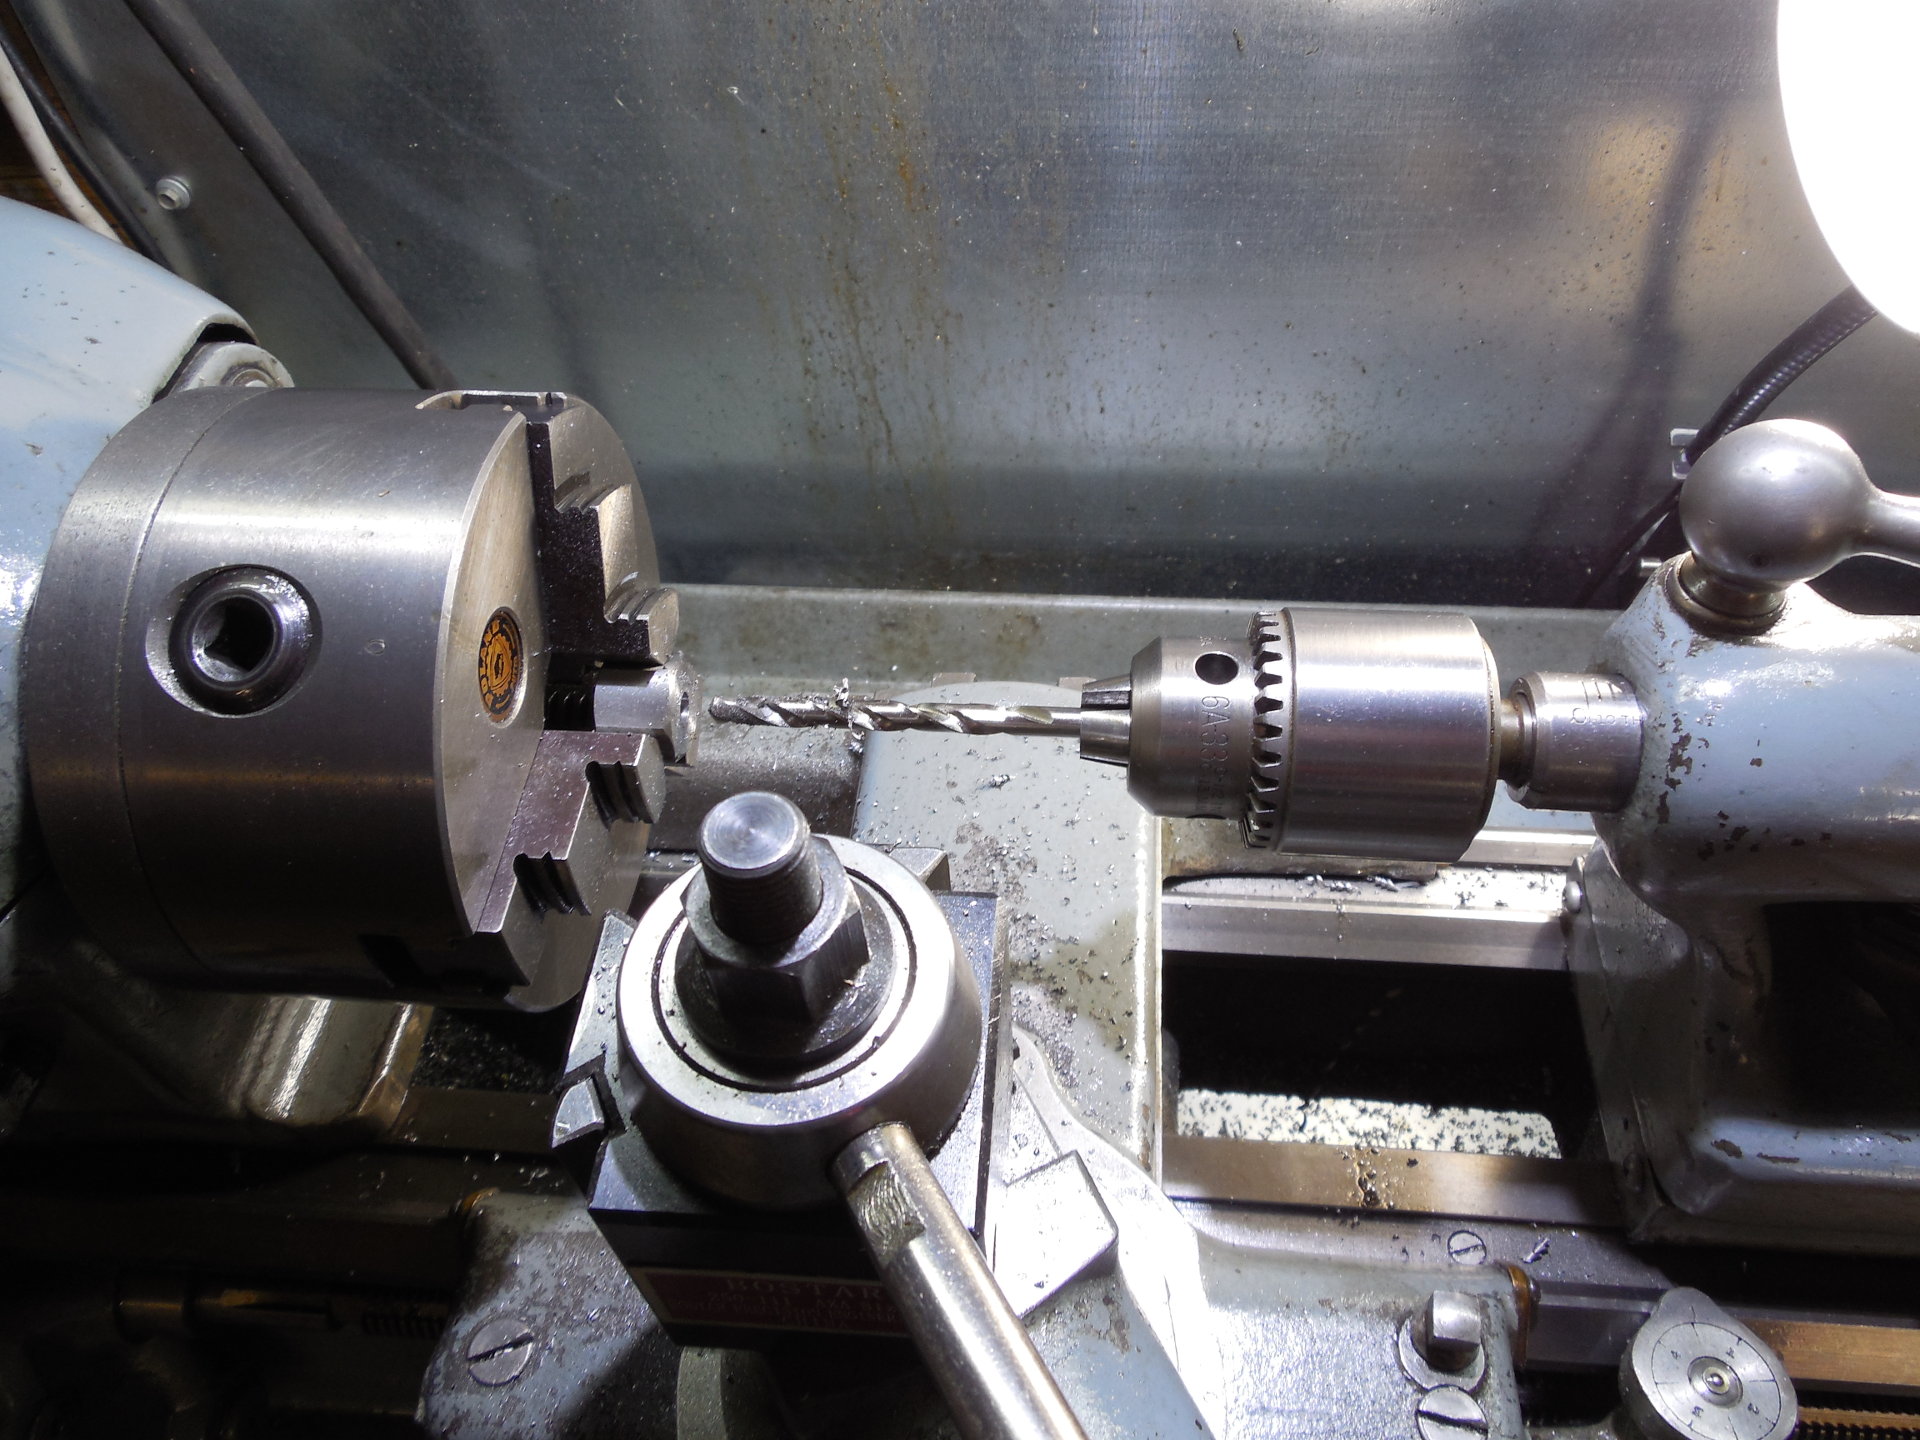
Pilot drilled and then a "U" drill for the tapping size.
The hole is chamfered to make starting the tap easier.
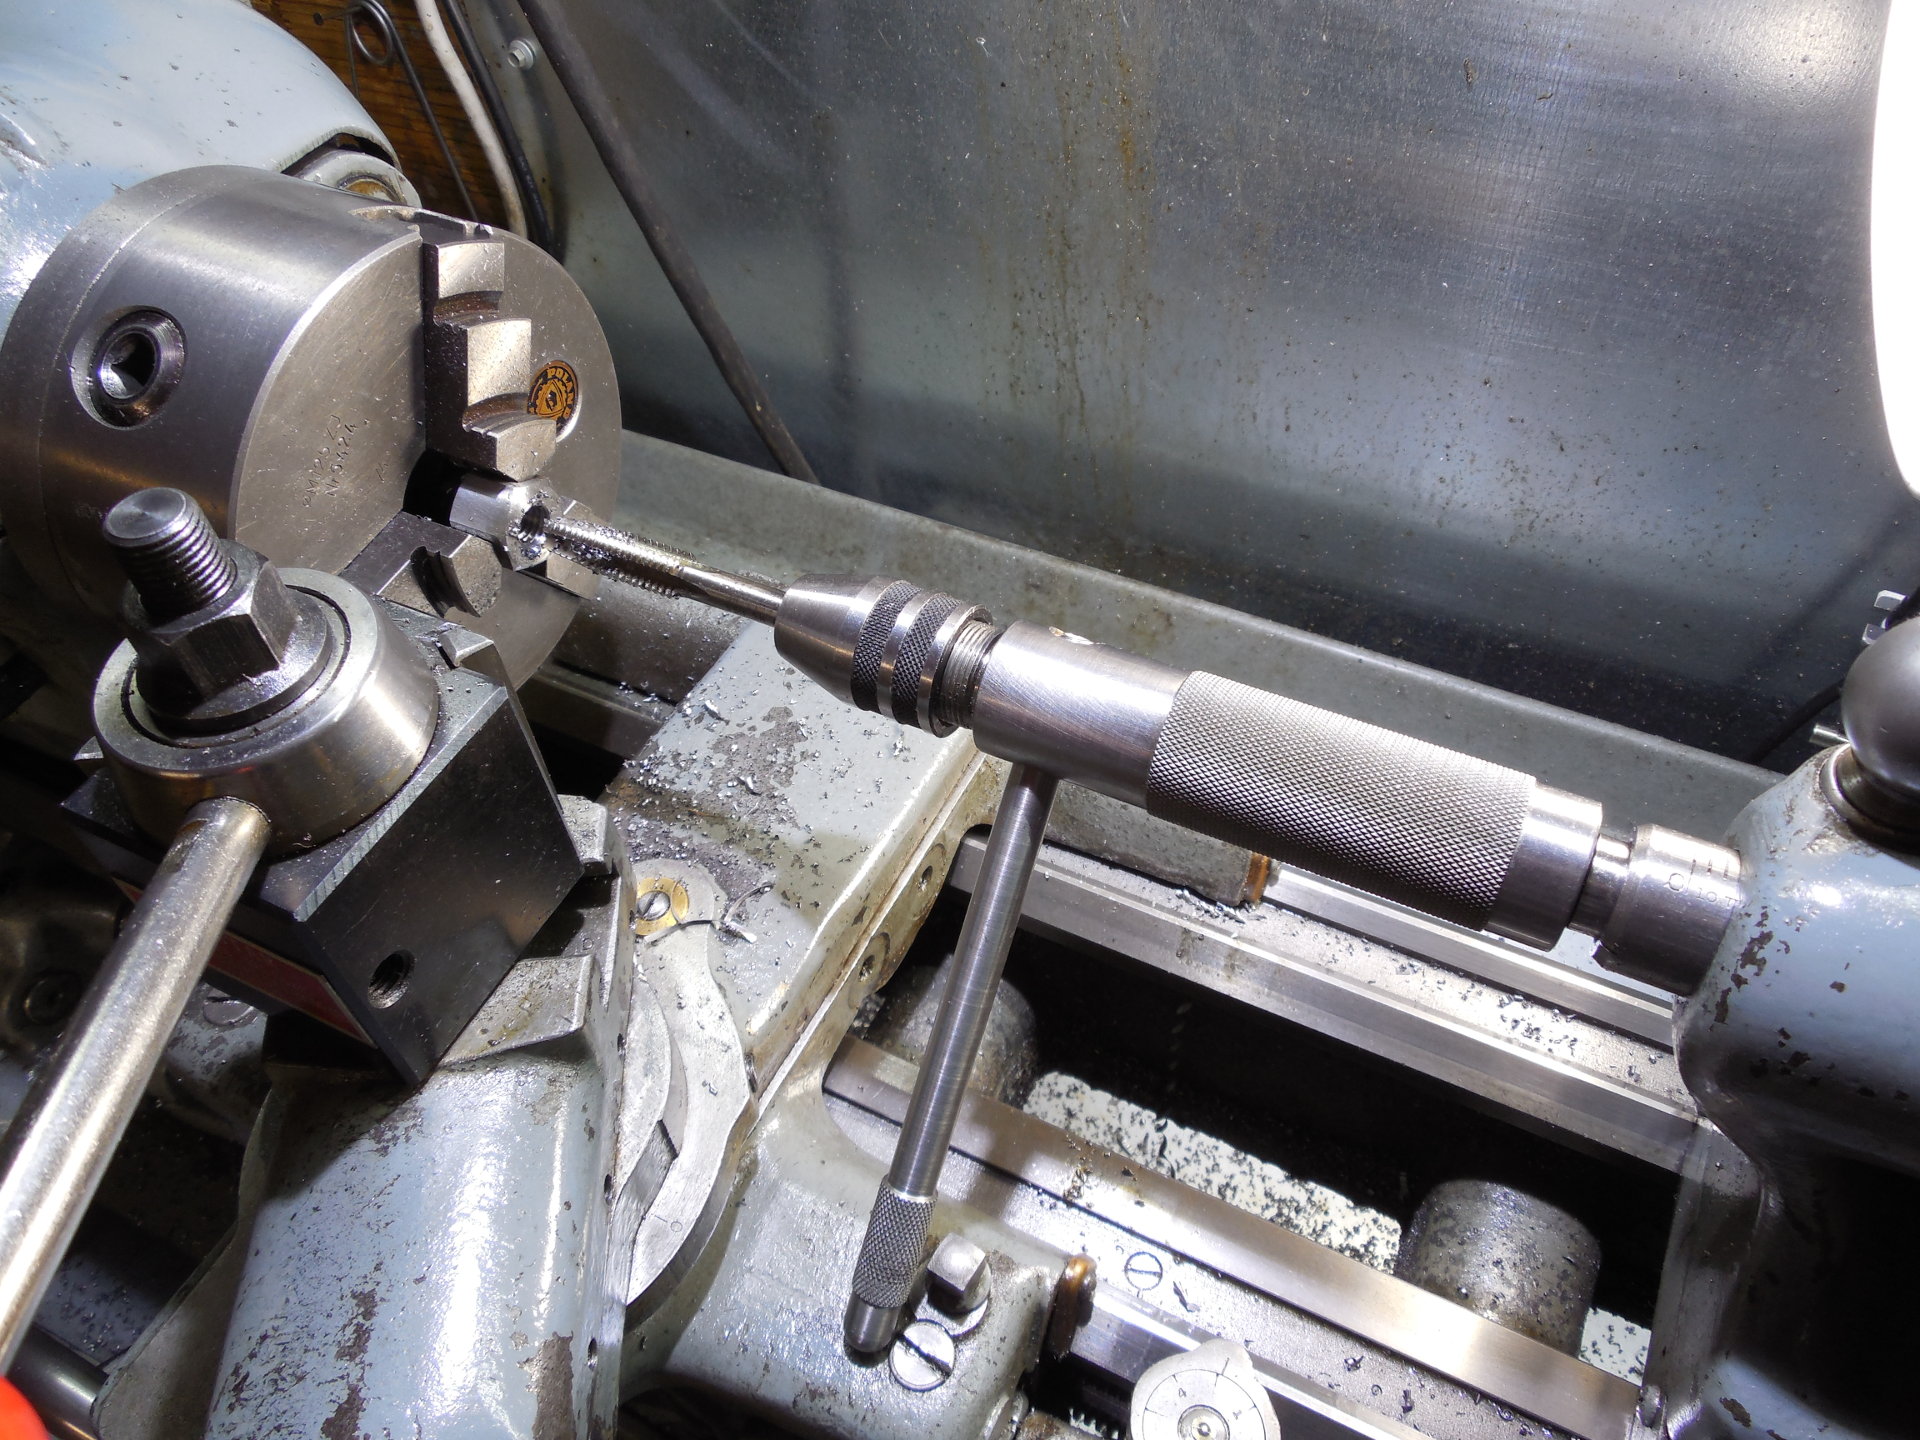
Tapping the hole 7/16-14,
I should note that this lathe uses a threaded chuck and yet I'm able to tap a hole with several FWD/REV movements to clear the chips out of the tap. Somehow, the chuck always stays on. Amazing, isn't it?
After tapping I chamfered the holes again to remove that little burr you sometimes get when tapping.
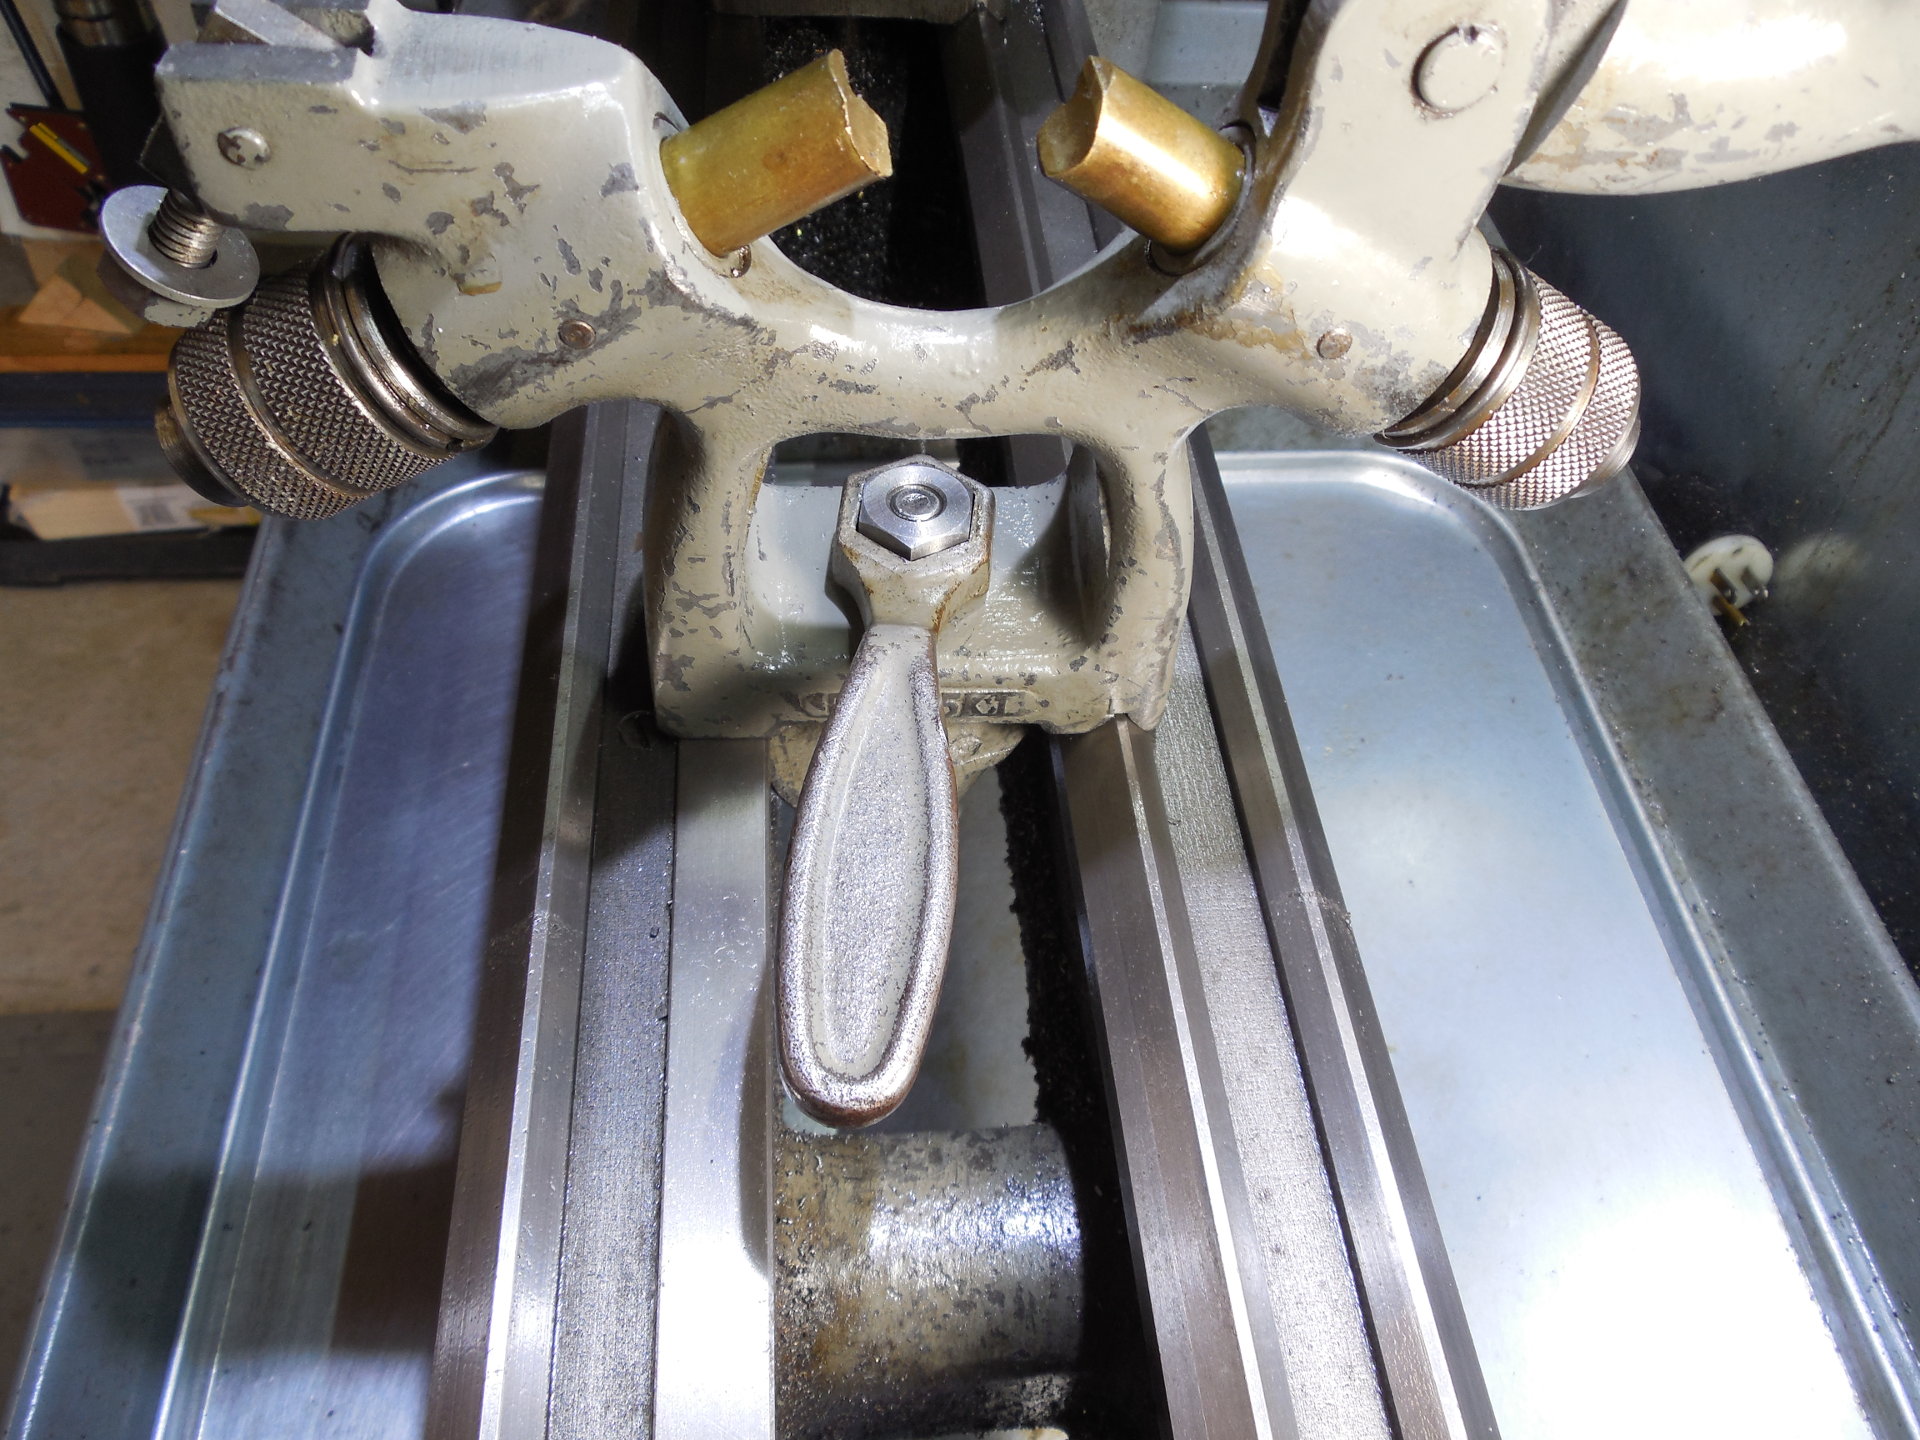
Success! It's so much nicer to use the tailstock wrench than the small adjustable I keep handy for adjusting toolholders. I also put a new nut at the tailstock which fixed the problem of having to "double wrench" to get the clamp tight.
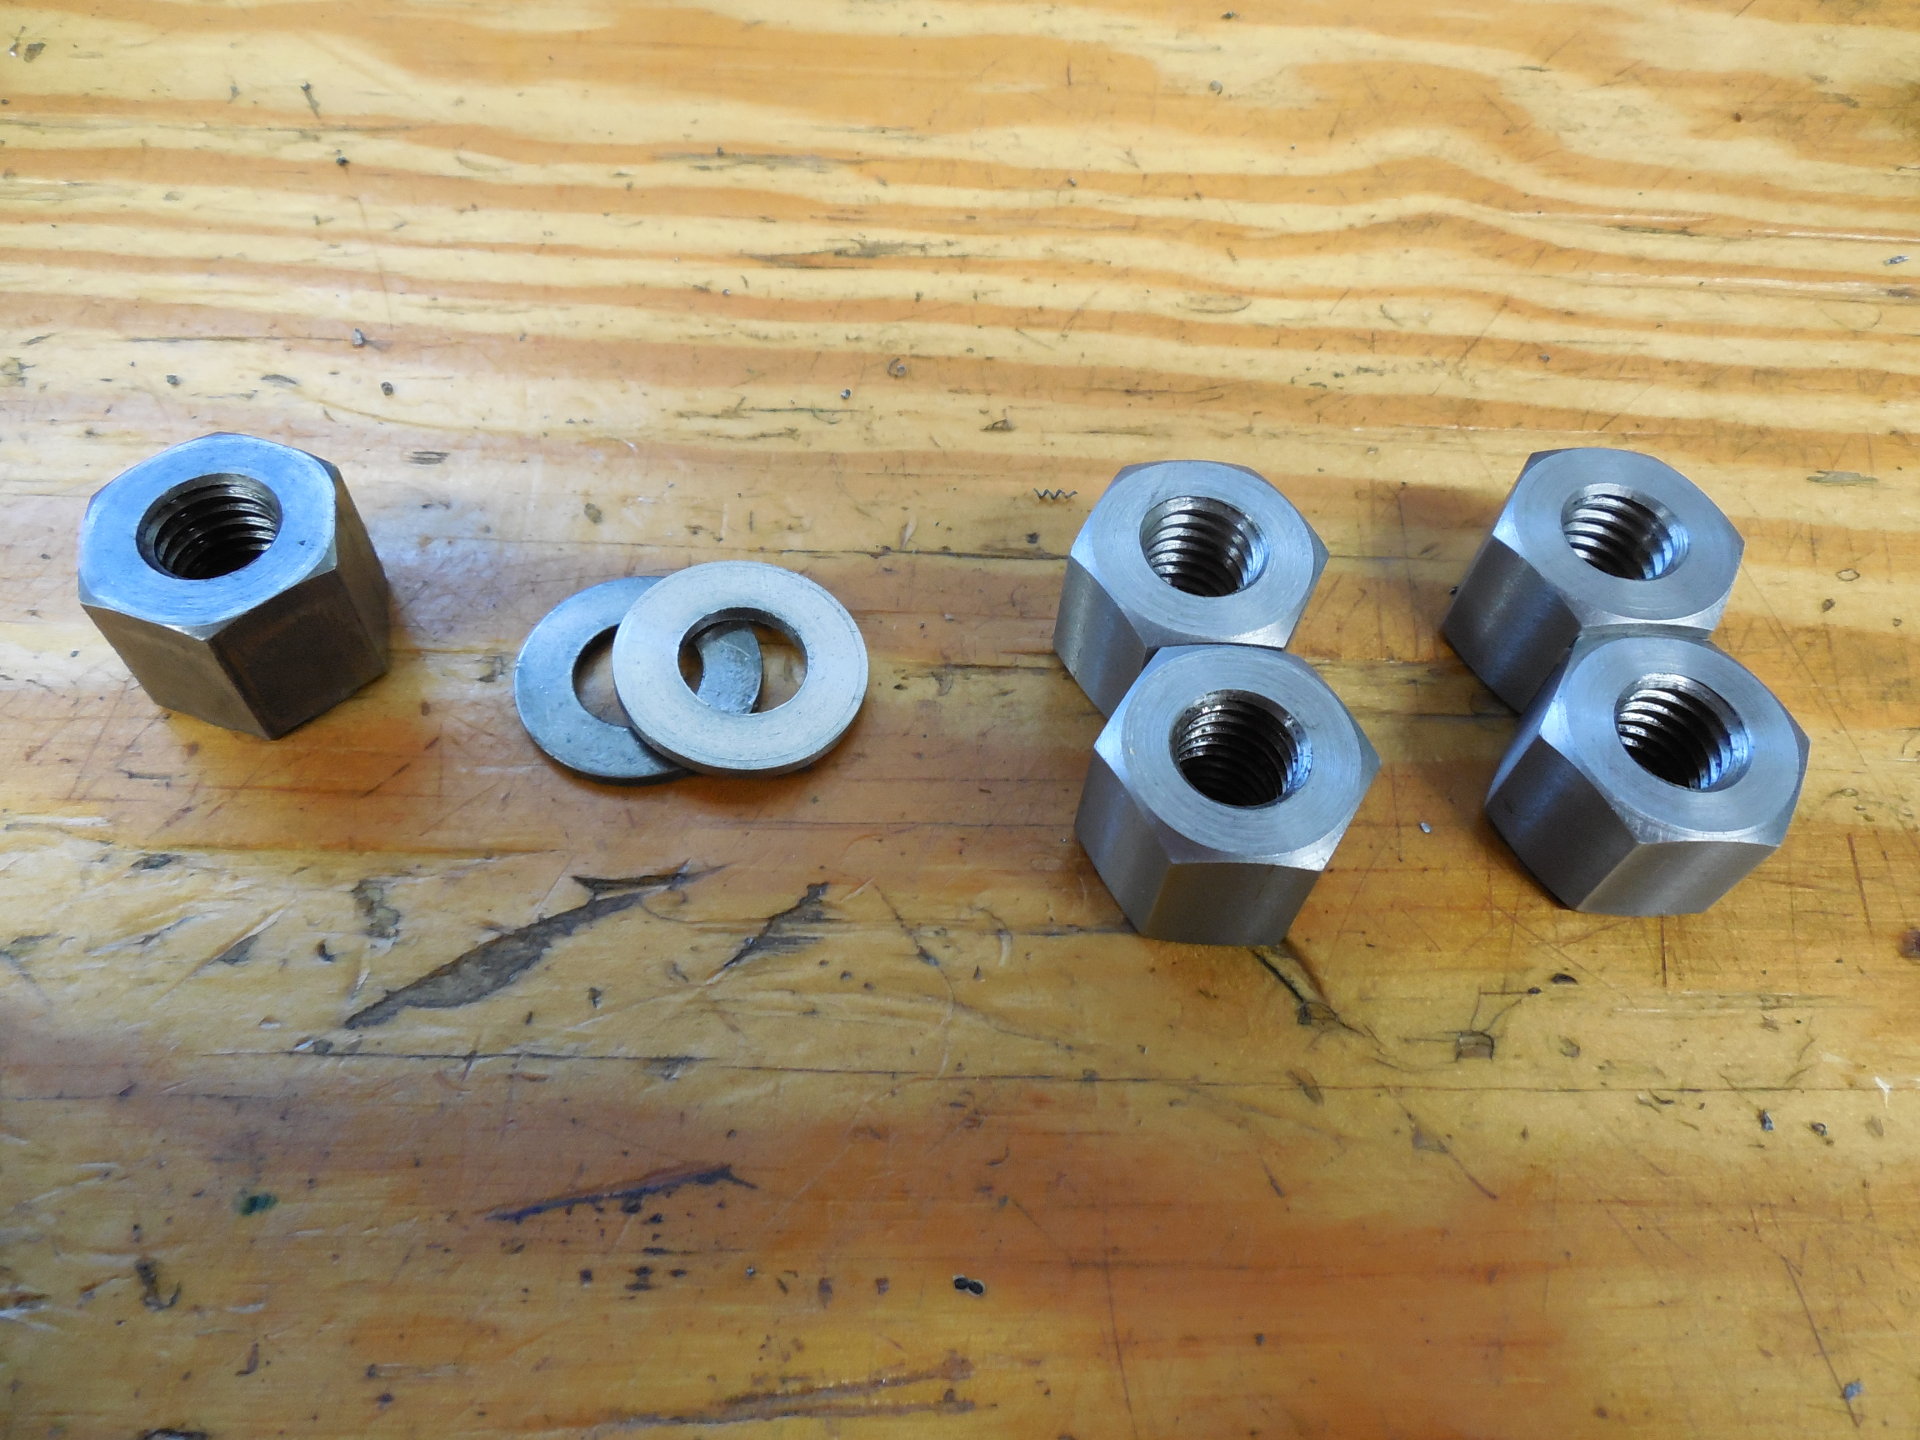
The original tailstock nut is on the left, a few machined washers and 4 extra nuts which should be enough to last me 100 years. I didn't really need that many but it's much easier to make a few extra while you have the setup.
I now have a new appreciation for nuts and other hardware you buy by the pound. It takes awhile to do these manually! This was also an easy dividing job to check out some of the new gear for the mill.