Adjusting the gibs, along with tramming the head to the table, is one of those final adjustments the owner is expected to do. Here's how I did it.
The gibs exist to take-up the slack in the dovetails. If they are too tight, you wear the dovetails excessively. If they are too loose, the table flops around in the breeze. This is something you need to take some time with and get right, but the good news is that after they are adjusted that setting should be good for a long time. Assuming, of course, you use the oiler regularly.
The general approach that is mentioned in the manual is to tighten the gibs with the adjustment screws until you feel some resistance and then lock them in place. This is usually fine, but my mill had plenty of sticky Chinese cosmoline built-up around gibs and dovetails which was making the adjustment process tedious. I had to pull the gibs and clean them on the workbench with solvent. The dovetails were cleaned as best a I could with solvent, Vactra from the oil pump and moving the table back and forth to loosen-up the gunk as I didn't want to pull the table off. In the end, it might have been easier to just pull the table anyway but I got it in decent shape in-place.
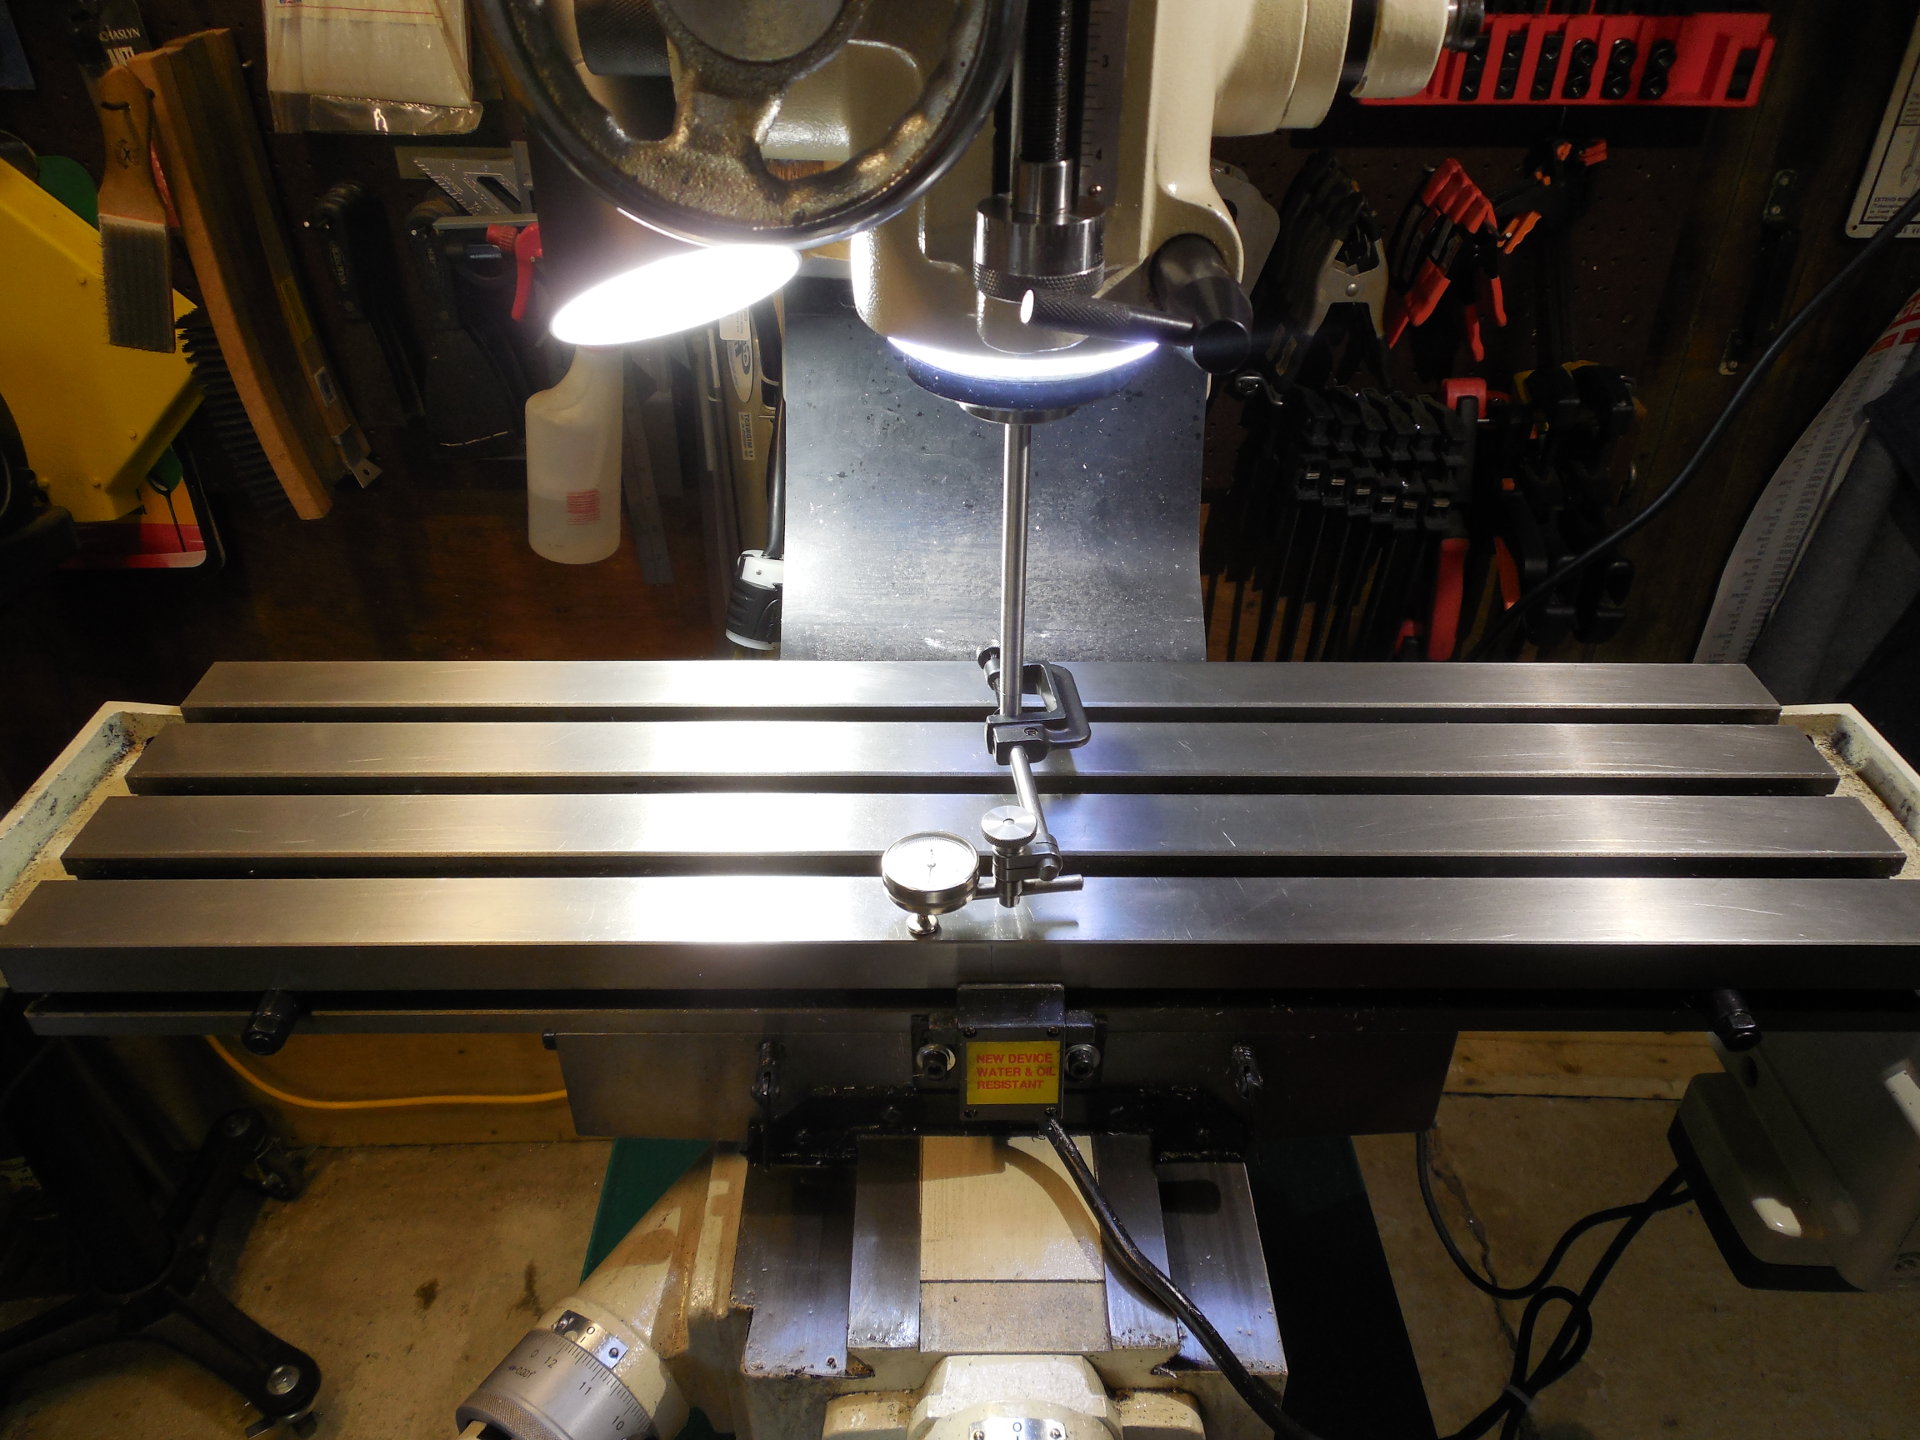
When adjusting the gibs, as an aid I used a dial indicator to help measure the slop in the dovetail. Basically, you lock-up the other gibs and pull and push the table to see how much play is in the gib/dovetail you are adjusting. I dug back into my camera's memory card and found some old pictures I took of the setup I used back then.
I would recommend removing the vise. Not sure why I left that on way back then.
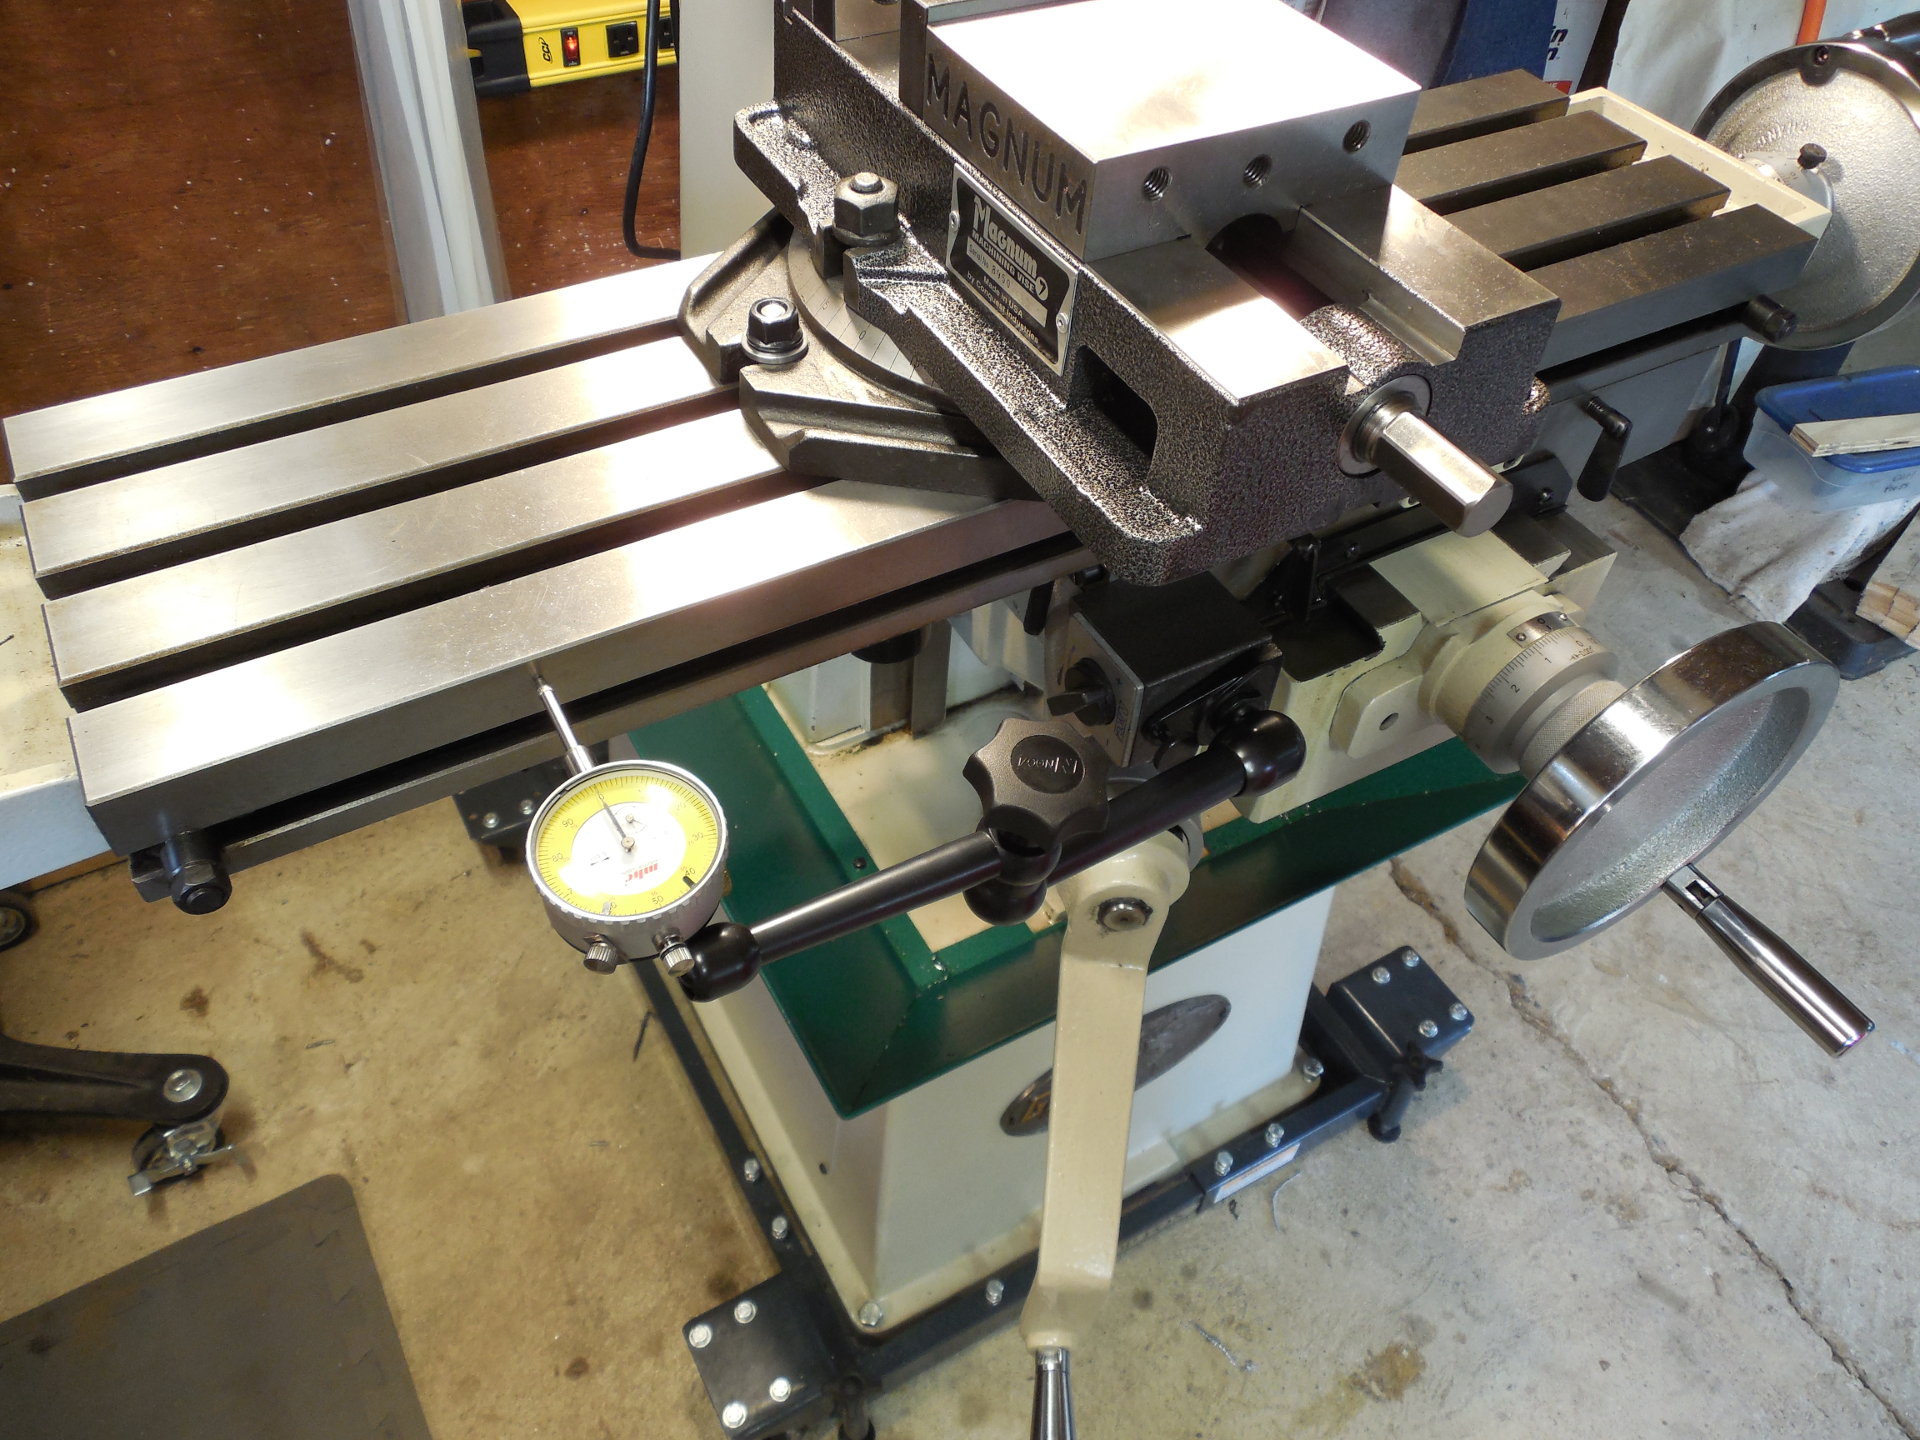
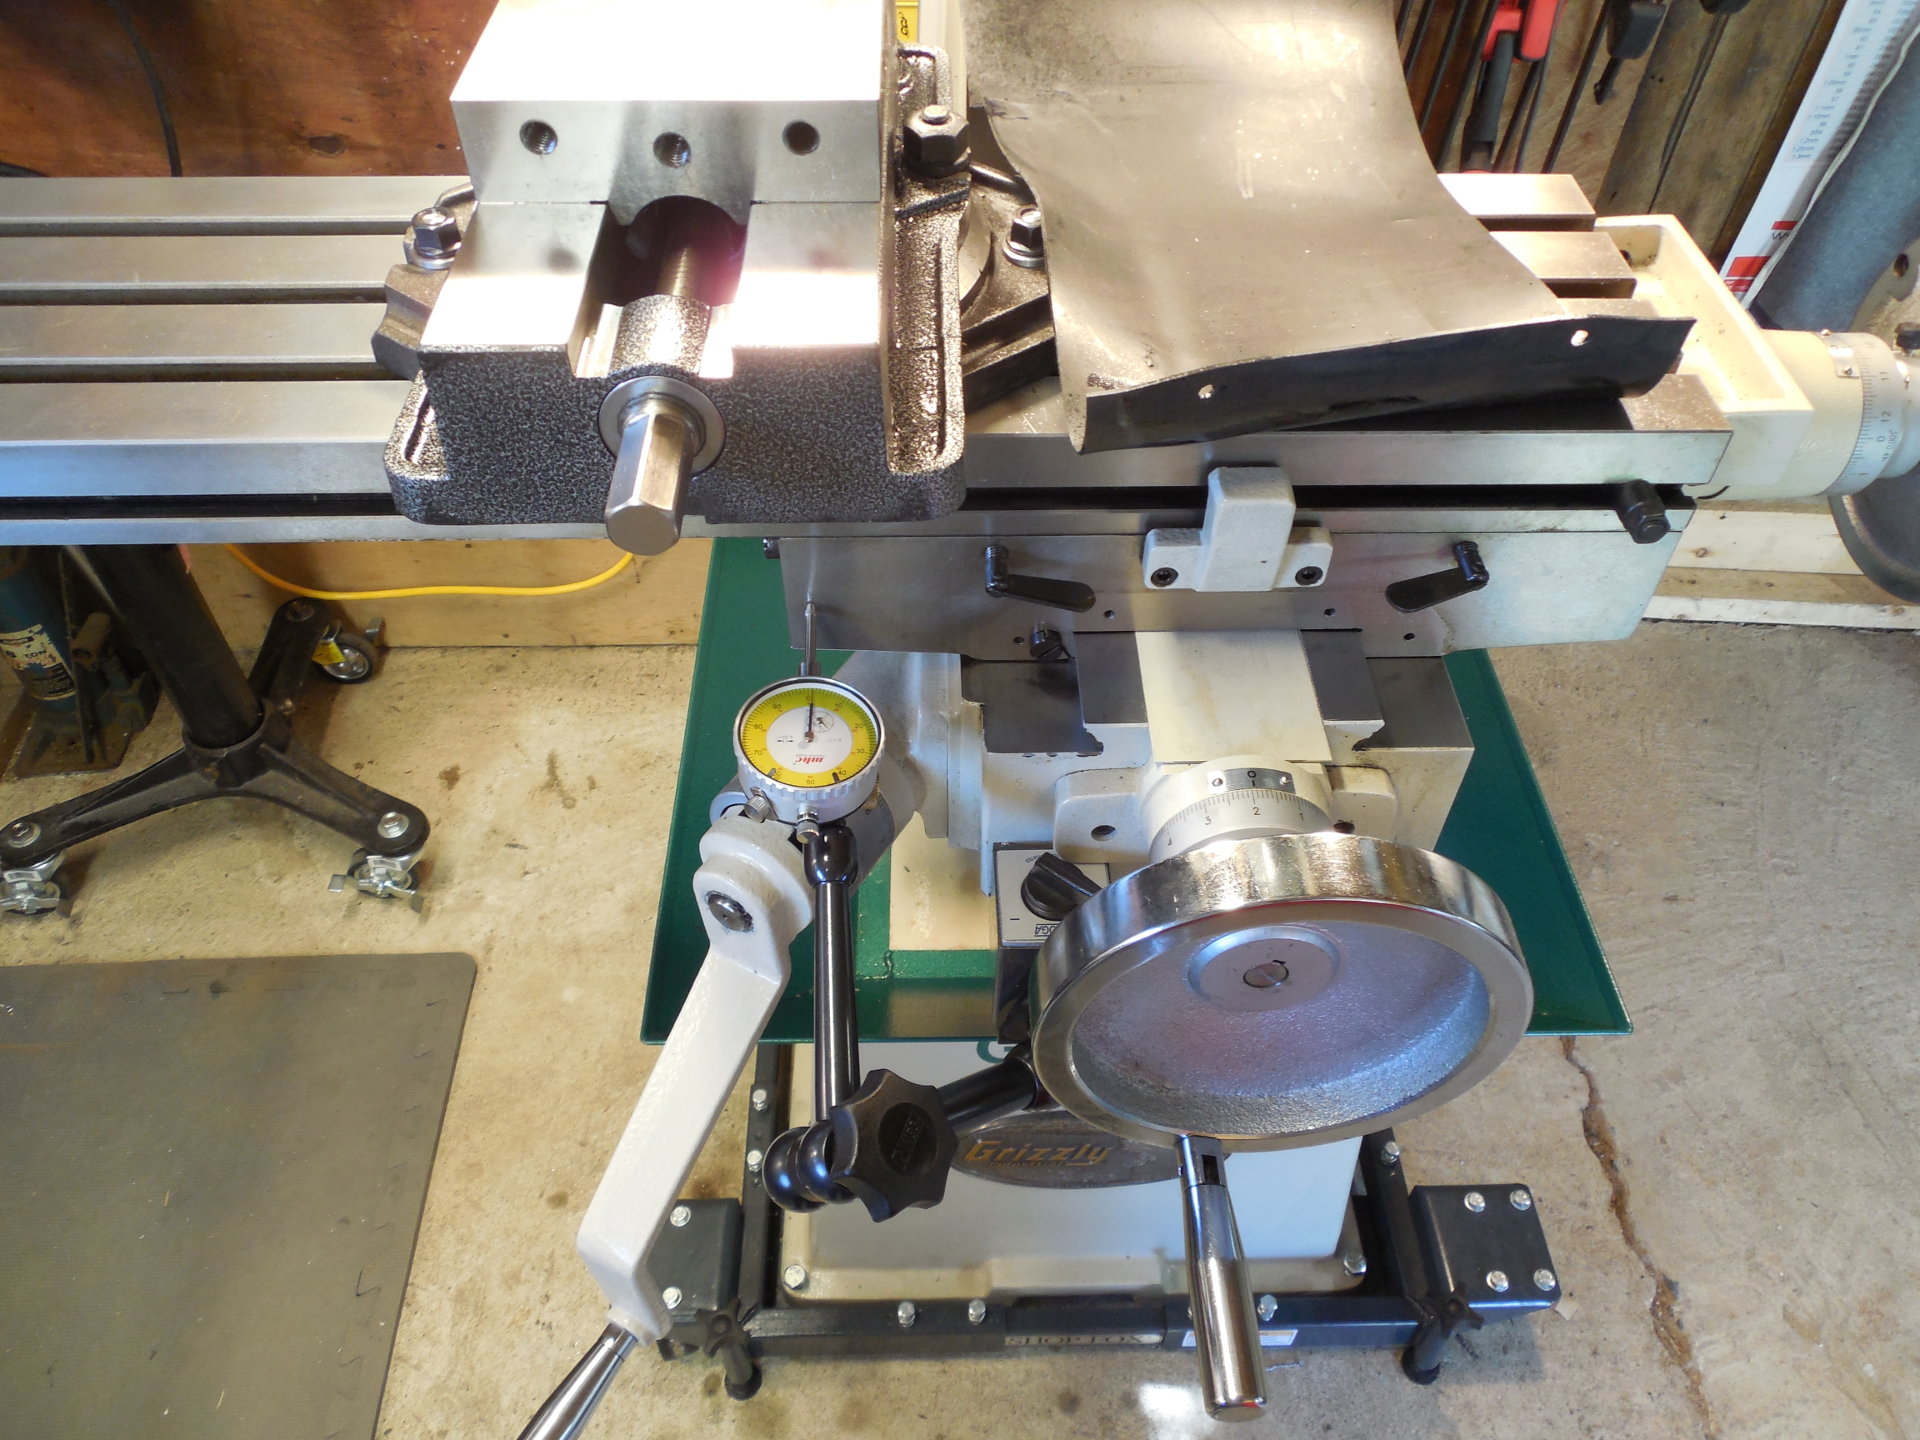
You can see I moved the table to one edge for more leverage. And yes, it would have gone easier if I had pulled the vise, but I am a lazy bastard at heart.
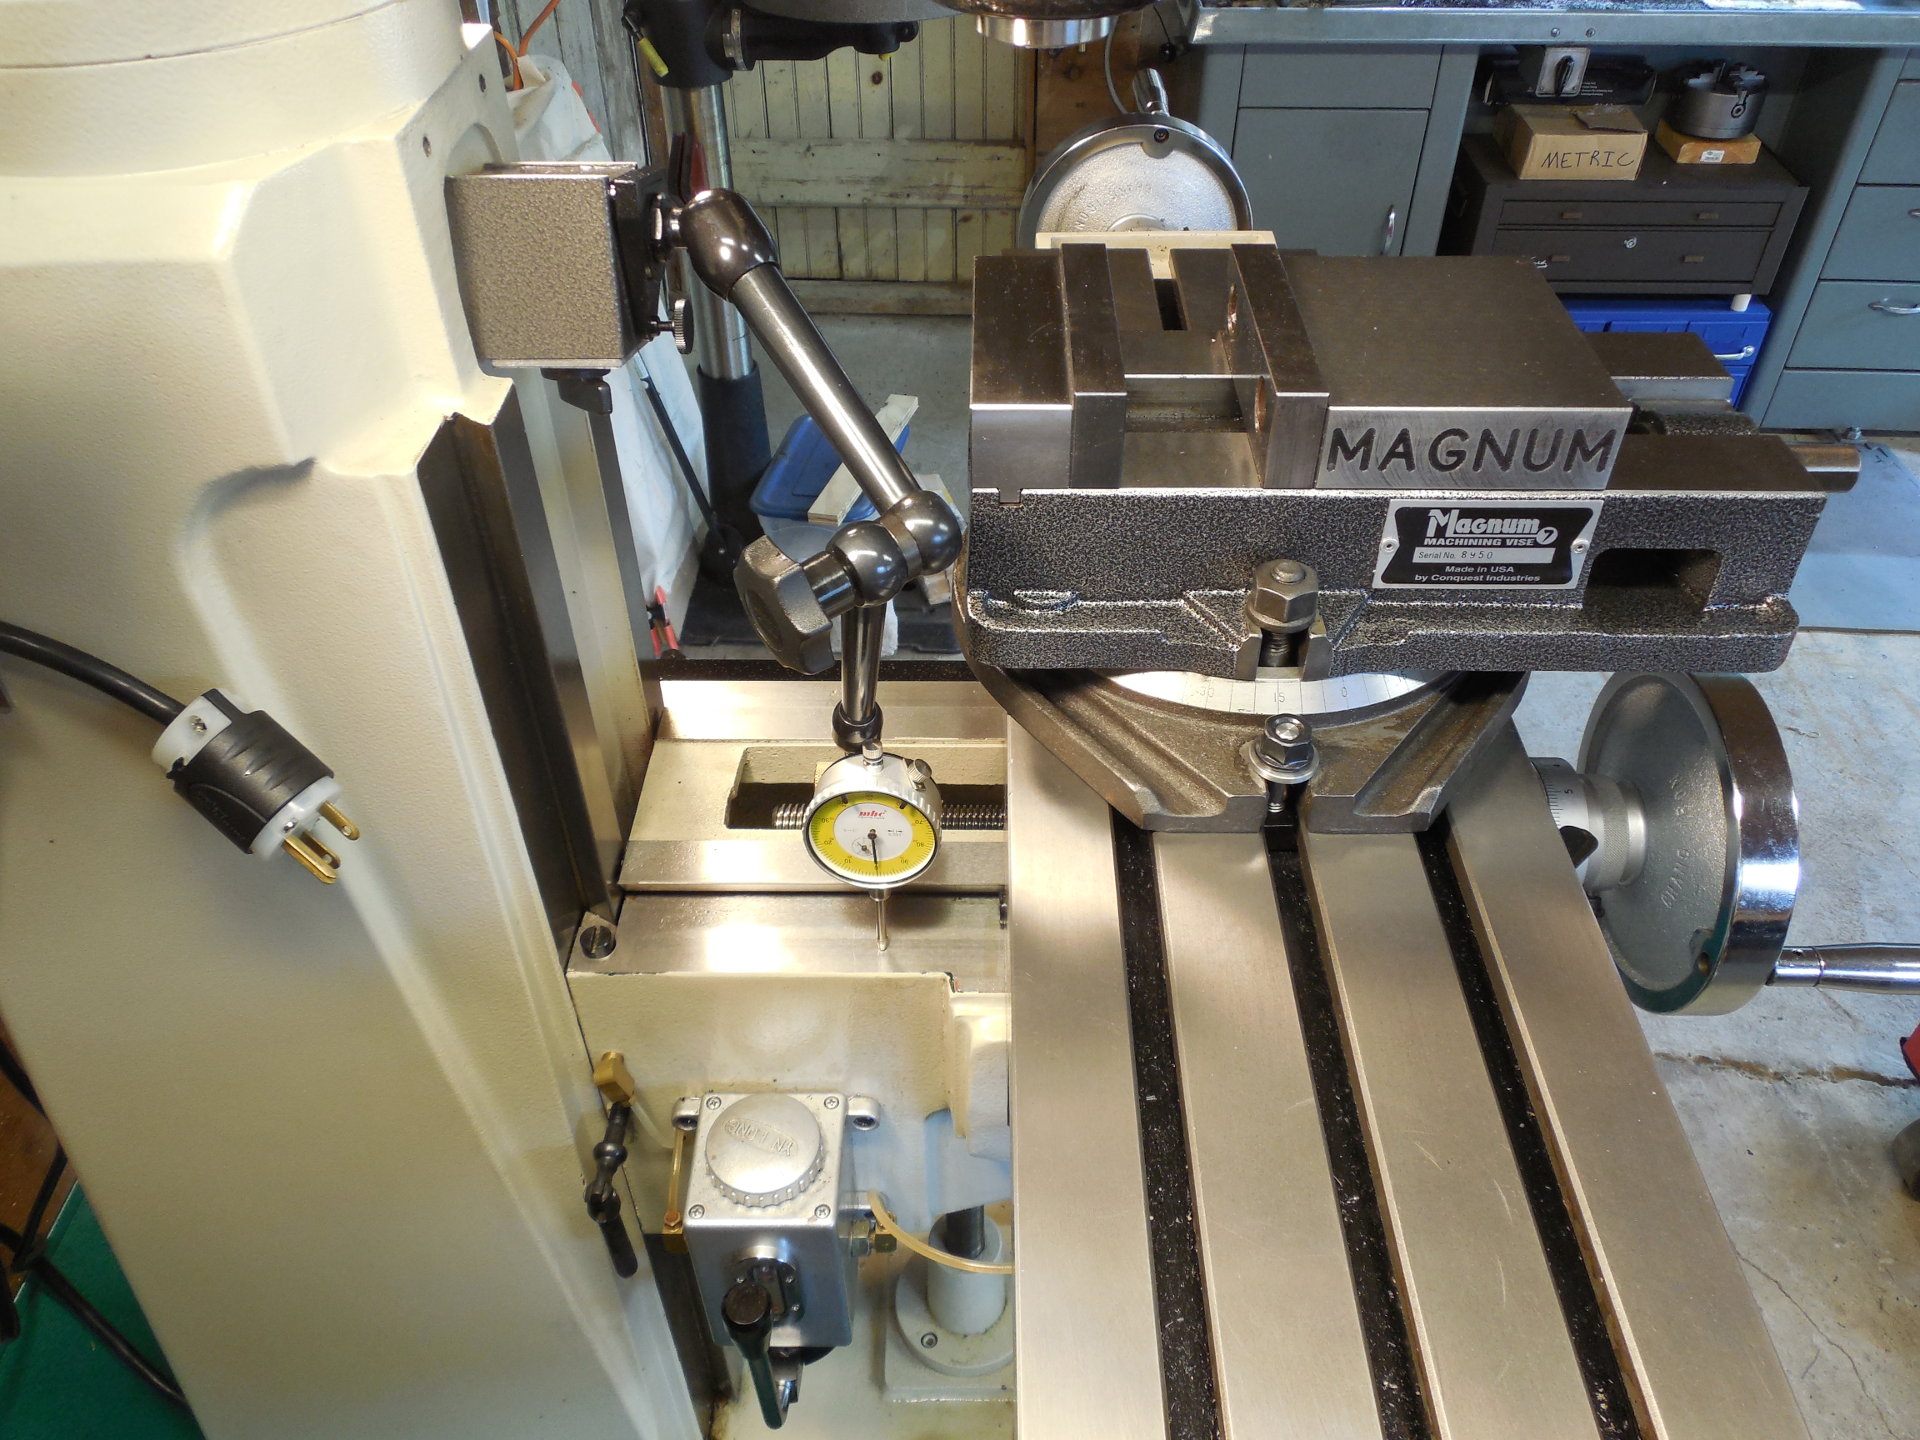
The gibs were adjusted with the indicator until there was under .001 of slop and then the final gib setting was done by feeling the amount drag at the wheels. The indicator doesn't supply an absolute measurement, it's only tells the difference between one gib setting to another. If the wheel feels tight and you still see slop on the indicator, you have a problem. Plan on moving the table, saddle and knee to both extents and back again quite a few times. Take your time and do it right as you will be living with these settings for awhile.
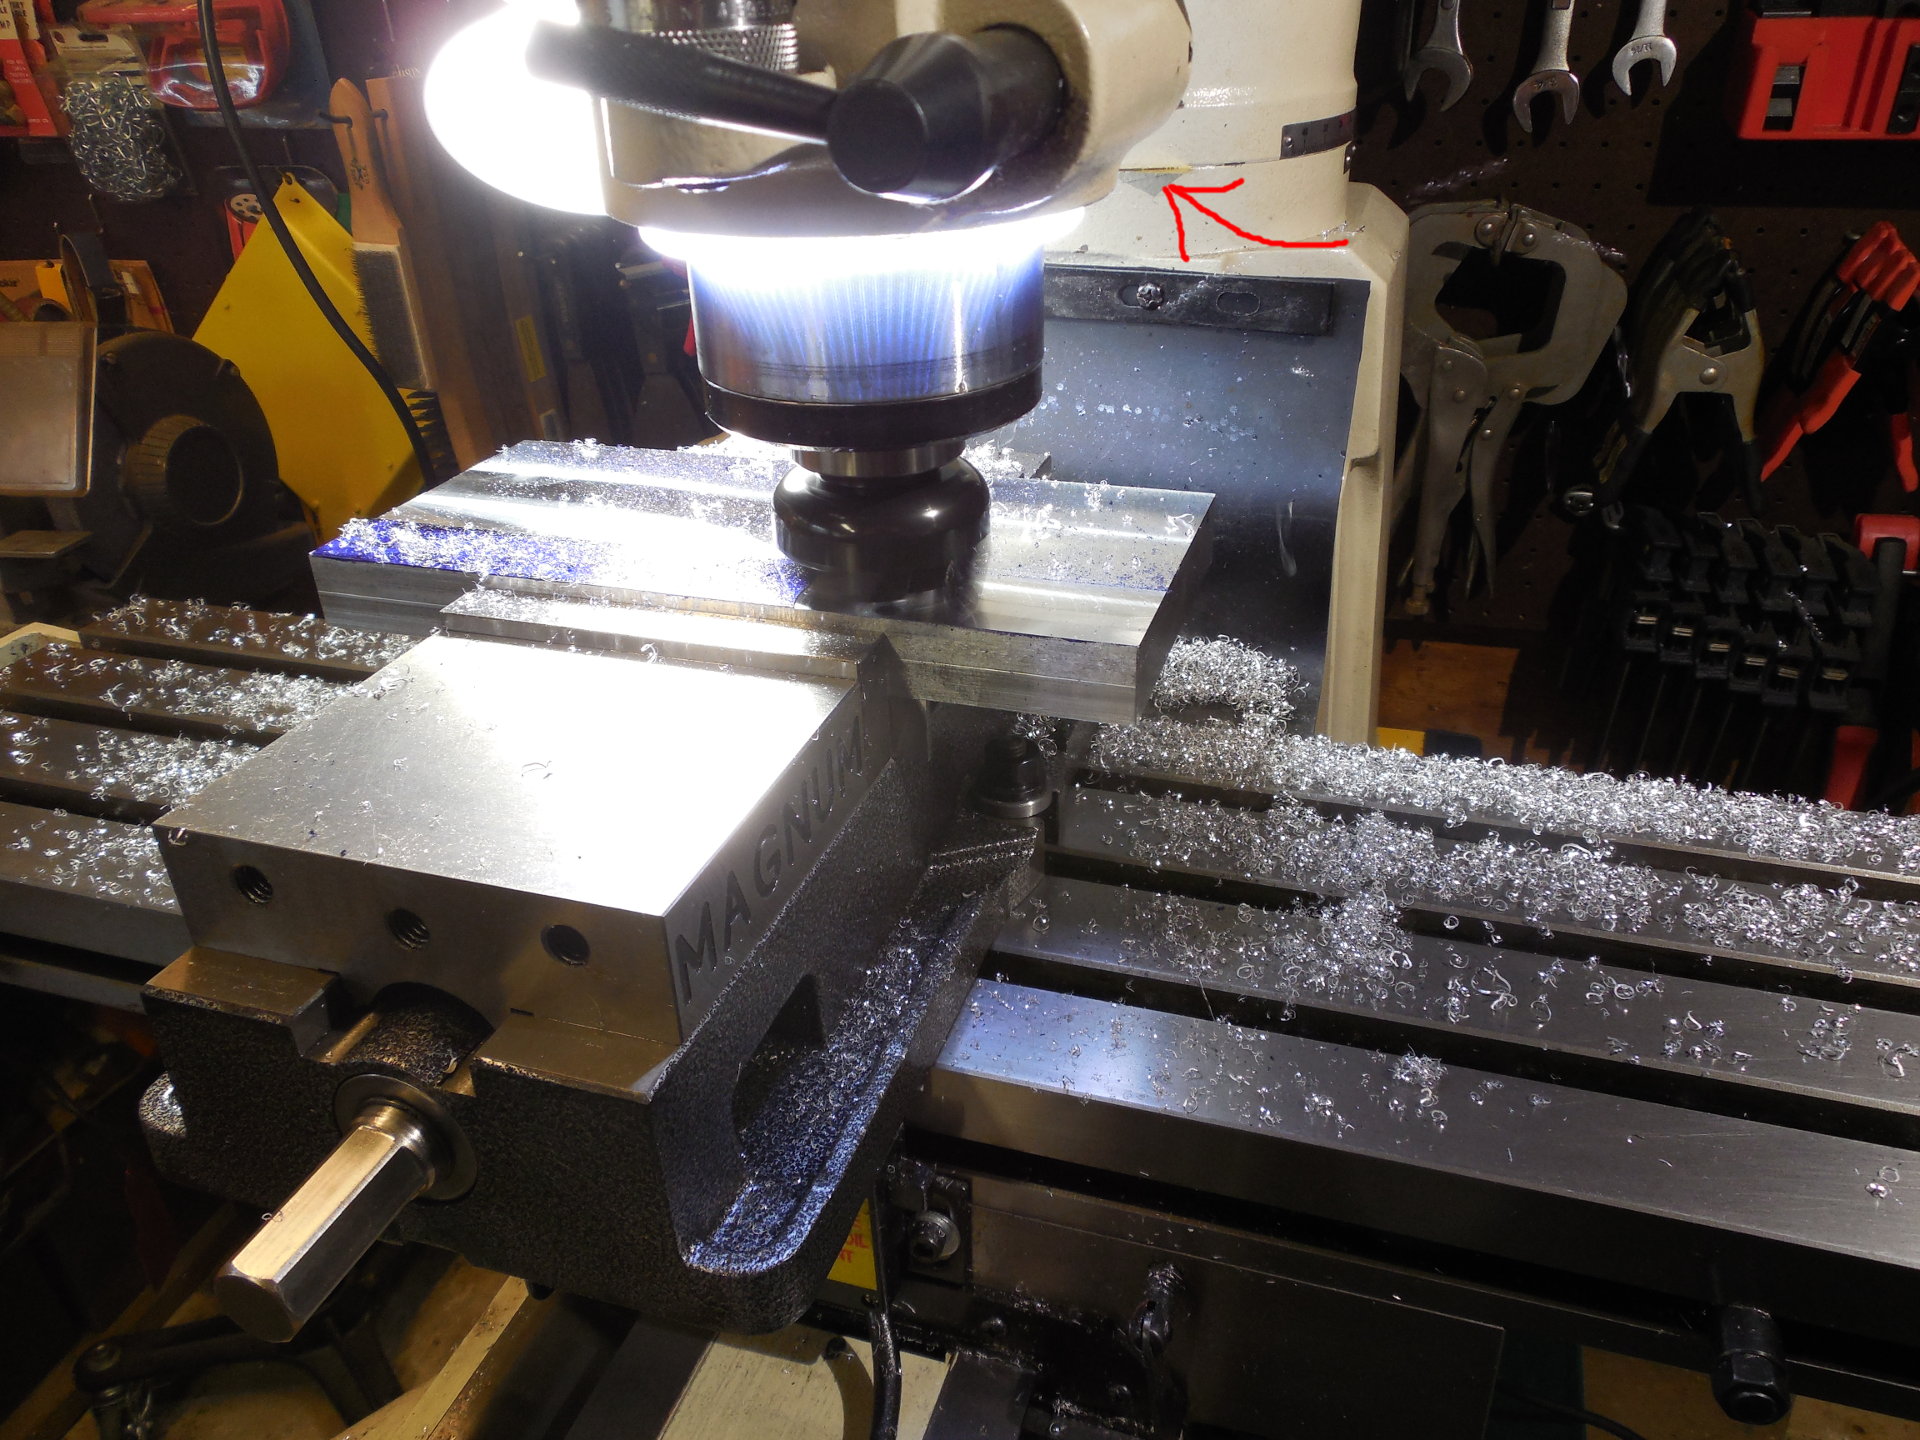
Tramming the head to the table is basically the same as any other vertical mill and doesn't need explaining. You can and almost certainly will need to adjust the "nod" of the head and you do that by shimming between the head and column. It's a touchy process and you will need a brass shim pack from some place like Enco as you might need the .0015 increment. I actually had to come back to this at a later date because after I bought a 2" face mill I found I was getting ridges when making multiple passes cleaning-up a AL plate. After changing the shim(s) from .0025 to .002 it went away. You can see where I shimmed in this picture (red arrow). Later on I trimmed-off the excess.
And as a bonus here's a picture of checking the tram with the old Starrett 196.
The needle barely moves on this .001 indicator when swung around and that's what was needed with the face mill. The 196 isn't the most precise indicator, but the big button on the back sure makes it handy for this job. The long rod from the collet is to to keep the table at the typical Z position. The quill, saddle and knee were locked.