Awhile ago I replaced the spindle felts, set the bearing clearance etc on my South Bend 10K. I intended to finish the rest of the lathe in a month or so, but now it's two years later! That's the trouble when you have a working lathe, you would just rather use it then do the maintenance, but now it's past time to finish the job that was started. It also didn't hurt that I made a pledge to myself not to put a DRO on the mill until the lathe is finished. :)
Small projects like the tailstock and reverse tumblers were quick afternoon jobs, but the QCGB and apron are much more labor intensive and would span a couple weekends. I decided to knock them both out at the same time and just get it over with. I took some pictures while I was at it and thought I would post them for the amusement of the readers.
I'm glad my lathe was from 1974 and used socket-head screws to hold the QCGB, because I don't think I could have loosened the the slot-head type without removing the head stock. As it was, one of the screws was captured by the headstock, but I was still able to remove the gearbox from the bed without too much difficulty. So what does 40 years of gunk look like?
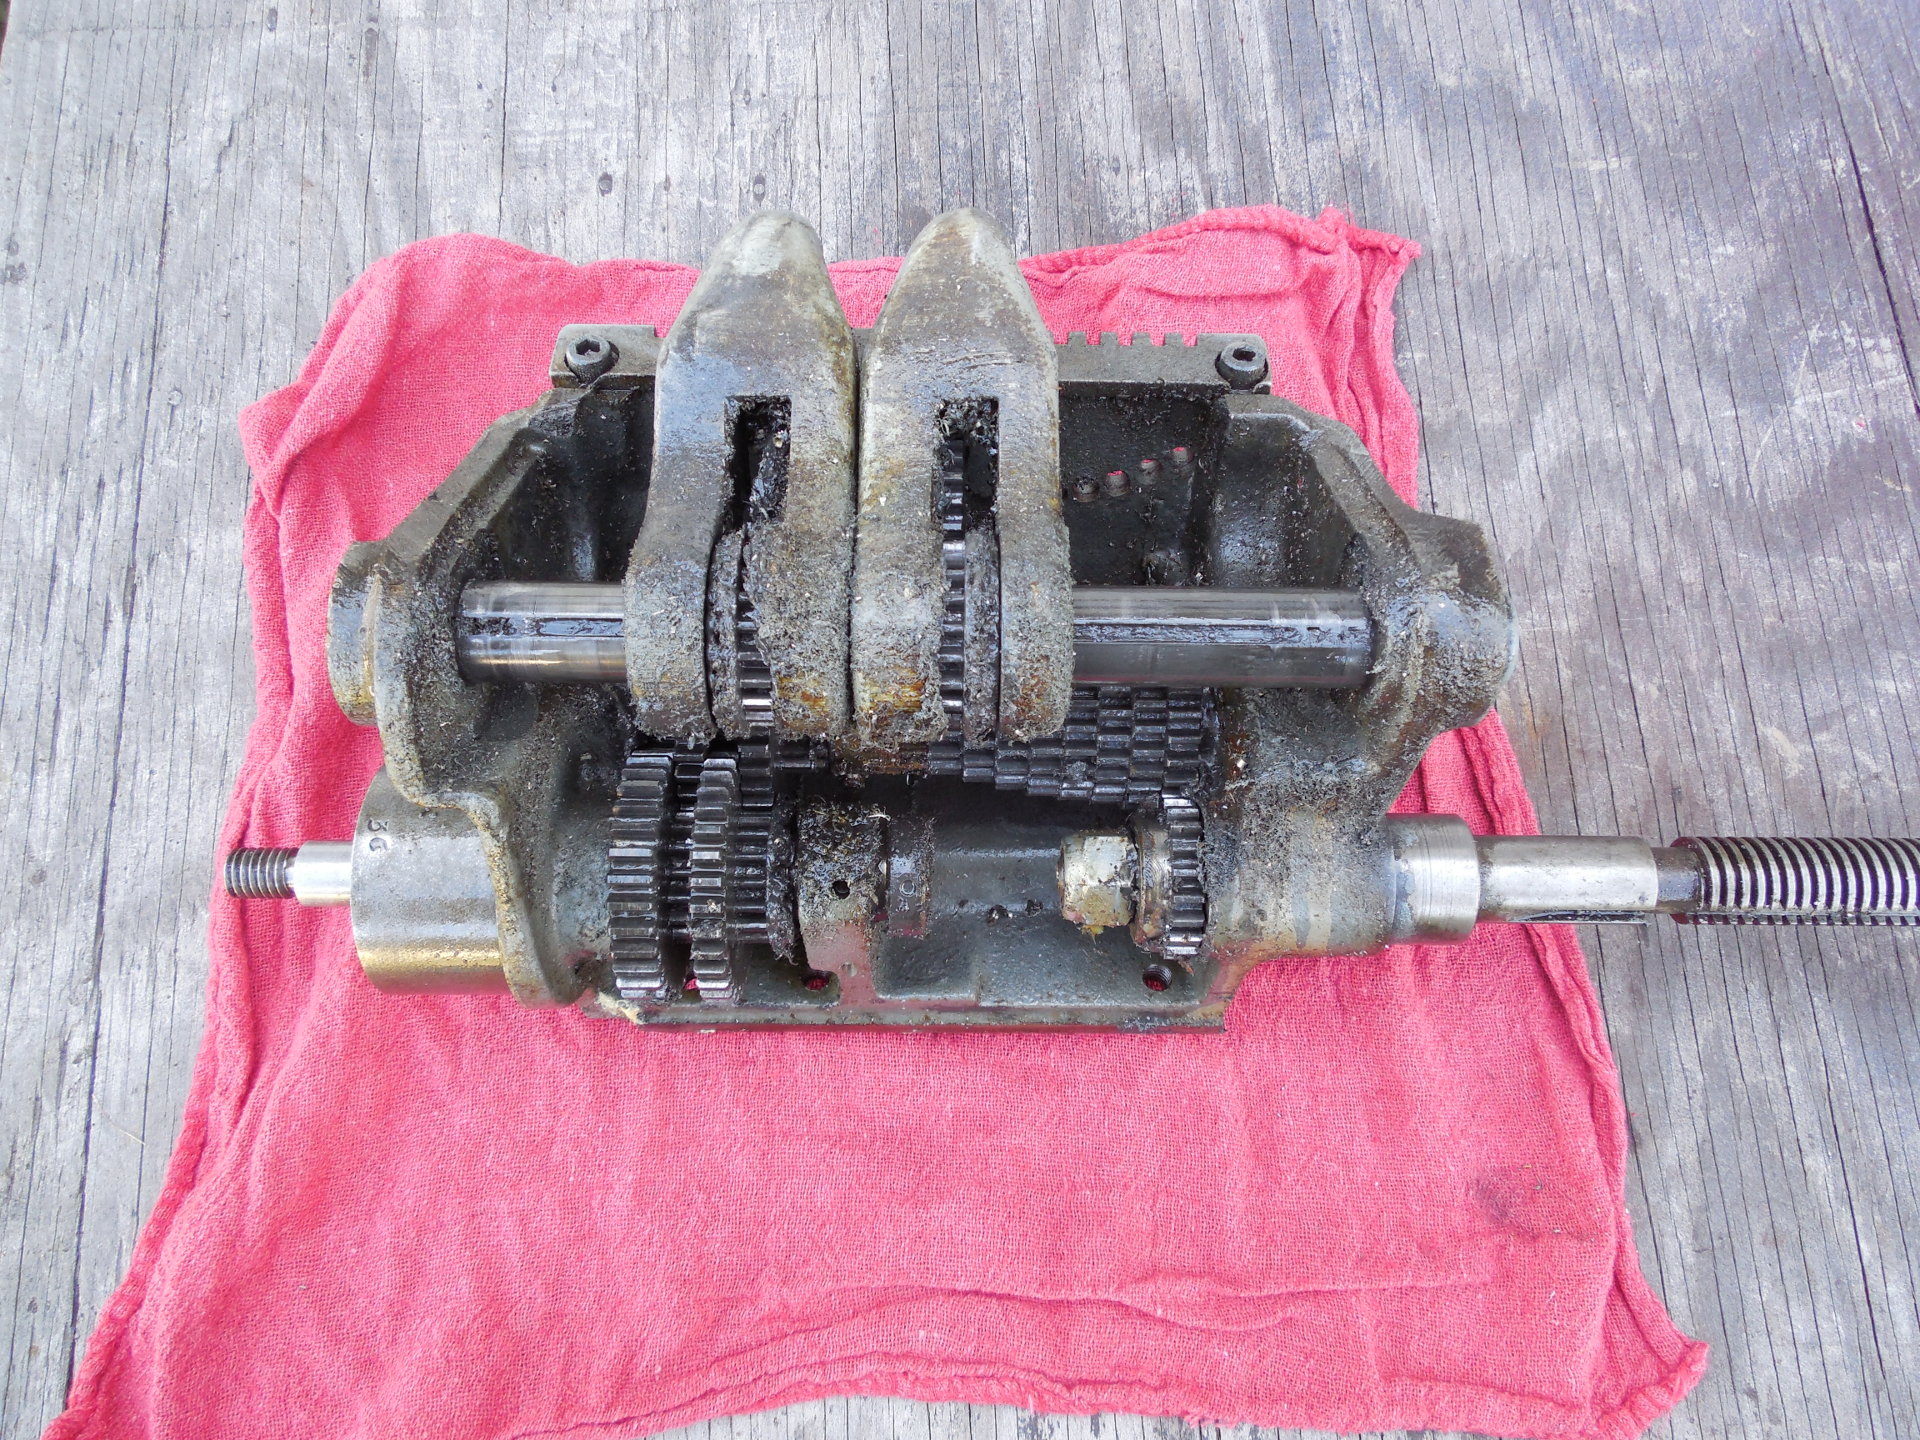
Yuck! Definitely time for a good clean and some new felt! One thing of note was that this lathe used a lock-nut to hold the leadscrew. The nylon started to deteriorate and the lead screw was getting sloppy. I tossed that nut in the trash and replaced it with two jamb nuts as described in the rebuild manual.
So, after a bit of work, a few days in the parts soak and 3 or 4 cans of brake cleaner you get this:
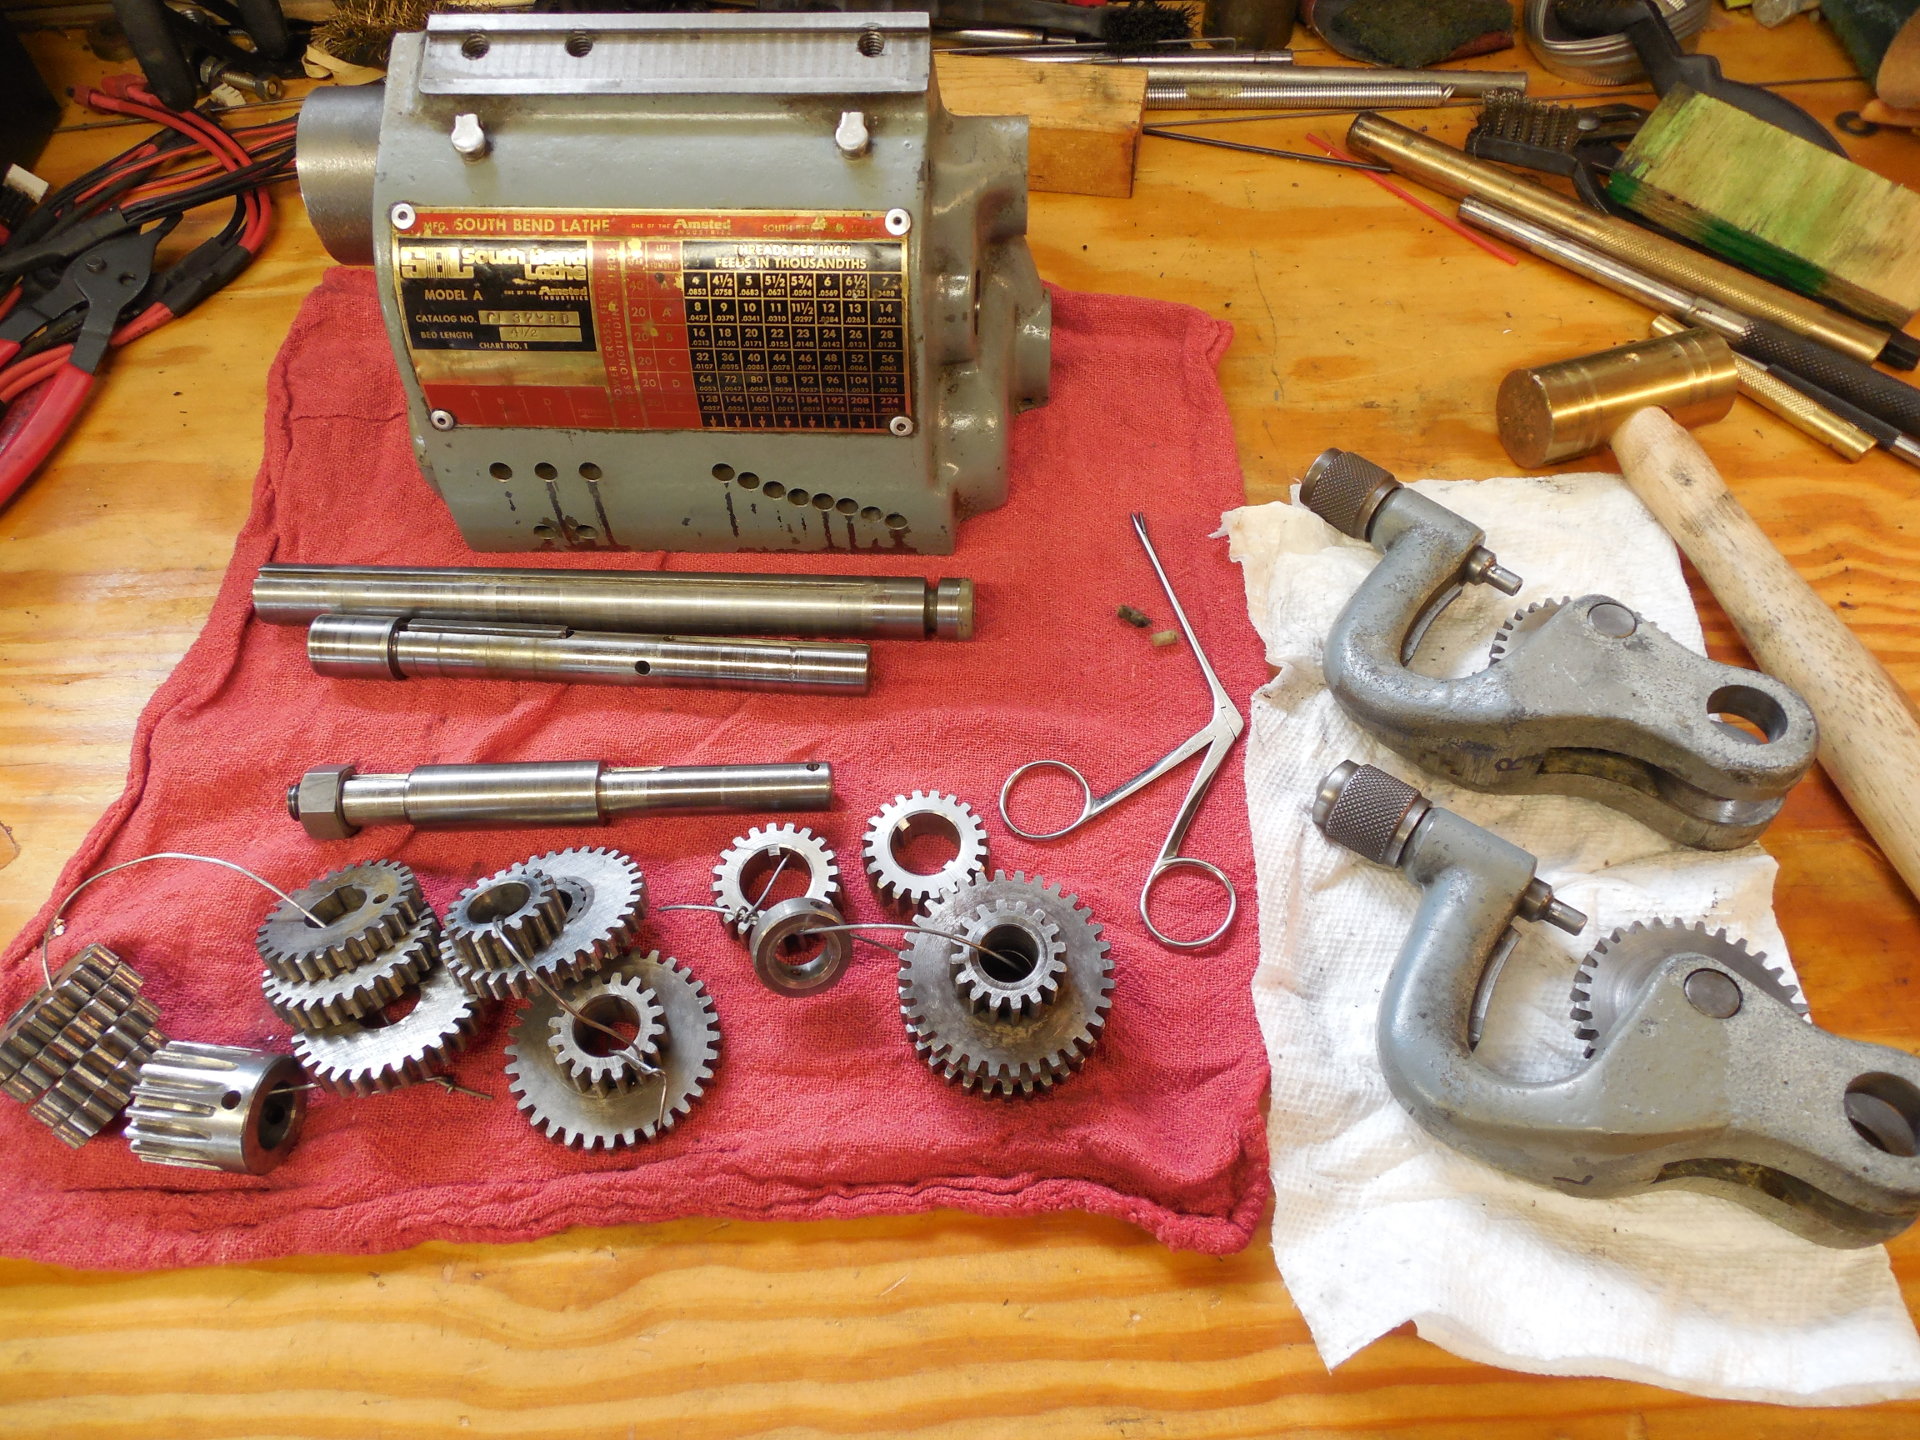
After everything was good and clean I was happy to see the gearbox was still in fine shape. Of course the gears were all fine and I didn't need to replace any of the bronze bushings either. At first I was a little worried about the needle bearings in the selector levers, but after a clean and repack with grease they seem to be fine. Just in case they cause any problems down the road, I was able to source exact replacements at Amazon. They are listed as:
Koyo GB-88 Precision Needle Roller Bearing
For you rebuilders, that tool in the middle of the picture is an ear polypus and it's the handiest thing to remove stubborn old felt or pull new through the oil channels. You can find them on Ebay or speciality hobby stores like Micromark.
Also had a few stubborn taper pins during disassembly, but they loosened right up with a little heat from the torch. Overall, things went better than expected.
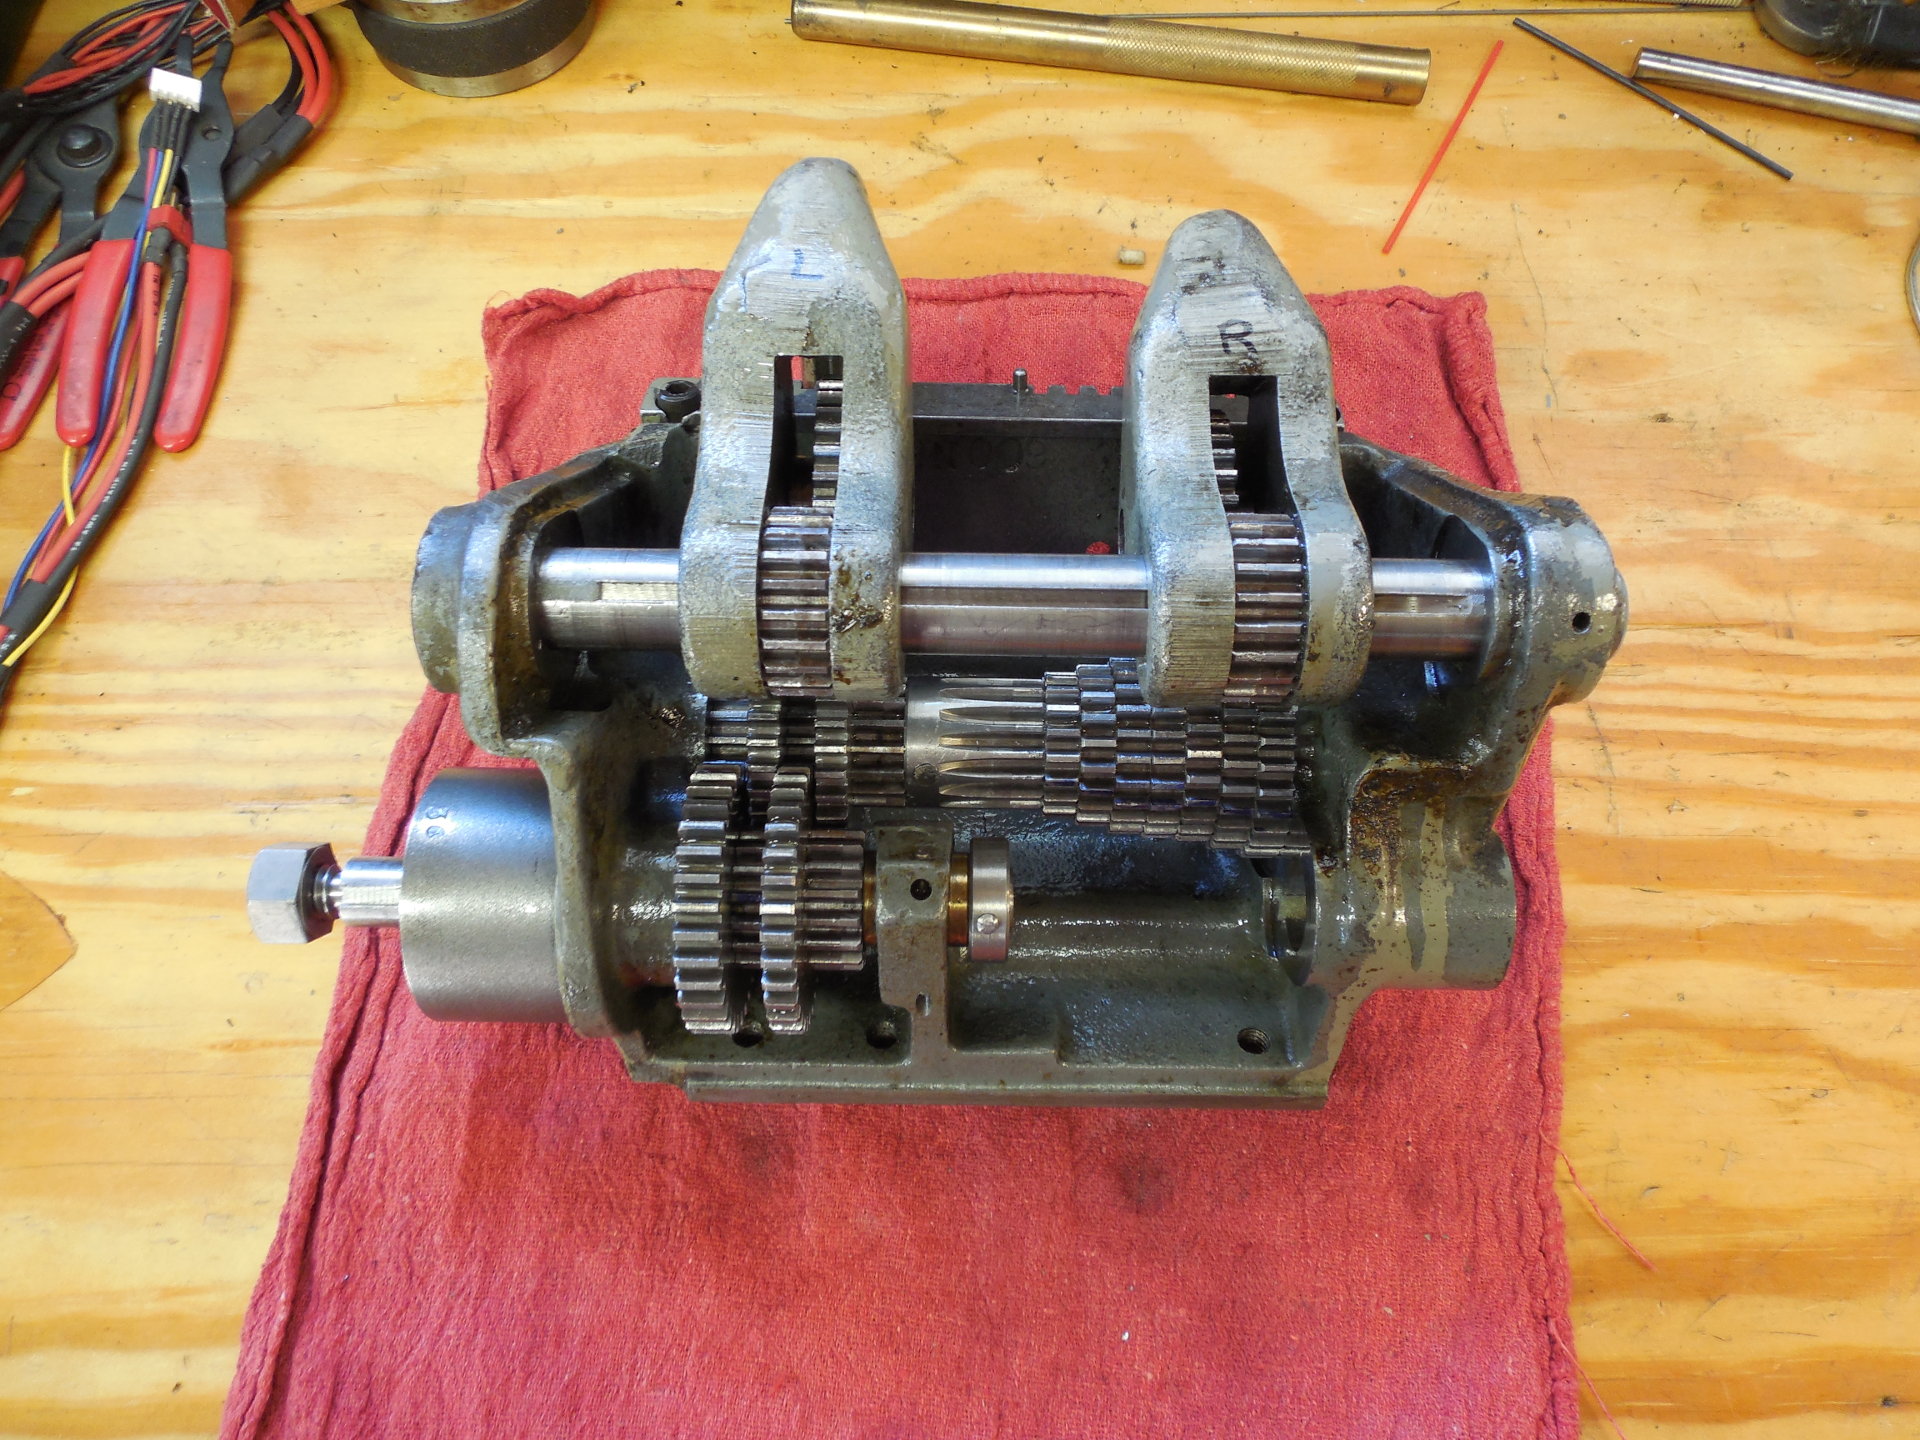
And that's what the gearbox looks like ready to install. It's going to have to wait a bit, however, because the apron is next. What horrors will we find in there?