With the QCGB and lead screw removed, removing the apron was a piece of cake: just remove the two cheesehead screws. Here's what it looked like.
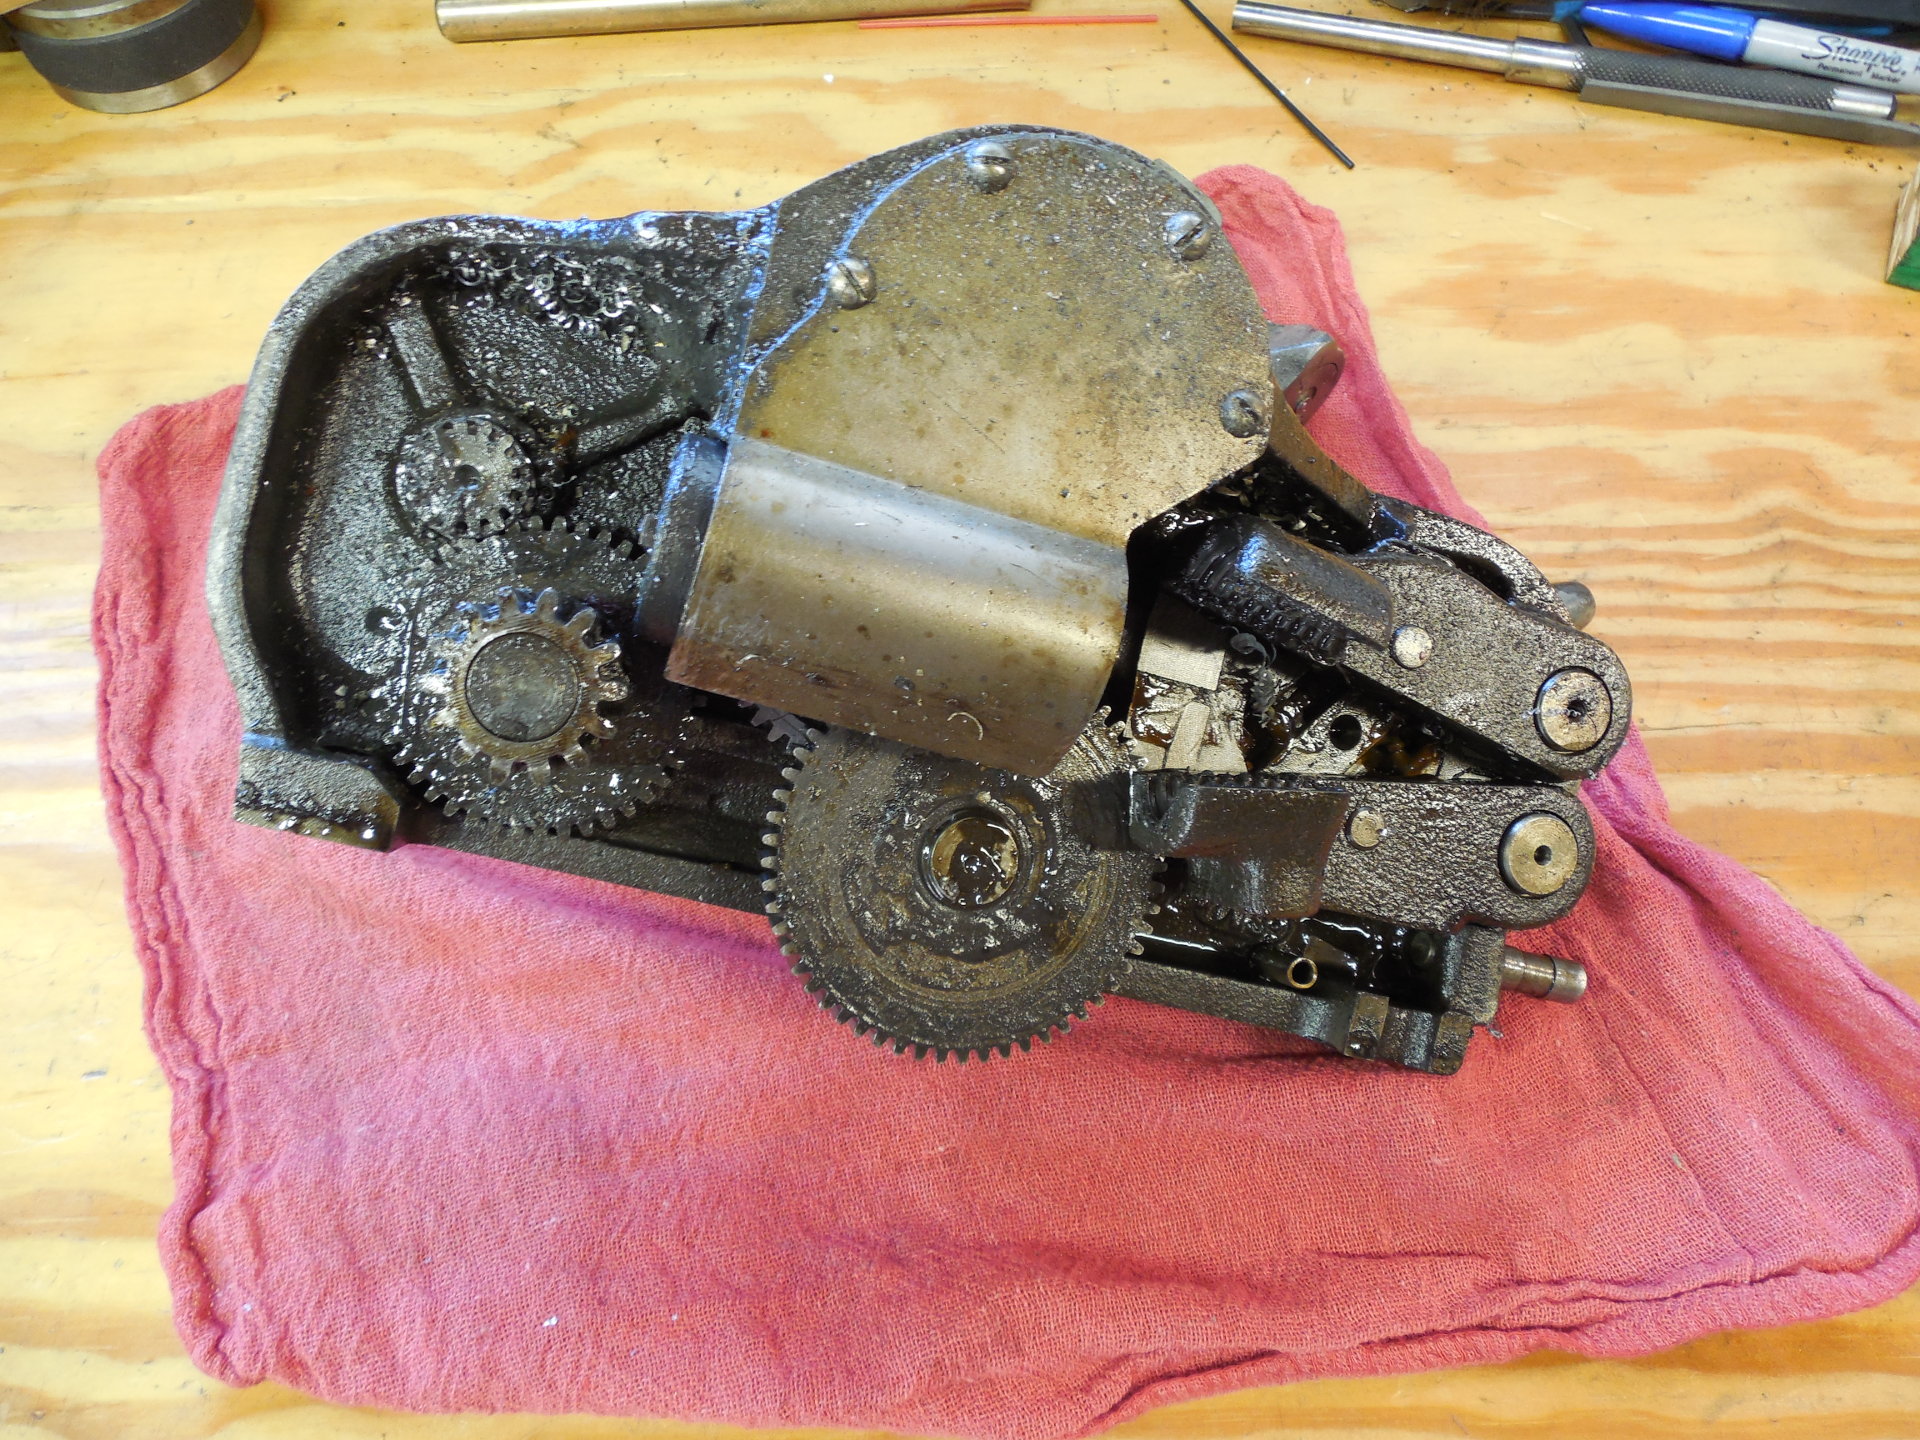
Oh, yeah... it's completely full of crap. And that folks is why South Bend touted the double-walled apron on their bigger lathes. It's a wonder it was still working at all, although I did have a problem with the half-nuts interlock which would need to be fixed.
The dissembly was going as described in the book, but sometimes things just don't work out. The one gear shaft was super-tight (it certainly didn't need a set screw) and I didn't want to pound any harder on that cast iron. Big Orange to the rescue!
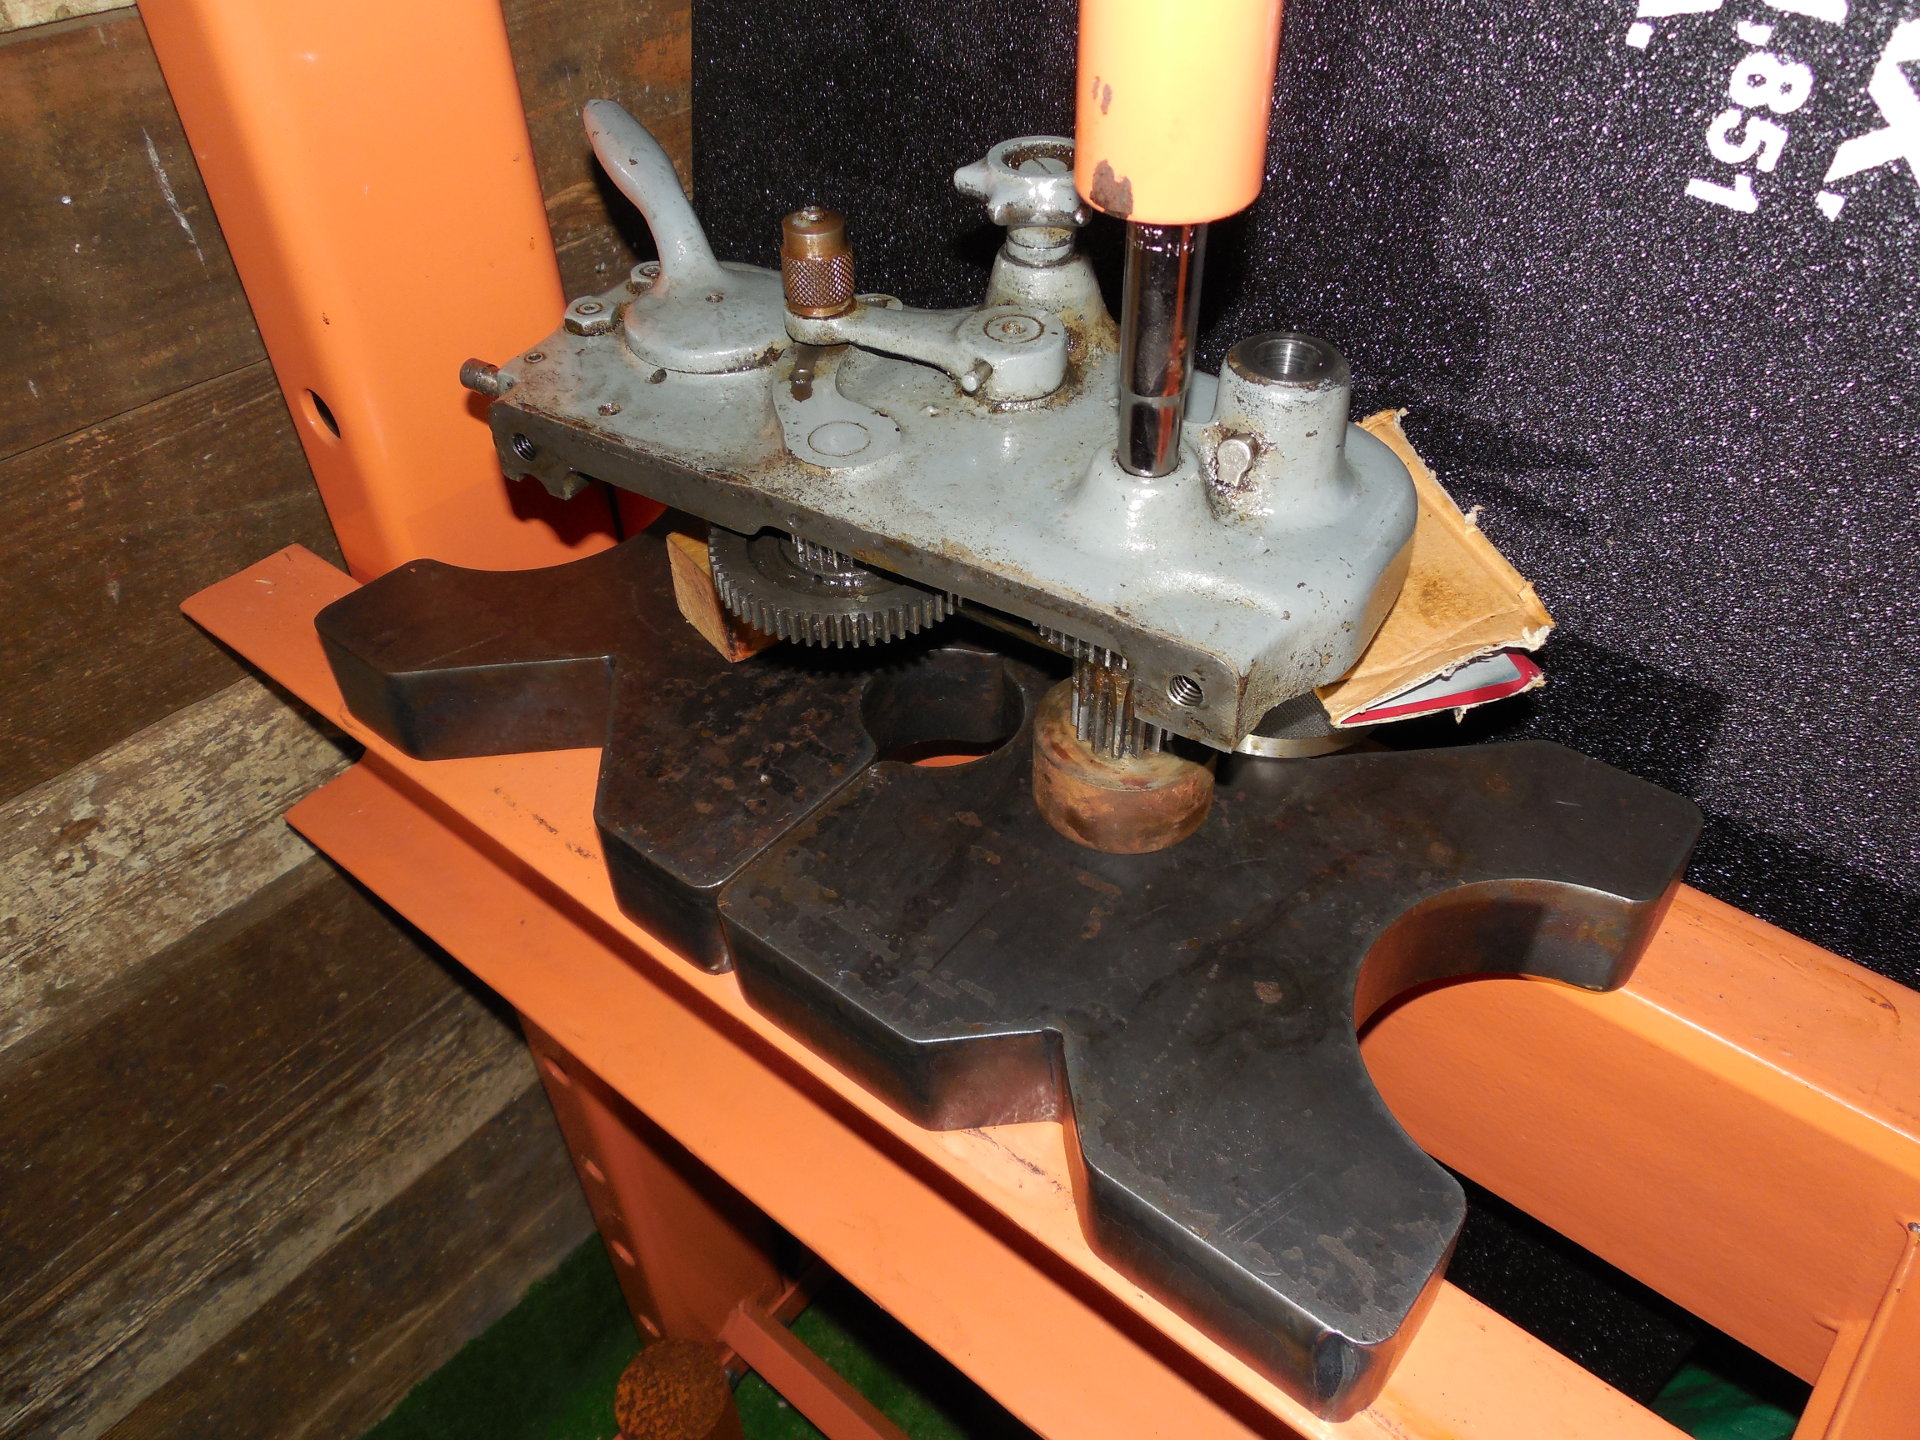
That shaft got chucked-up in the lathe and little work done with a file for easier installation.
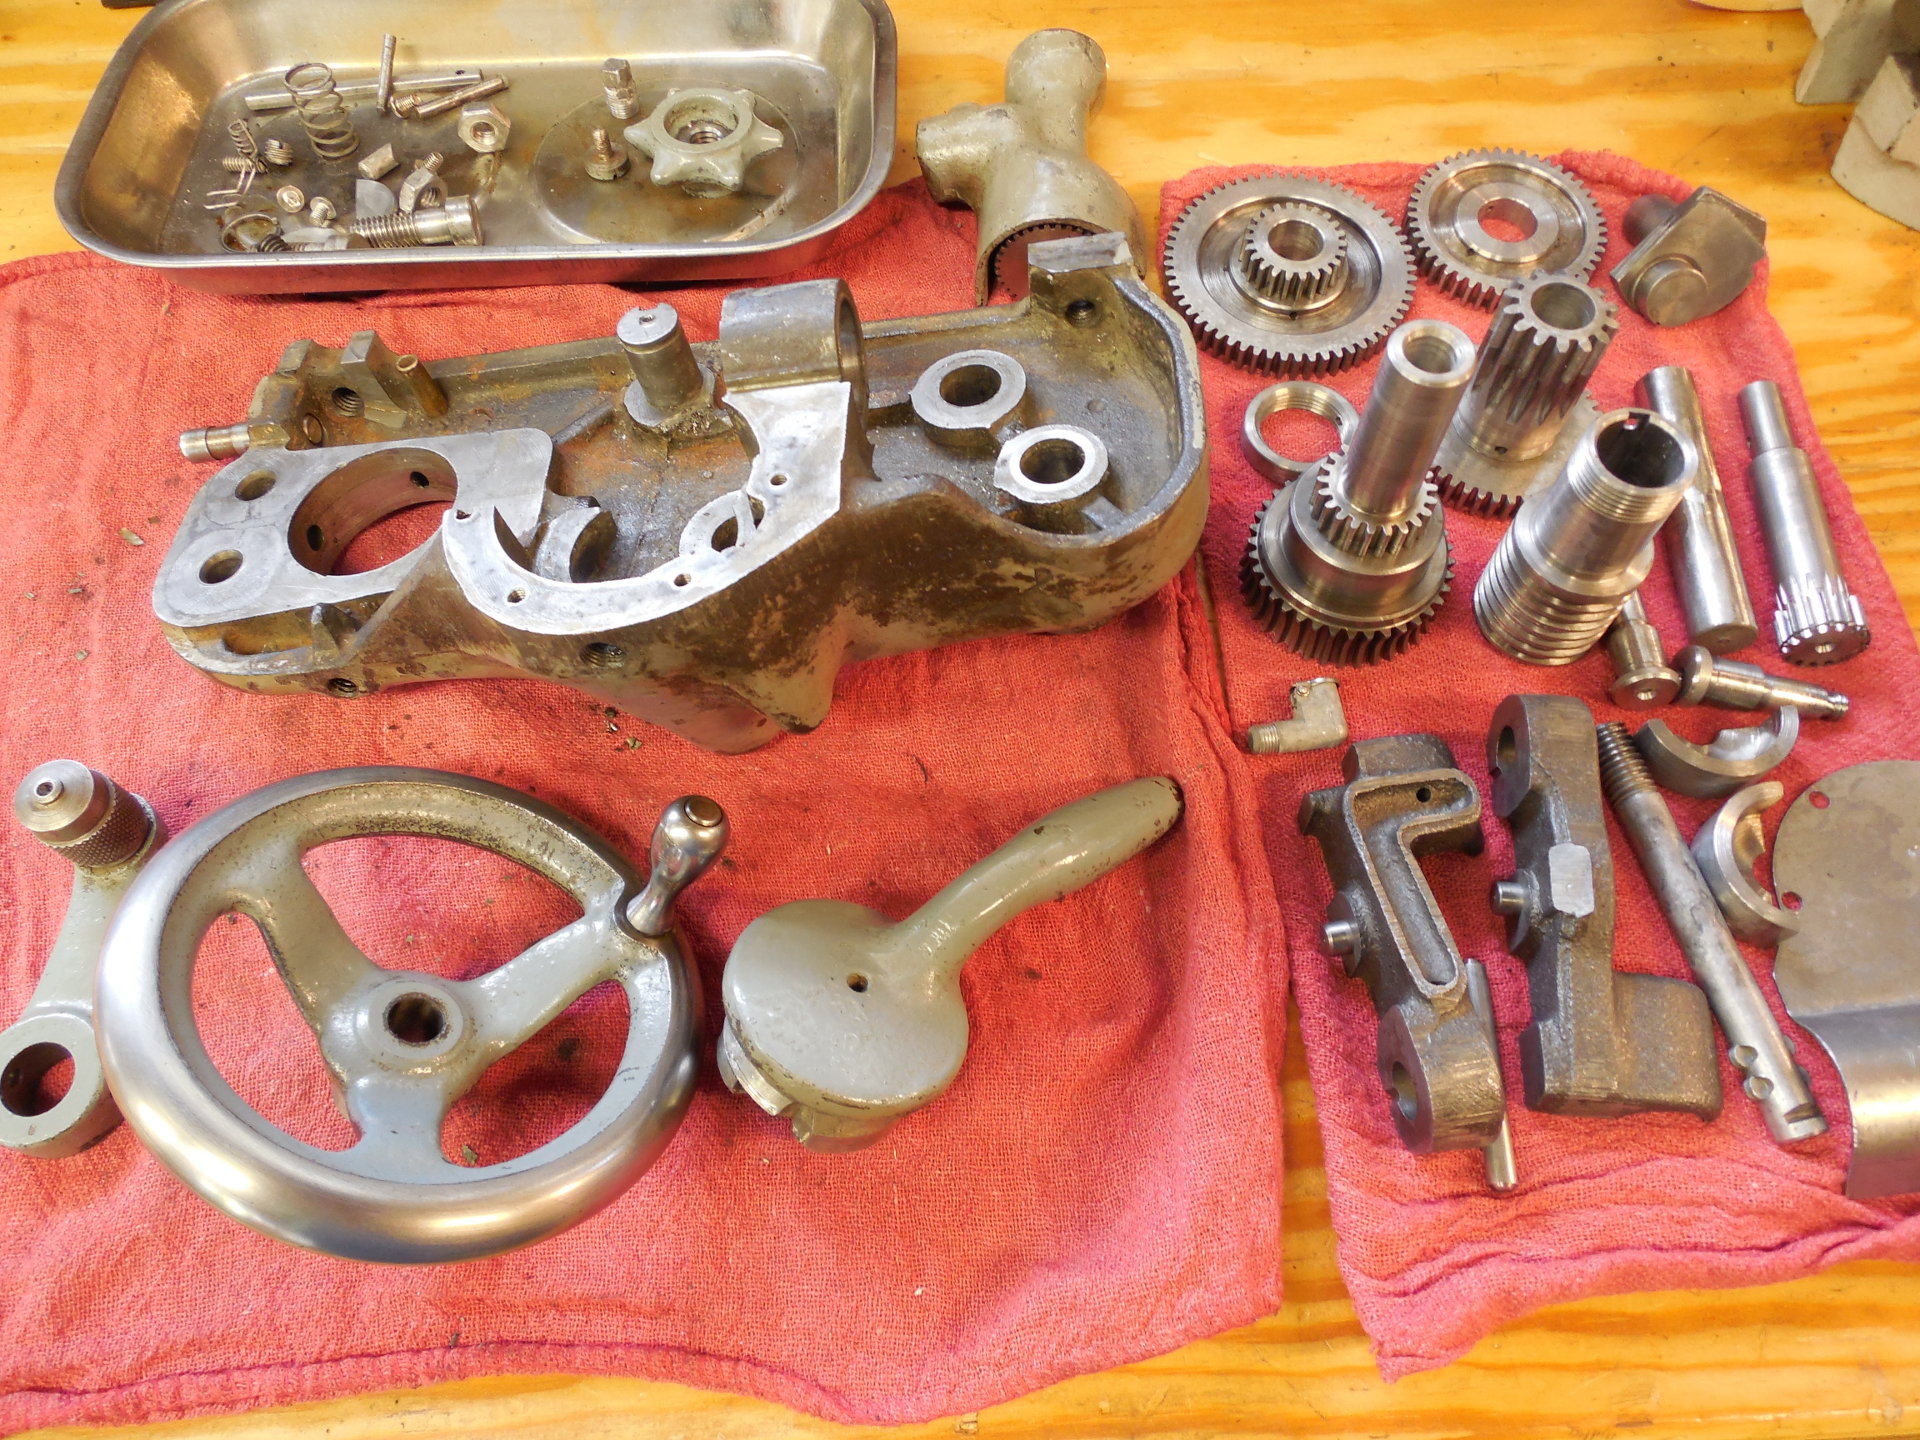
So after several baskets of stuff in the parts dip and about 4 cans of brake cleaner you end-up with this:
At one point, I think I had to loosen the gunk inside the apron with a screw driver but, like the QCGB, there wasn't any signs of damage or wear, besides the interlock pin which I will get to. I don't think this lathe ever did much threading with the original owner because the half-nuts and lead screw are in really good shape.
The ear polypus ready to pull a felt through an oil passage.
Like I said earlier, the half-nut interlock didn't work. Luckily I didn't find this out the hard way. :distress: I needed to make a new rod, luckily I have a lathe. Errr. Well, it's just a simple part...
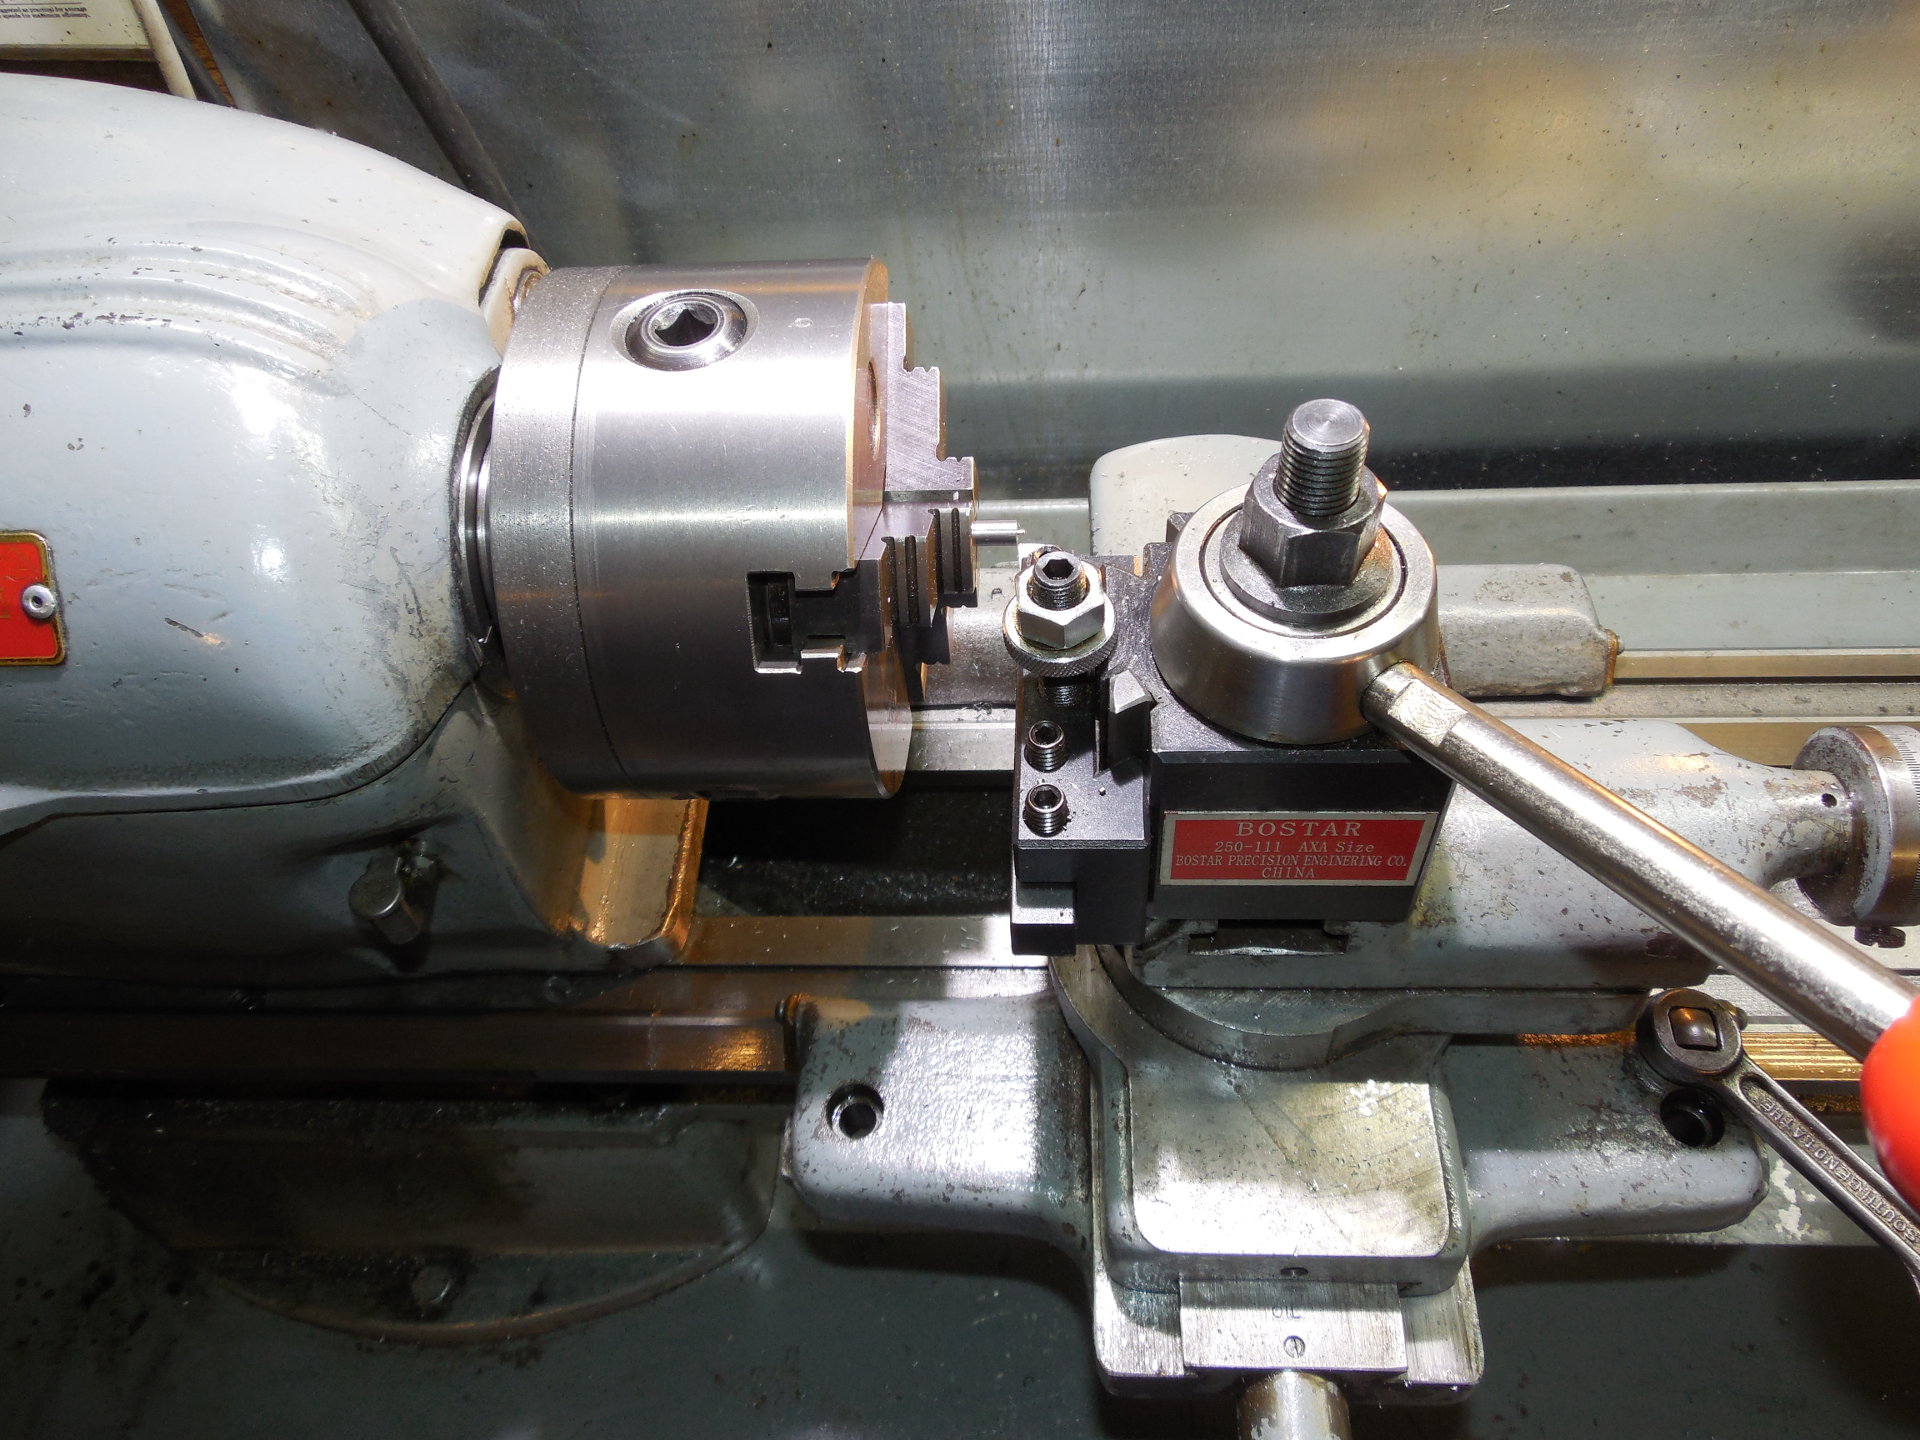
Since I didn't have an apron, I used the compound for the carriage travel.
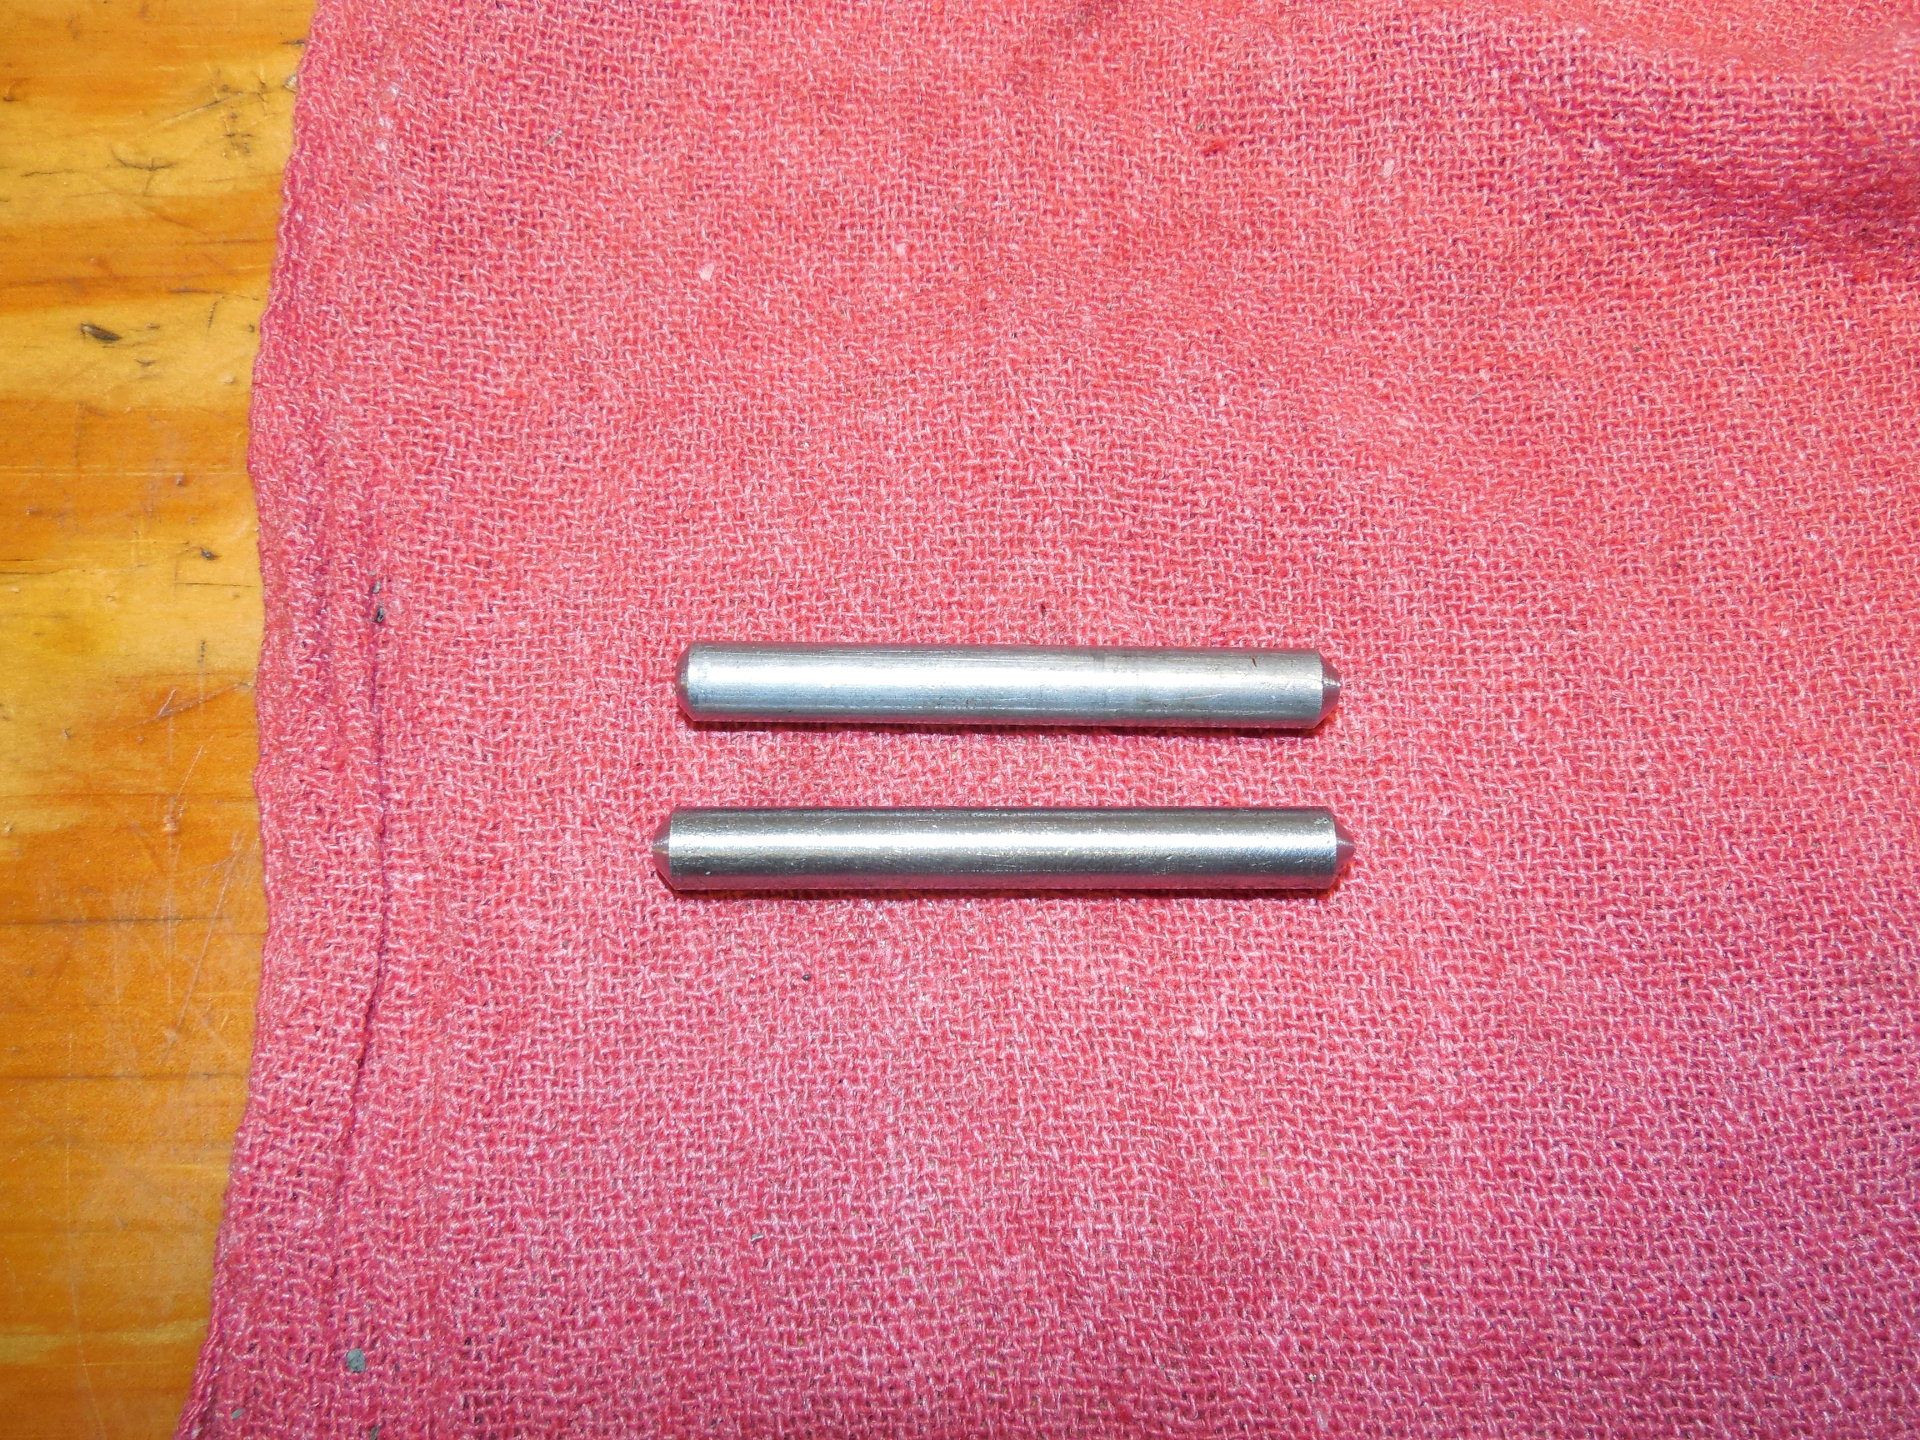
Old versus new. It took a couple of tries to get that "just right" size which locked-out the half-nuts when the feed selector wasn't in neutral, but released them when it was.

Everything in the apron is now cleaned-up and back together.
Before I installed the QCGB and lead screw, I wanted to make one change to the original design.
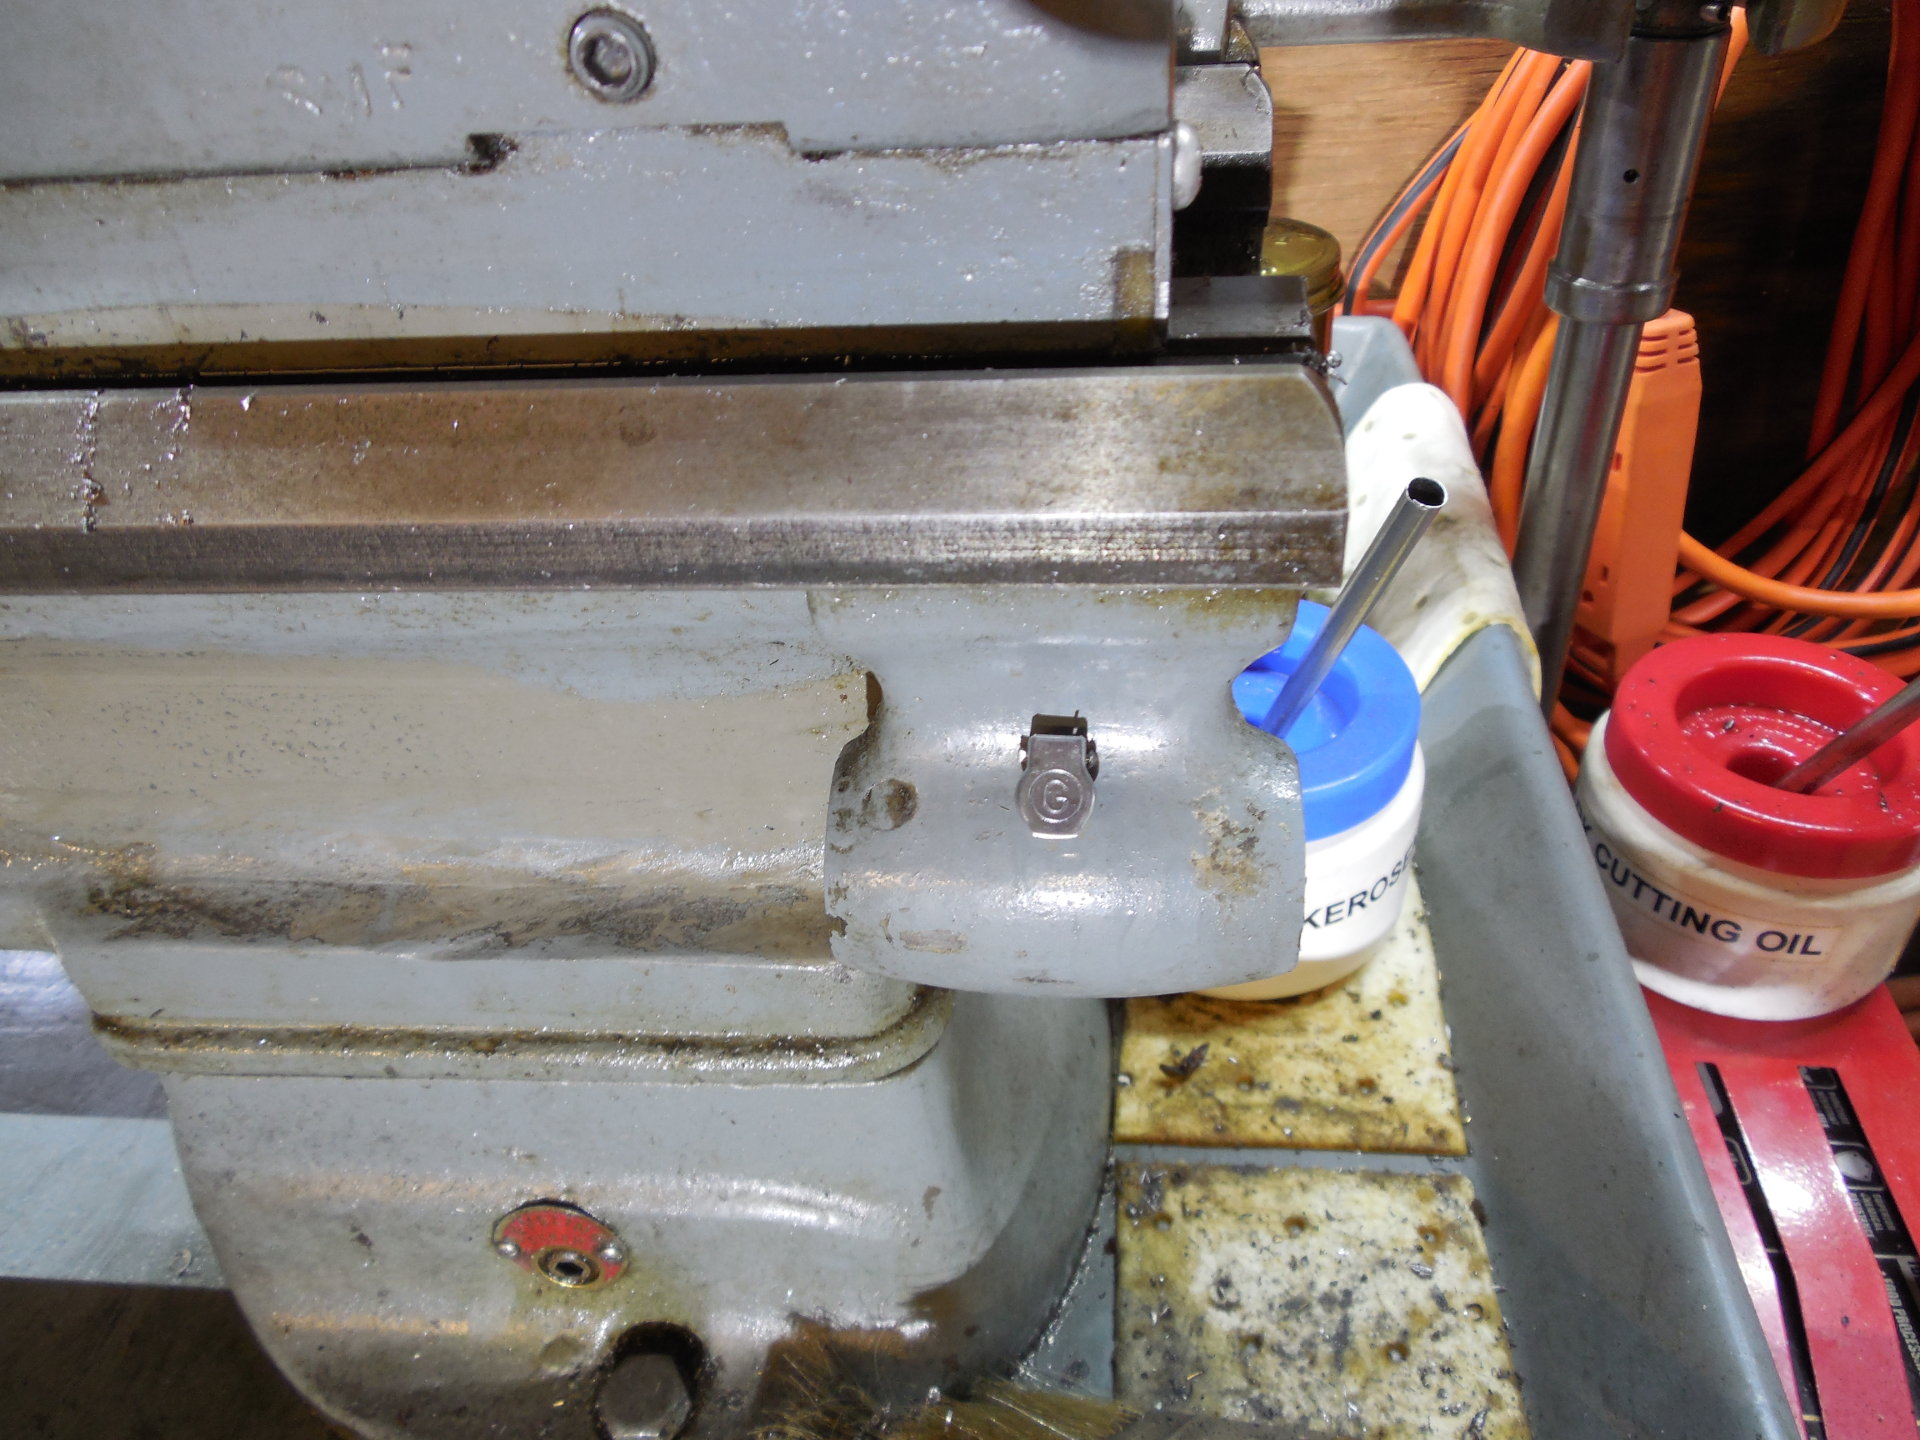
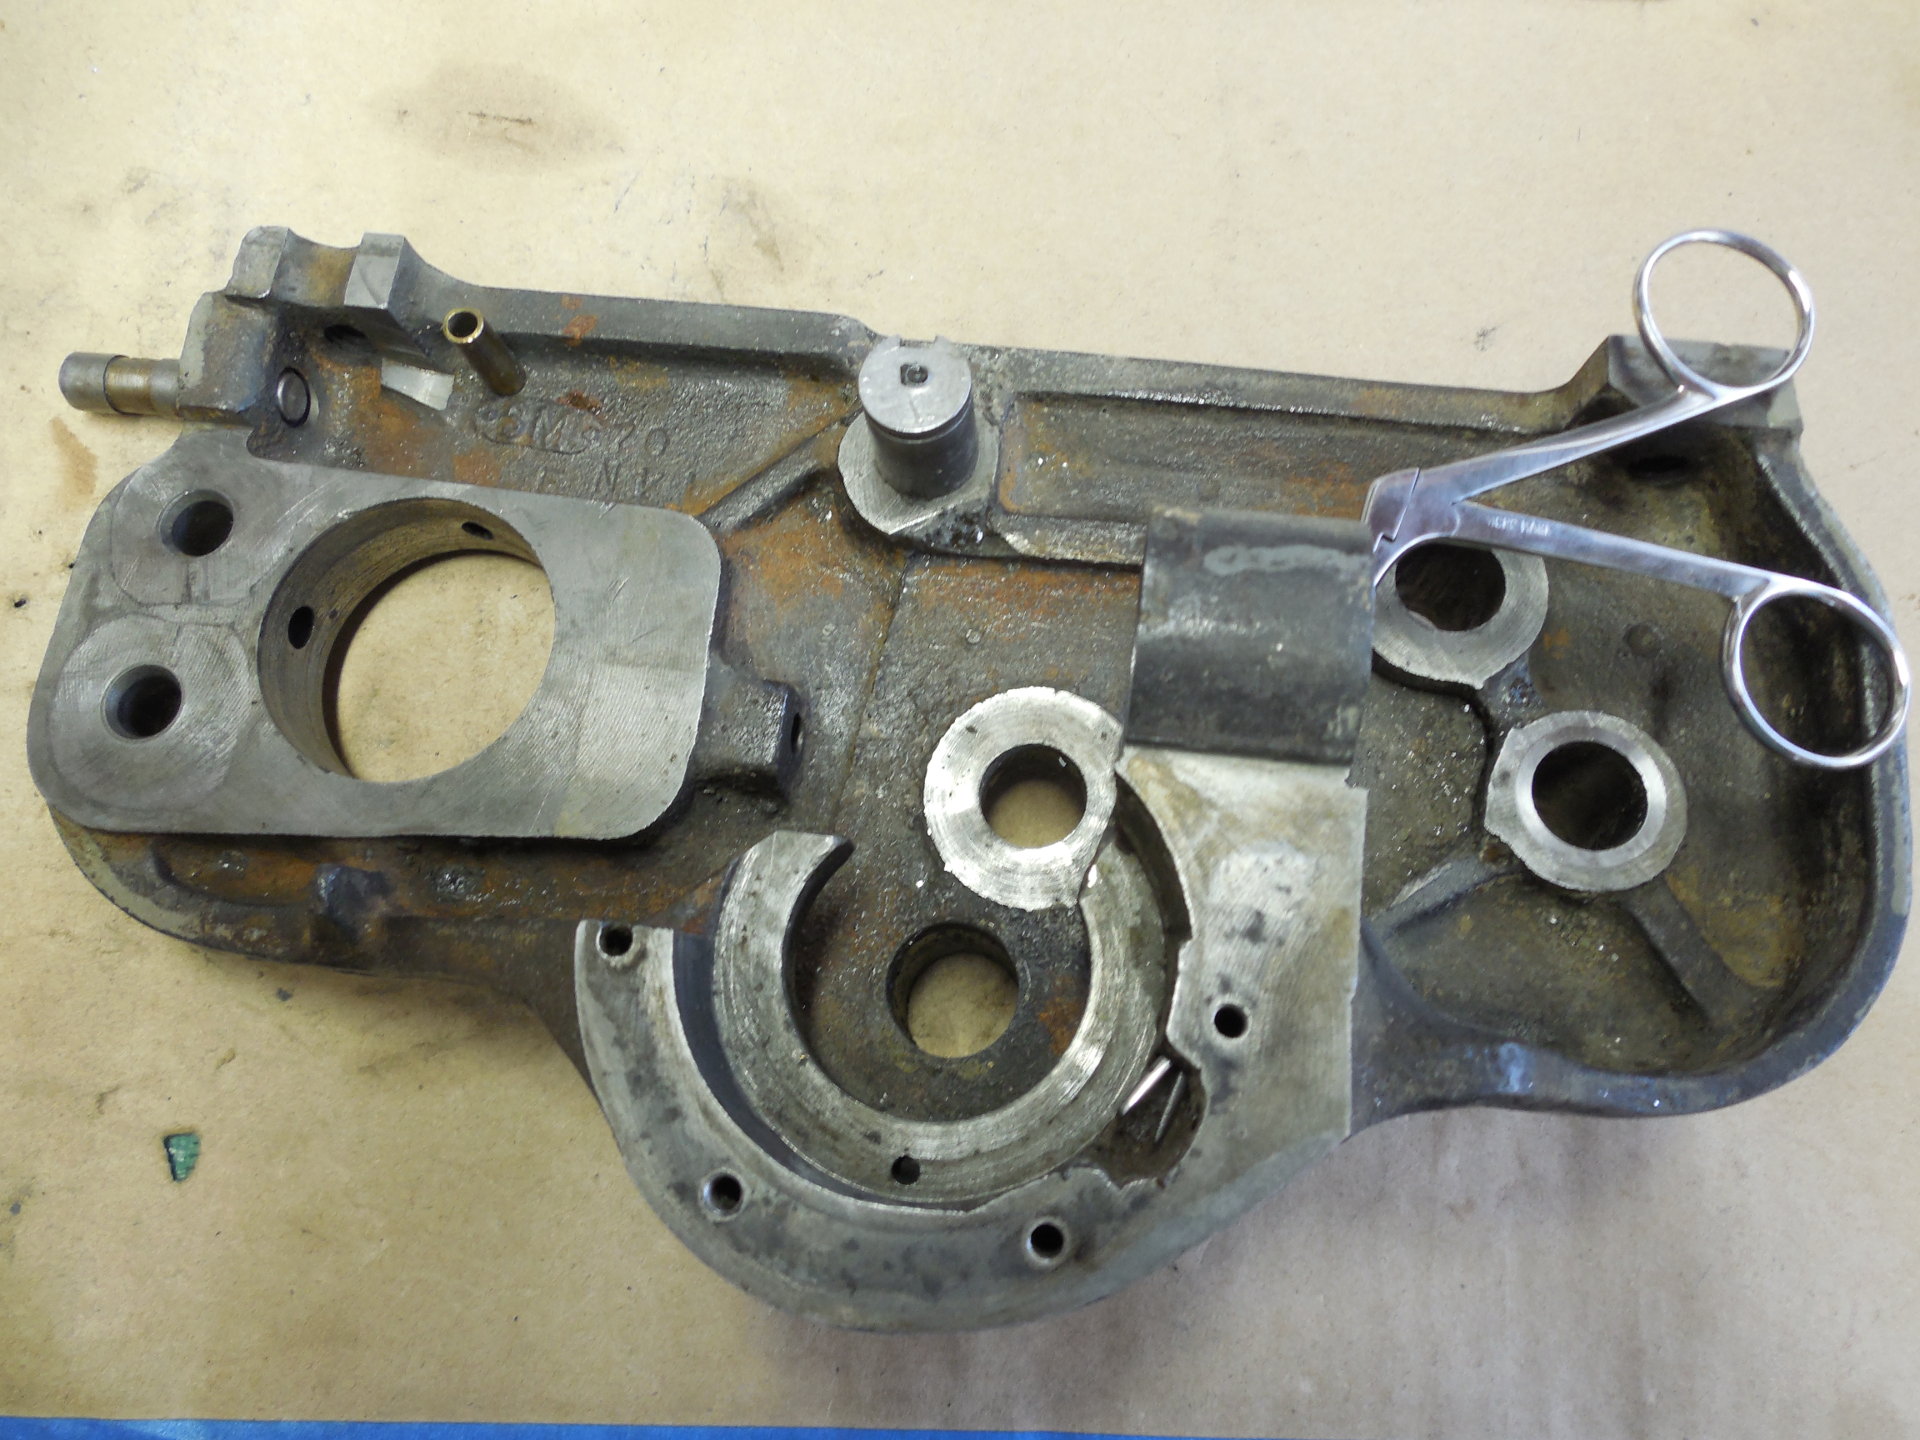
I was never that impressed with the open oil hole in the lead screw bracket, so I ordered a Gits oiler with the spare QCGB needle bearings from Amazon. Installation is a snap- you just drill the hole bigger for the oiler. There's plenty of meat in the casting so you won't drill near or through the bearing surface. After banging in the Gits, I installed a small piece of round felt inside for oil control. It seems to be working well.
I didn't take any pictures of the lathe afterwards because it looks basically the same as when I started, but I know that the insides are working much better now. It also feels good to finally close the book on this project. Maybe in 15 years or so I'll do it all over again but actually strip and paint the old girl.