After building Mr Pete's wobbler from bar stock, I felt confident enough to tackle a casting kit from PM Research: the entry-level Steam Engine #2. Since this engine is basically the same design as the other wobbler, the challenge with this build will be dealing with castings which can sometimes be tricky to machine. Also, you only get one shot making a part so if you screw it up, you will have to order a replacement from the manufacturer.
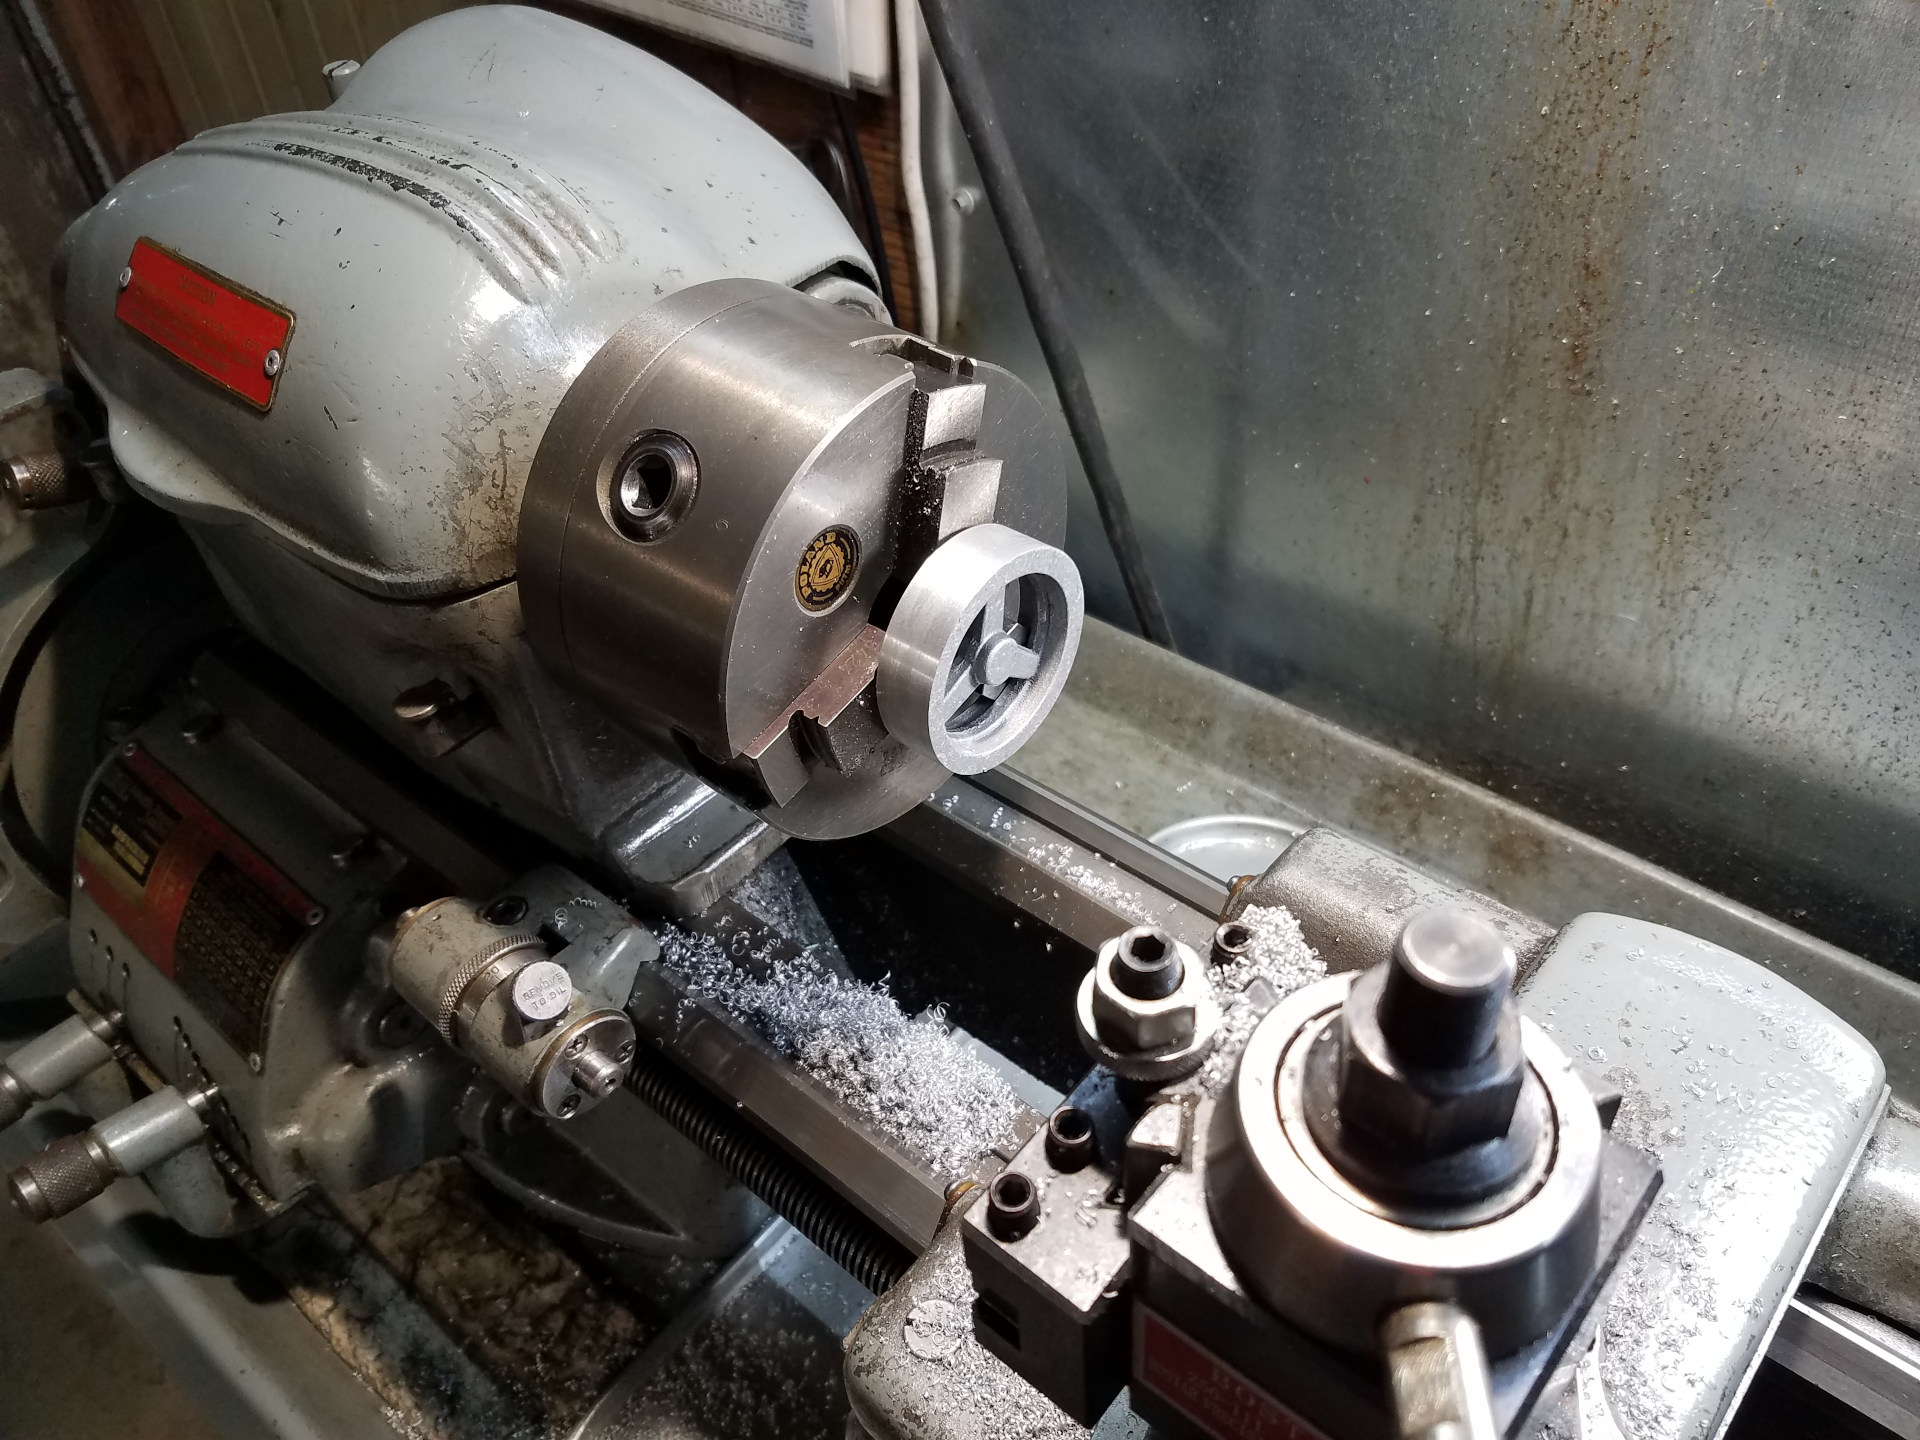
I'm starting with the flywheel. In this kit it's cast from aluminum, the same material as the rest of the kit, so it will be interesting to see how it's relatively light weight will affect the model's slow speed performance.
Notice the hard stop attached to the lathe bed to avoid the cutting tool from hitting the chuck.
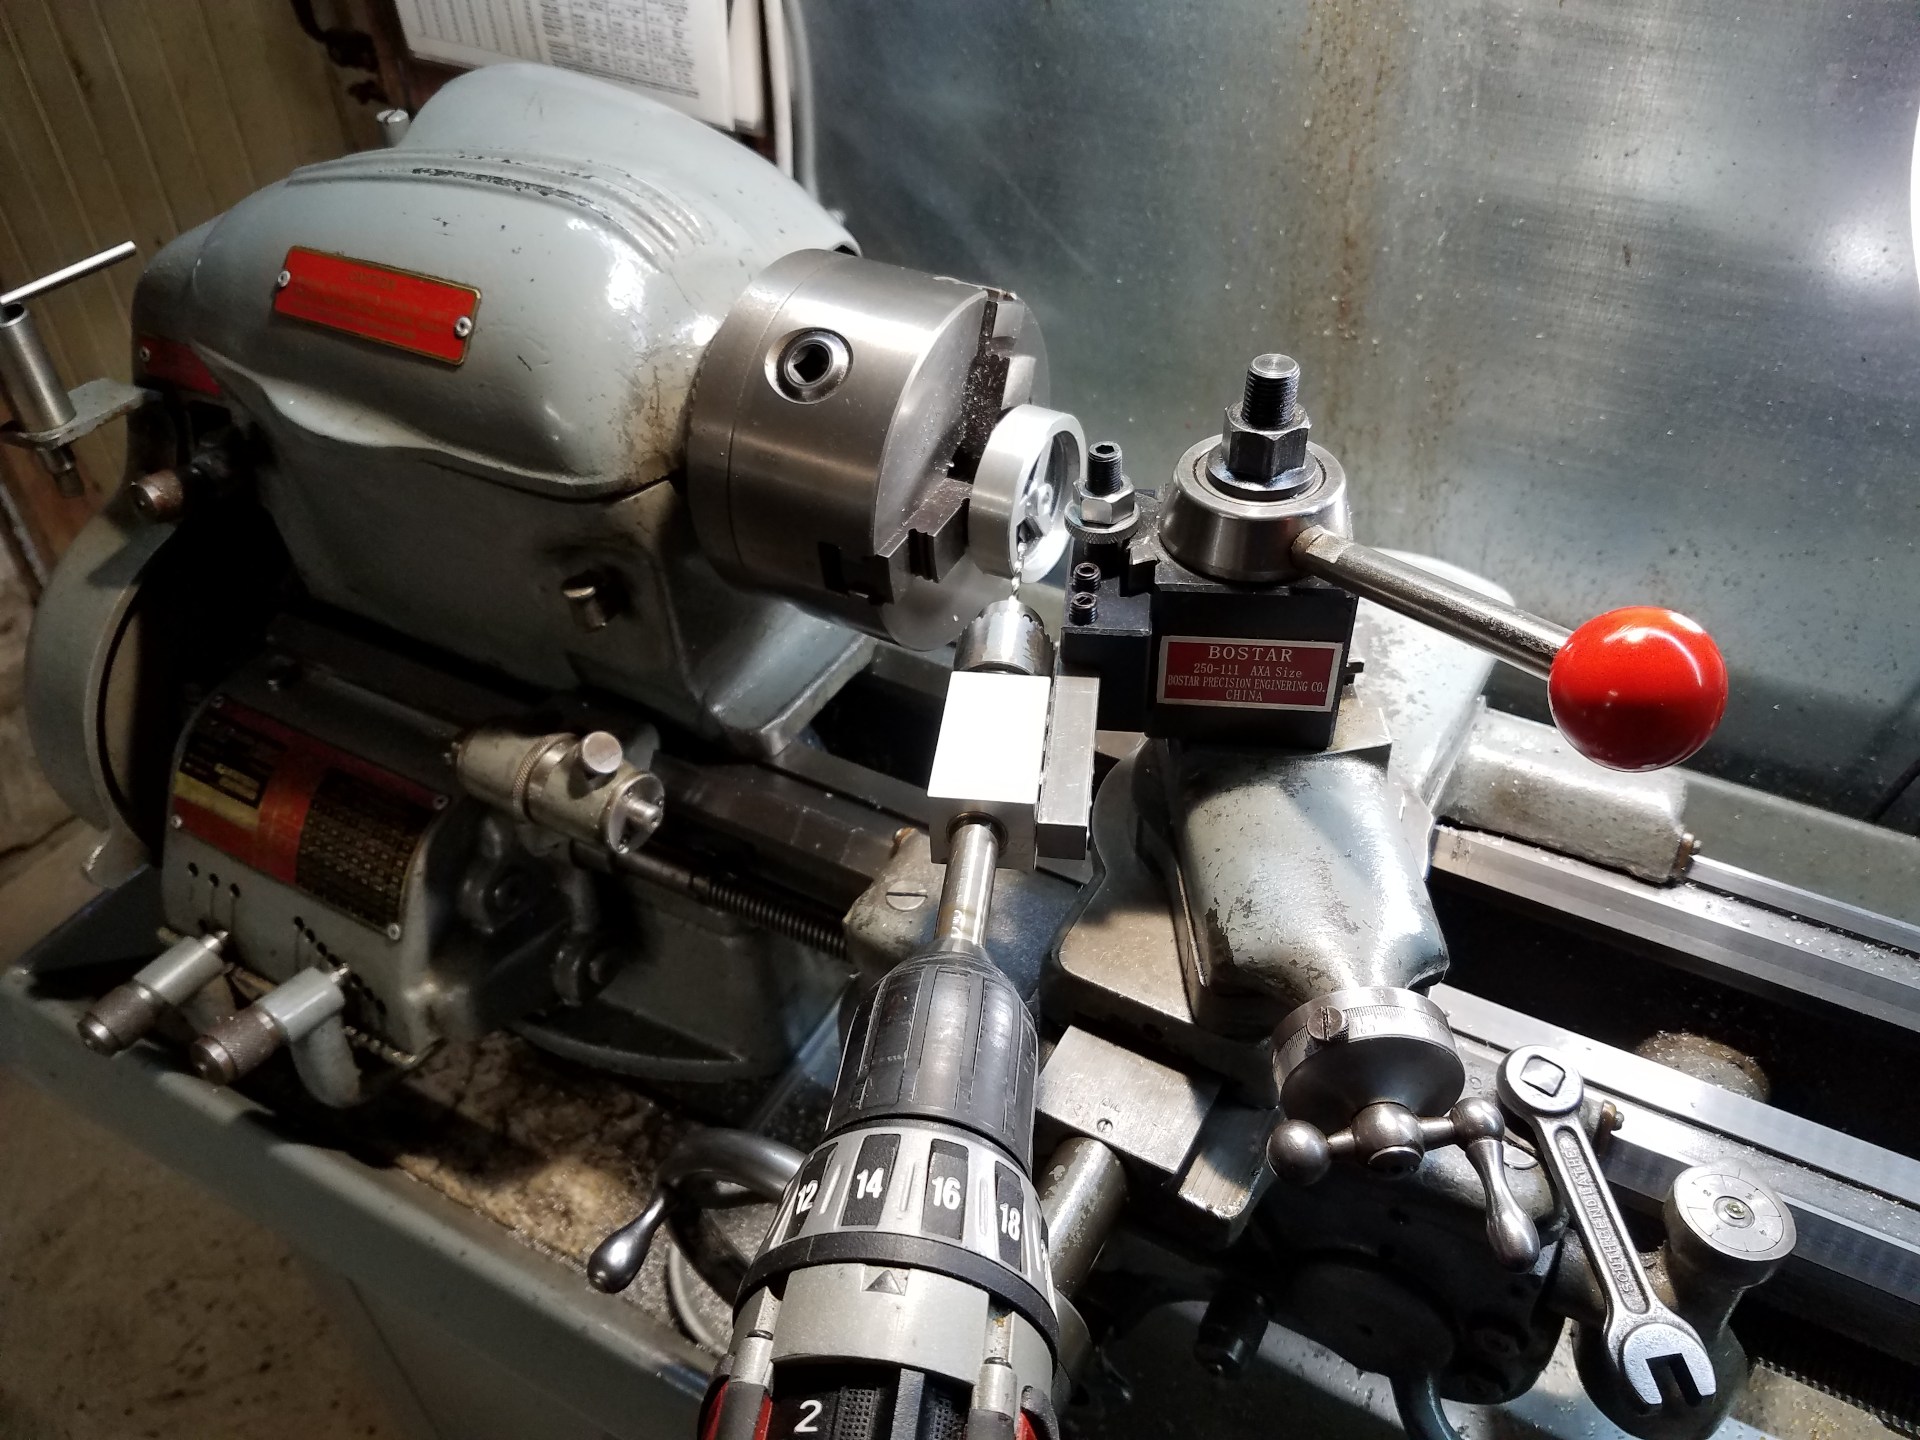
Using the handy-dandy tool post drilling fixture to drill the hole for the grub screw.
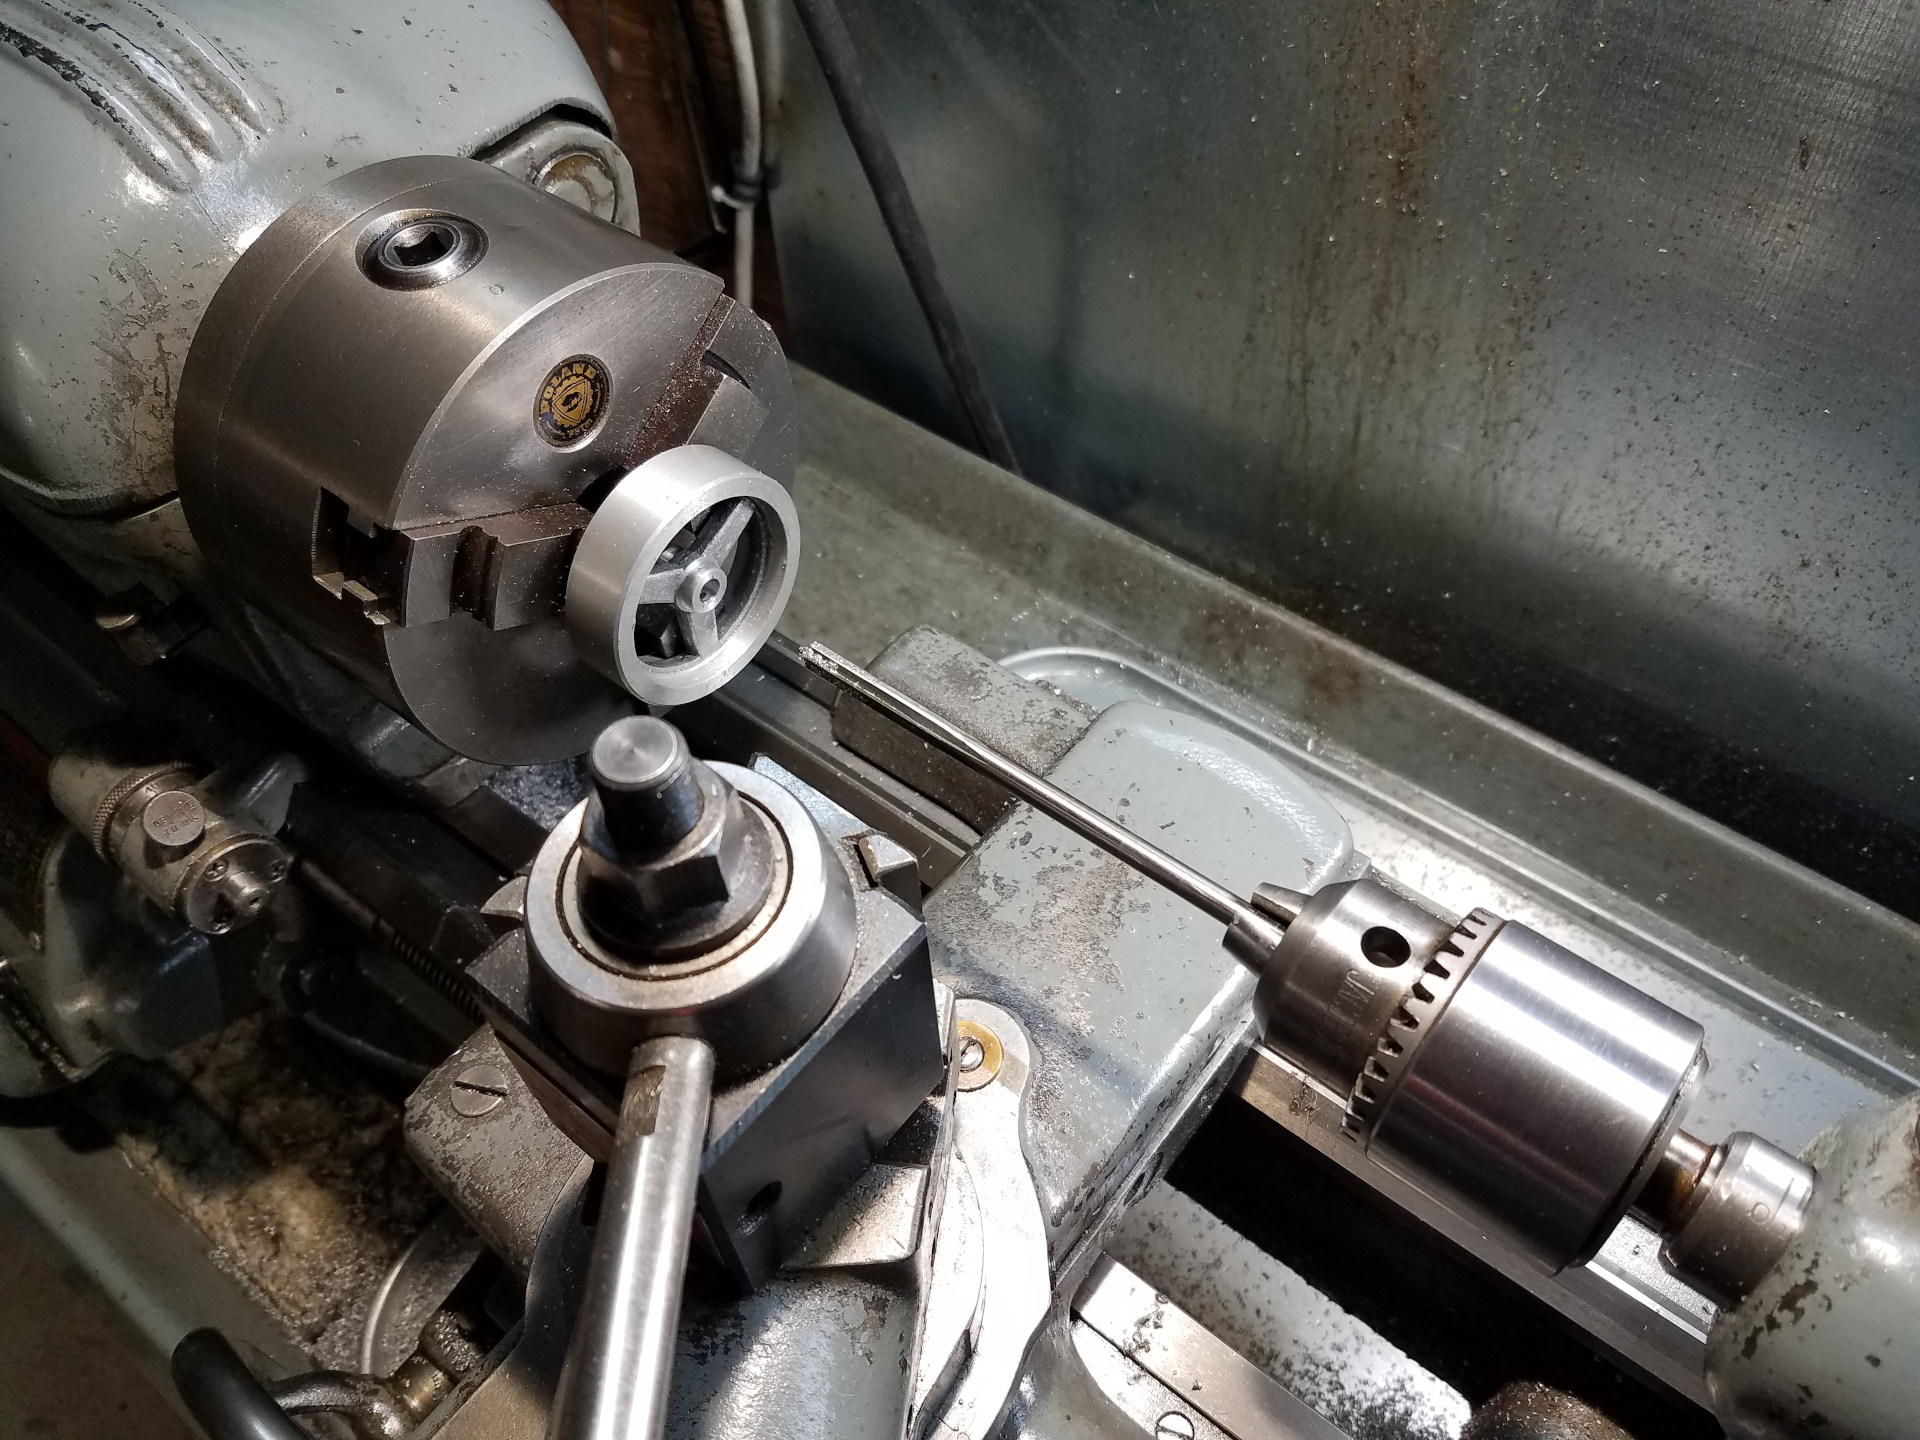
Which is followed by reaming the axle hole to the correct size. From here you could mount the flywheel on a mandrel and turn it between centers to remove any wobble, but it was running pretty good so I never bothered.
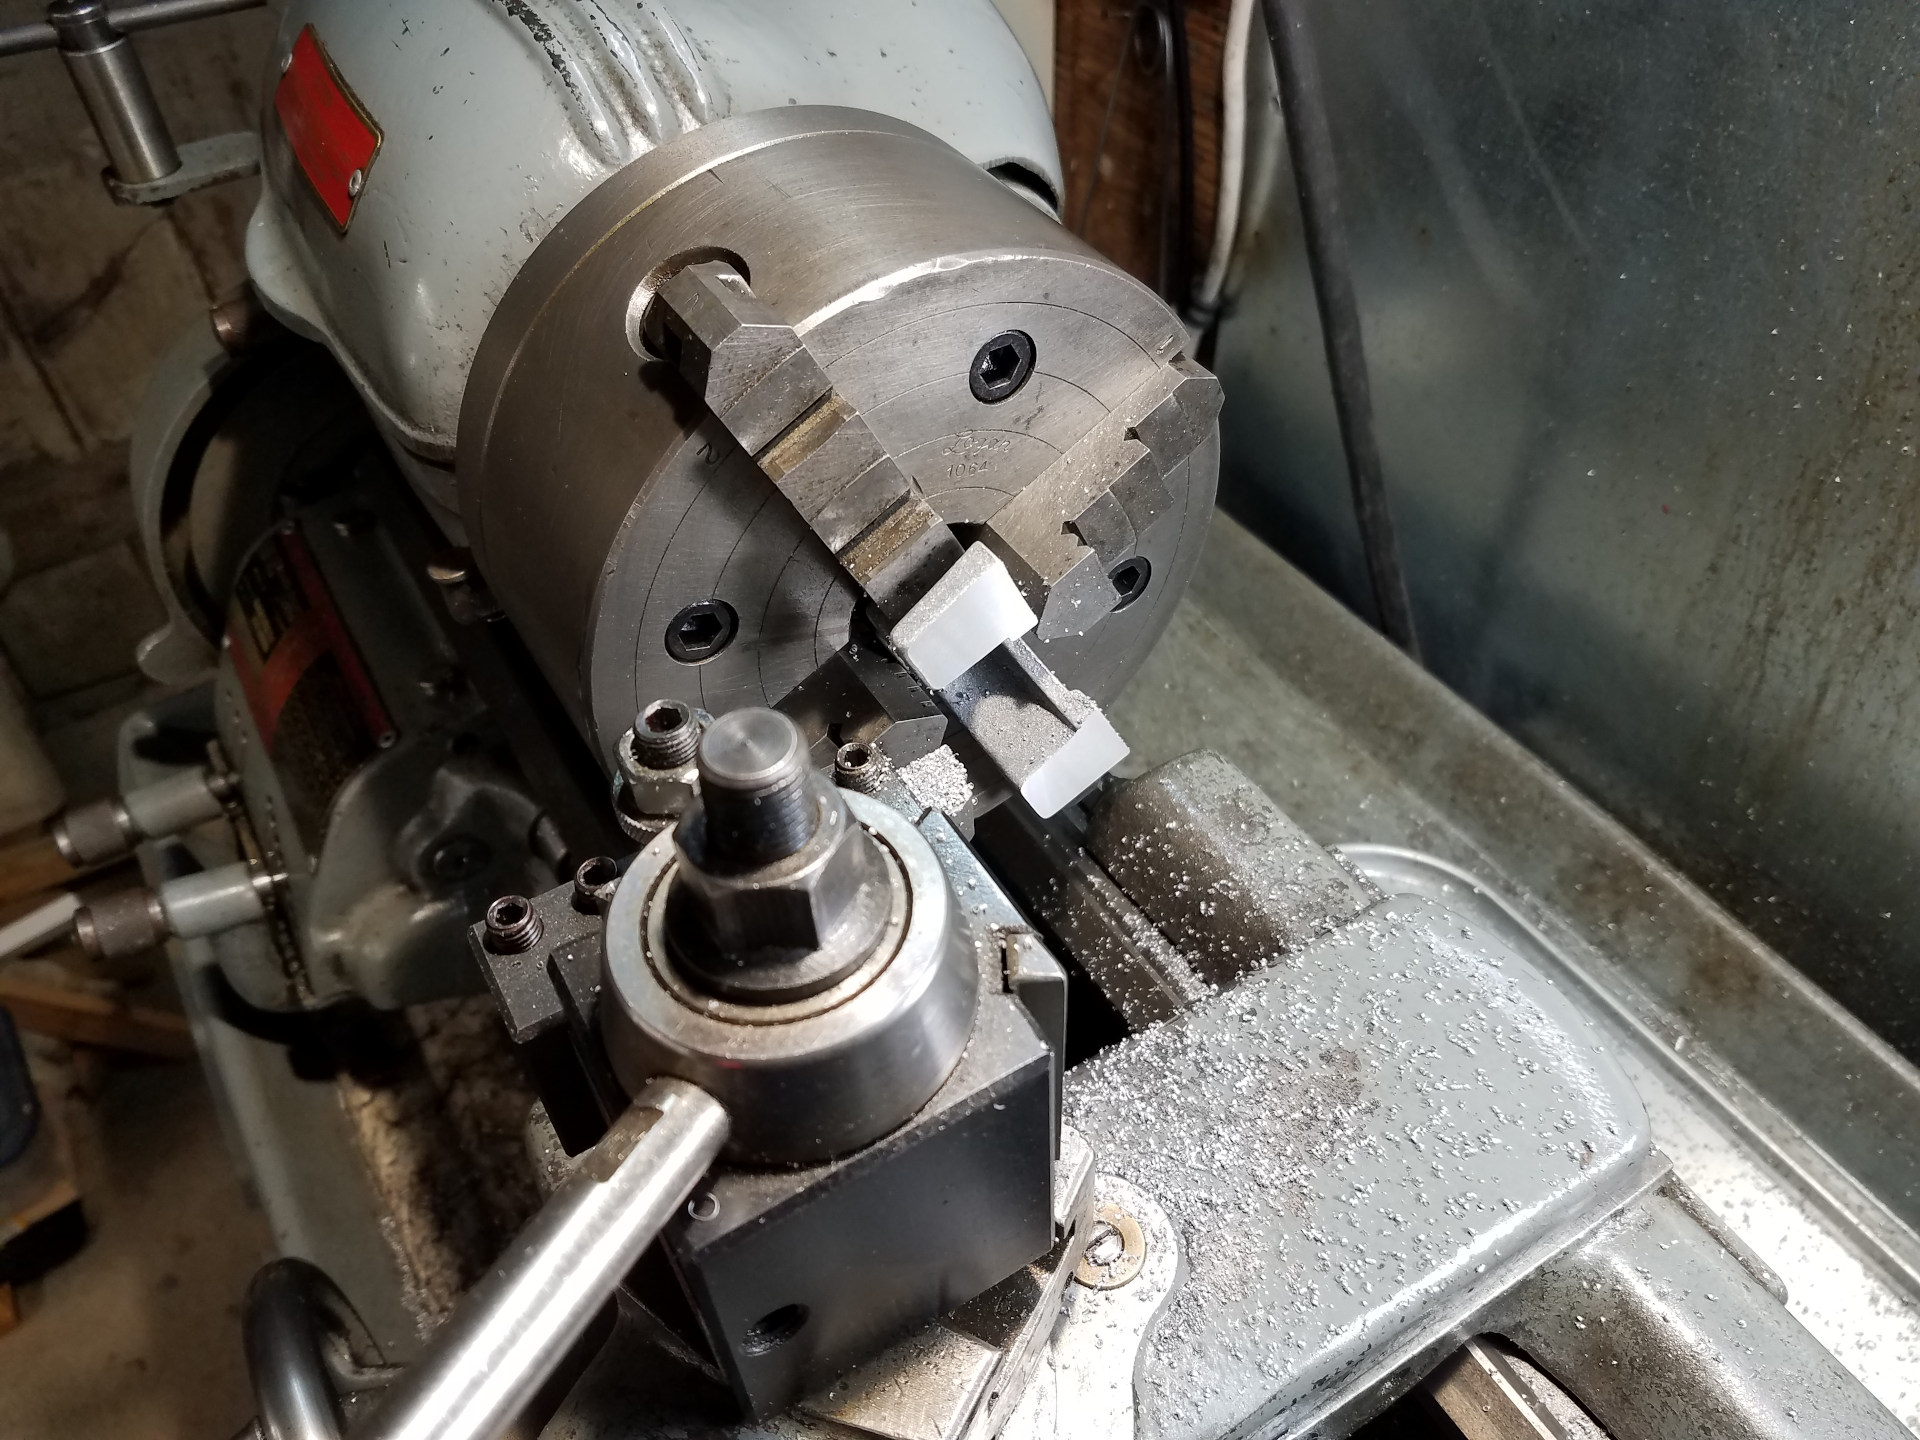
It seemed that the easiest way to clean-up the bottom of the frame casting was to hold it in the 4 jaw chuck and use the lathe.
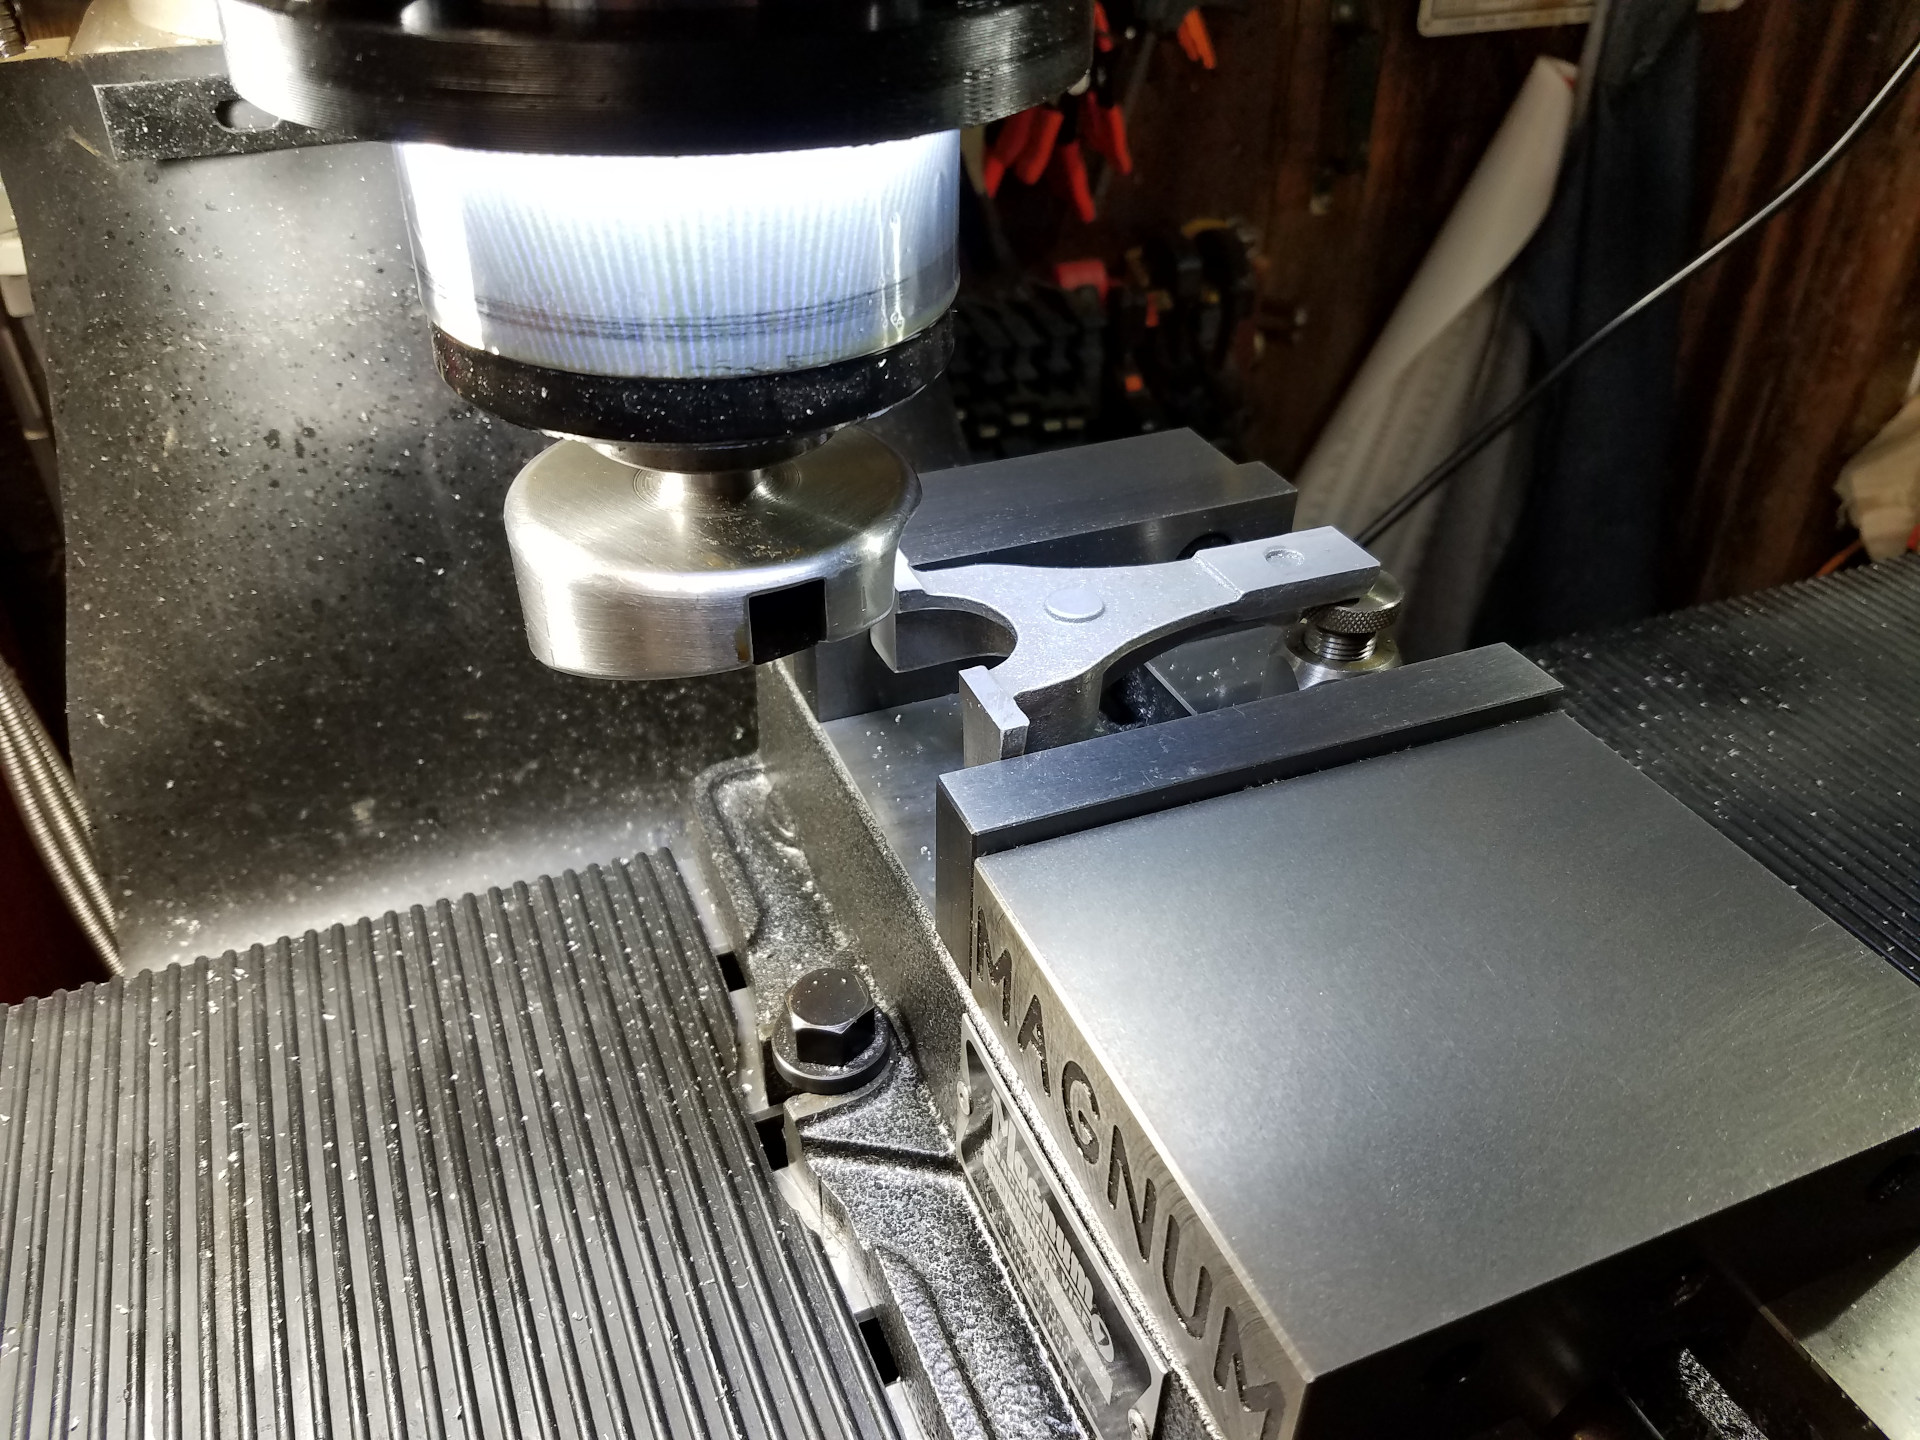
After making sure the bottom of the frame was perpendicular to the vise by using a square against the feet, the two pads in the main casting were then faced off with a fly cutter.
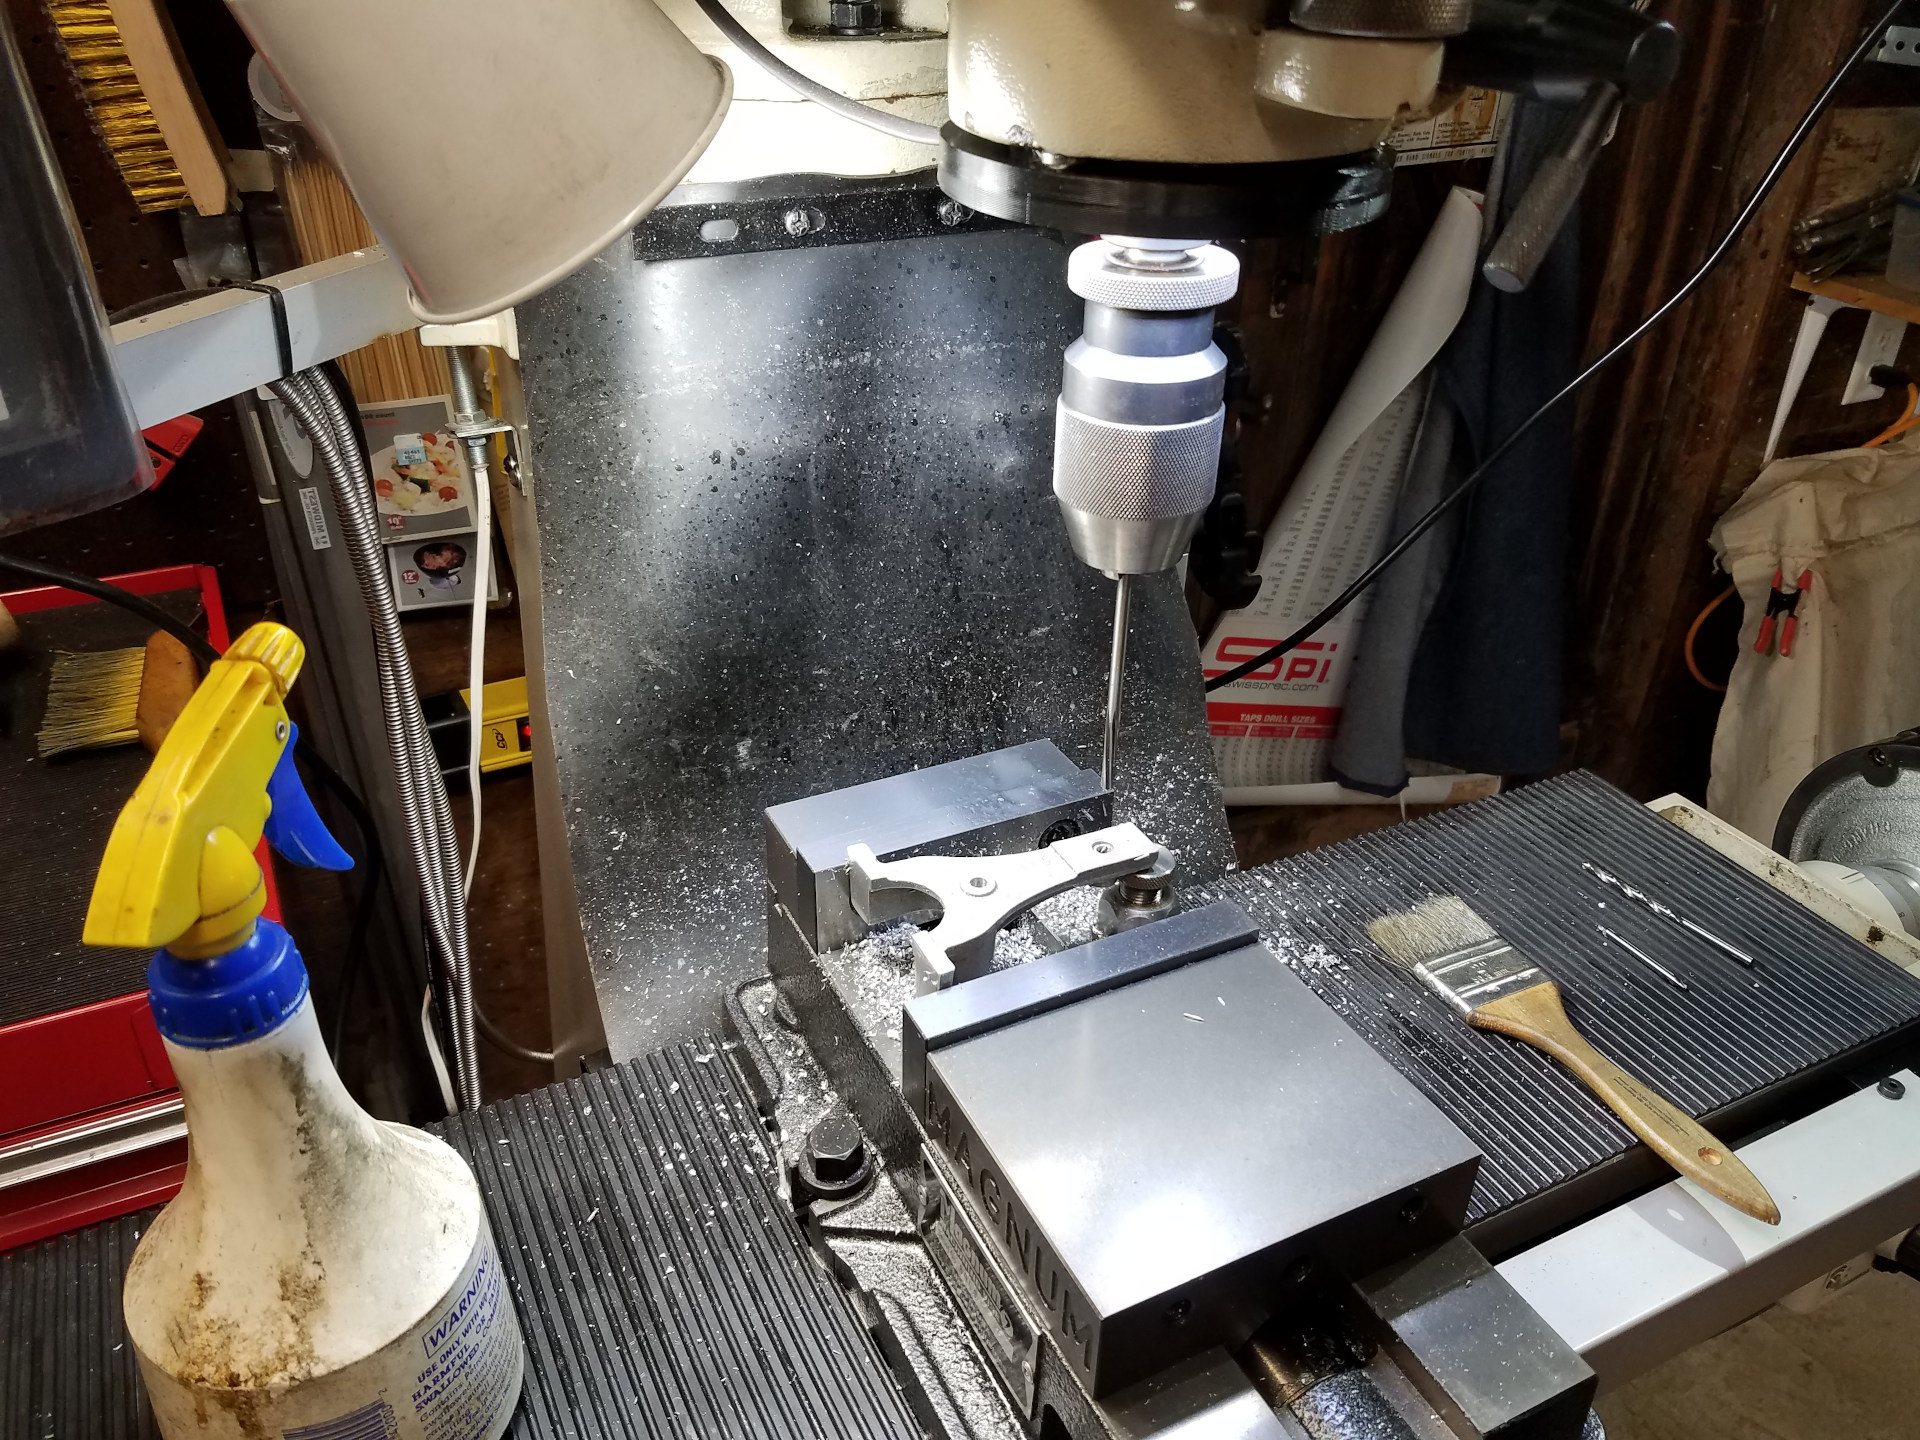
Then the holes for the flywheel axle and cylinder pivot shaft where drilled and reamed while using the same setup. It's critical that these holes are absolutely perpendicular with the frame face that the cylinder will turn against.
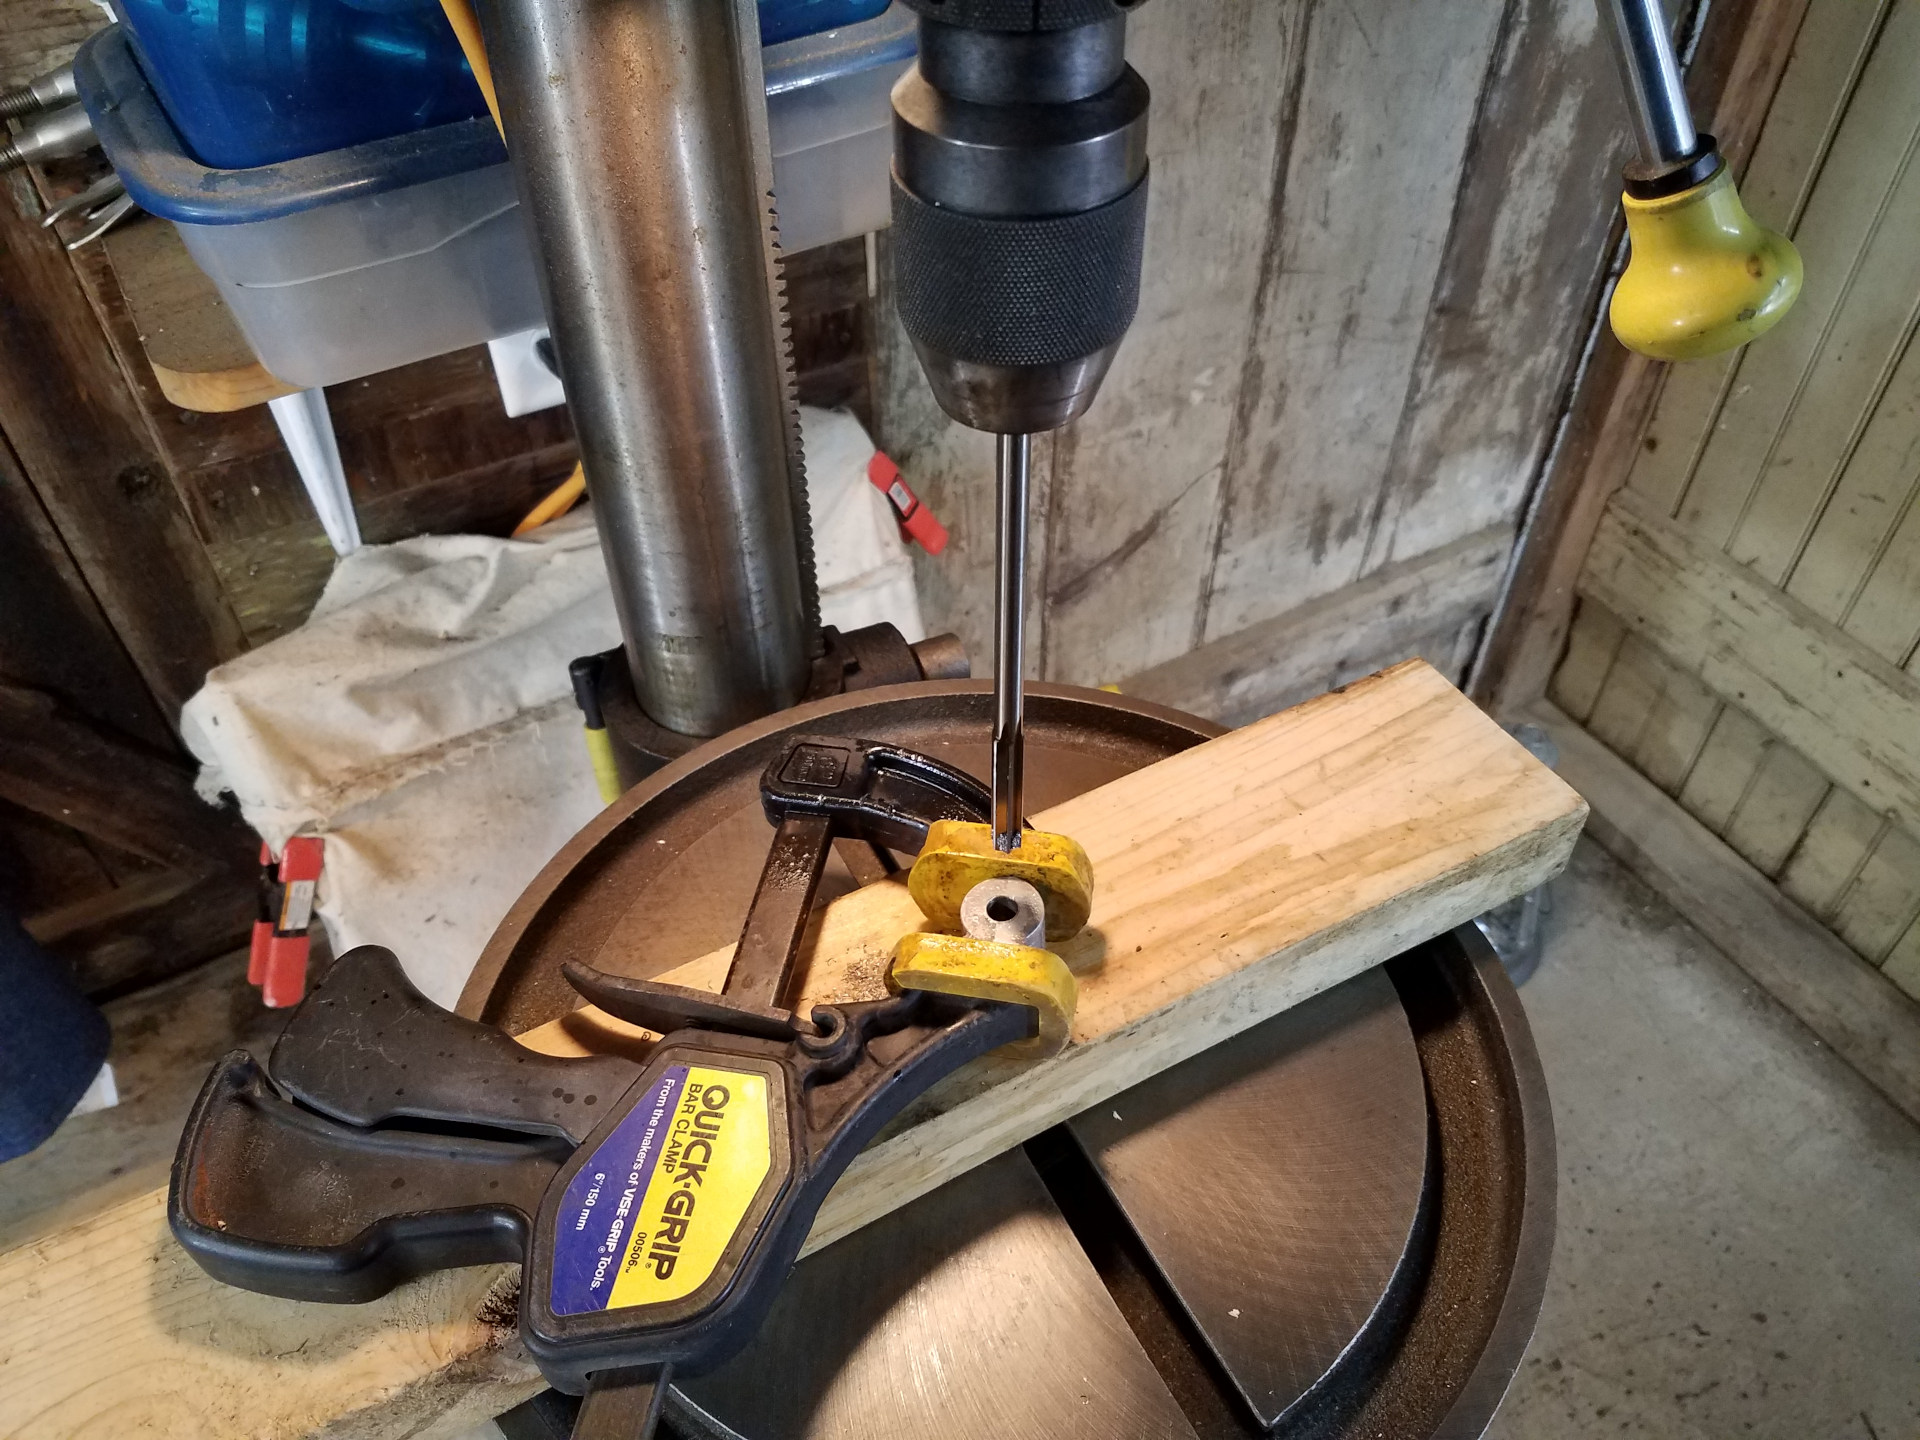
The core hole in the cylinder looked well placed, so a reamer was used to open it slightly to accept a dowel pin that will provide a datum for the next operations. The dowel pin needs to have a good fit to be useful.
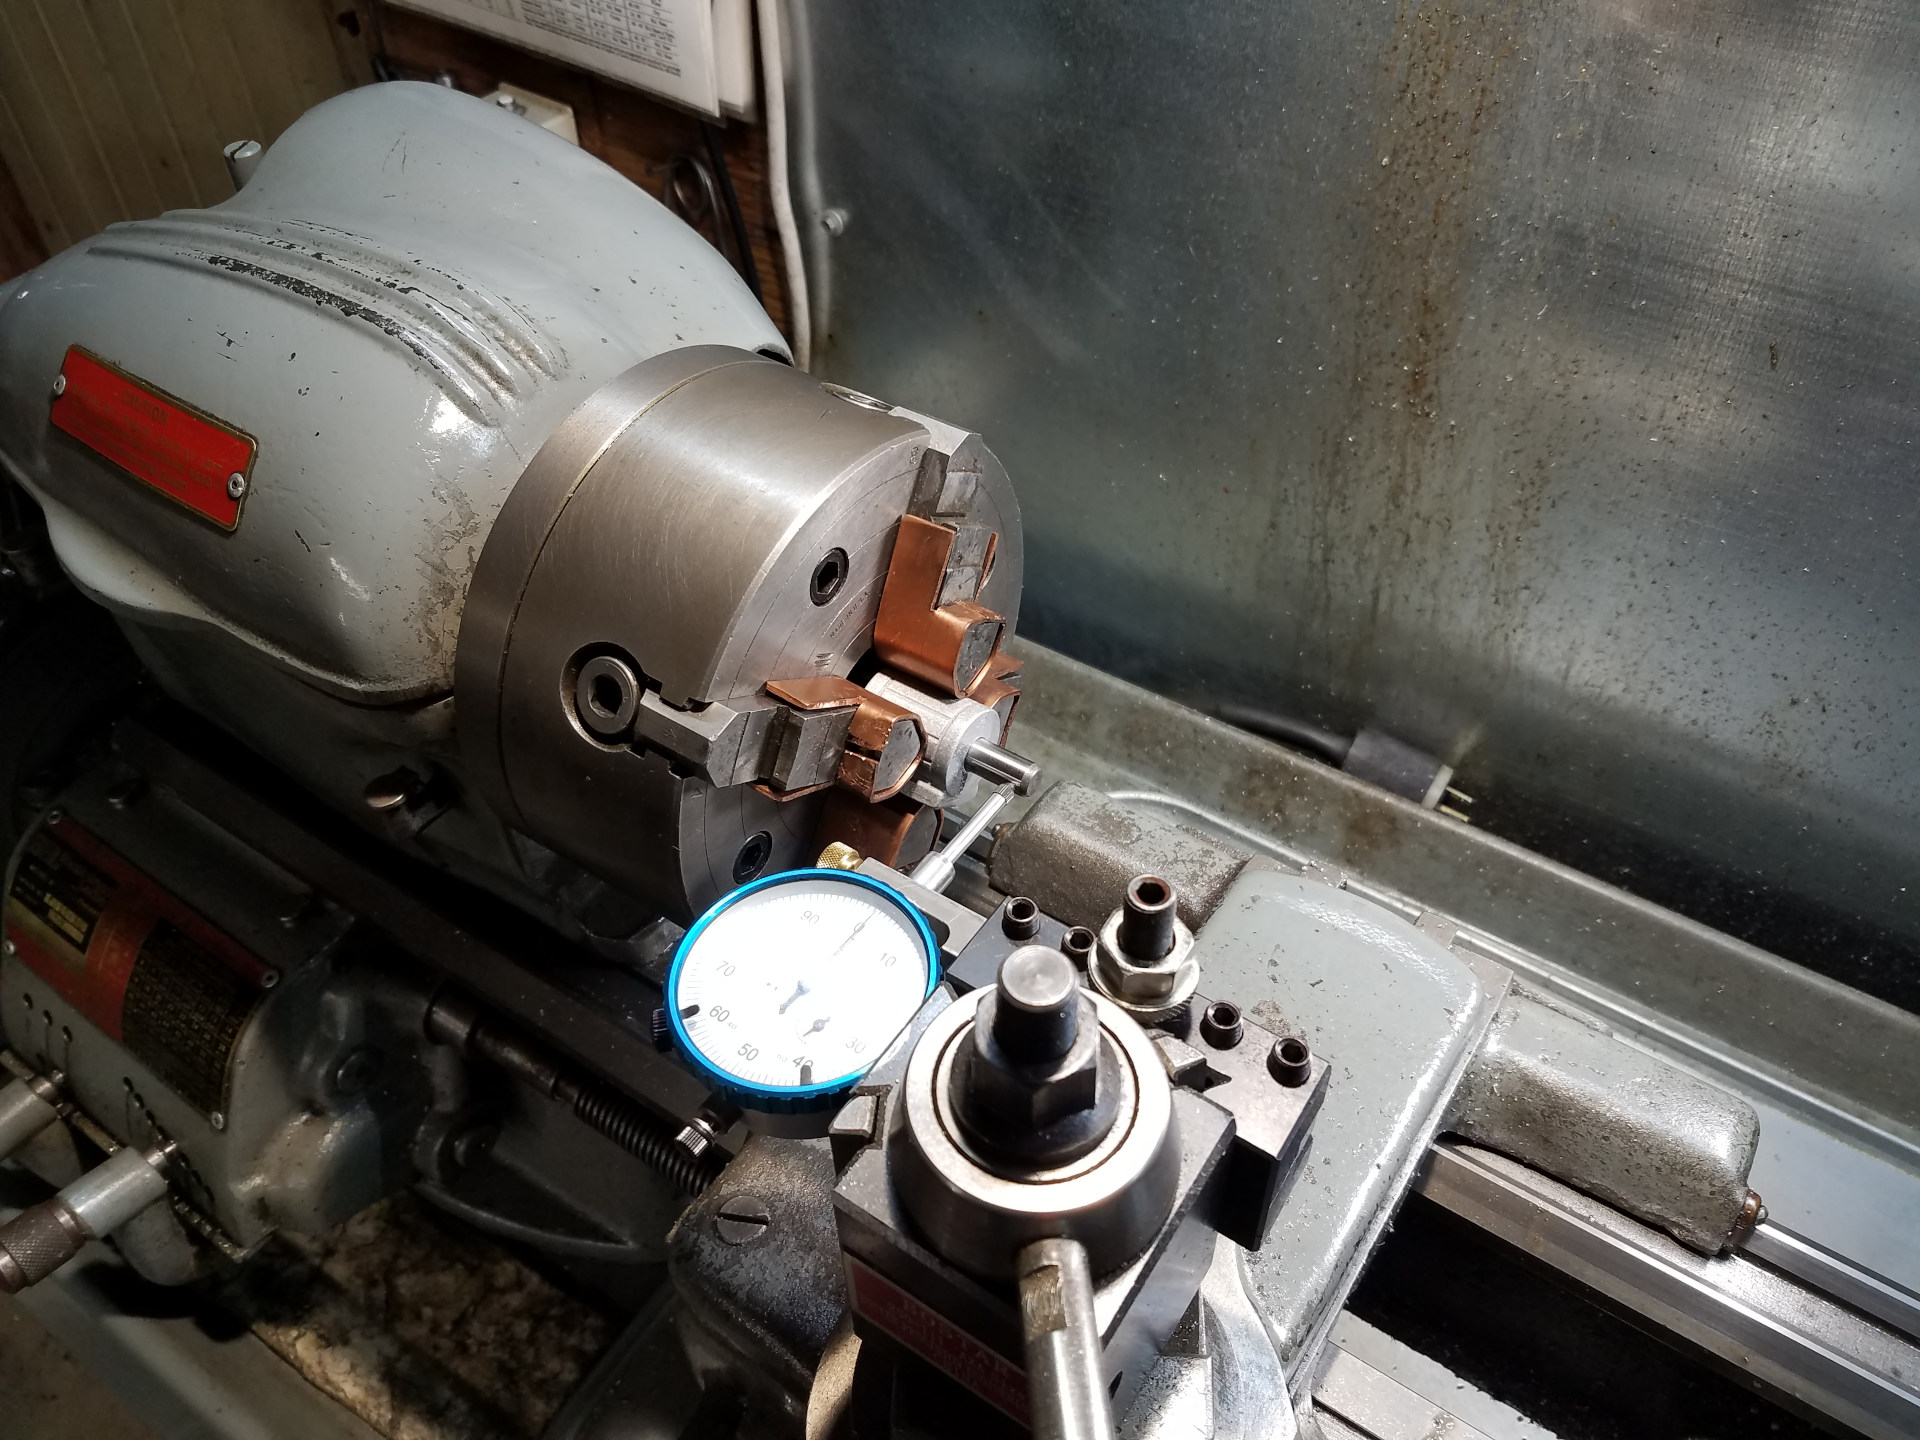
Here the dowel pin is used to align the cylinder in the 4 jaw chuck.
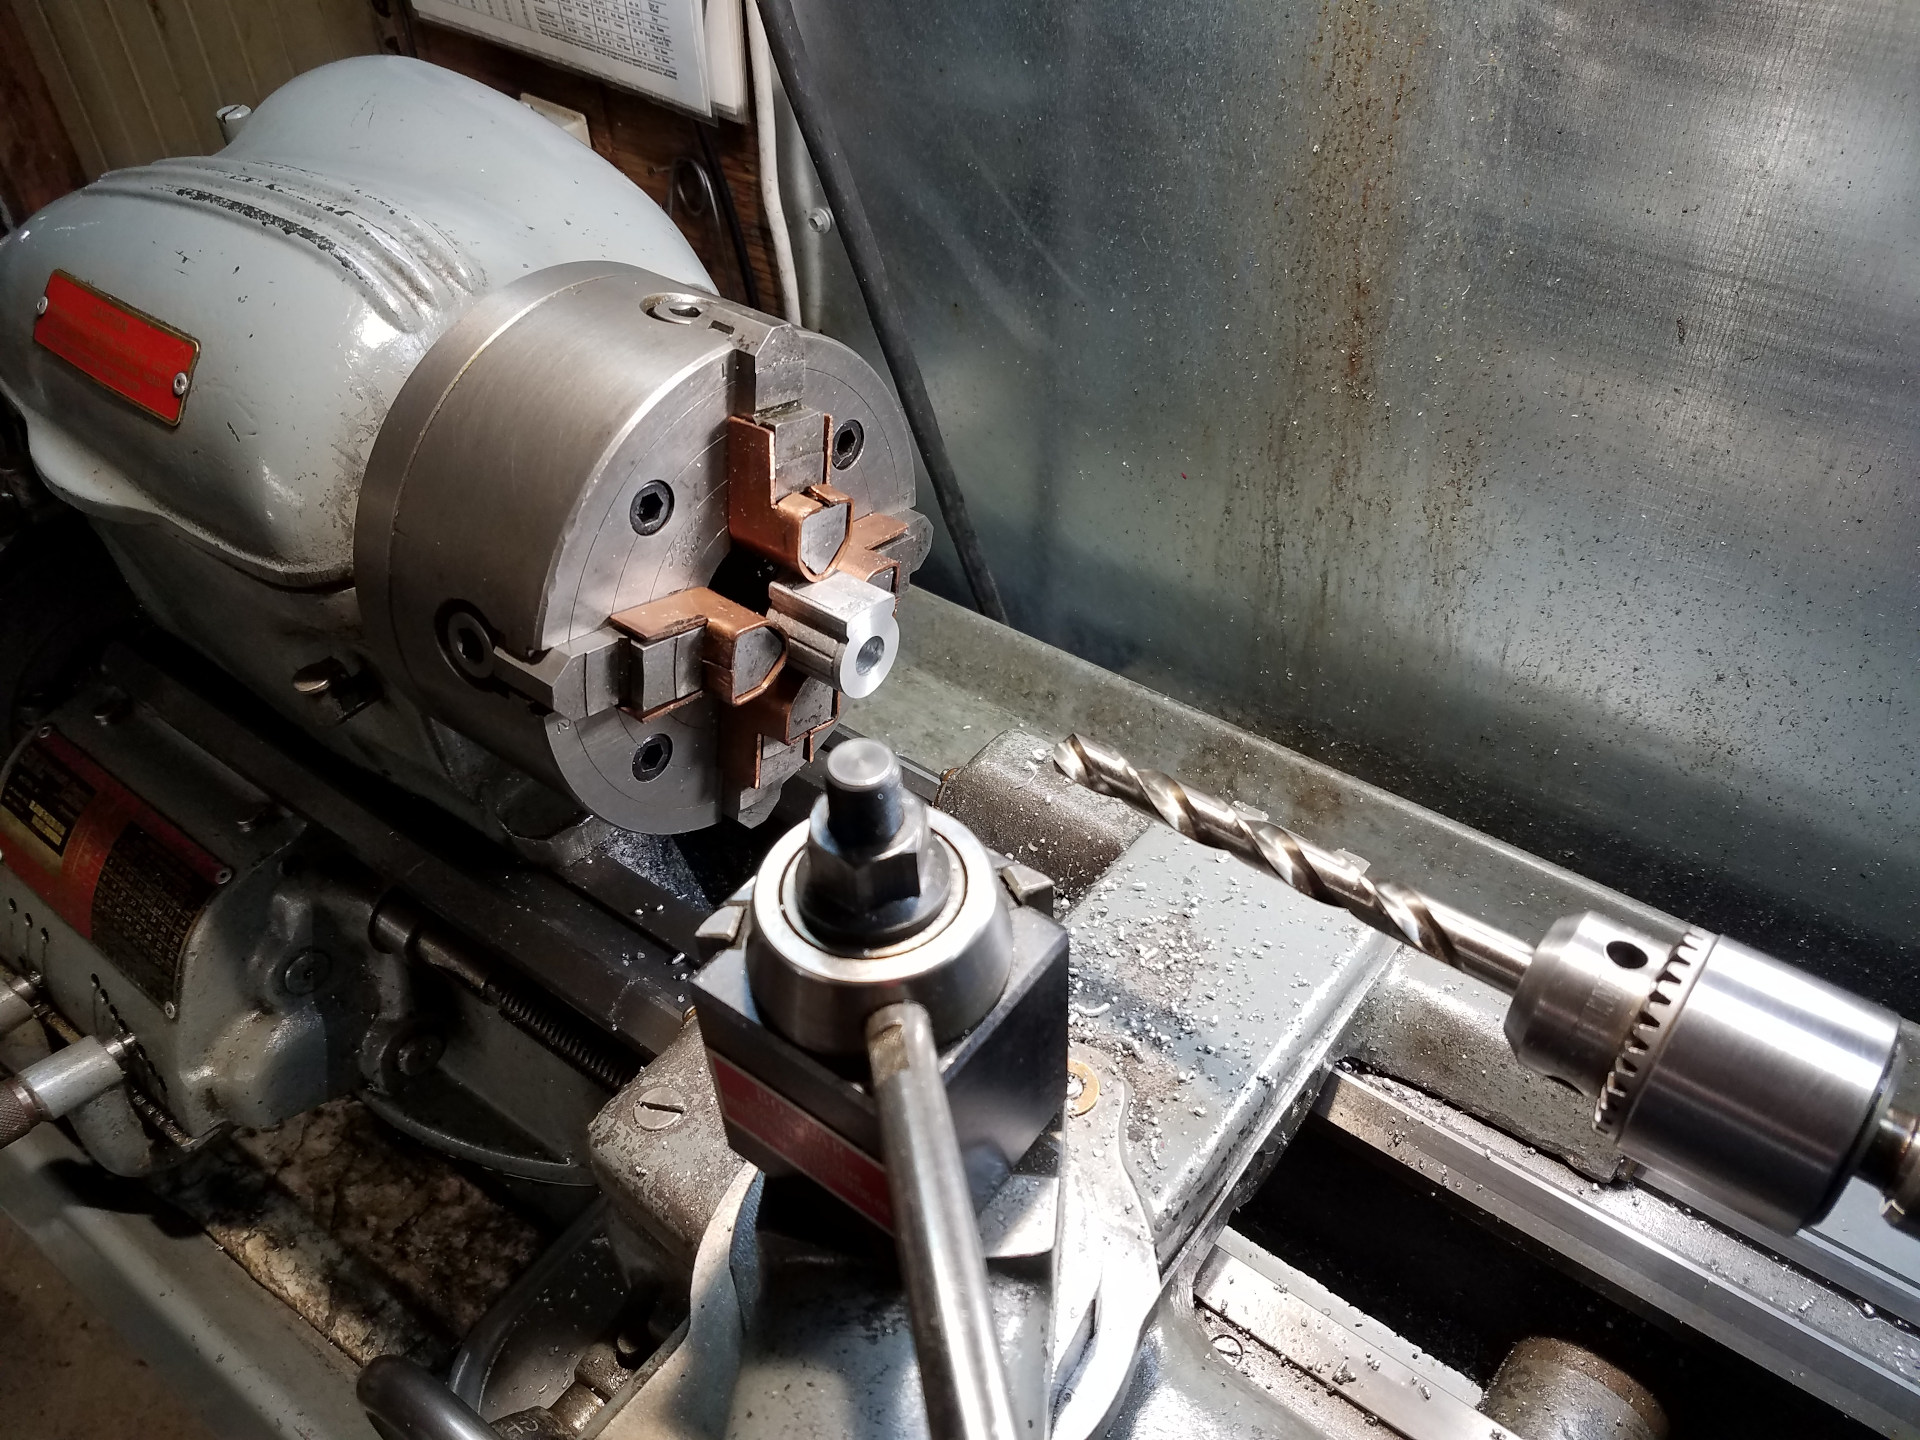
After the cylinder had been faced on both sides, the hole in the cylinder is drilled and reamed to it's final size for the piston.
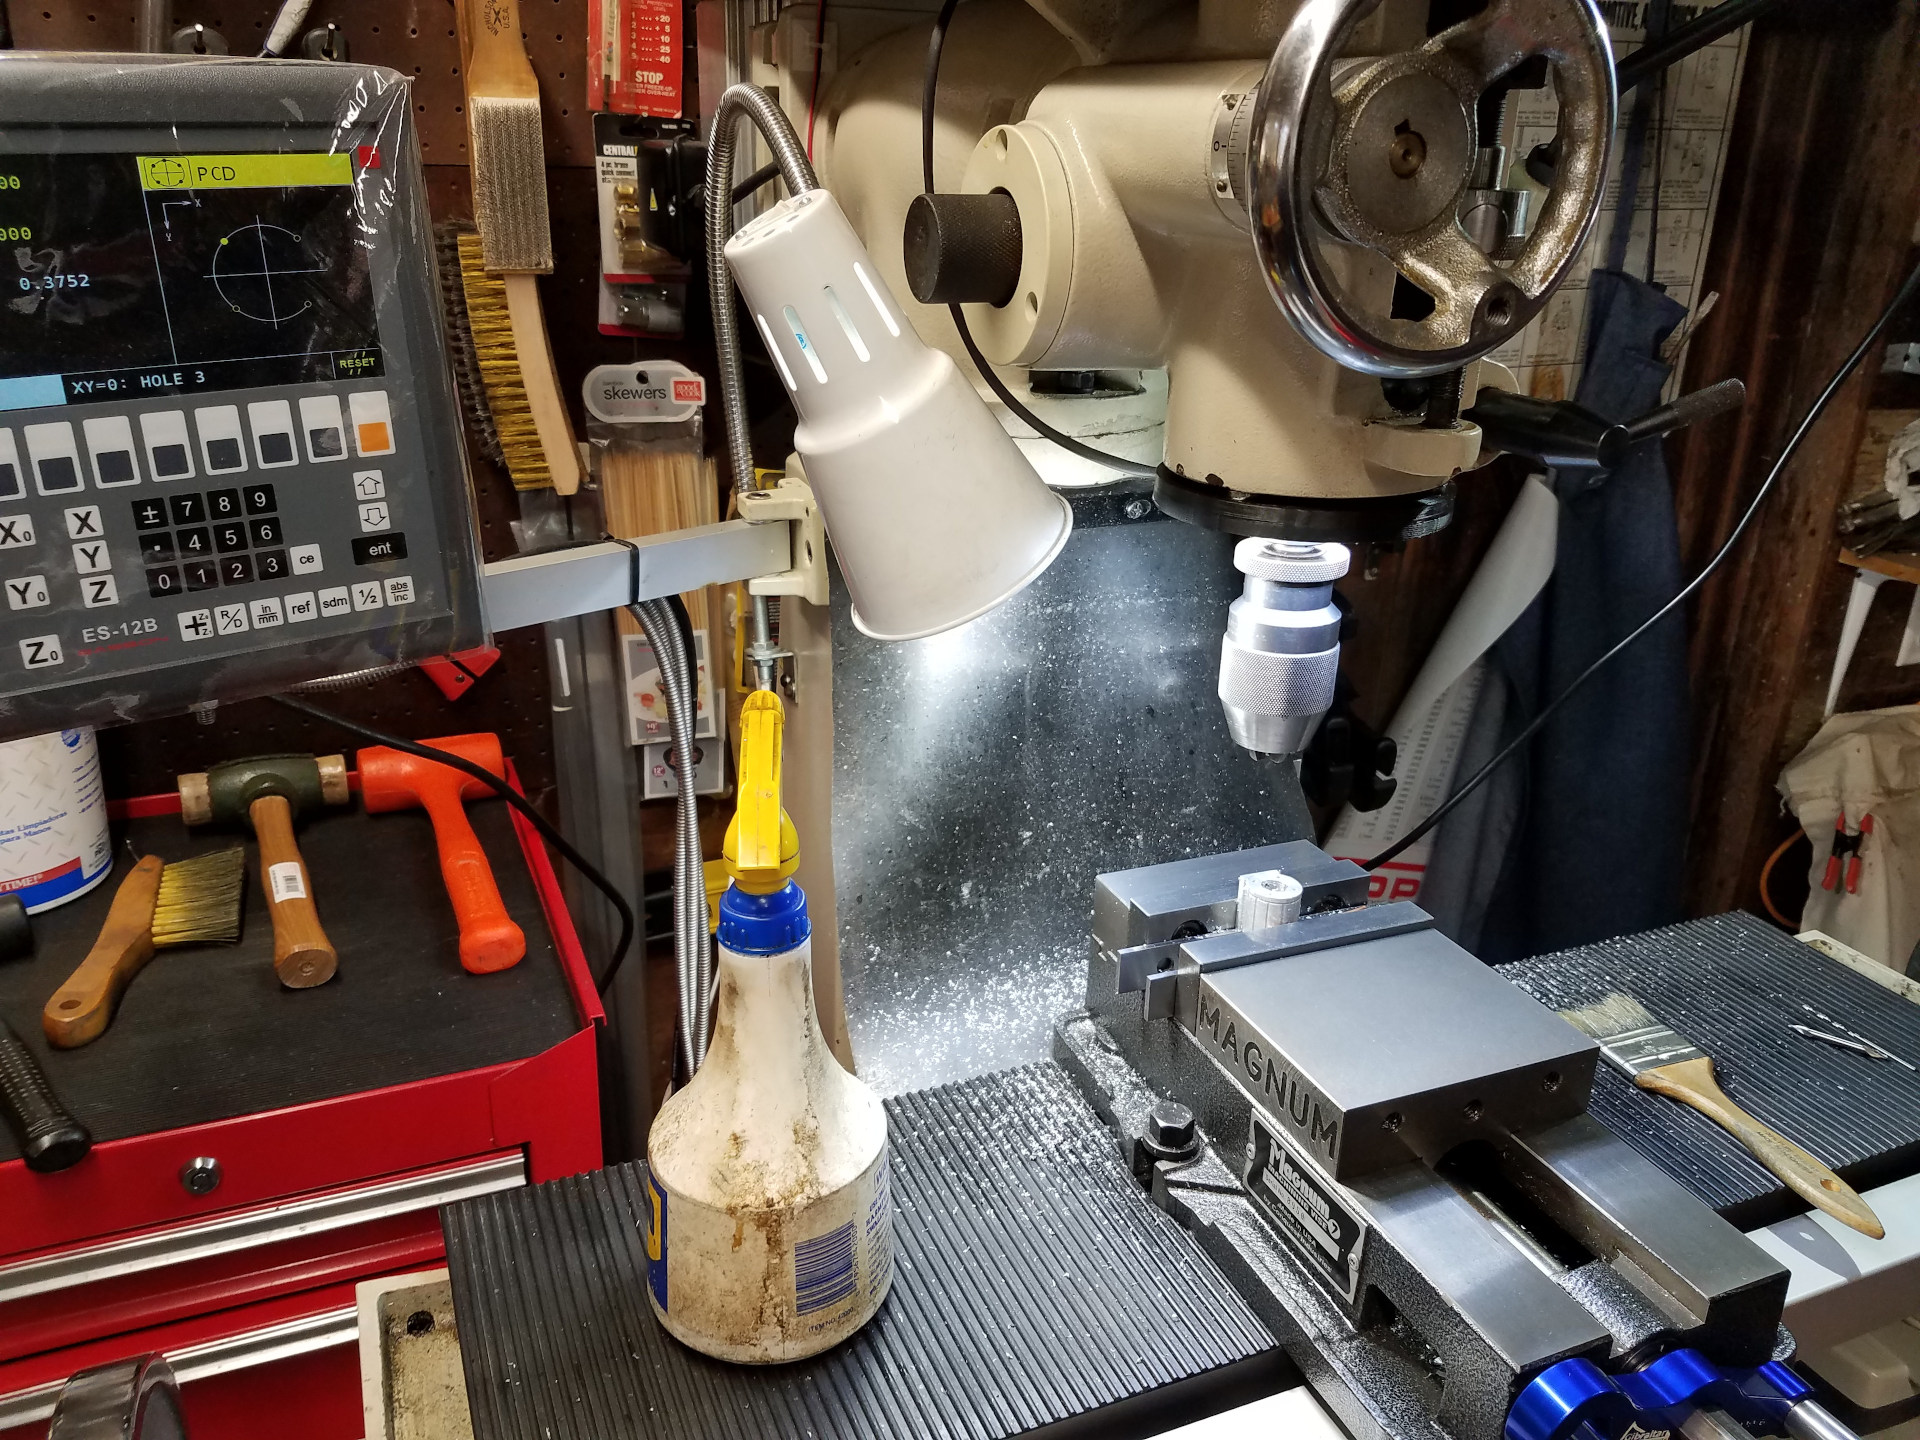
Next the cylinder was moved to the mill to drill and tap the holes for the bolts that fasten the cylinder covers to the cylinder using the DRO's bolt circle function.
The steam engine build will continue with the next article.