In this article construction of the boring head ball turner will be completed. Mr Swash came up with a clever idea for the tool's cutter by using a RCMT 0602 carbide insert which are available at a very reasonable cost with a lathe tool holder. Since this insert is round it seems to work well with the arc cutting motion of the tool. Also, a small video is included showing the ball turner in action.
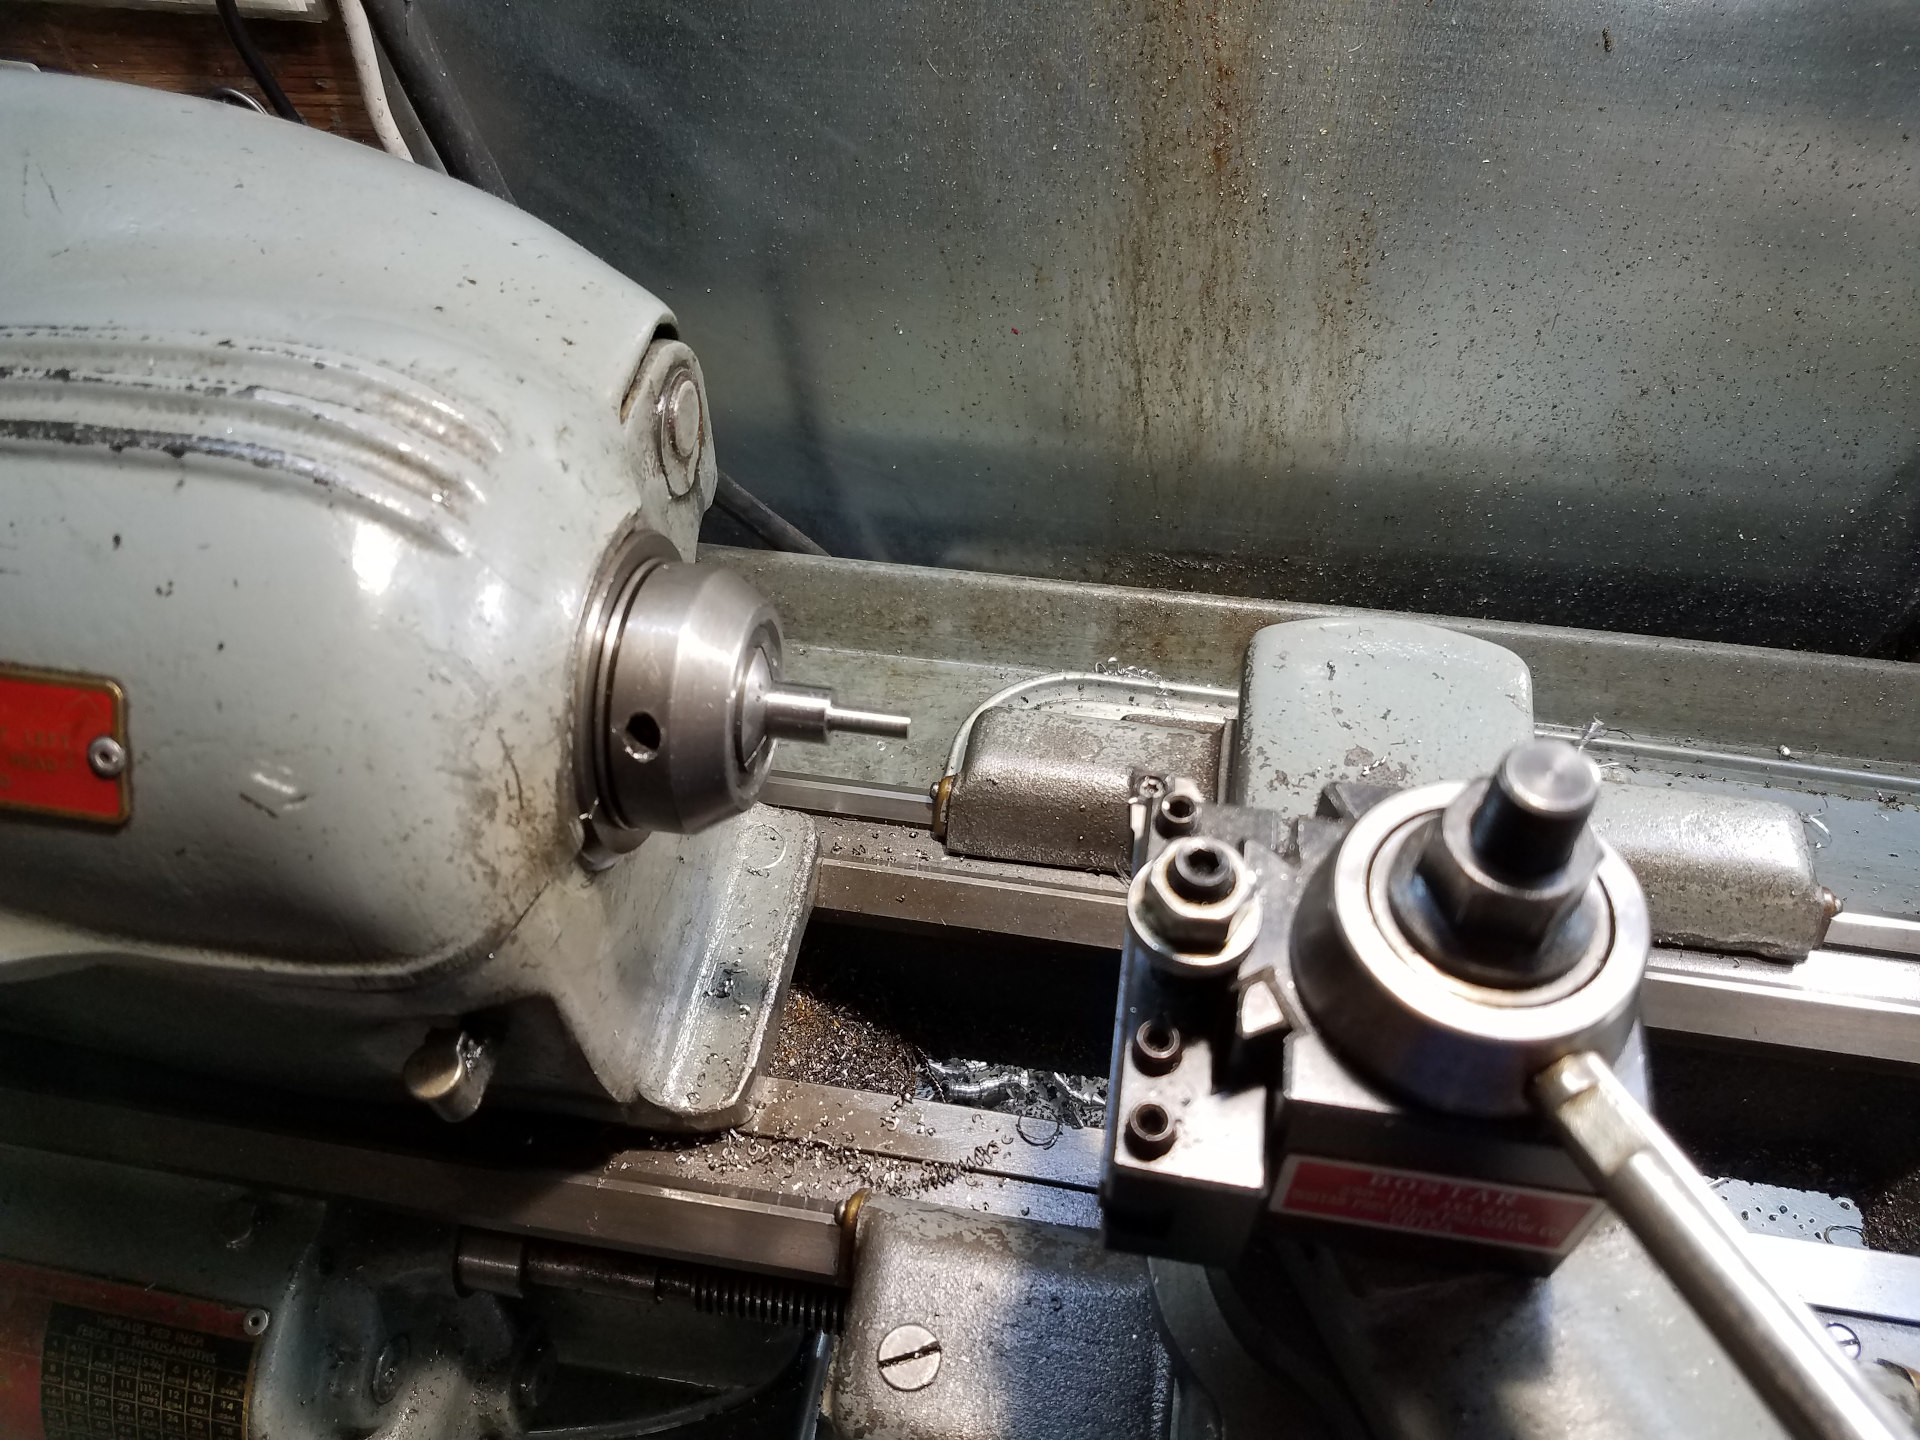
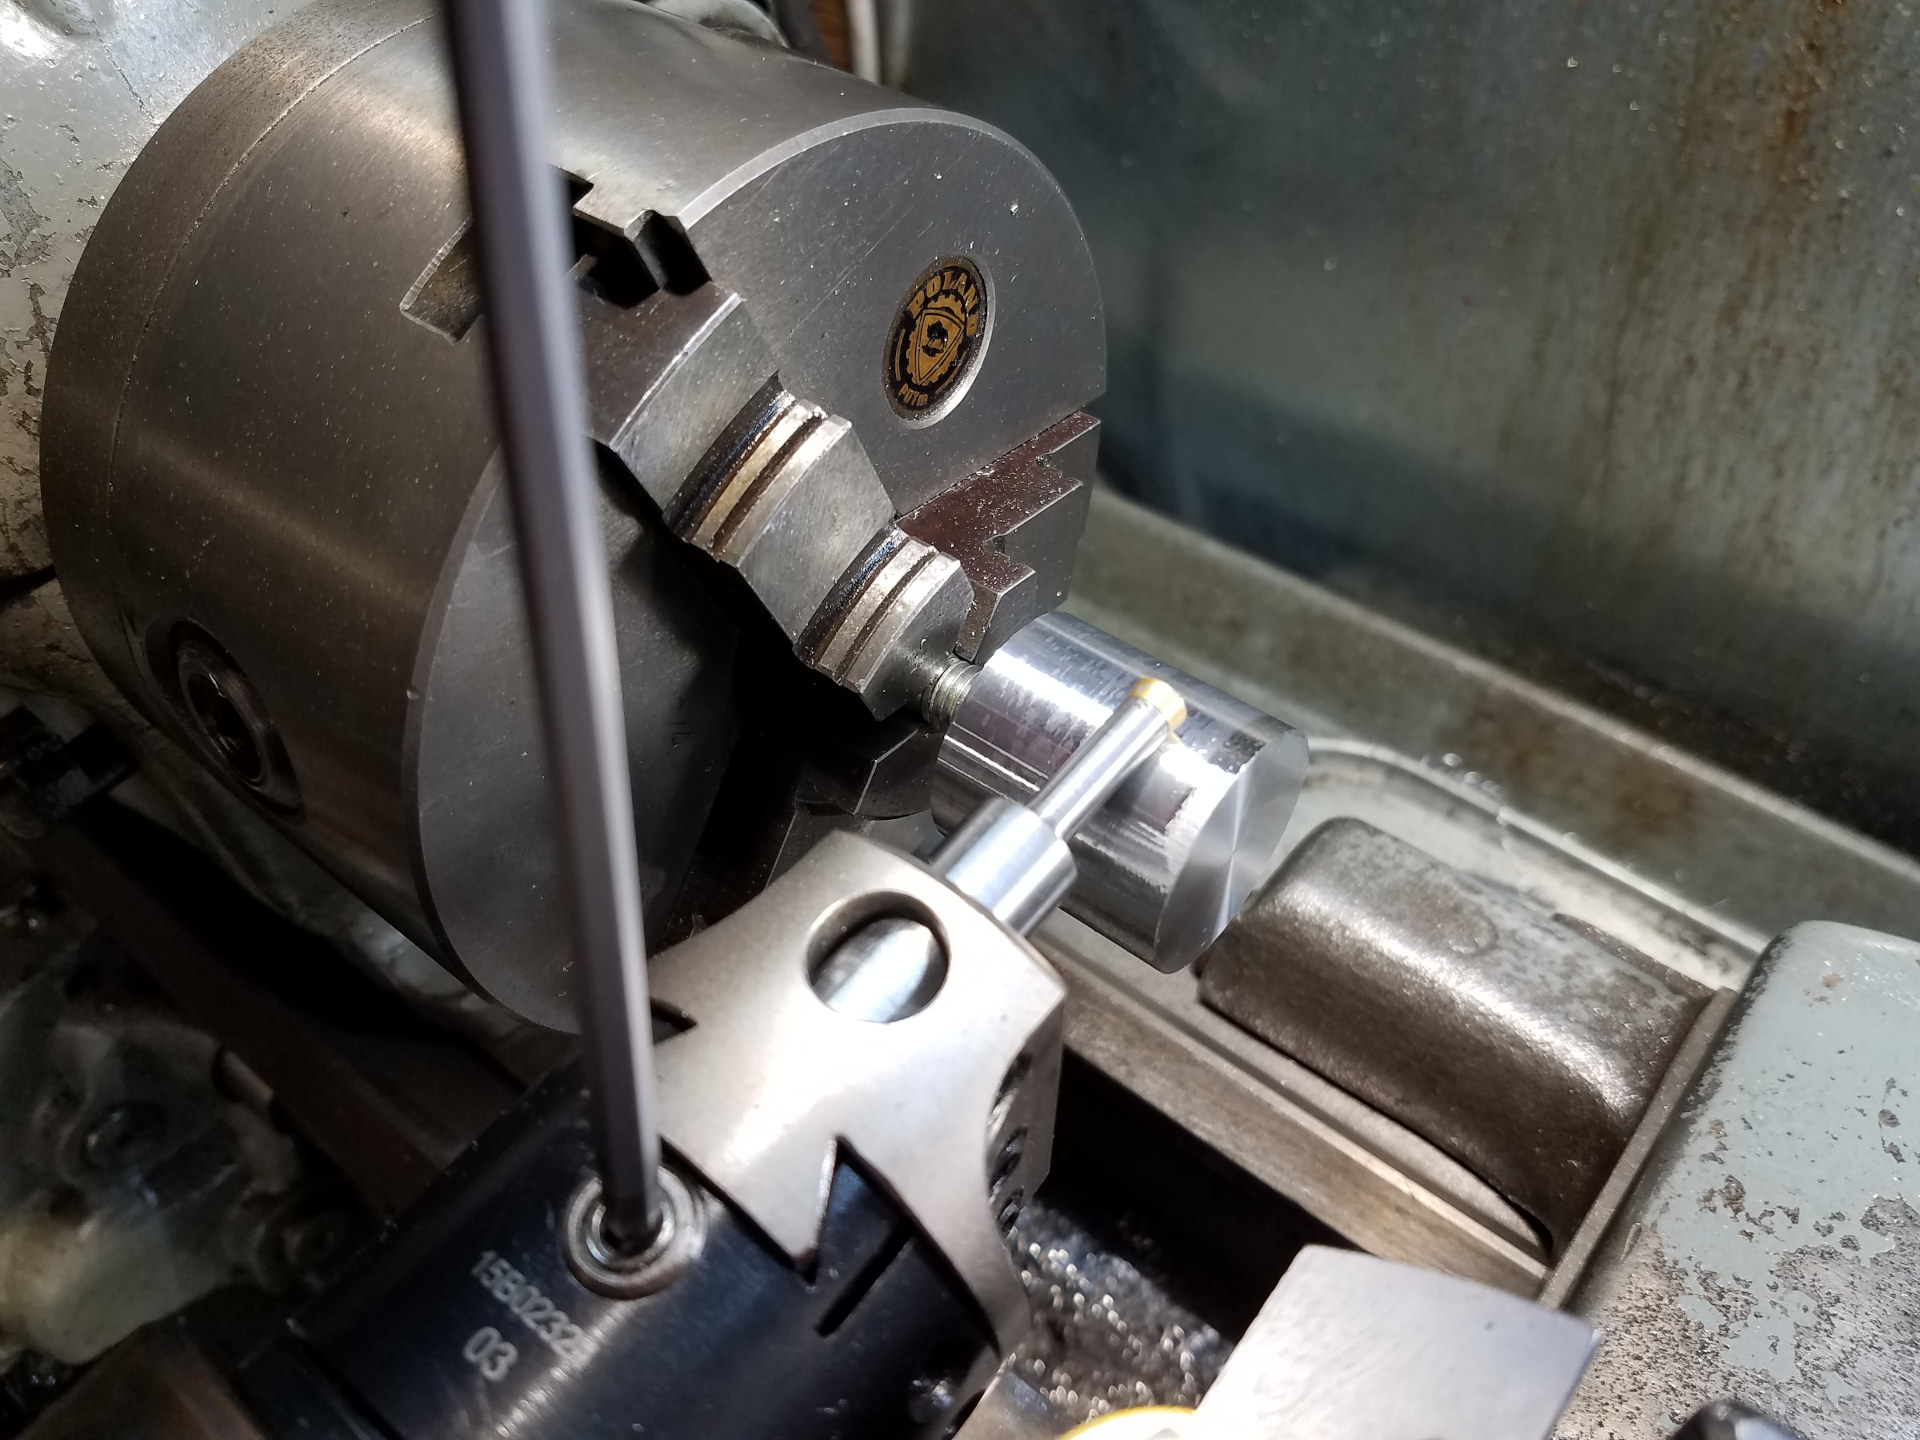
The insert holder will be made out of 1/2" drill rod. Here I'm starting the machining.

In the QCTP is the lathe tool that came with the pack of RCMT 0602 carbide inserts. Here the tool is used to turn a radius into the insert holder. This radius tool is handy enough that it earned a permanent place in one of the lathe's QCTP tool holders.
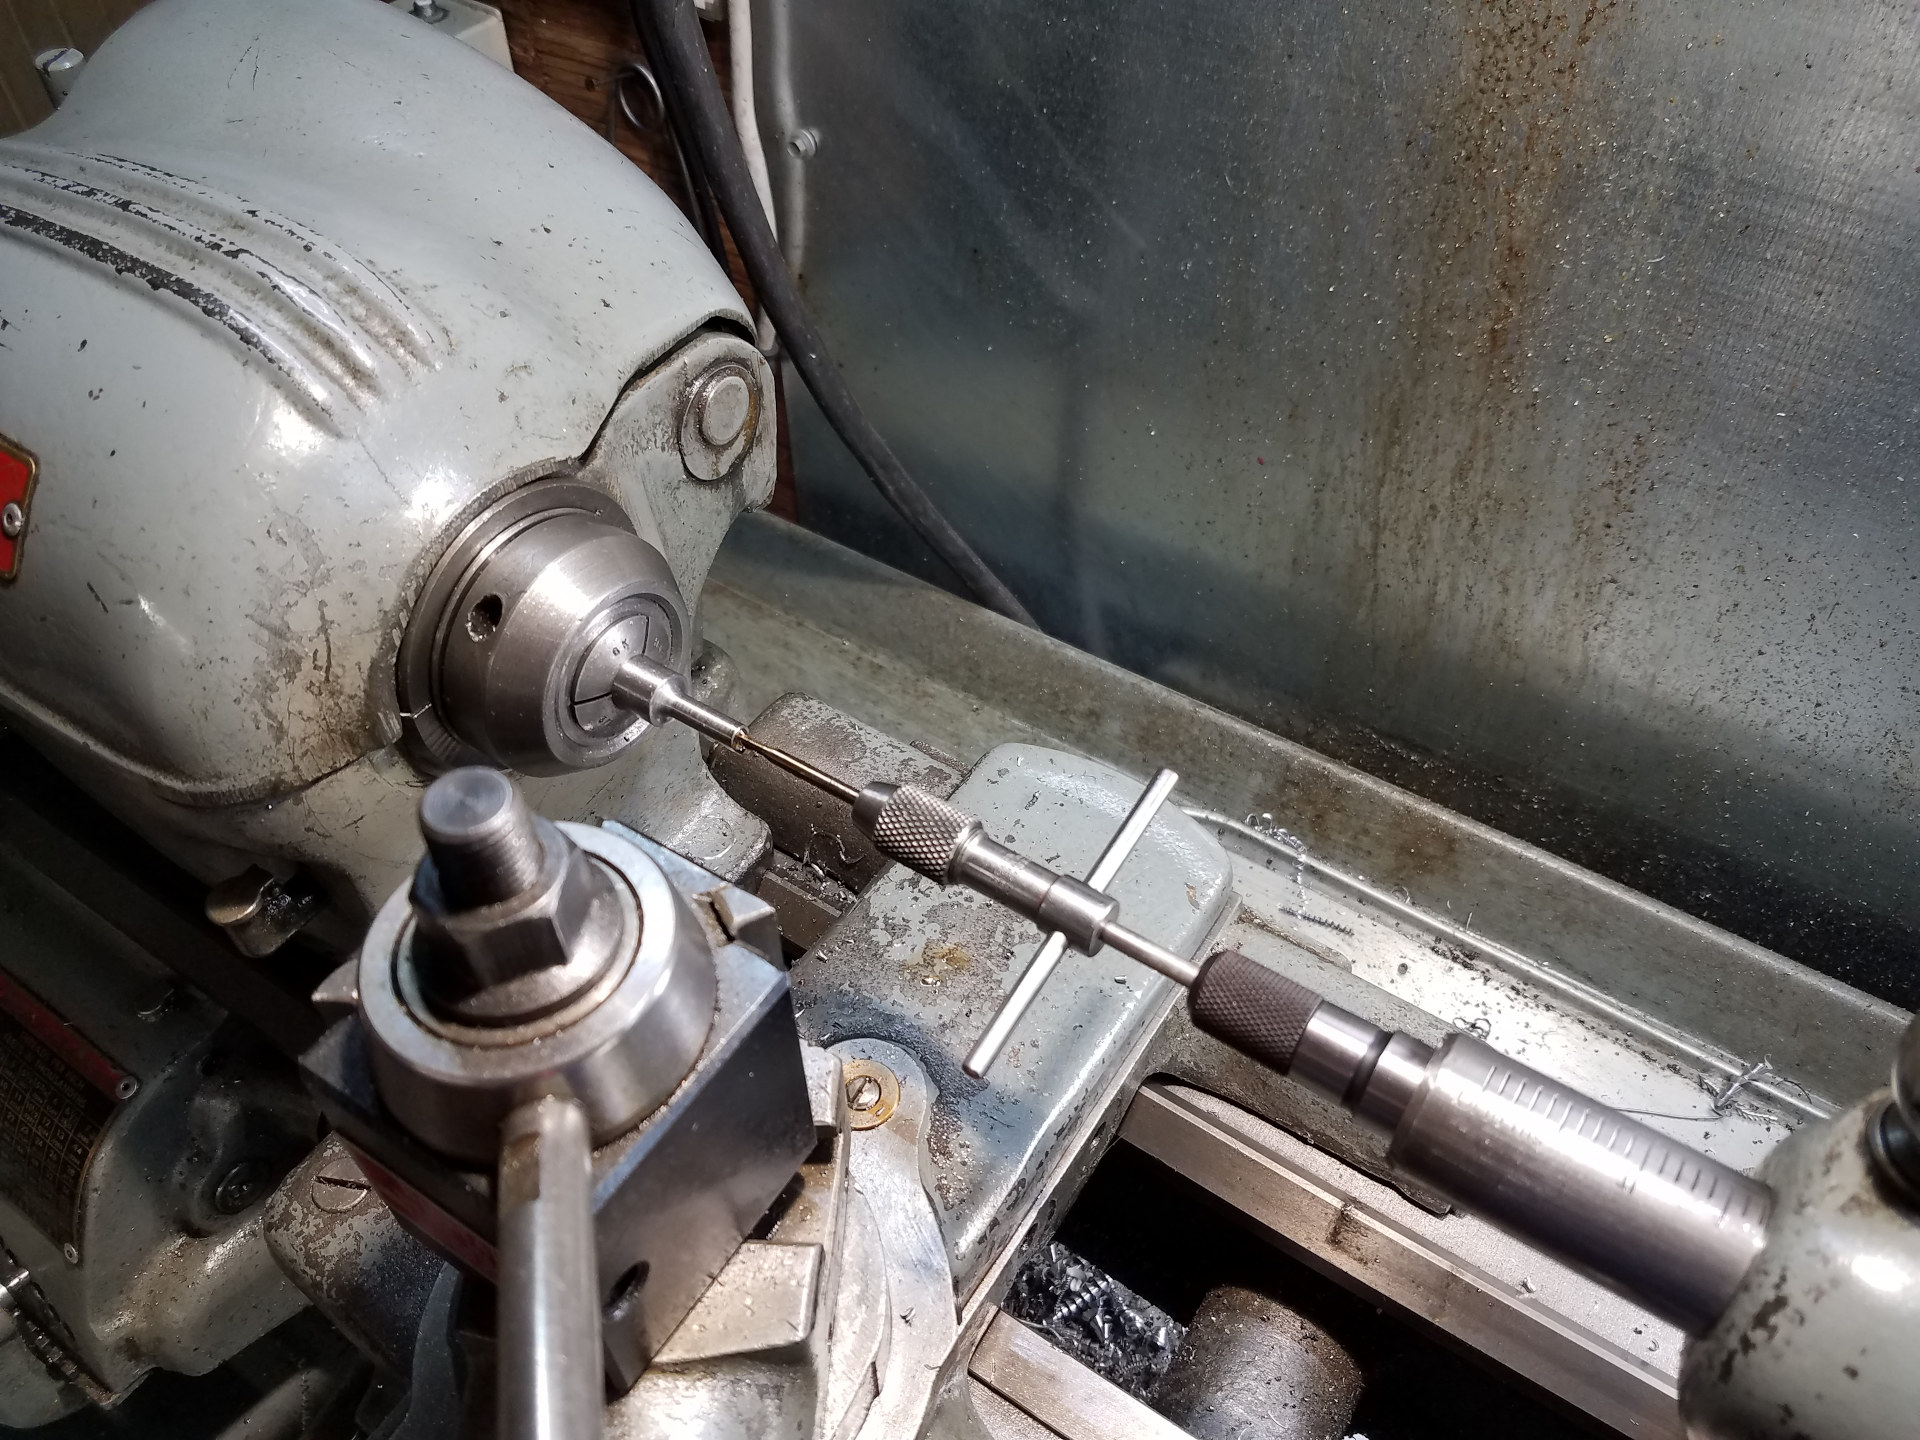
Tapping the hole at the end of the insert holder for the insert screw. I always keep a few insert screws in stock, because if you only have the one in the tool you will surely lose it.

The completed cutter with carbide insert installed. A small area for the boring head's tool set screw was milled into the insert holder as the fit of the 1/2" tool steel into the boring head is so tight that even the slightest burr will make removing the cutter very difficult.
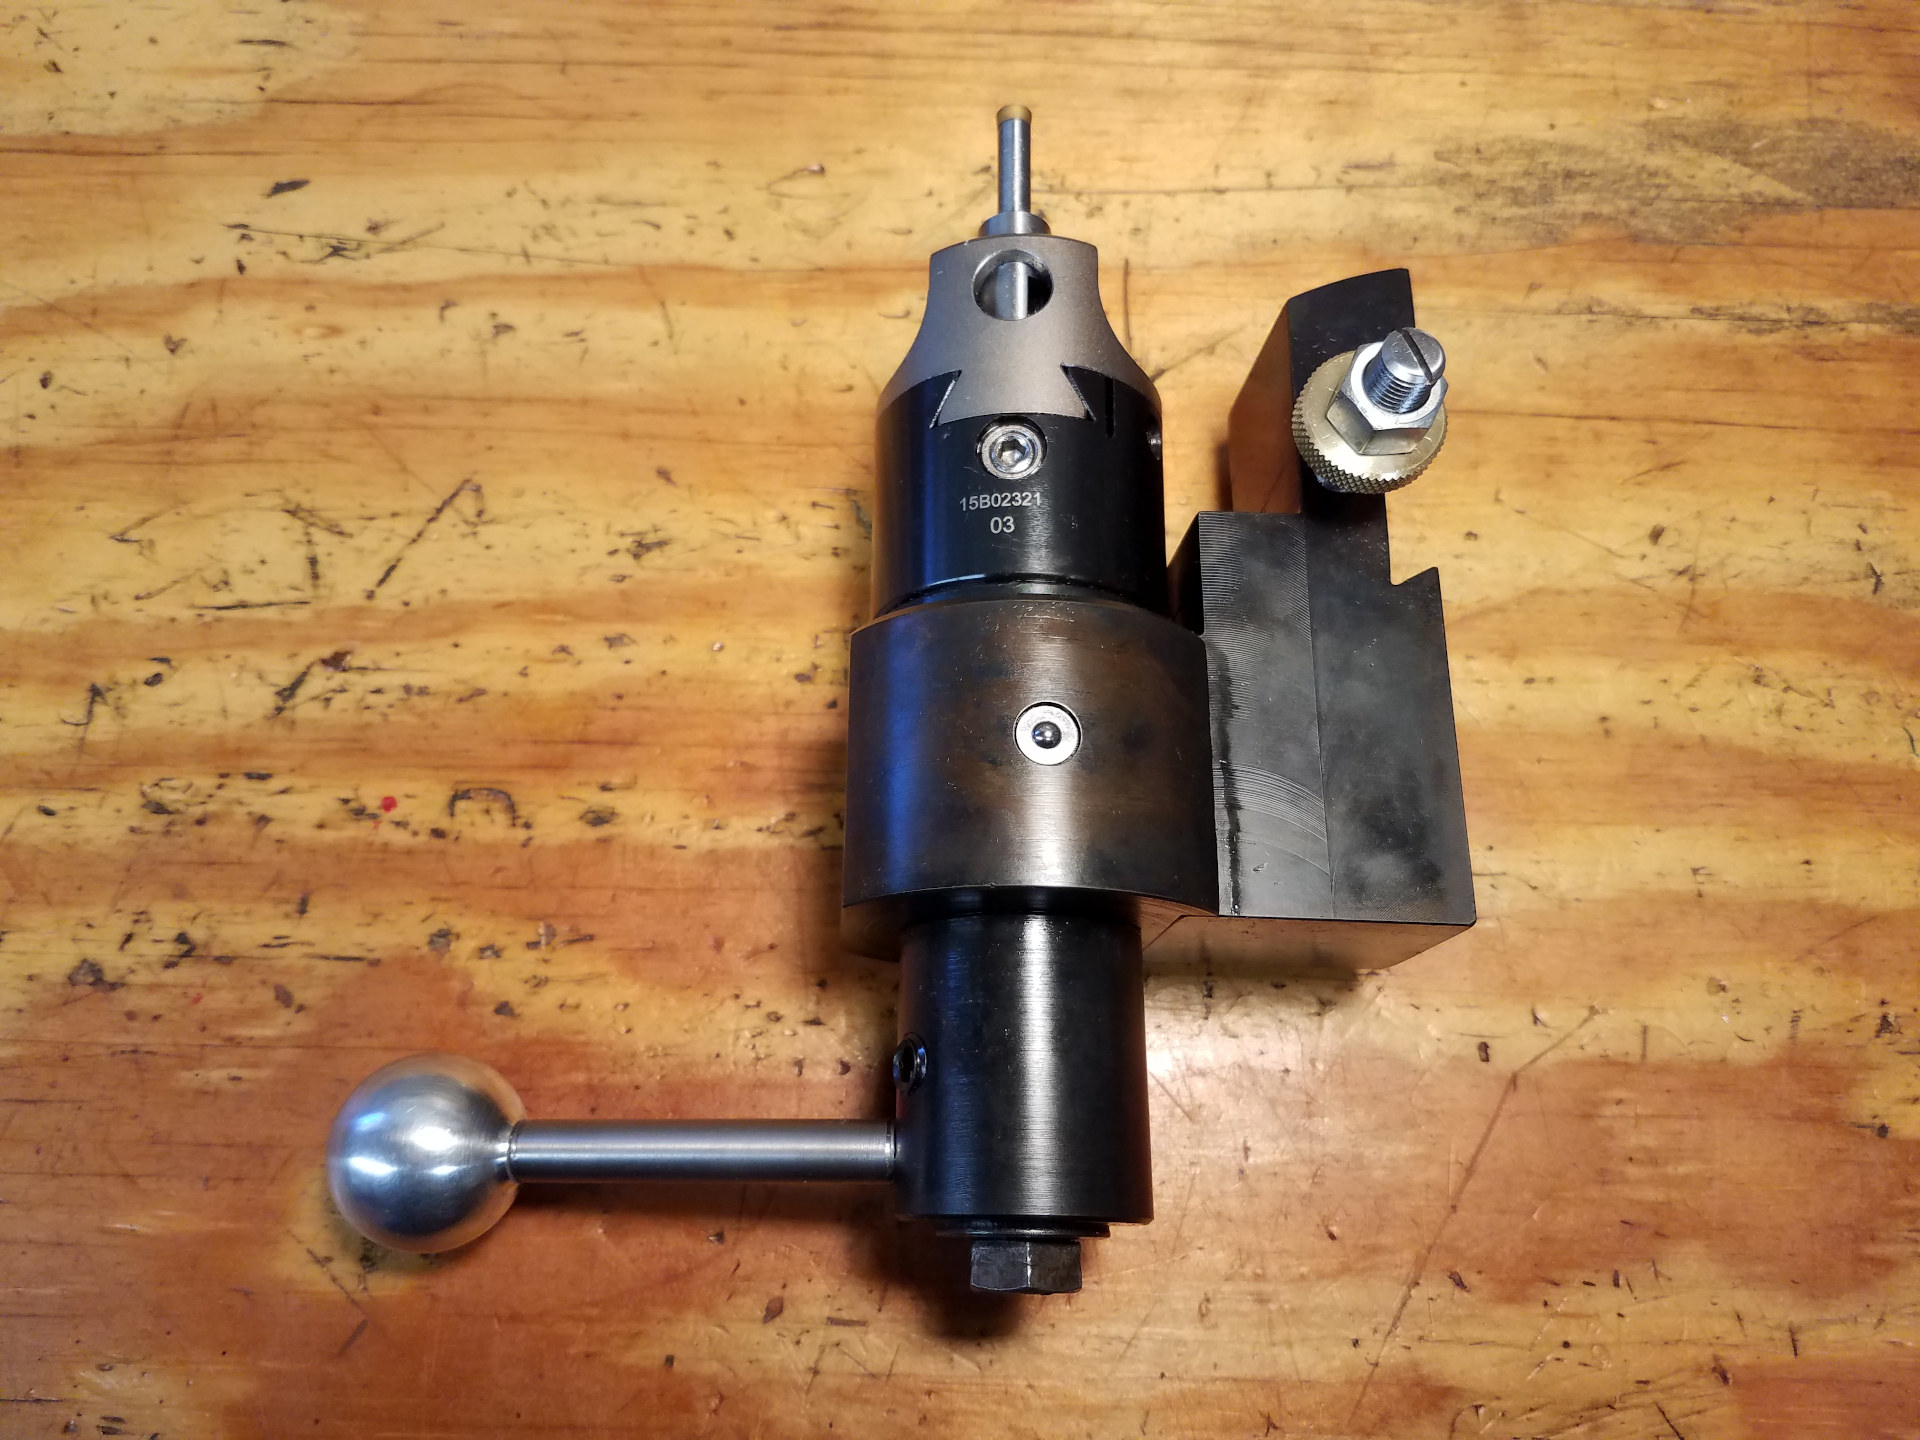
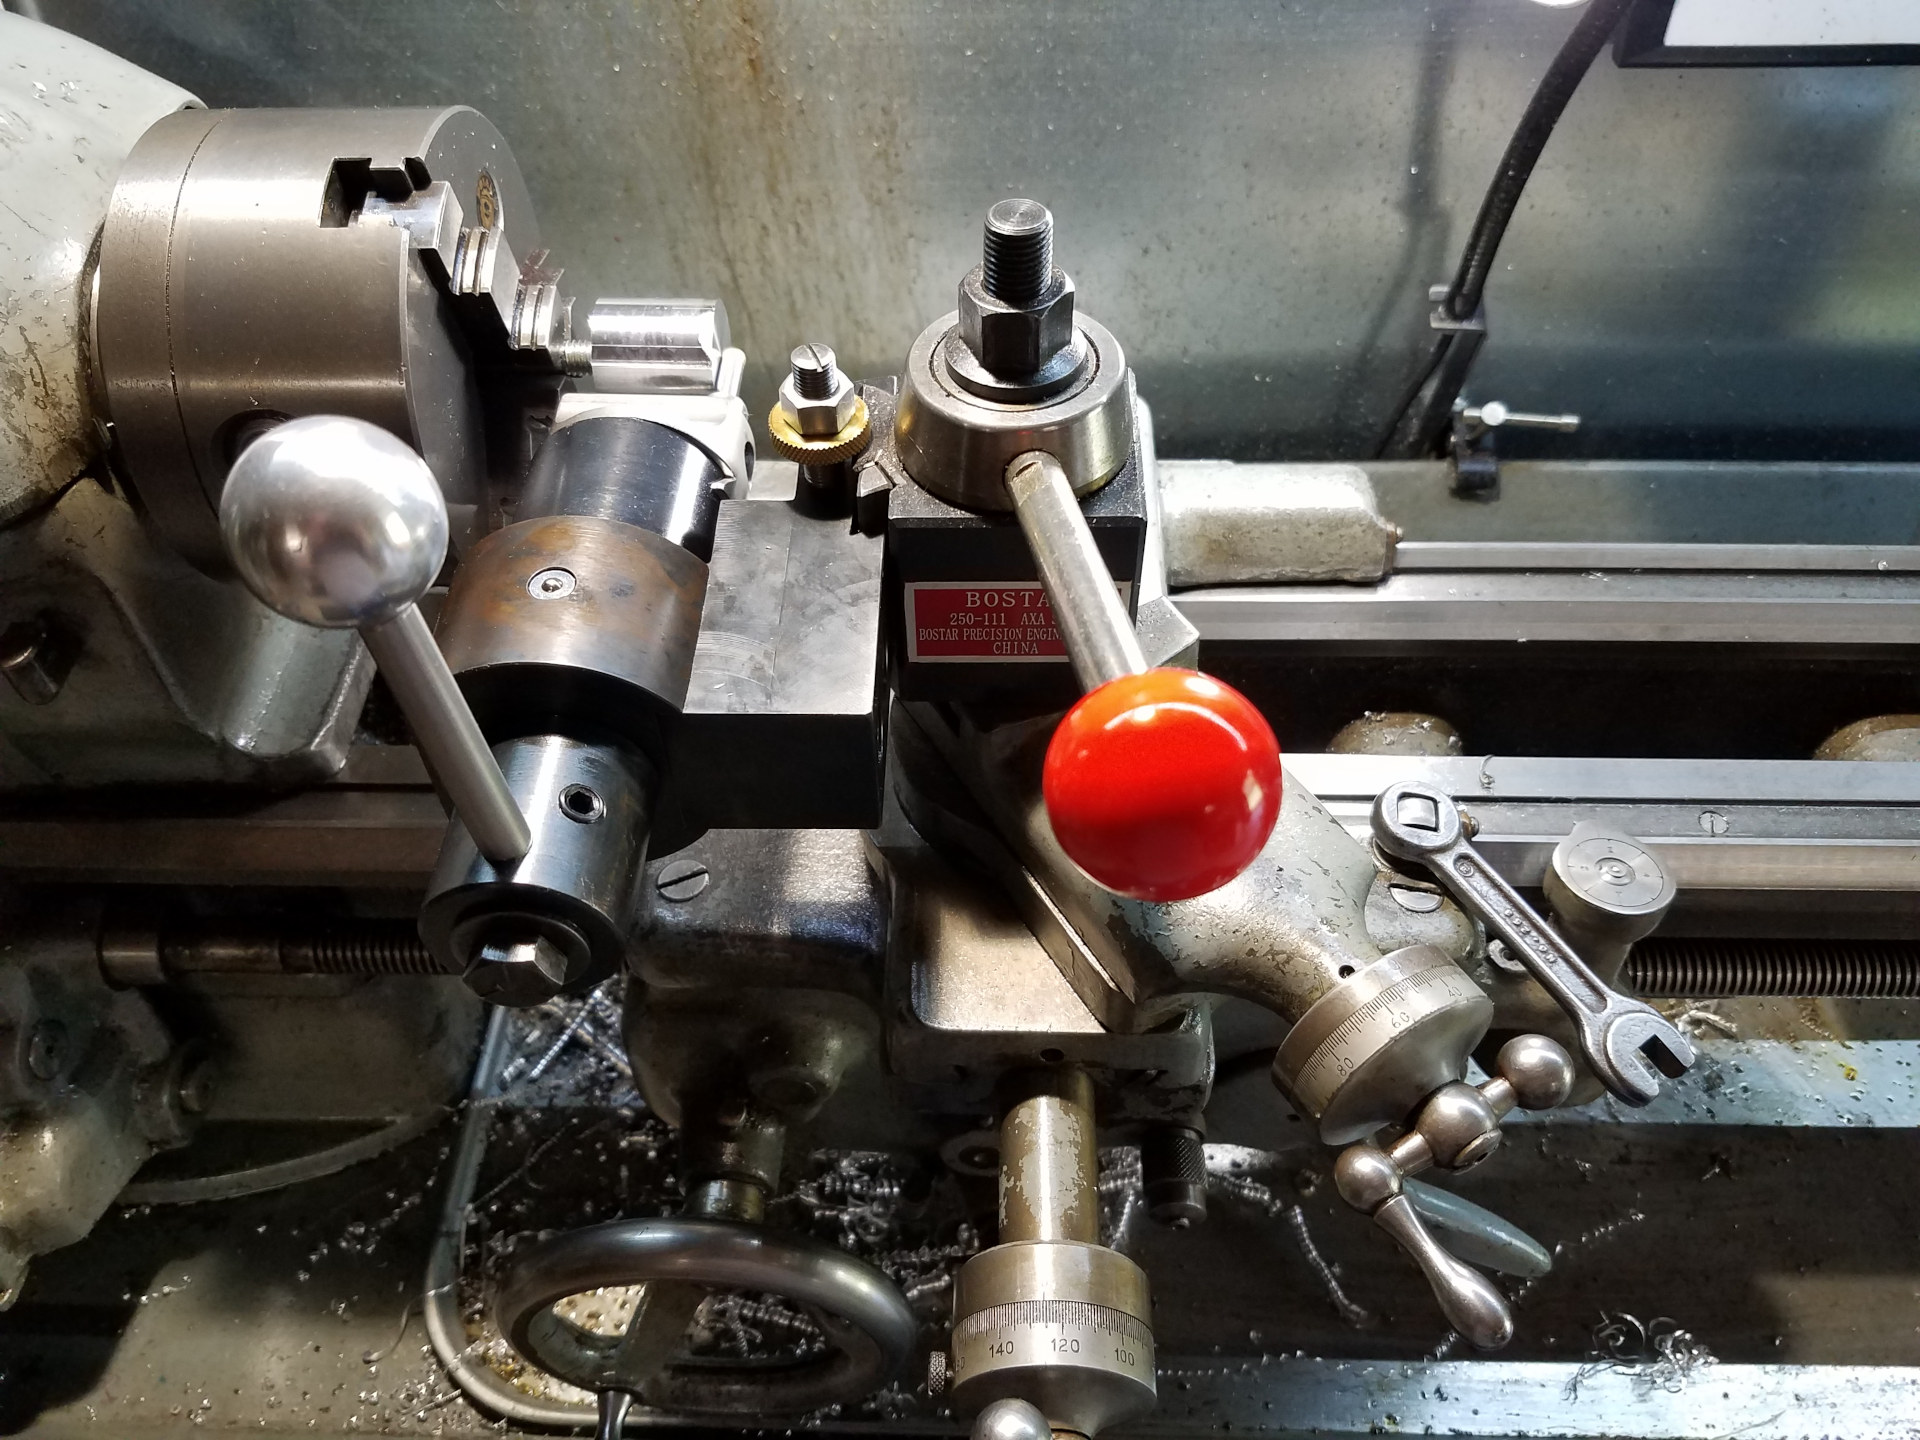
The completed boring head ball turner.
At the boring head, notice an additional socket head point was added in the head's adjustment screw on the opposite side from the factory location with the gradation scale. This was done by drilling and tapping the end of the screw and adding a set screw affixed with green Loctite. This addition doesn't affect the functionality of the boring head in any way. In fact the boring head can be unscrewed from the ball turner's shank and used normally on another shank for other jobs as needed.
A button oiler was also added in the round piece to help keep the shank lubricated and turning freely.
Before use, the ball turner is centered on the lathe axis with the AXA height adjustment screw like any other lathe tool. This should be a one time adjustment.
For the following ball turning demonstration, an aluminum round was drilled, tapped and then mounted on a 3/8" bolt which was used as an arbor. The relatively small size of the bolt will limit the depth of cut per pass.
Setting up the ball turner for use is quick and painless:
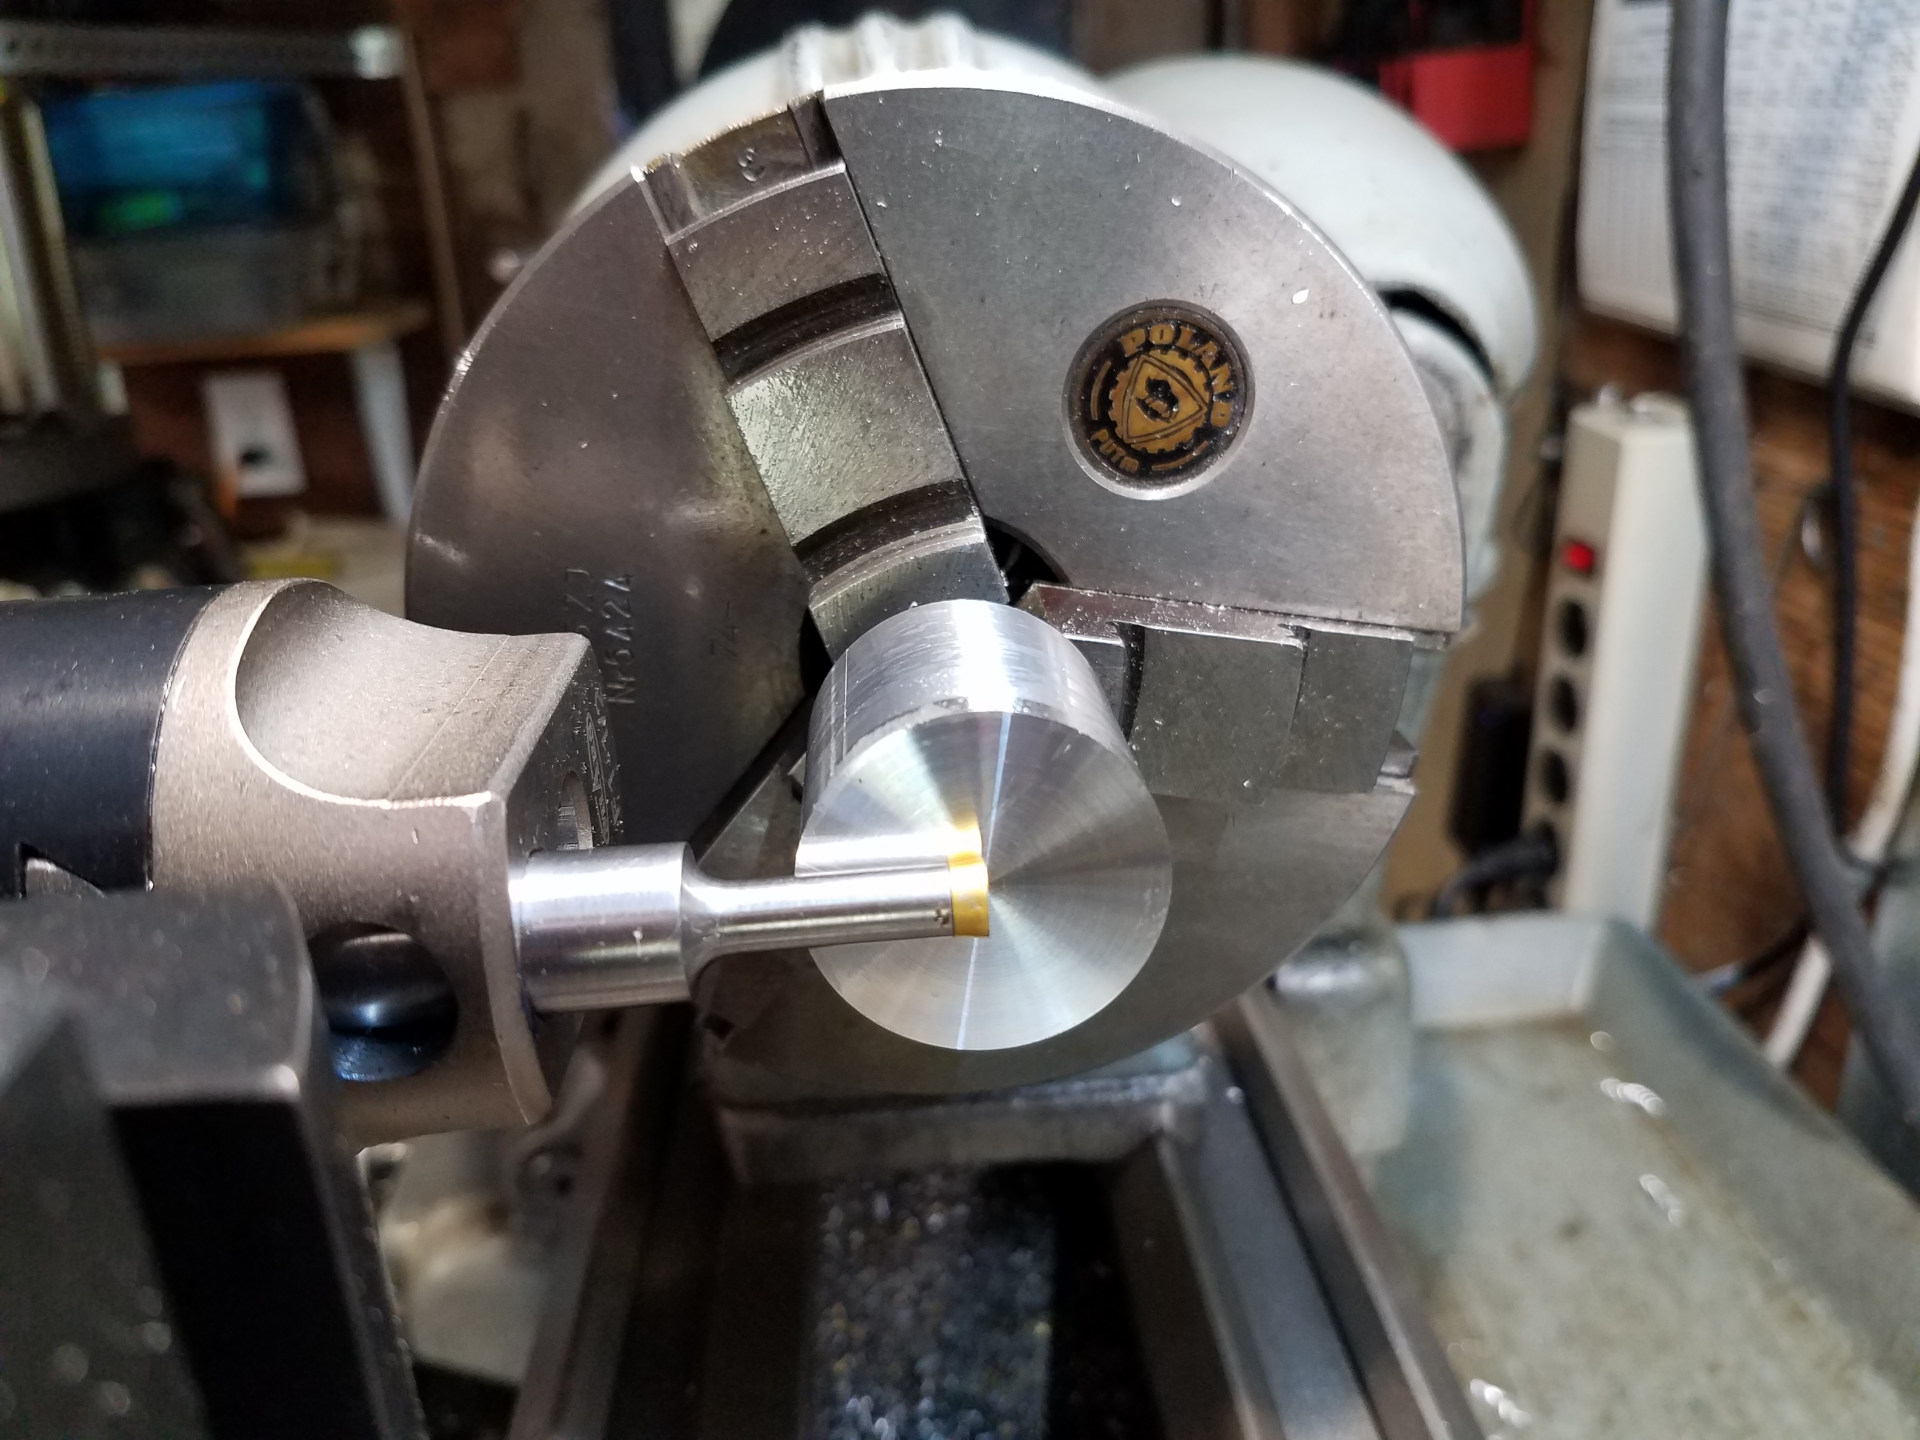
The first operation is setting the lathe cross feed. Since the round was just faced, it's easy to see the center of the work and the cutting edge of the tool is placed at this point. You may lock the cross feed now if you wish.
Next, set the tool to the diameter of the aluminum round by using the adjustment screw on the boring head. Here you can see exactly why the additional adjustment point for this screw was added. As this boring head has only one outside tool opening, the default adjustment point (with the scale) is usually pointing down towards the bed of the lathe.
Lastly, set the position of the saddle by moving the tool to the end of the work against the face and locking the saddle. Wind the boring head out with the adjustment screw and you are now ready to start turning a ball.
Here is a video showing a ball being made with the tool. As you can see, you make a pass back and forth and continue to add more feed at the boring head until the ball is properly formed.
This boring head ball turner has been working very well for me. It fits directly into the lathe's QCTP and is very quick to setup and use. Compared to the old ball turner, this one is extremely rigid without any chatter problems caused by the tool. This extra rigidity is especially noticeable when rounding off the ends of steel bars where work holding induced chatter isn't a problem. The boring head is also easily removed from the rest of the tool so it can still be used for other uses like turning tapers with the tailstock offset method.