A few years ago I made a very handy ER32 collet chuck for my lathe. Made from a single piece of steel, it was a great hobby project that featured internal threading, metric threading and creating a precise internal taper. Unfortunately over the years it's been slowly getting more inaccurate with run-out. It can be corrected with some machining, but I thought it might be interesting to adapt a different style of ER32 collect chuck to this South Bend lathe.
The first question one should ask is why was the chuck getting more run-out? I think the main problem is that over time the collets had begun to noticeably score the collet taper inside the chuck. Probably because the collets are harder than the chuck. A quick solution to this problem is to simply re-cut the internal collet taper and take a bit off the end of the collet nut threads. Plenty of space was left in the chuck to perform quite a few of these operations.
I'm beginning to think, however, that adjustable (Set-Tru type) two piece collet chucks are the way to go for this type of accessory because of the requirement for a very low run-out. Imported hardened plain back ER32 collet chucks are available fairly inexpensively and since a threaded chuck backplate was available in the junk bin it was decided to give this type of collet chuck a try.
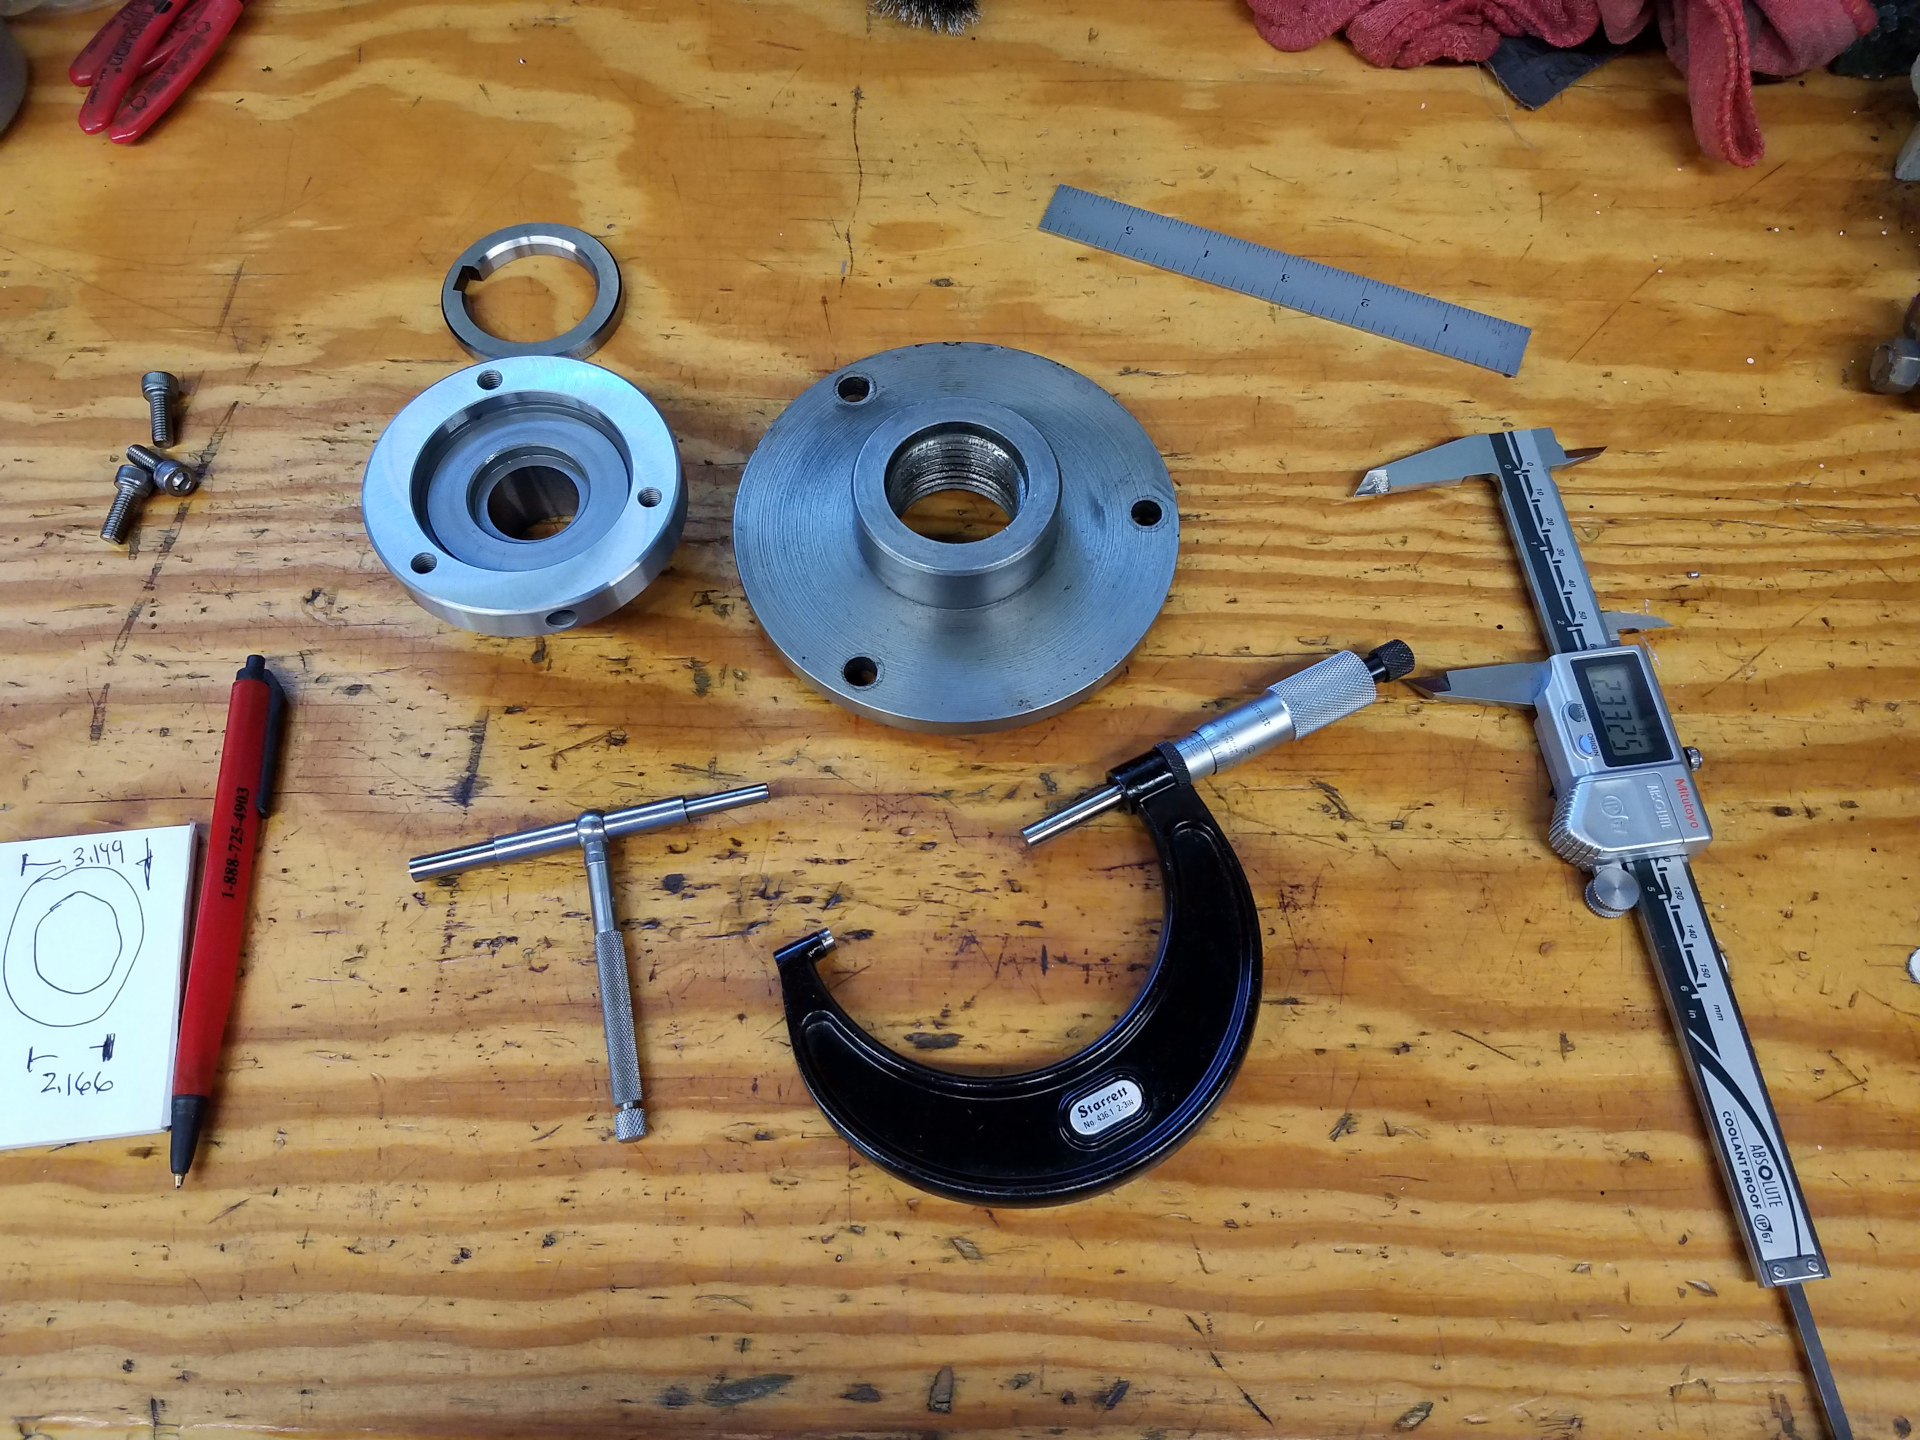
Some of the bits needed for this job, with the ER32 collet chuck on the left and the salvaged chuck backplate in the middle. This was the original chuck backplate that came with the lathe's Bison 3 jaw chuck, but someone did a horrible job of finishing it so I replaced it a long time ago. Luckily there's enough cast iron left in the backplate that it's usable for this job.
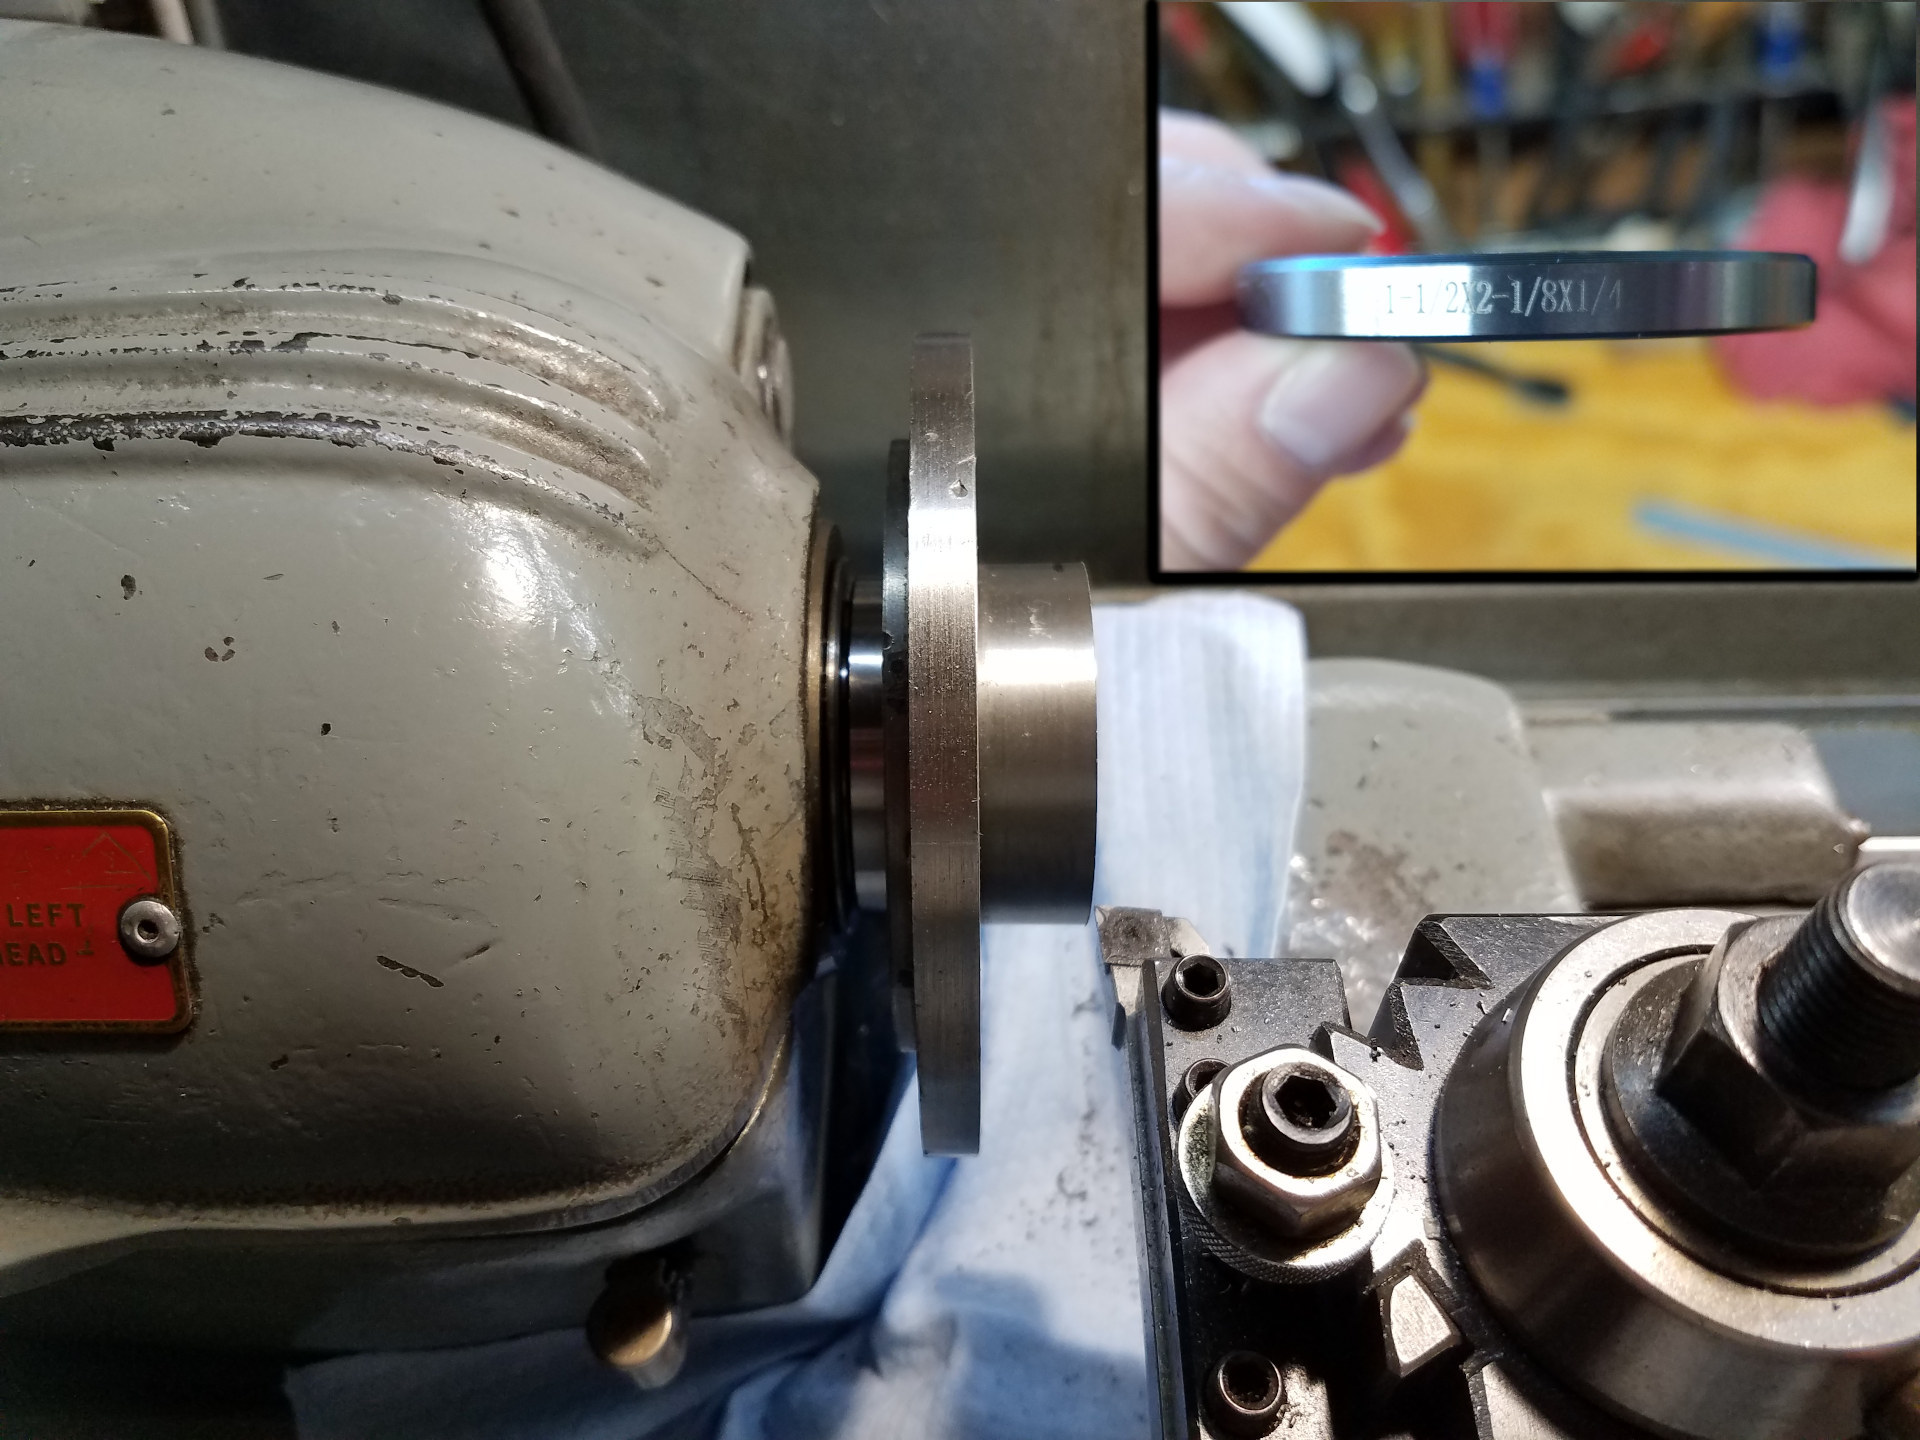
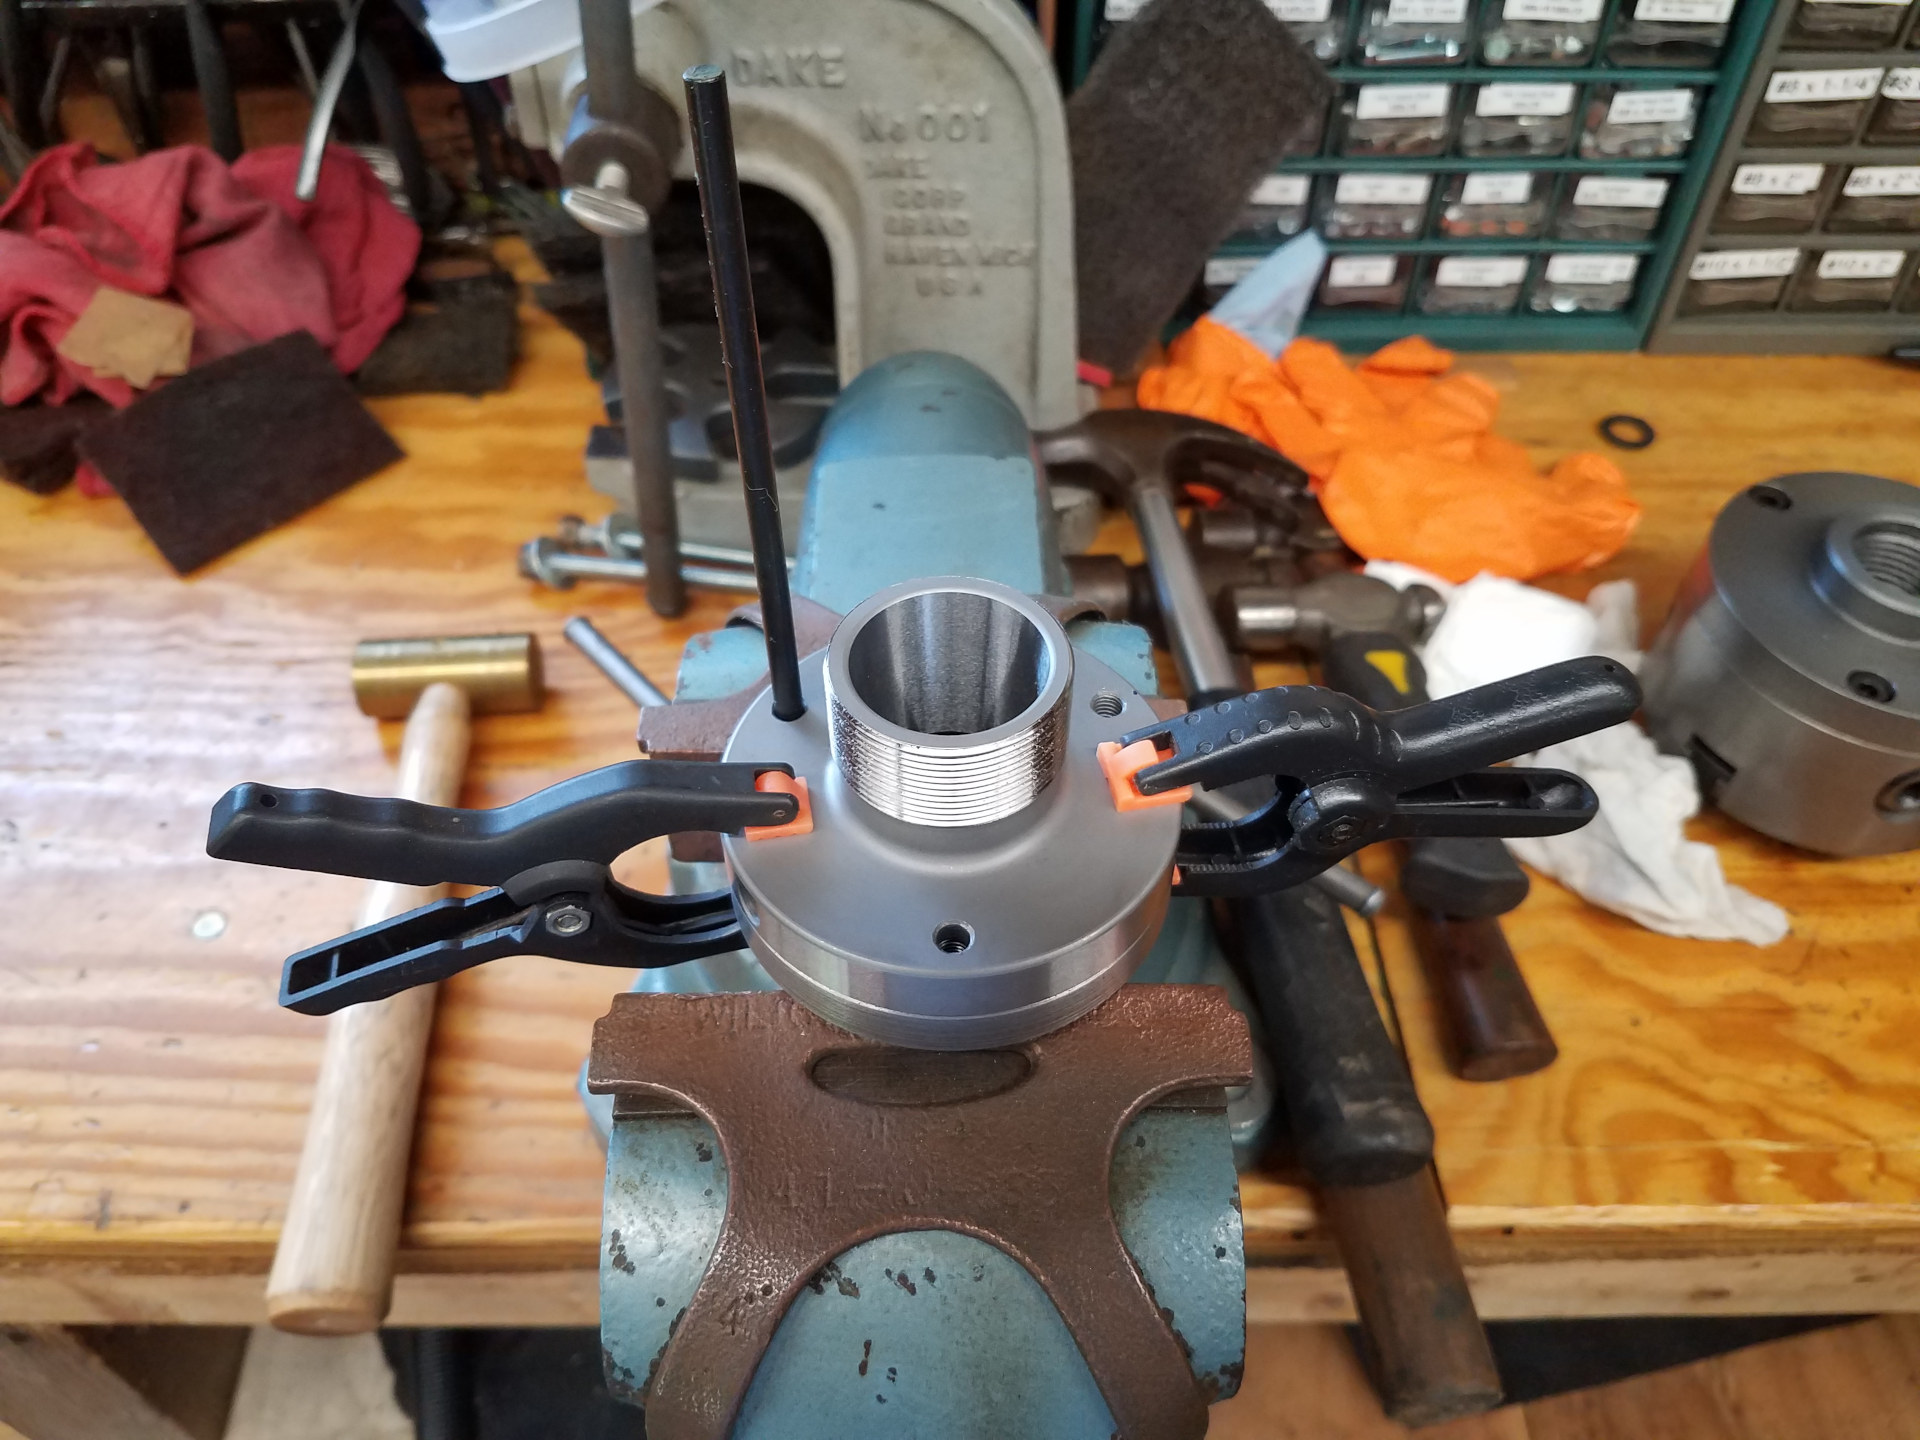
The backplate's threaded section is too long causing the mounted chuck to stick-out from the lathe more than necessary which amplifies any run-out. Here the backplate is threaded on the spindle backwards using an arbor spacer (see picture insert) so the backplate doesn't rub on the lathe's housing.
The arbor spacer is also necessary to take-up space between the spindle register and the backplate due to the lack of thread lead-in.
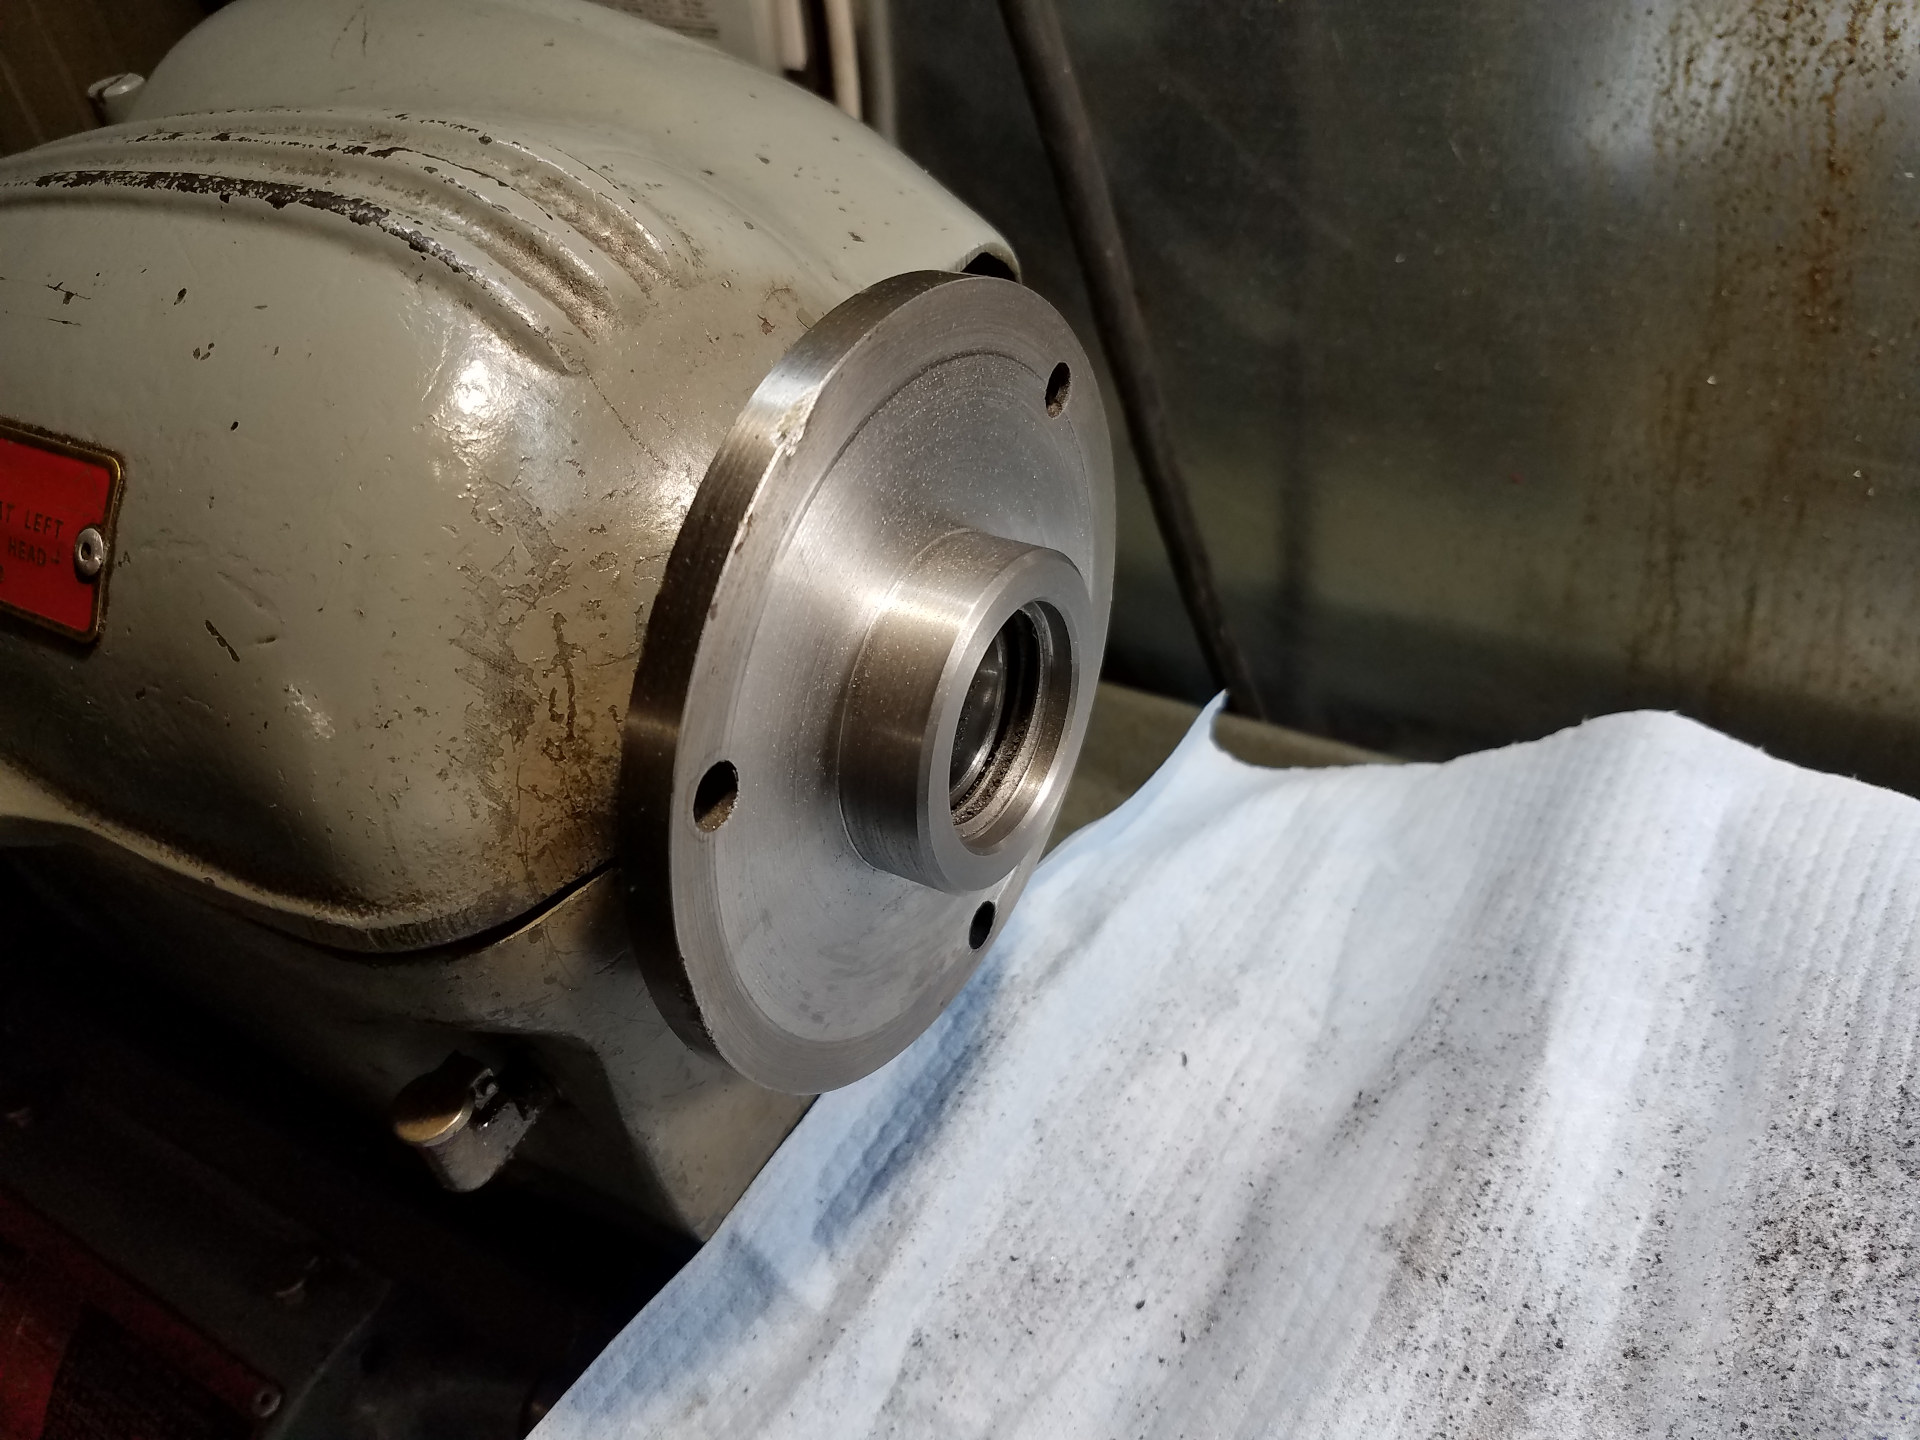
The threaded part of the backplate is now the correct length with a generous chamfer and a proper thread lead-in.
The backplate was removed and screwed onto the spindle normally without the arbor spacer. You want to see about one extra thread in the backplate so the lathe's spindle threads are protected from damage.
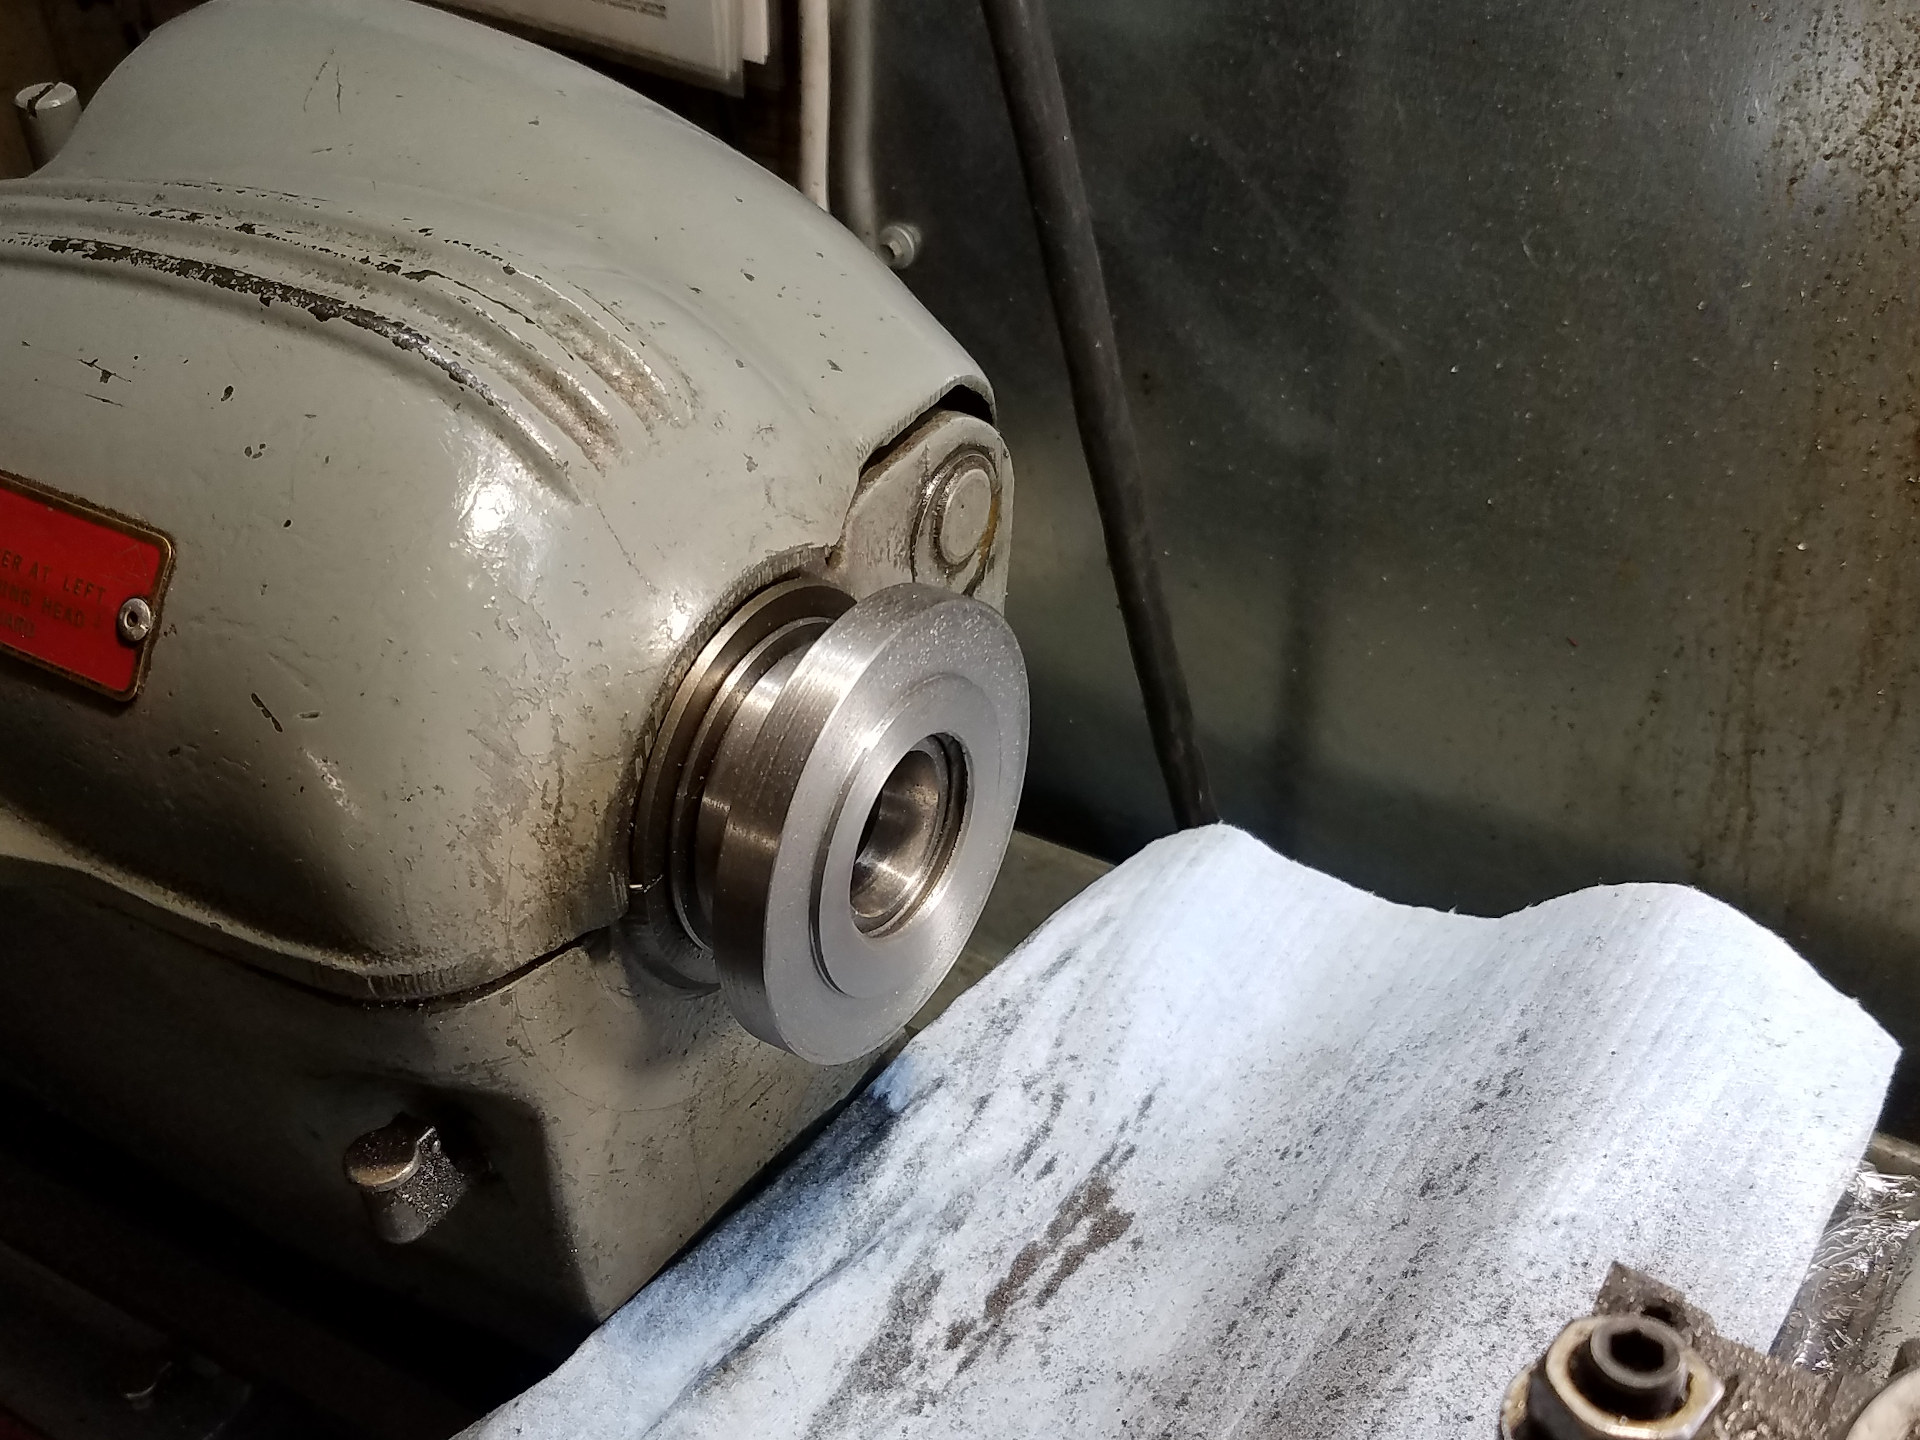
The backplate has also been turned down to the ER32 chuck diameter with a shallow boss machined to fit inside the chuck. Right now the backplate fits the chuck well, but after the mounting holes are drilled the boss diameter will be turned a bit smaller so a few thousands of play is present in the chuck/backplate interface for run-out adjustment.
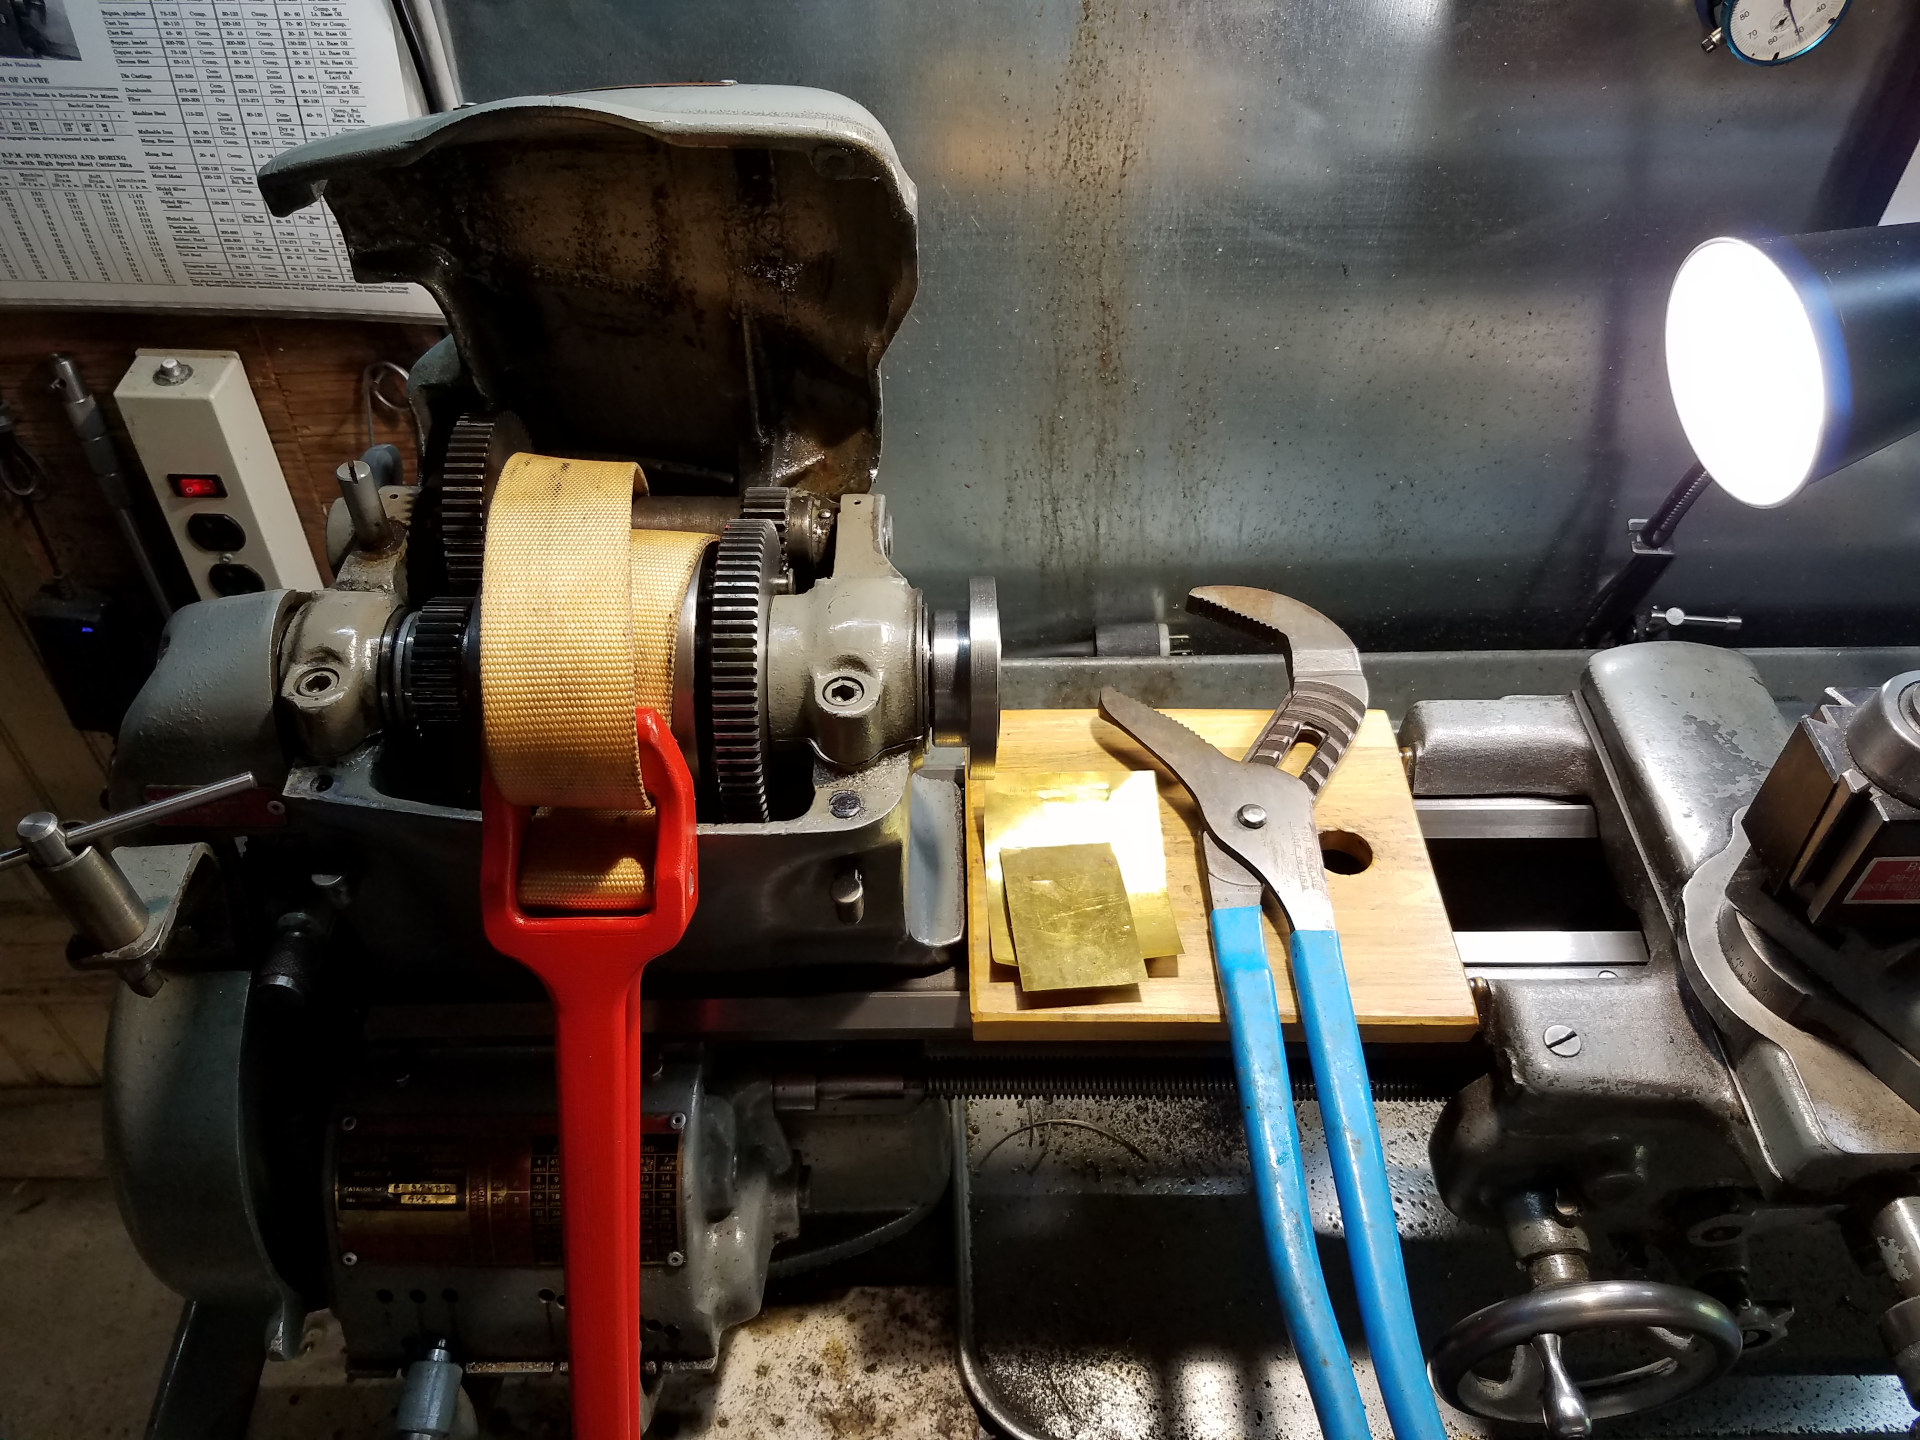
With virtually nothing to grab on to, I couldn't easily unscrew the backplate from the spindle. A strap wrench was used to stop the spindle from turning and large Channellock pliers with some brass shims as protectors were used to remove to unscrew the backplate.
The mounting holes from the ER32 chuck were transferred to the backplate using transfer punches.
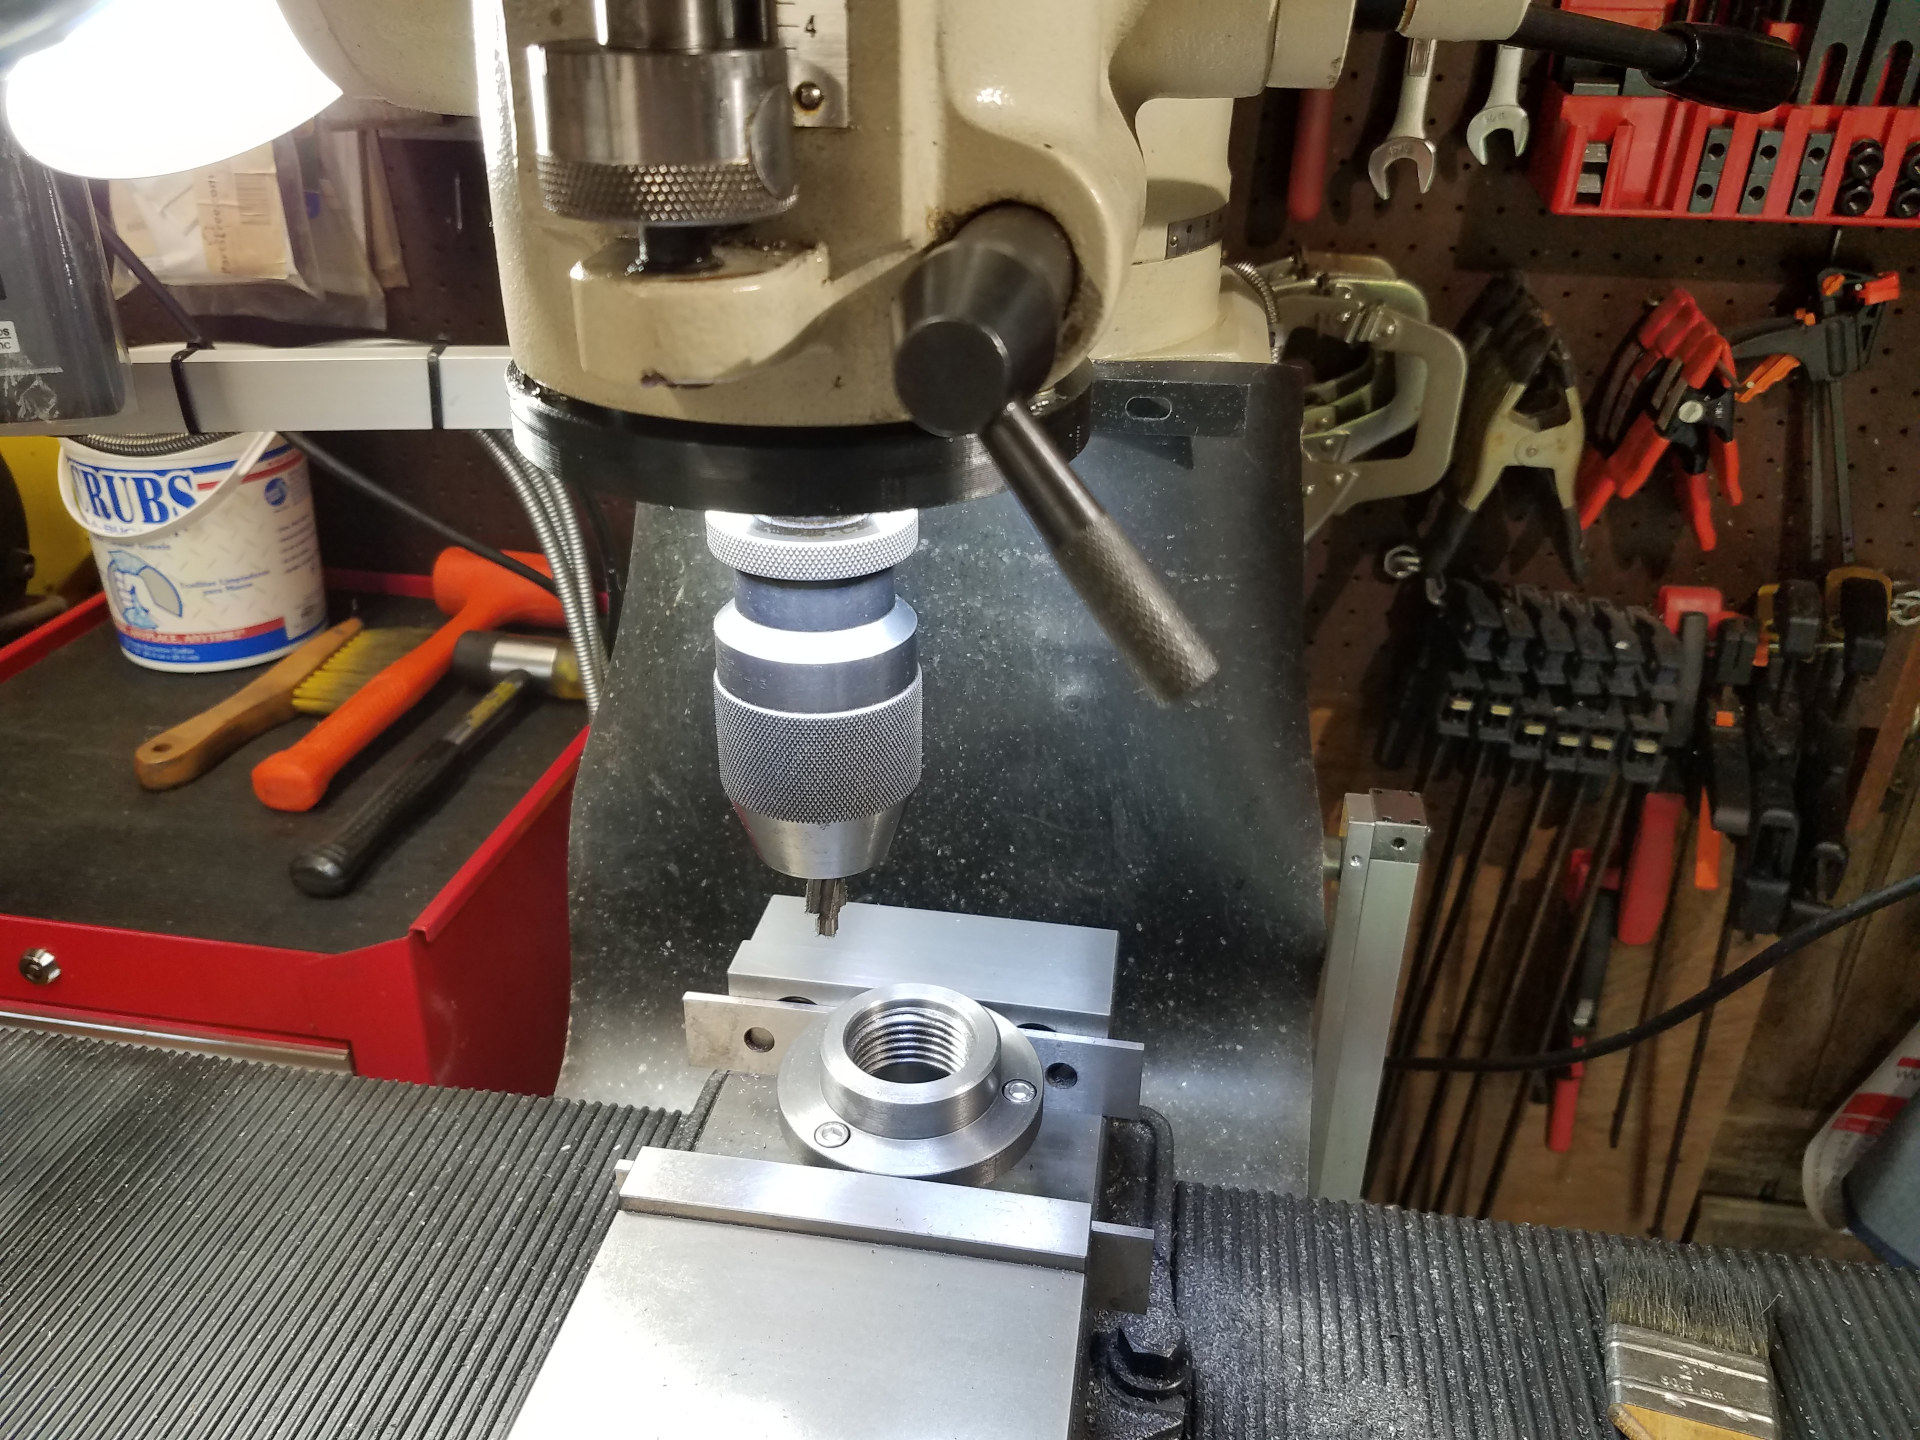
The holes were drilled in the backplate and counterbored for cap screws. I will discuss why I mounted the chuck onto the backplate this way in a bit.
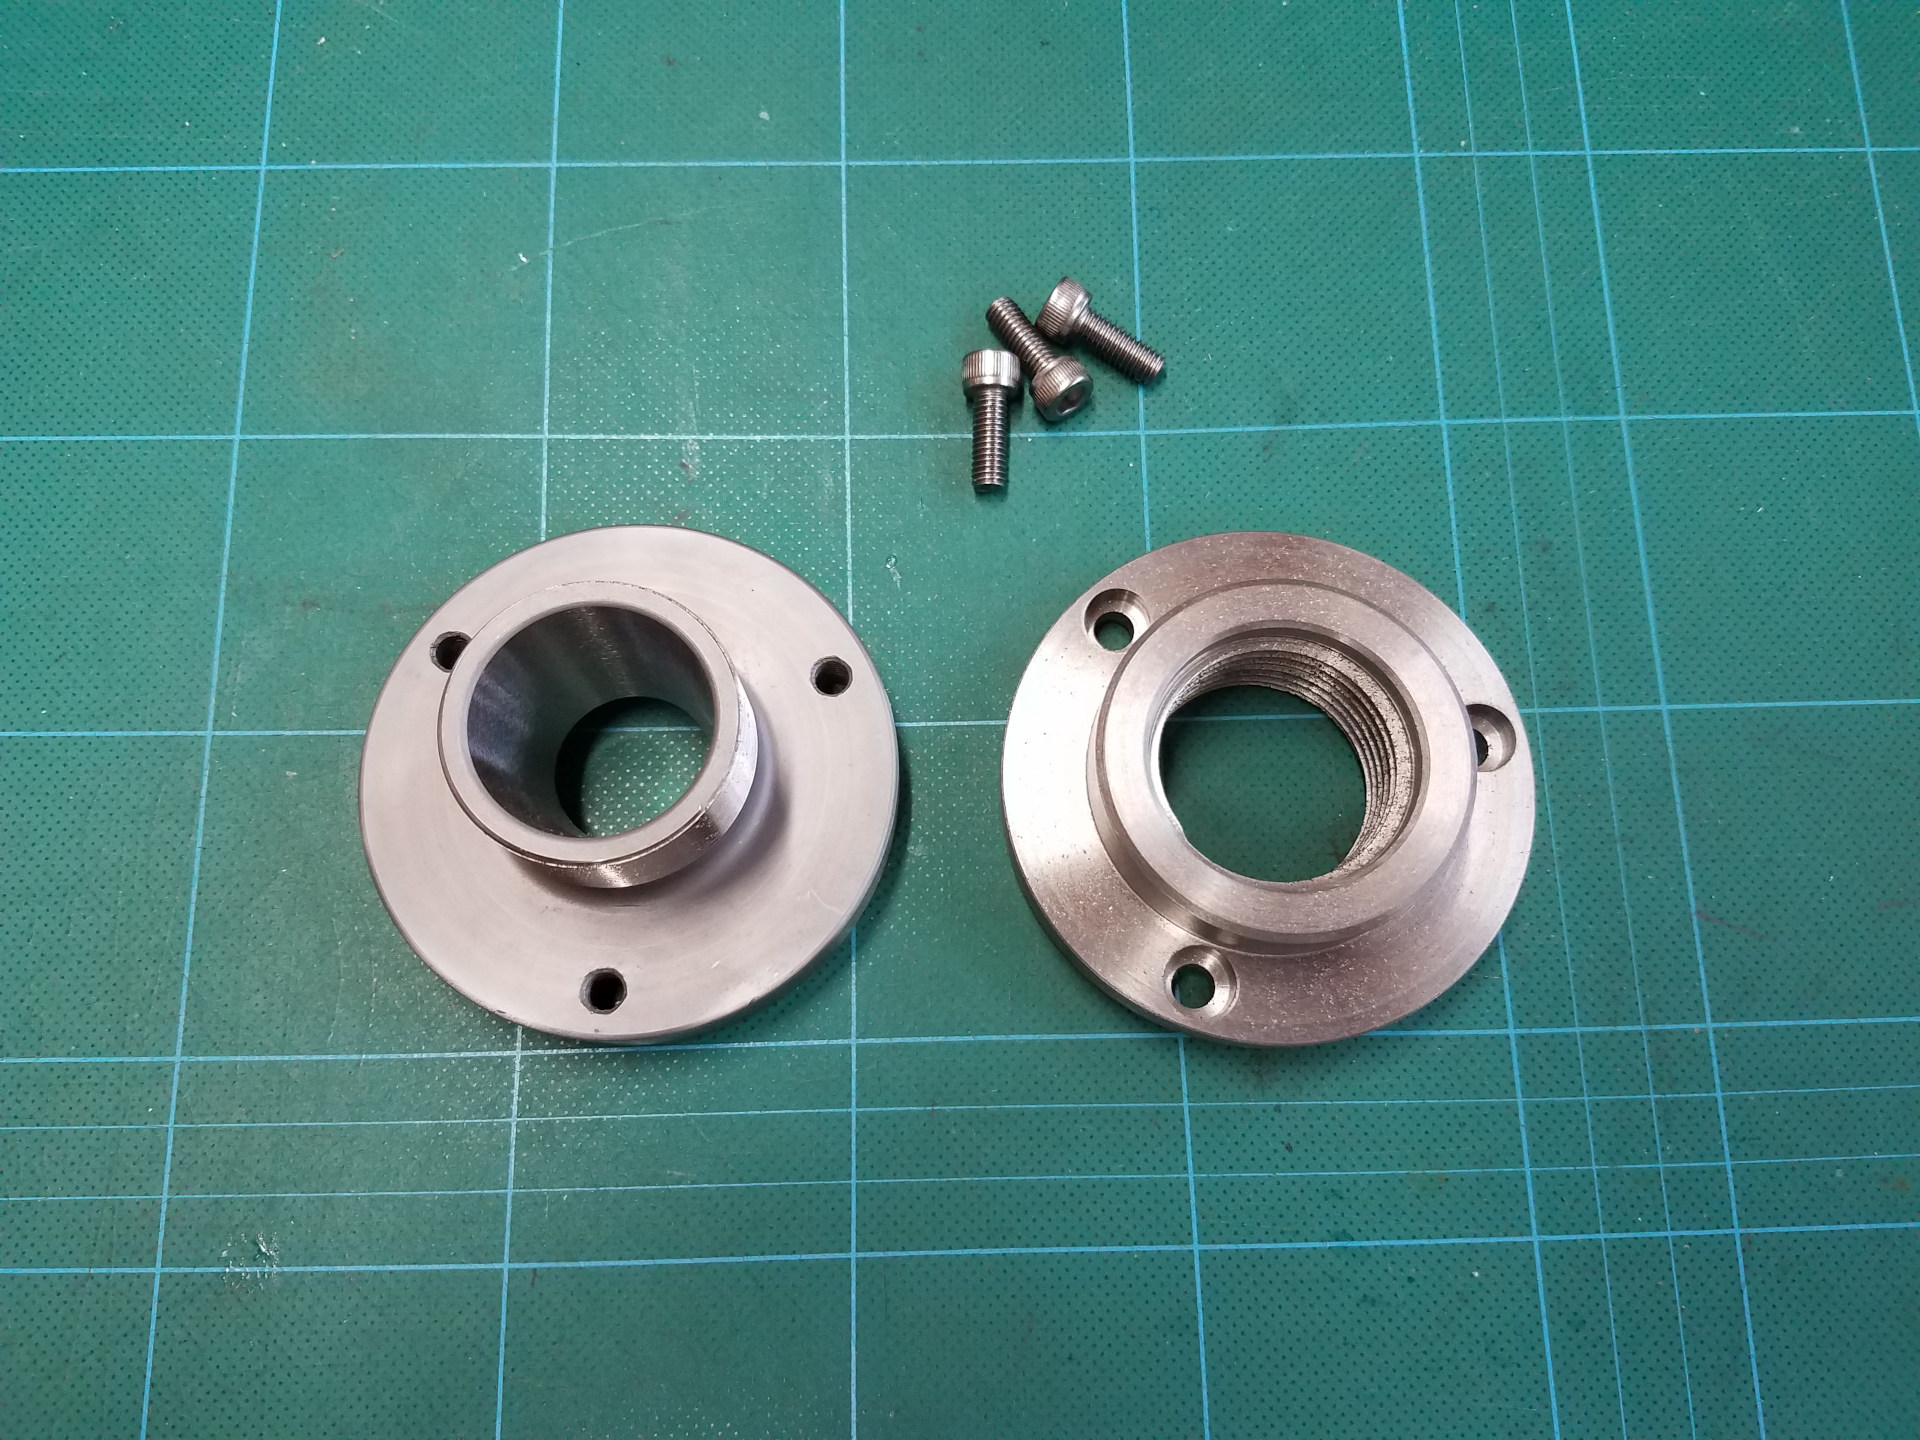
The machined backplate beside the ER32 collet chuck.
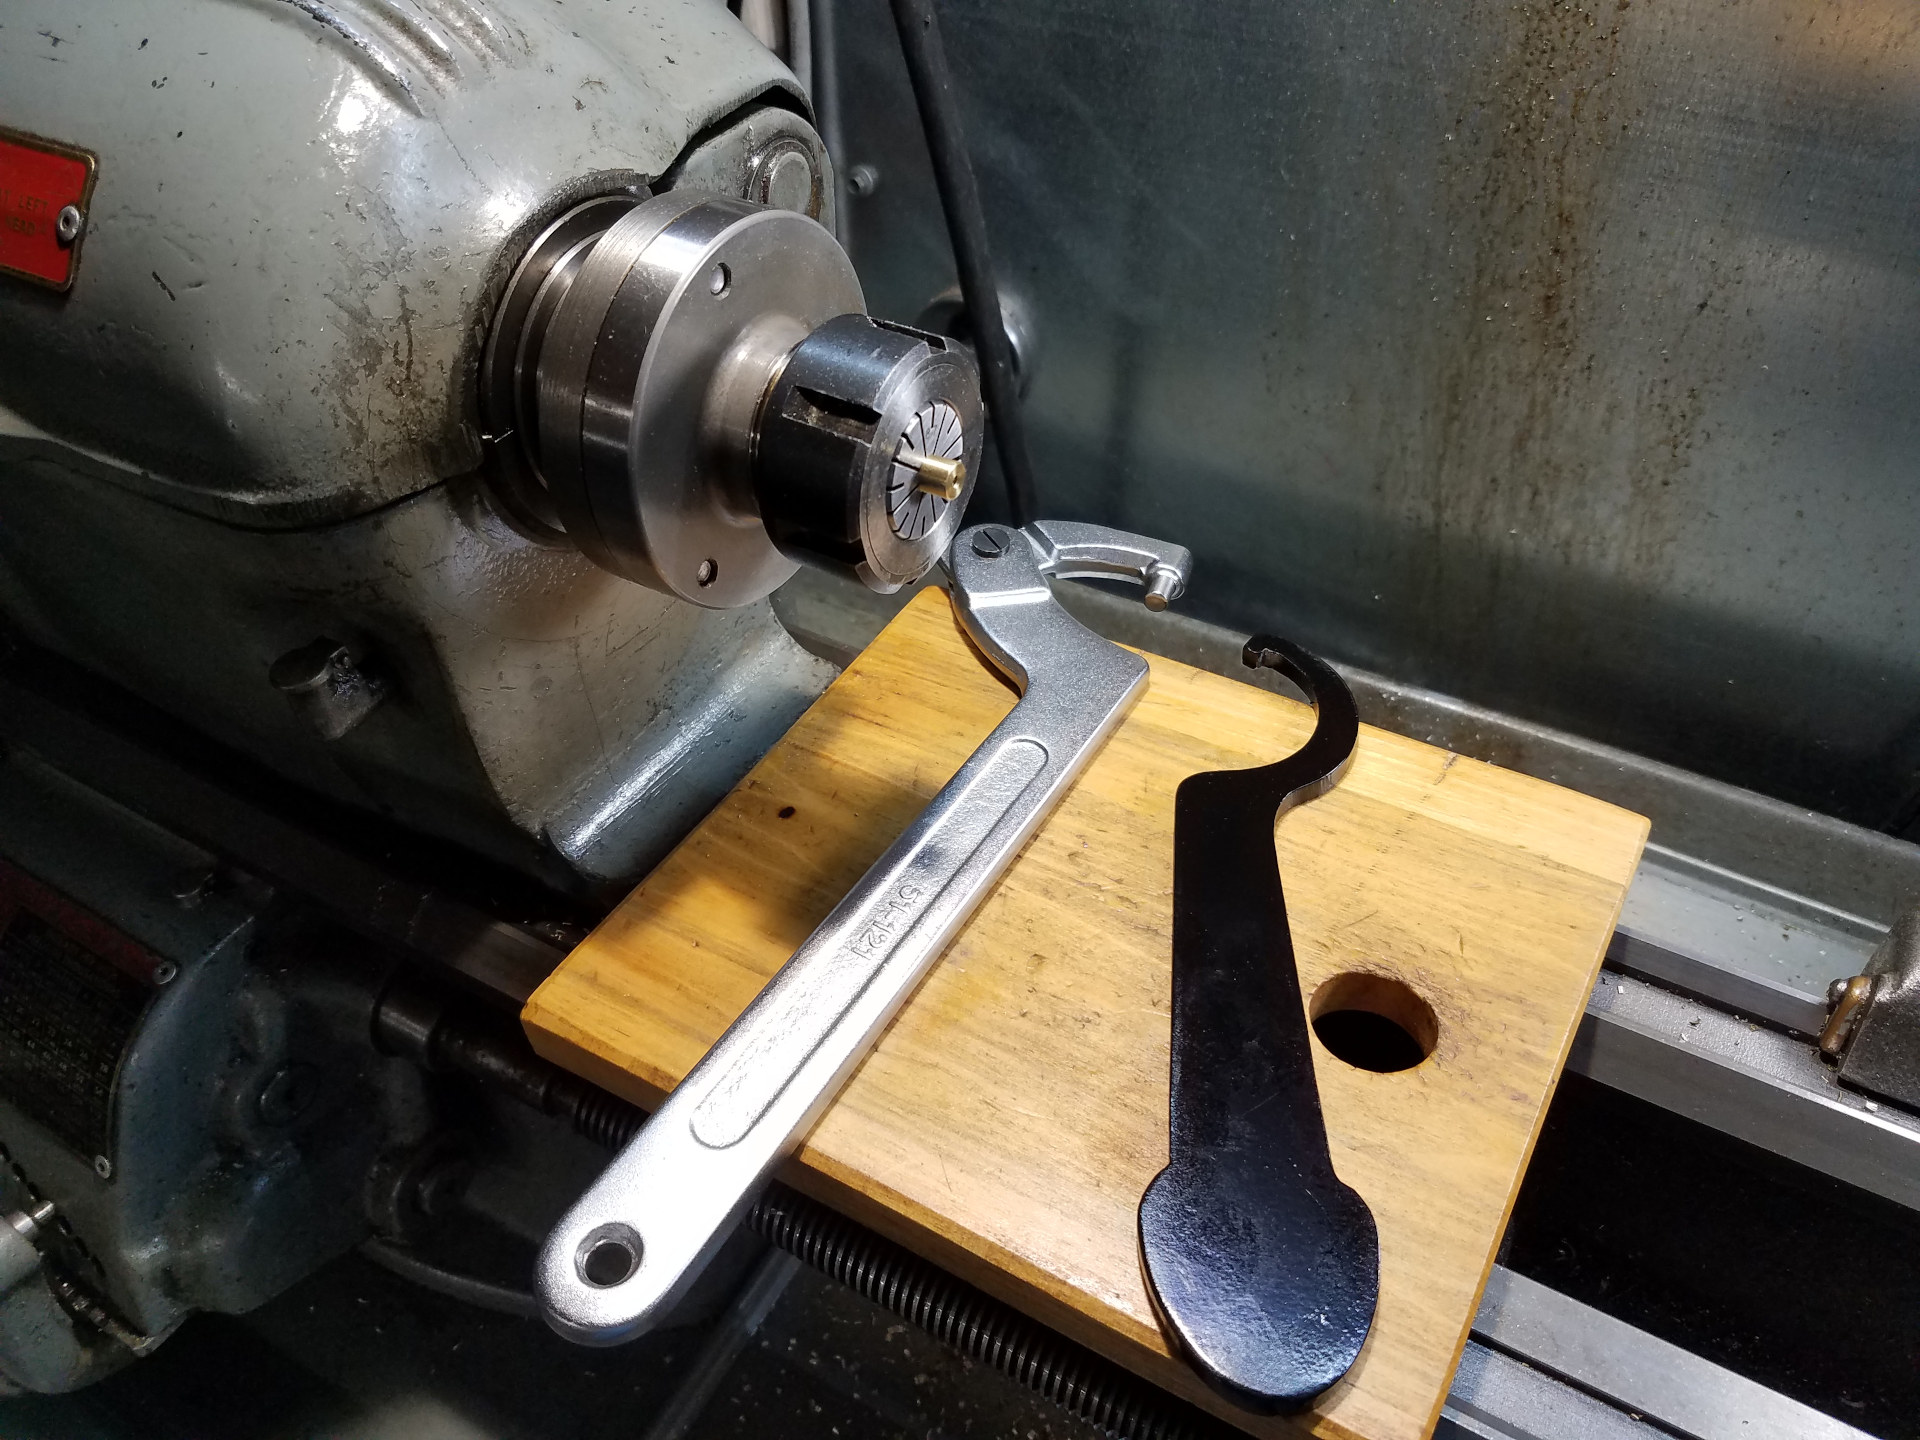
The assembled collet chuck installed on the lathe. A pin spanner wrench is used to stop the chuck from turning while the black ER32 wrench is used to tighten and loosen the collet nut.
A proper Set-Tru chuck will use 4 adjustable set screws located radially along the chuck to fine-adjust the Total Indicated Runout (TIR) of the chuck to almost zero, similar in function to centering work in a 4-jaw chuck. When done adjusting, the chuck's mounting bolts are then tightened. However, with a lightweight lathe such as this and it's limited cutting pressure, I've found you can use a much simpler approach of doing away with the set screws and just loosening the chuck's mounting bolts a bit, tapping the chuck to it's lowest TIR, and then re-tightening bolts. A Tap-Tru chuck if you will.
Unfortunately the three cap screws provided for mounting the ER32 chuck aren't very large, but the chuck is so very hard (which is good) that I don't think it could have been drilled with normal HSS drills to use larger fasteners. A carbide end mill might have done it, but it was decided to just use the provided cap screws and see how it worked. After a year or so of use, the chuck hasn't moved on it's backplate so the holding force of the small cap screws has proven to be adequate.
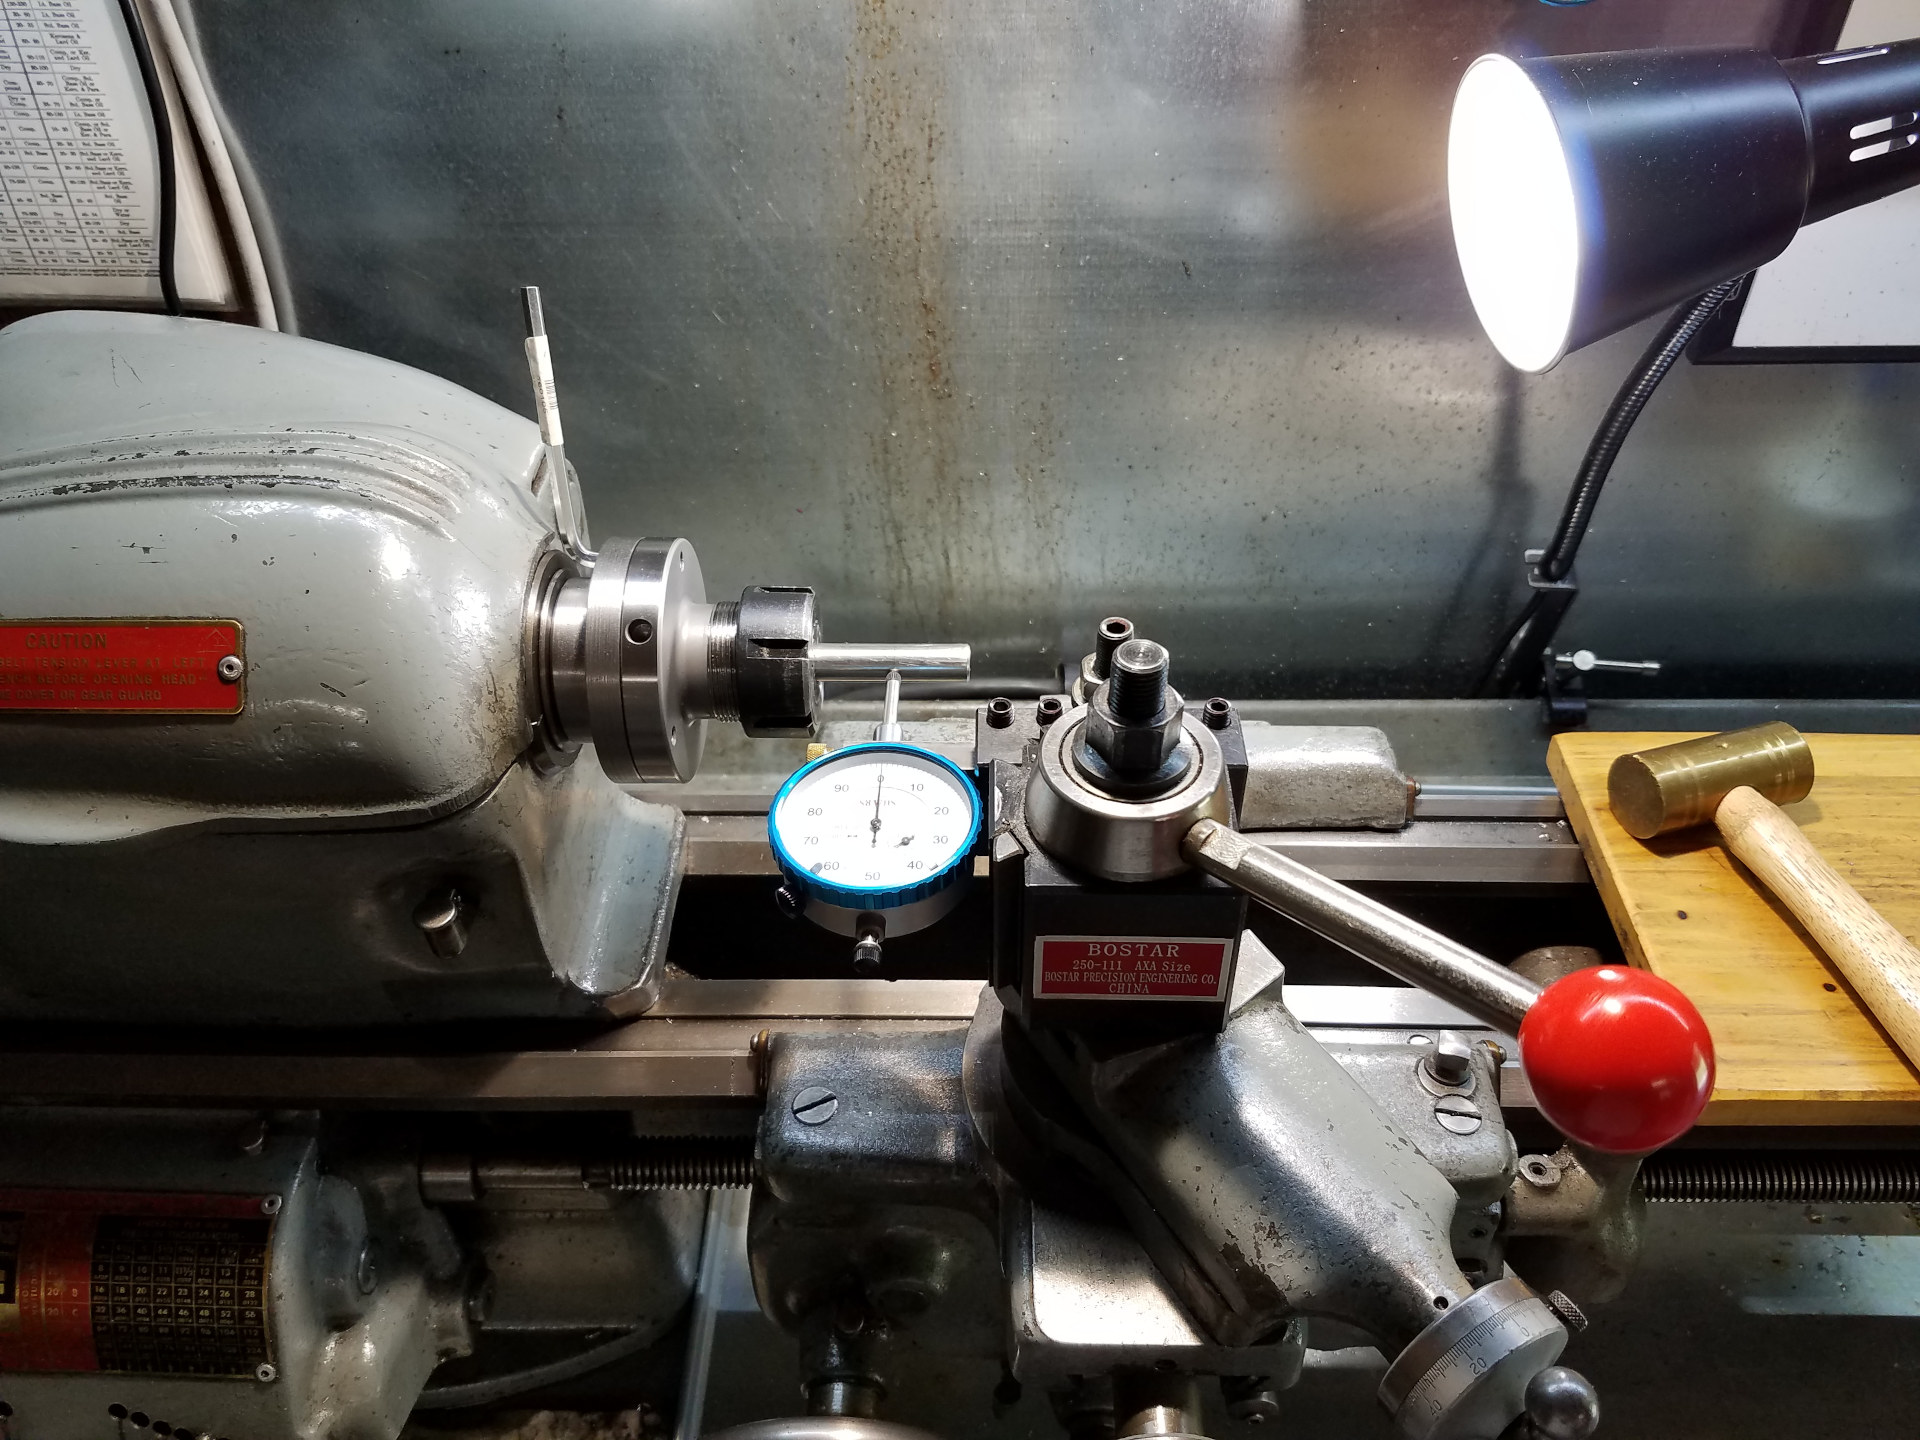
With a pin gauge held in the collet and the backplate screws slightly loosened, a dial indicator is used for reference to tap the chuck to the lowest TIR. An allen wrench is in place to tighten the cap screws.
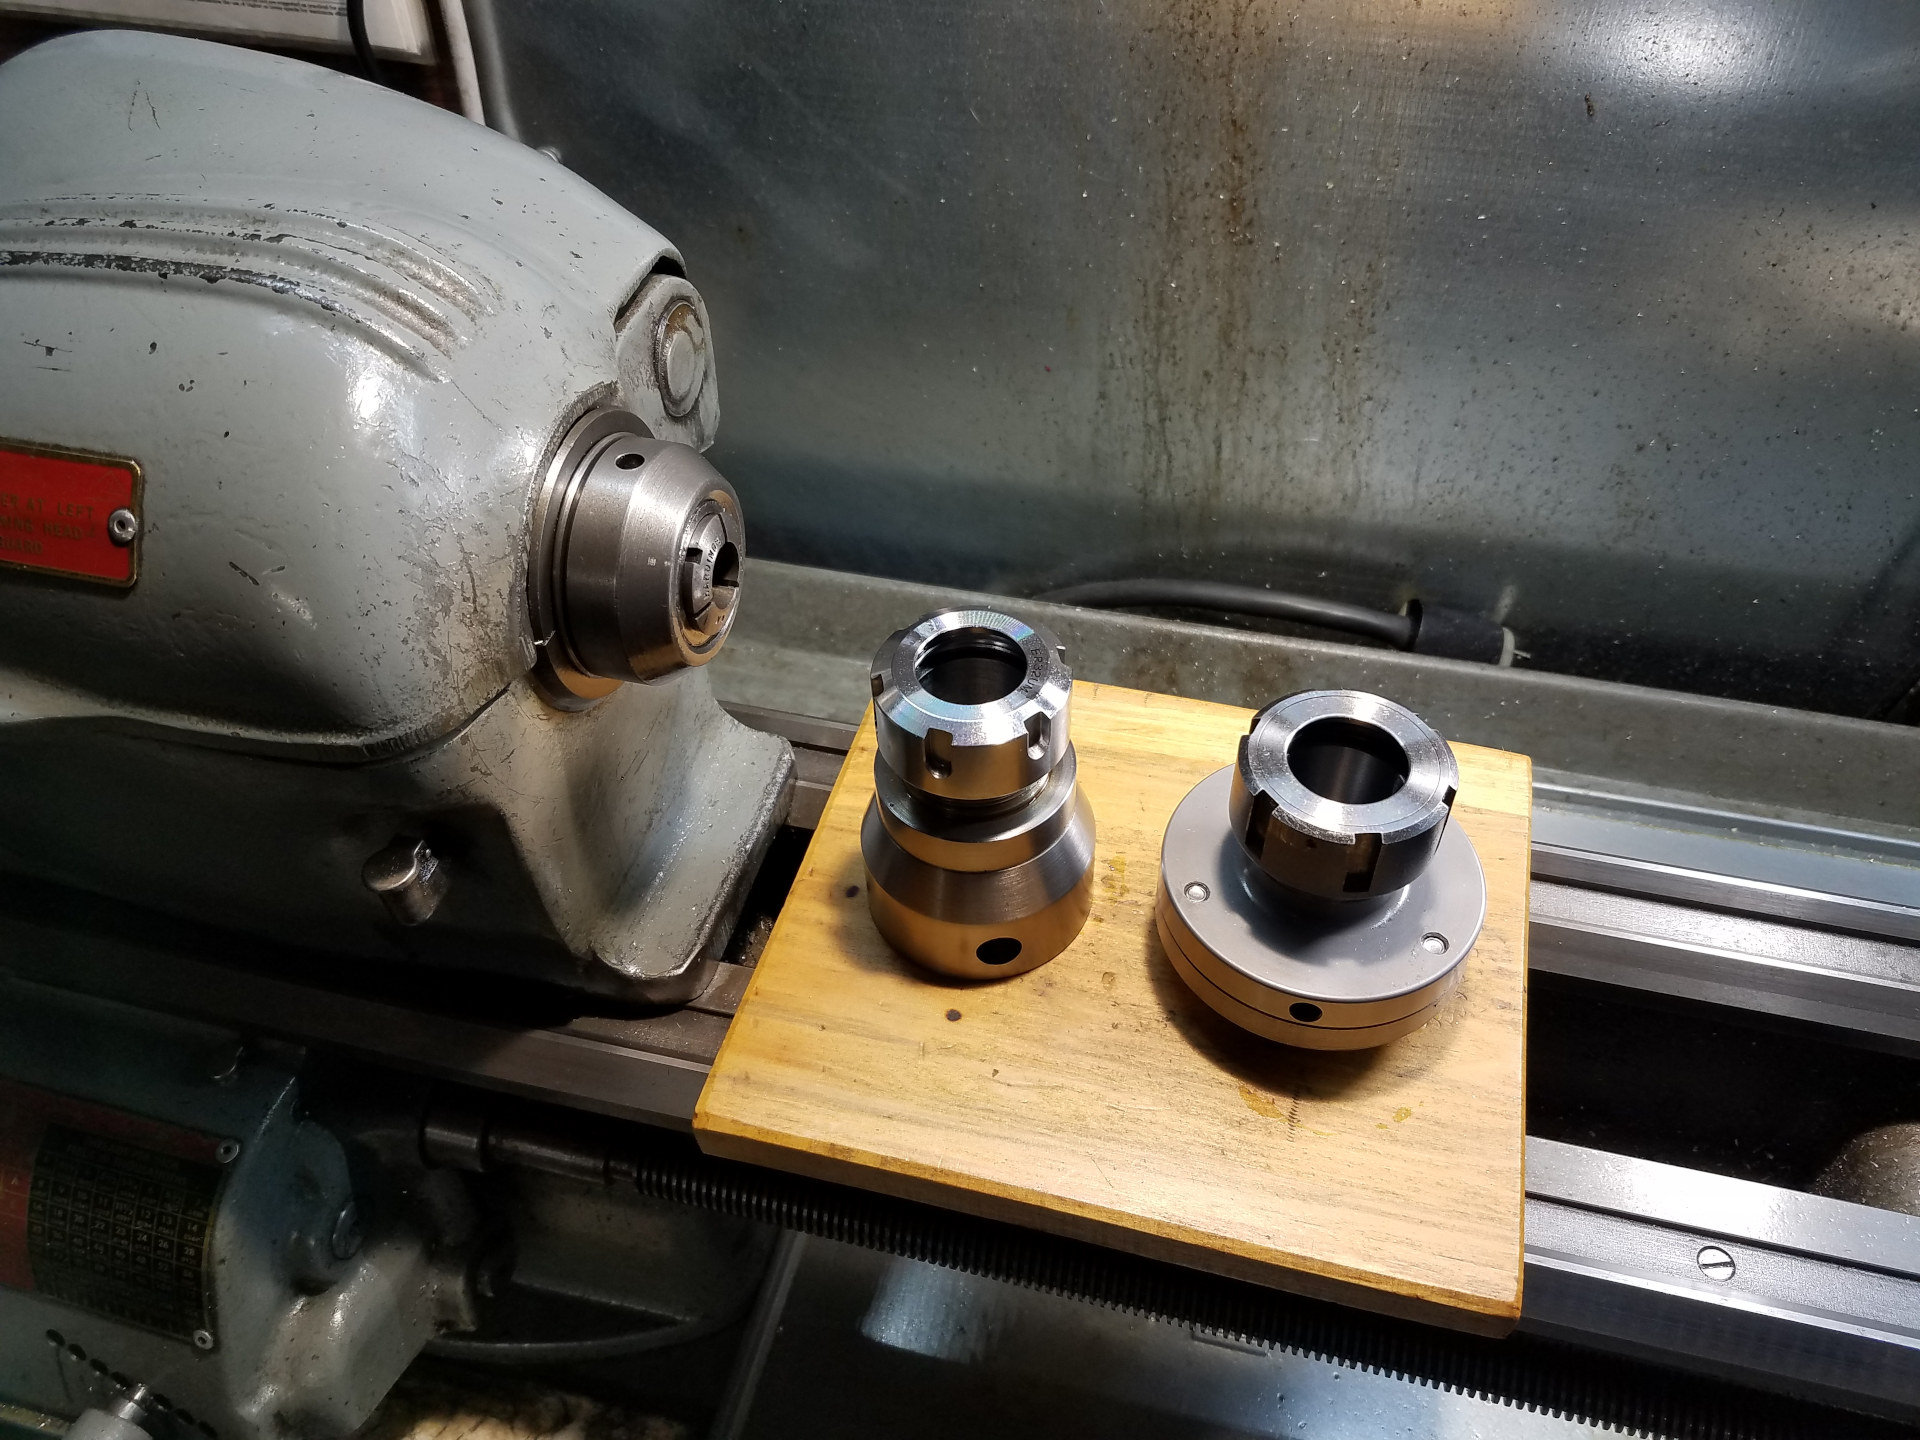
A display of the collet solutions for this lathe: the native 6K collet held in the spindle, the first ER32 collet chuck and finally the new ER32 collet chuck.
So far the new collet chuck has been working great. I can tell the factory ground collet taper is better in the new chuck by the way the collets pop-out when loosened. Also, the hardened surface of the chuck remains completely unmarked by the collets. In the future, if the chuck does need re-adjusting for lower run-out because of movement or a special job it's very easy to do. I'm not going to bin that old ER32 chuck as I plan to fix it on rainy day and keep it for a spare.