In the hobby shop it's a quite common need to gently tap objects into various forms of alignment. A soft blow hammer works great for this, but sometimes it's difficult to get enough room for a good swing or the item to be moved is quite small. This shot filled dead-blow knocker, with non-marring Delrin and brass ends, is very handy in such cases and is a fun weekend project that is machined entirely on the lathe.
This build is following Randy Richard's video on Youtube:
Randy does a great job of showing how to make the knocker as well as providing the project's dimensions while he is building. If you are interested in making this project, make sure you watch Randy's video.
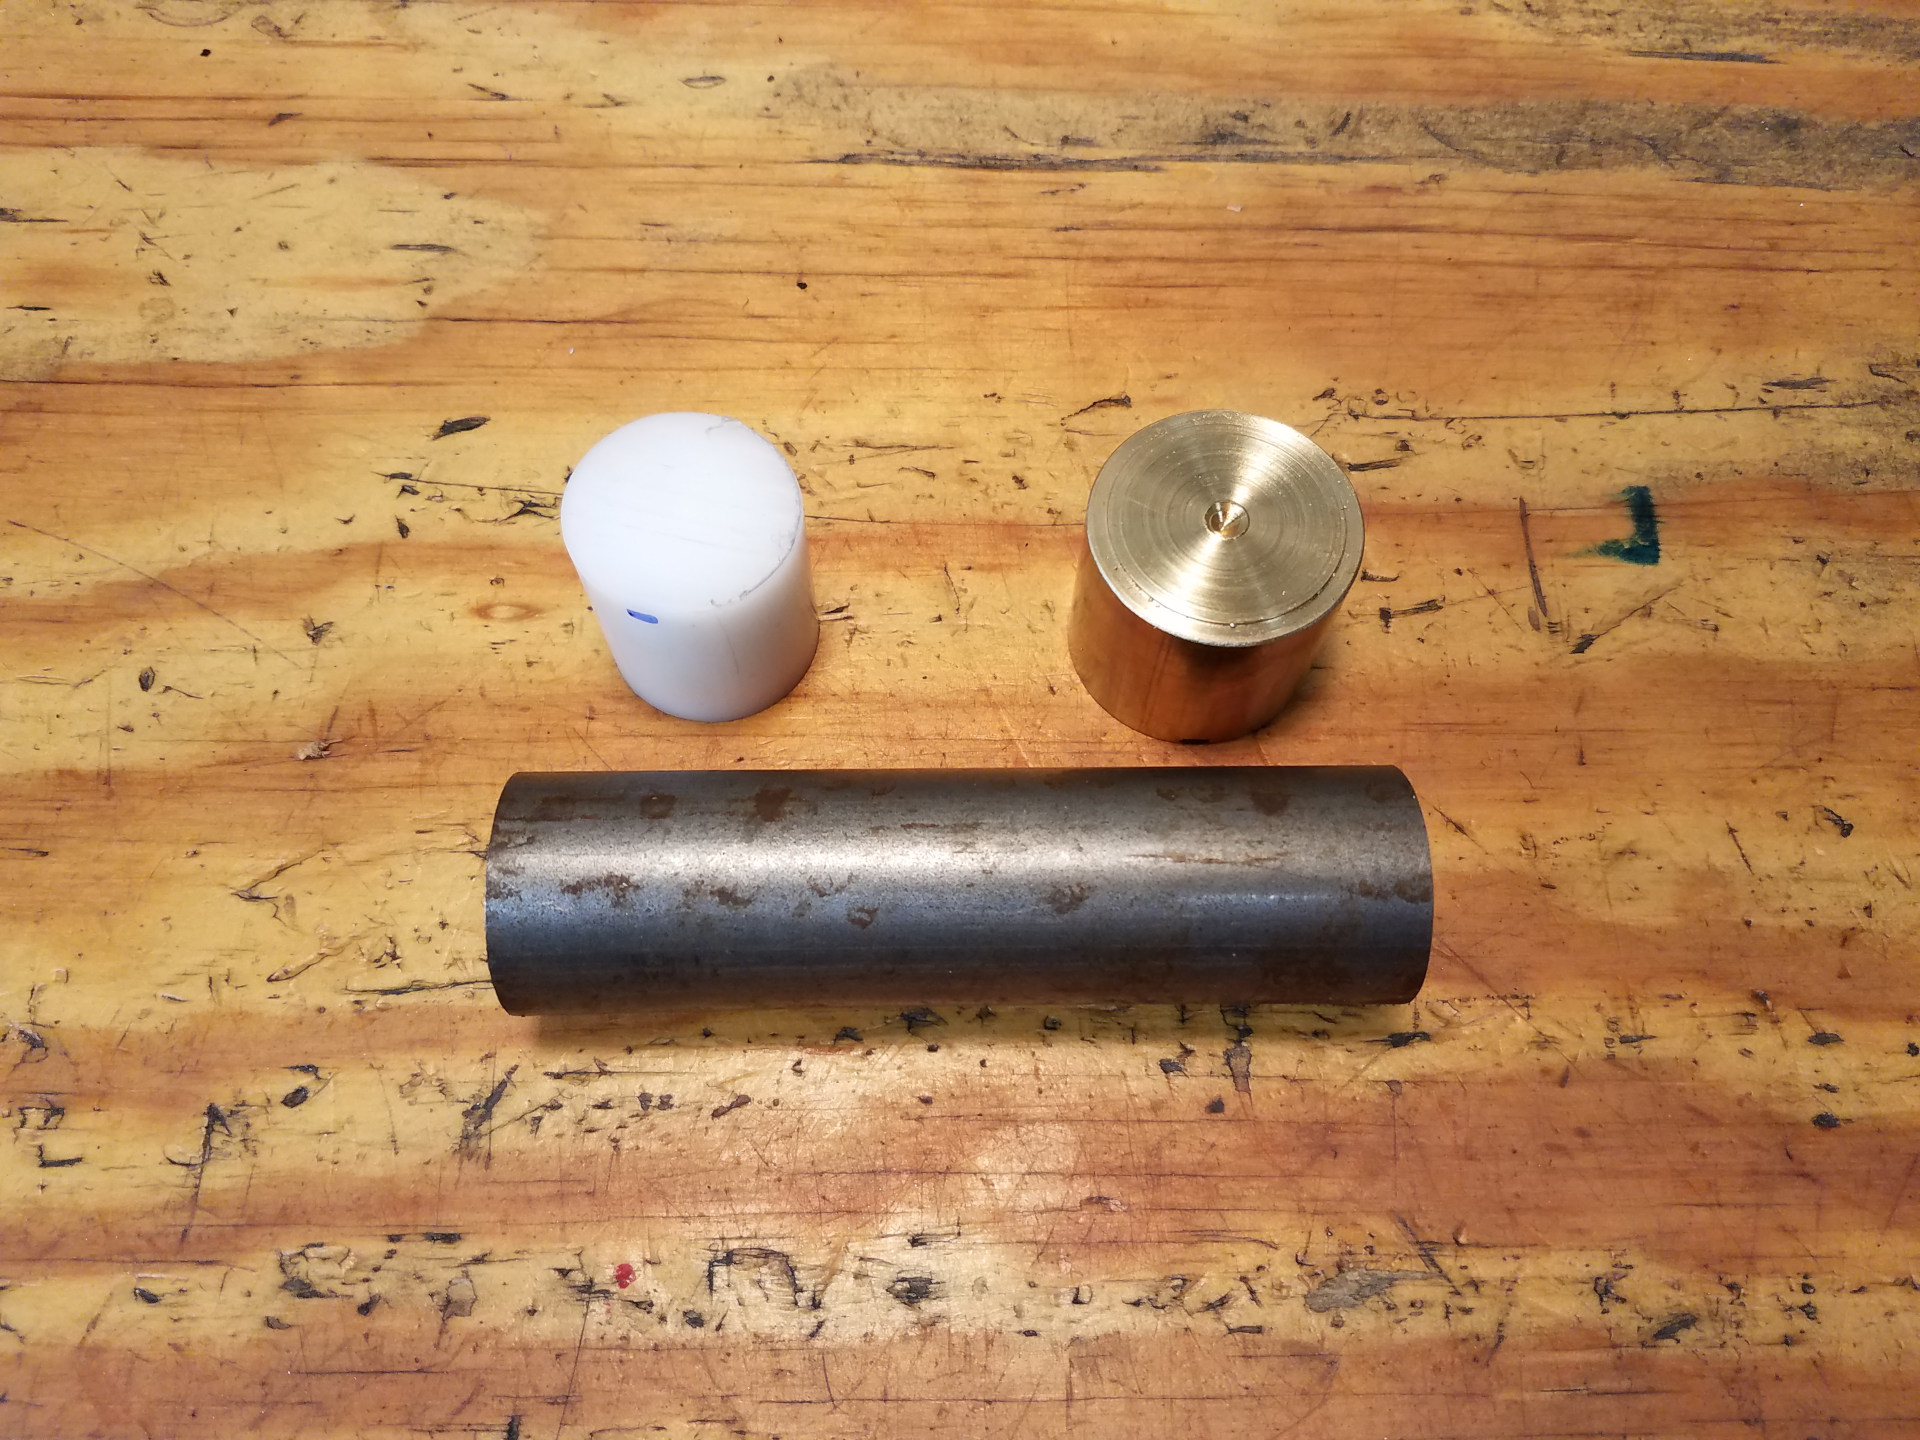
Here are the raw components of the knocker: Delrin and brass for the heads and steel for the body. All the raw stock for this project was already on hand and it's nice when you don't have to spend money to get started.
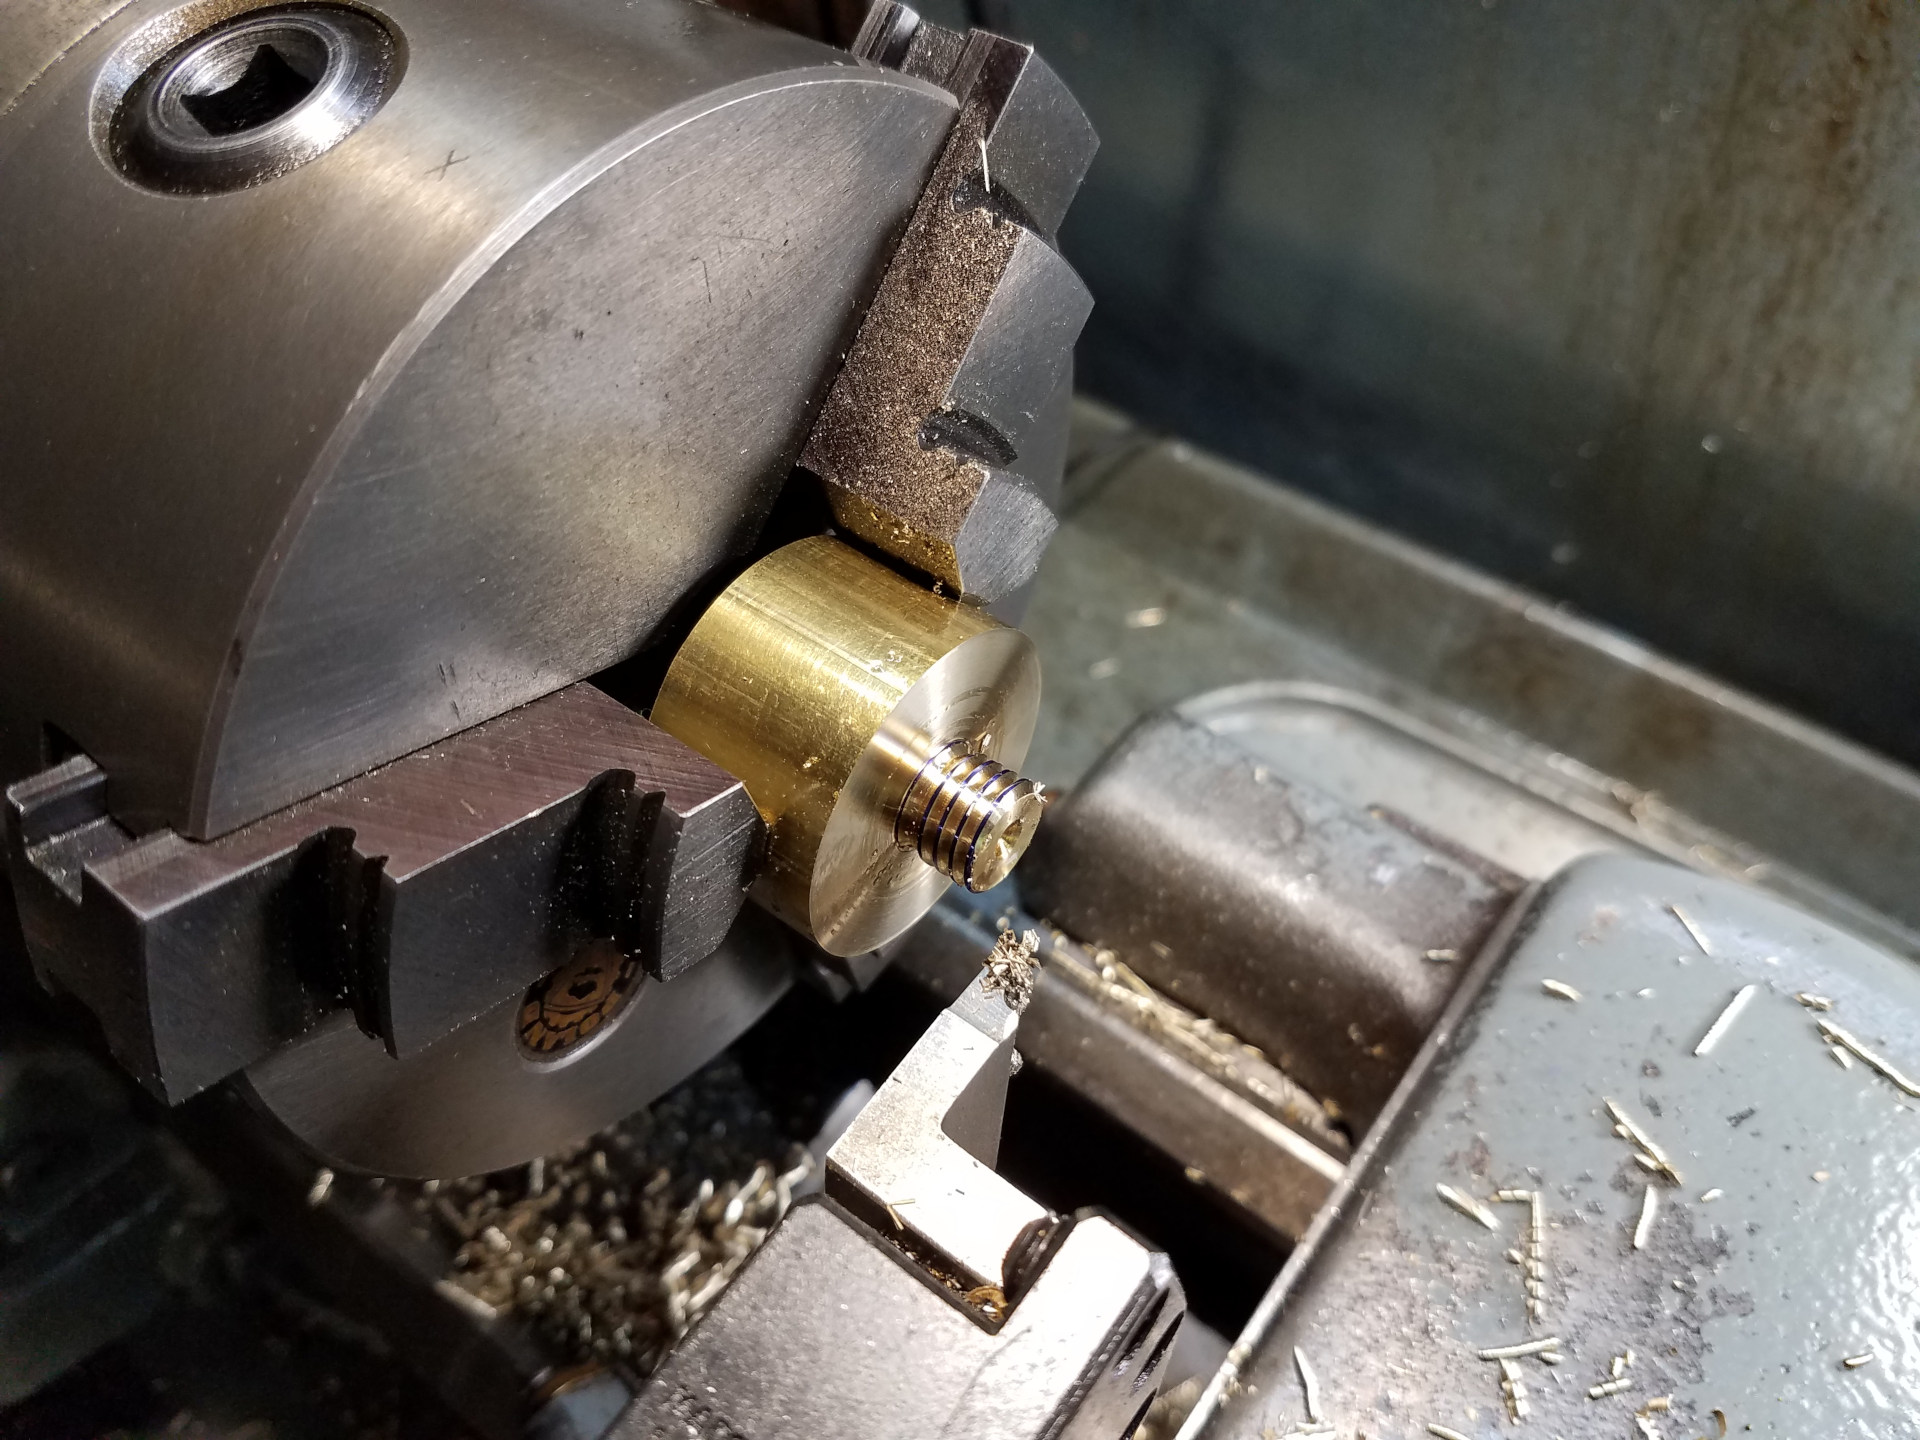
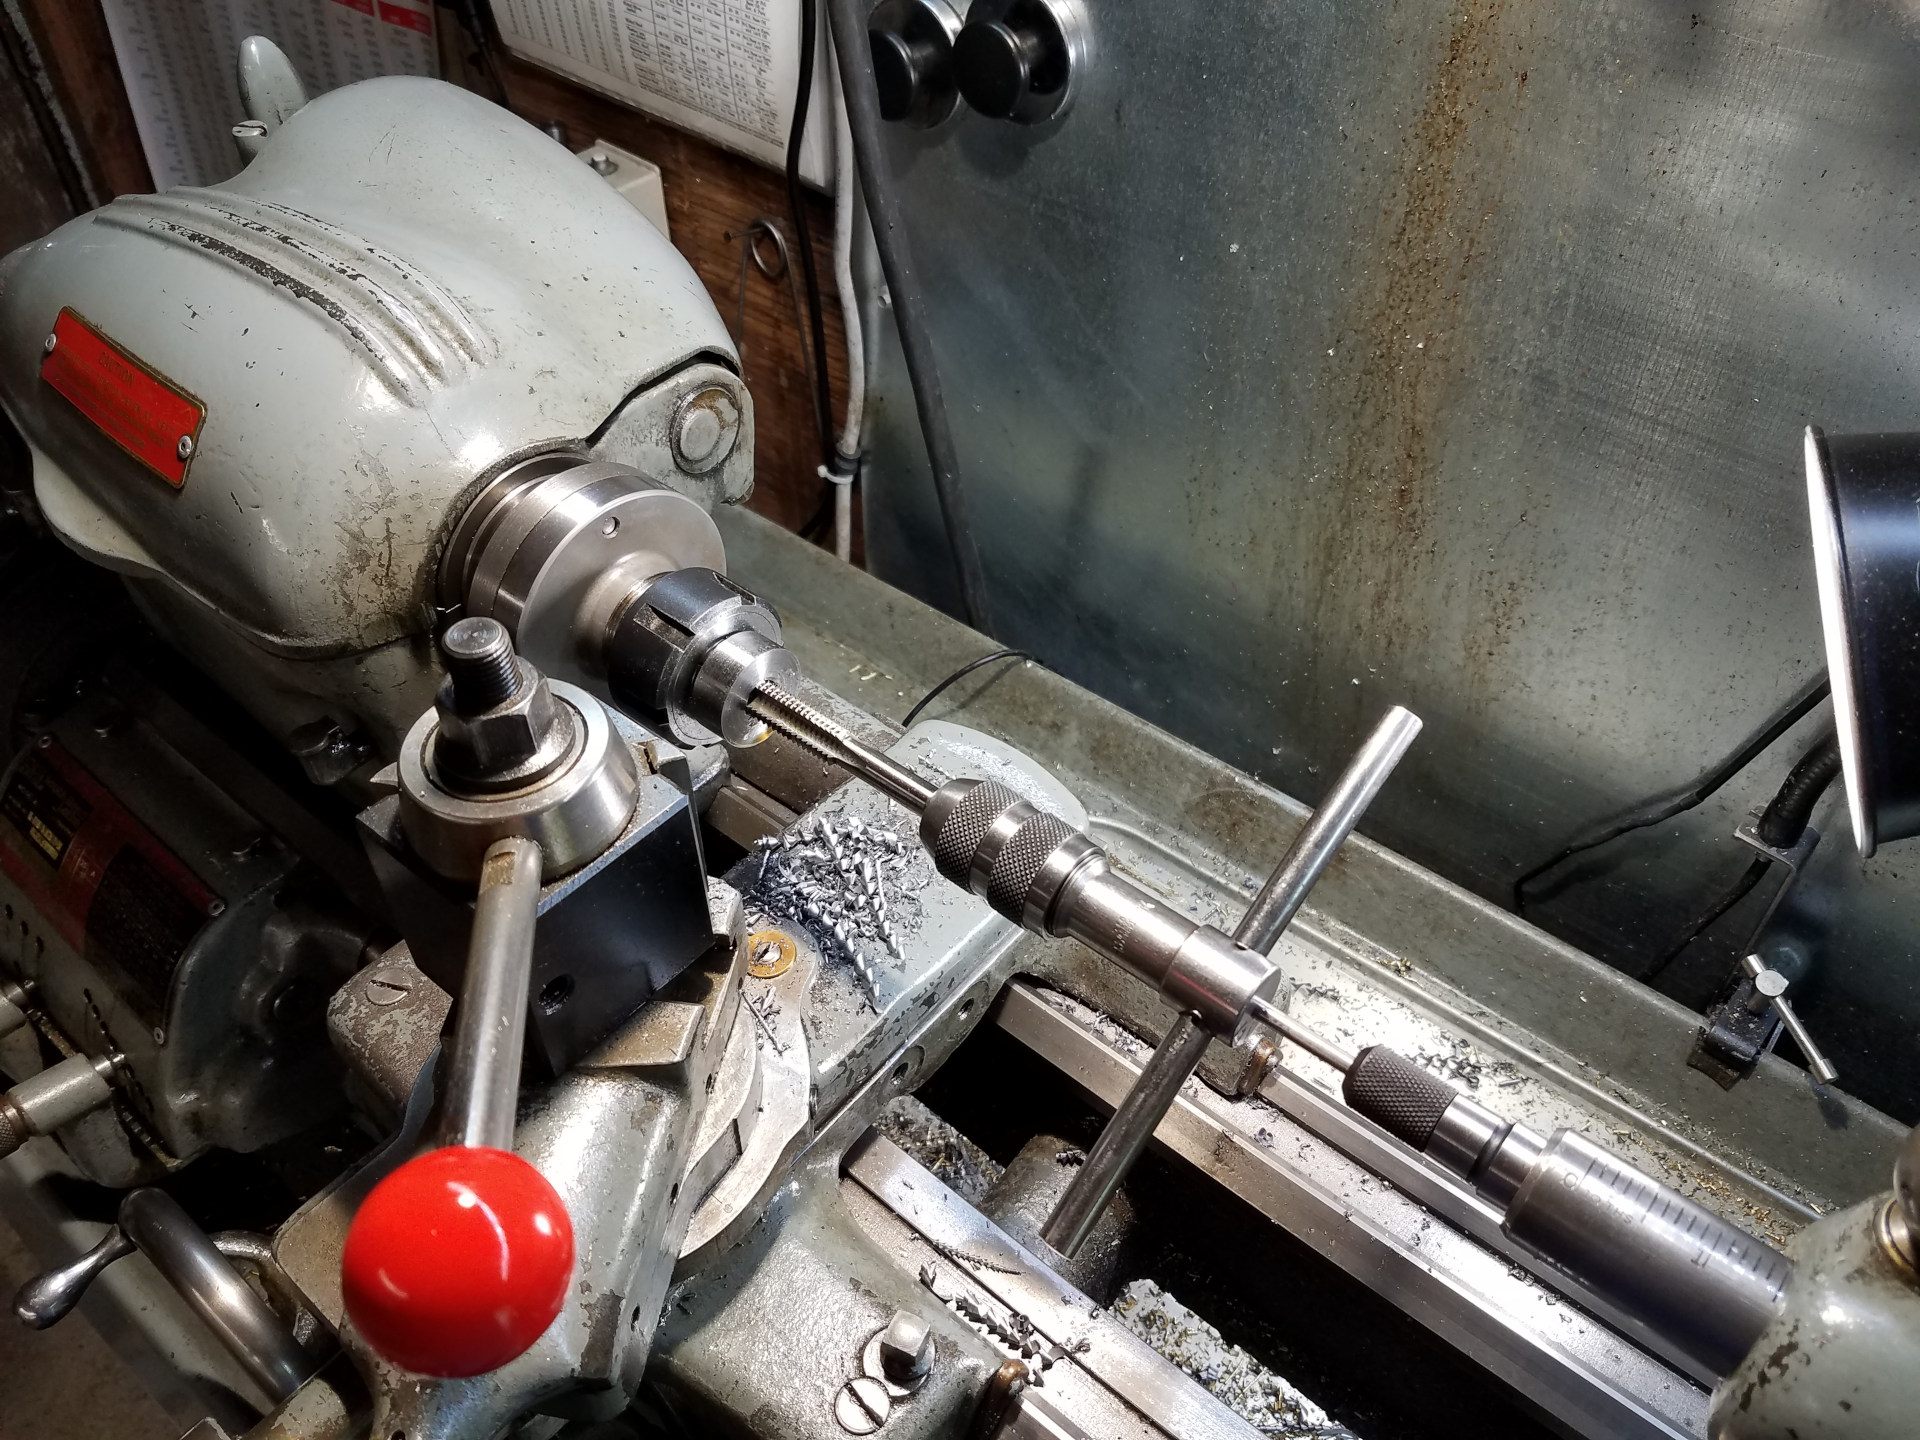
Both knocker heads were turned down and single-pointed threaded for screwing into the body. They can be installed and removed as necessary.
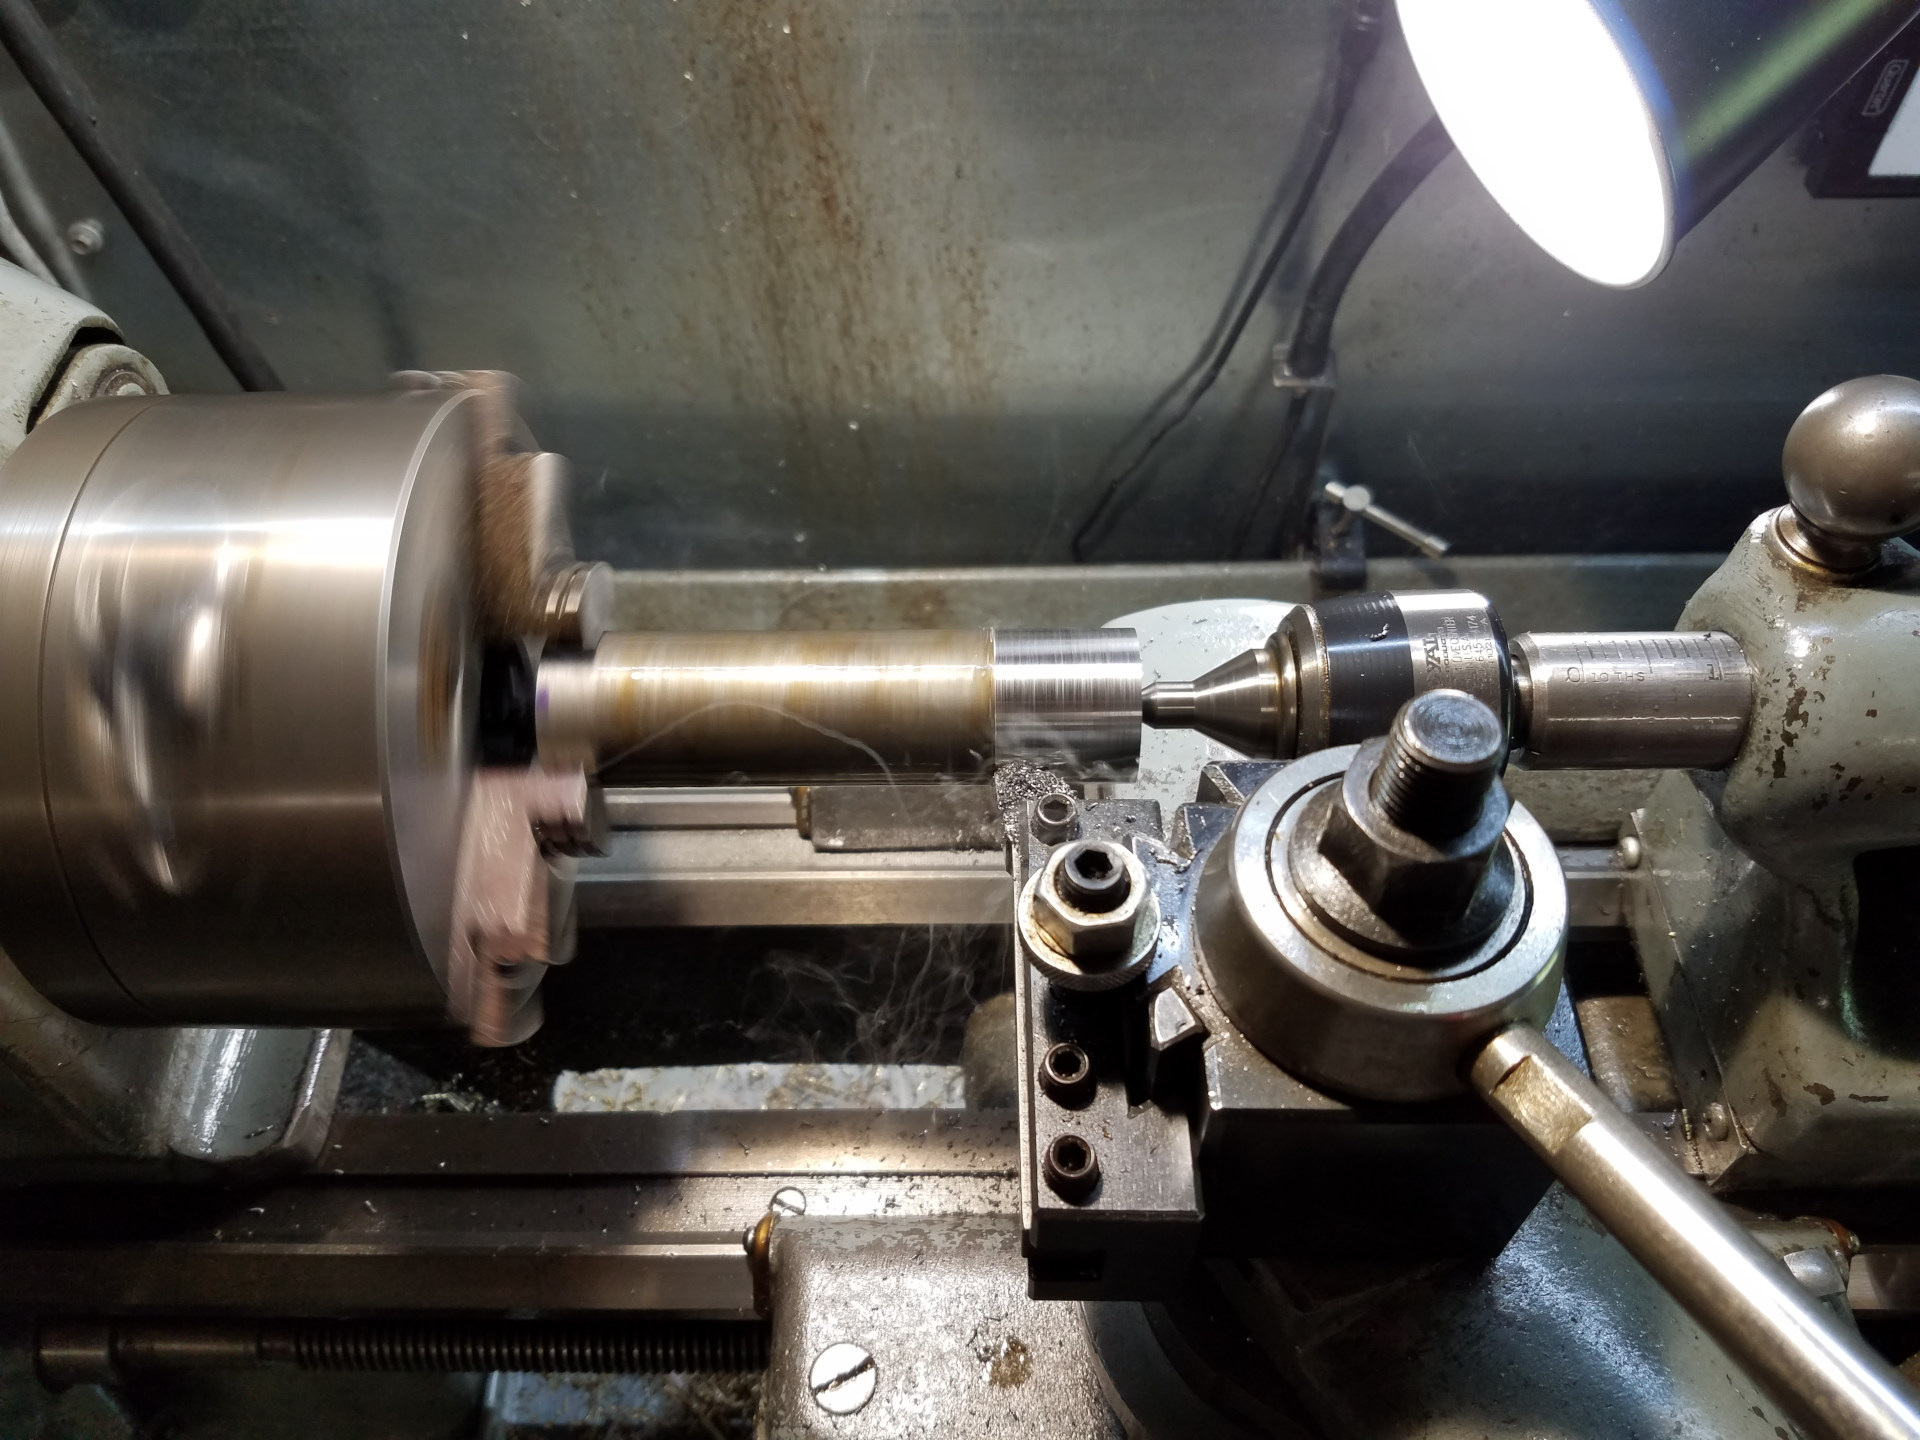
A light cut to cleanup the circumference of the body.
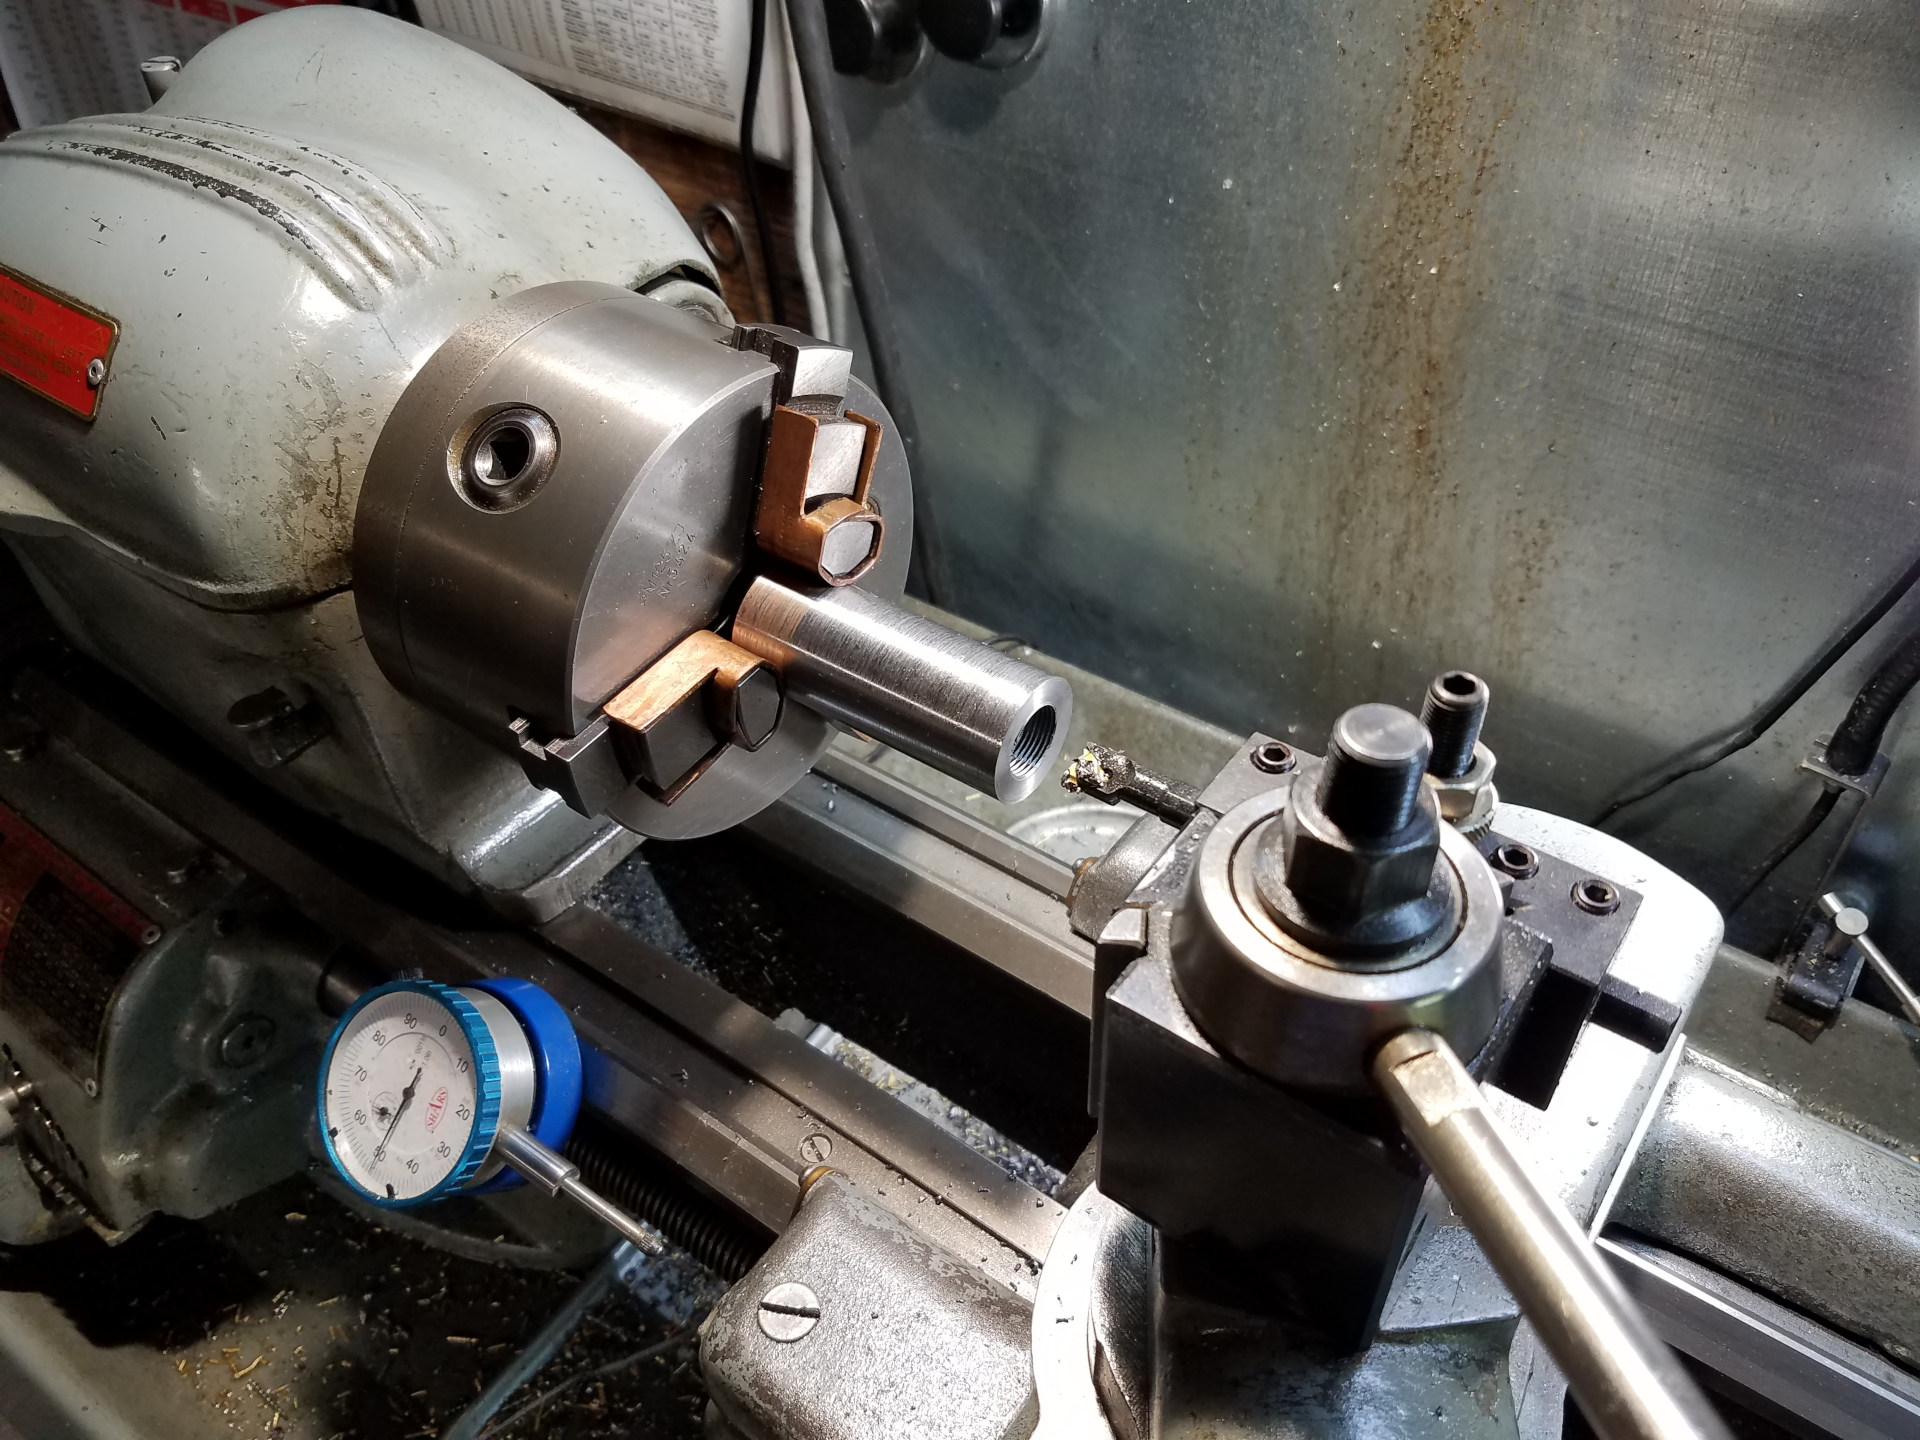
This end of the main part of the knocker body was drilled and tapped to accept the threads for either of the heads.
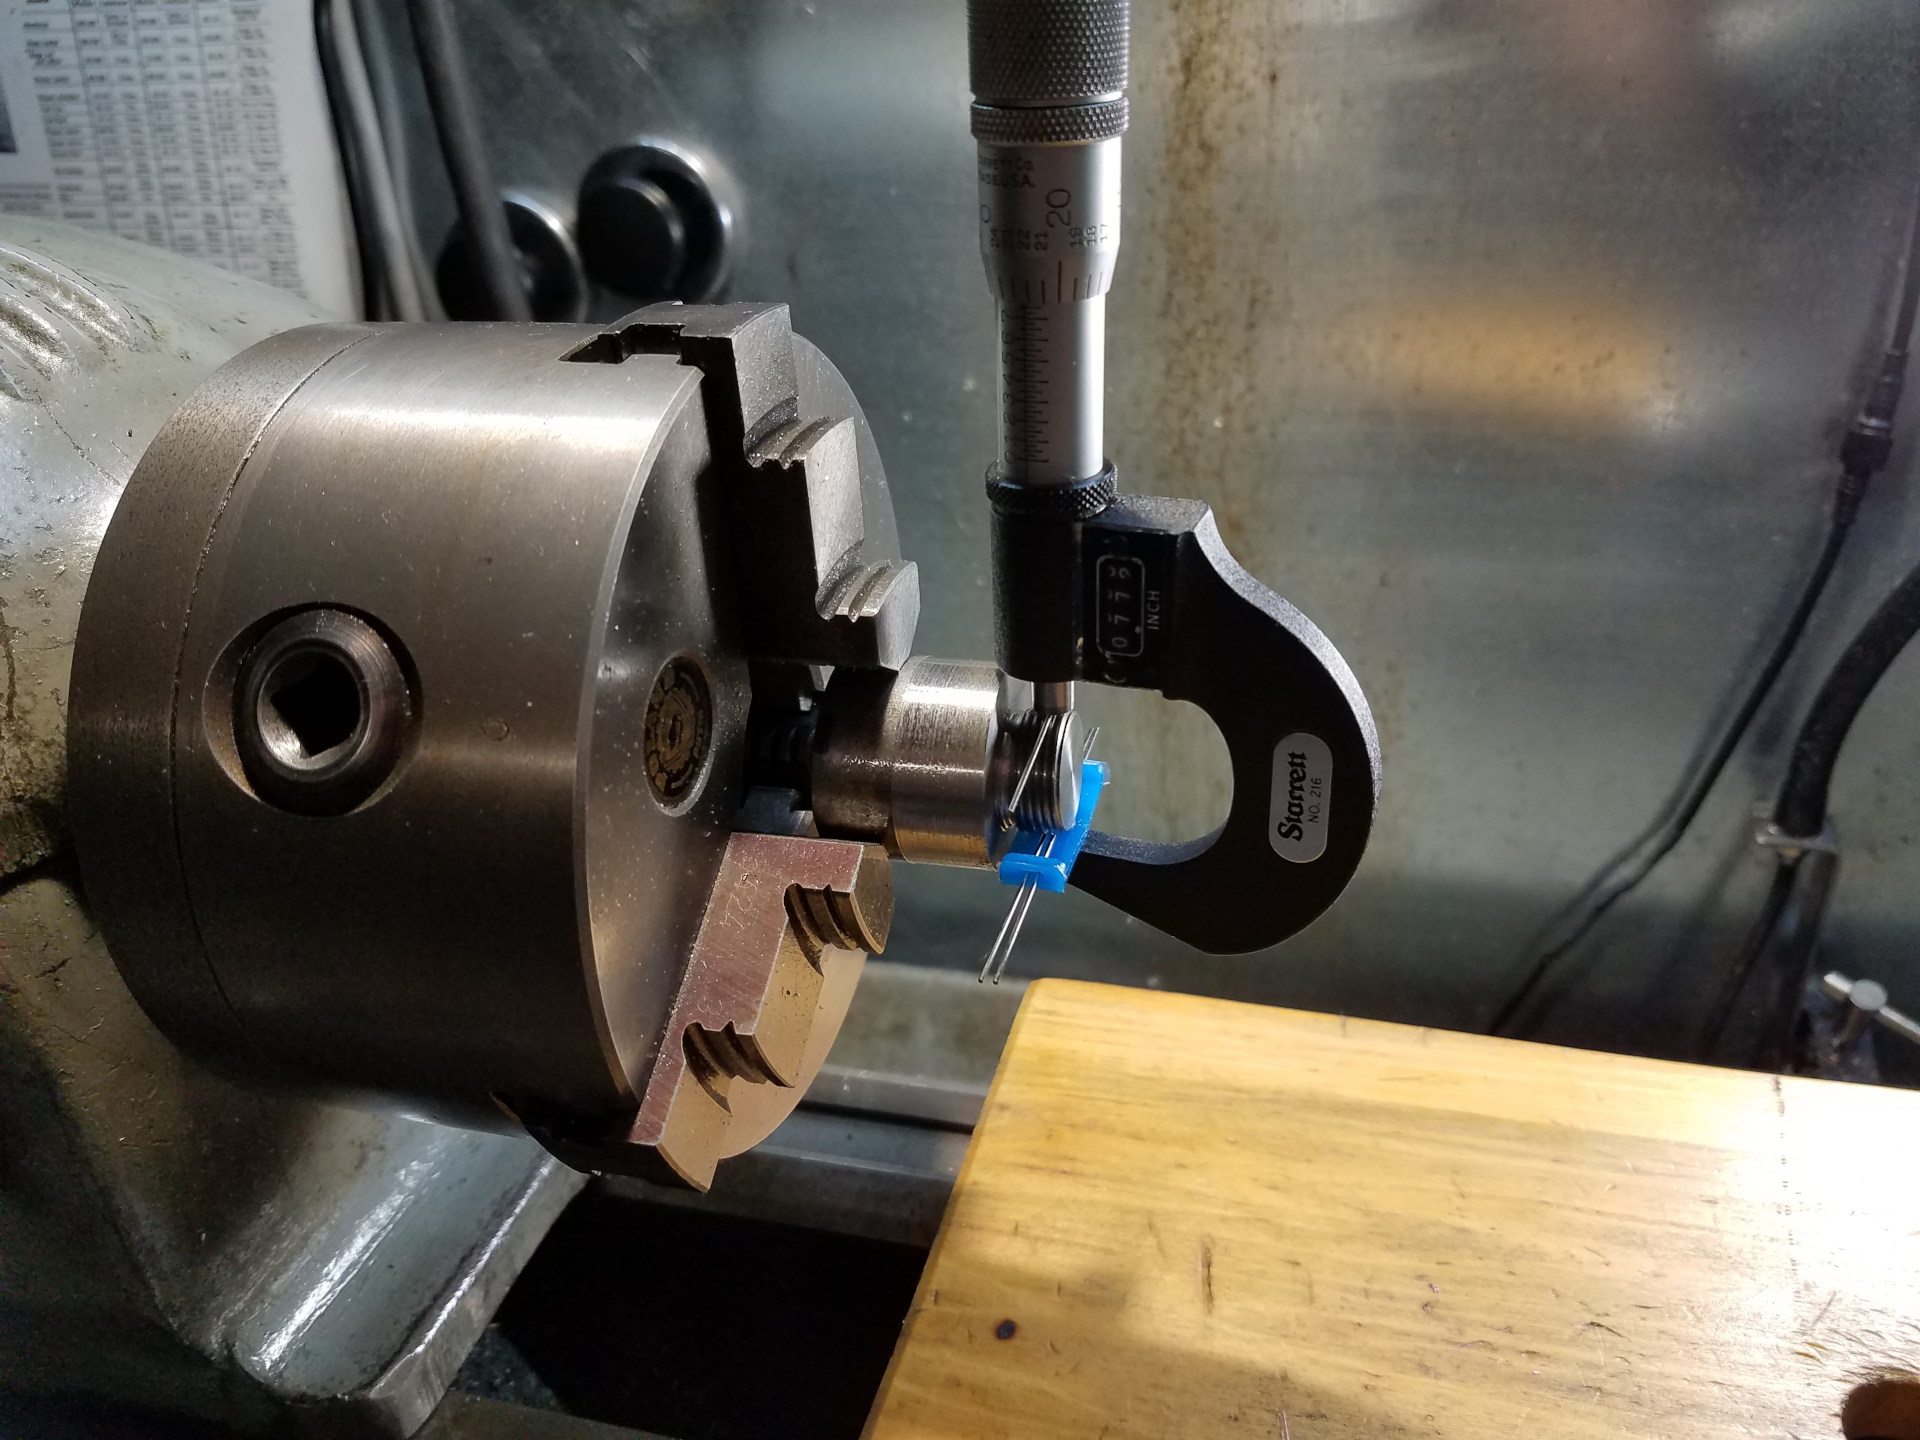
The body will be made in two parts to allow access to an internal cavity to fill with lead shot. After the last photo, the main section of the body was parted-off and this smaller segment was single-point threaded. Here I'm checking the threads using the 3 wire method as I don't have a nut or standard to check this thread size.
Now the small segment of the body is parted off.
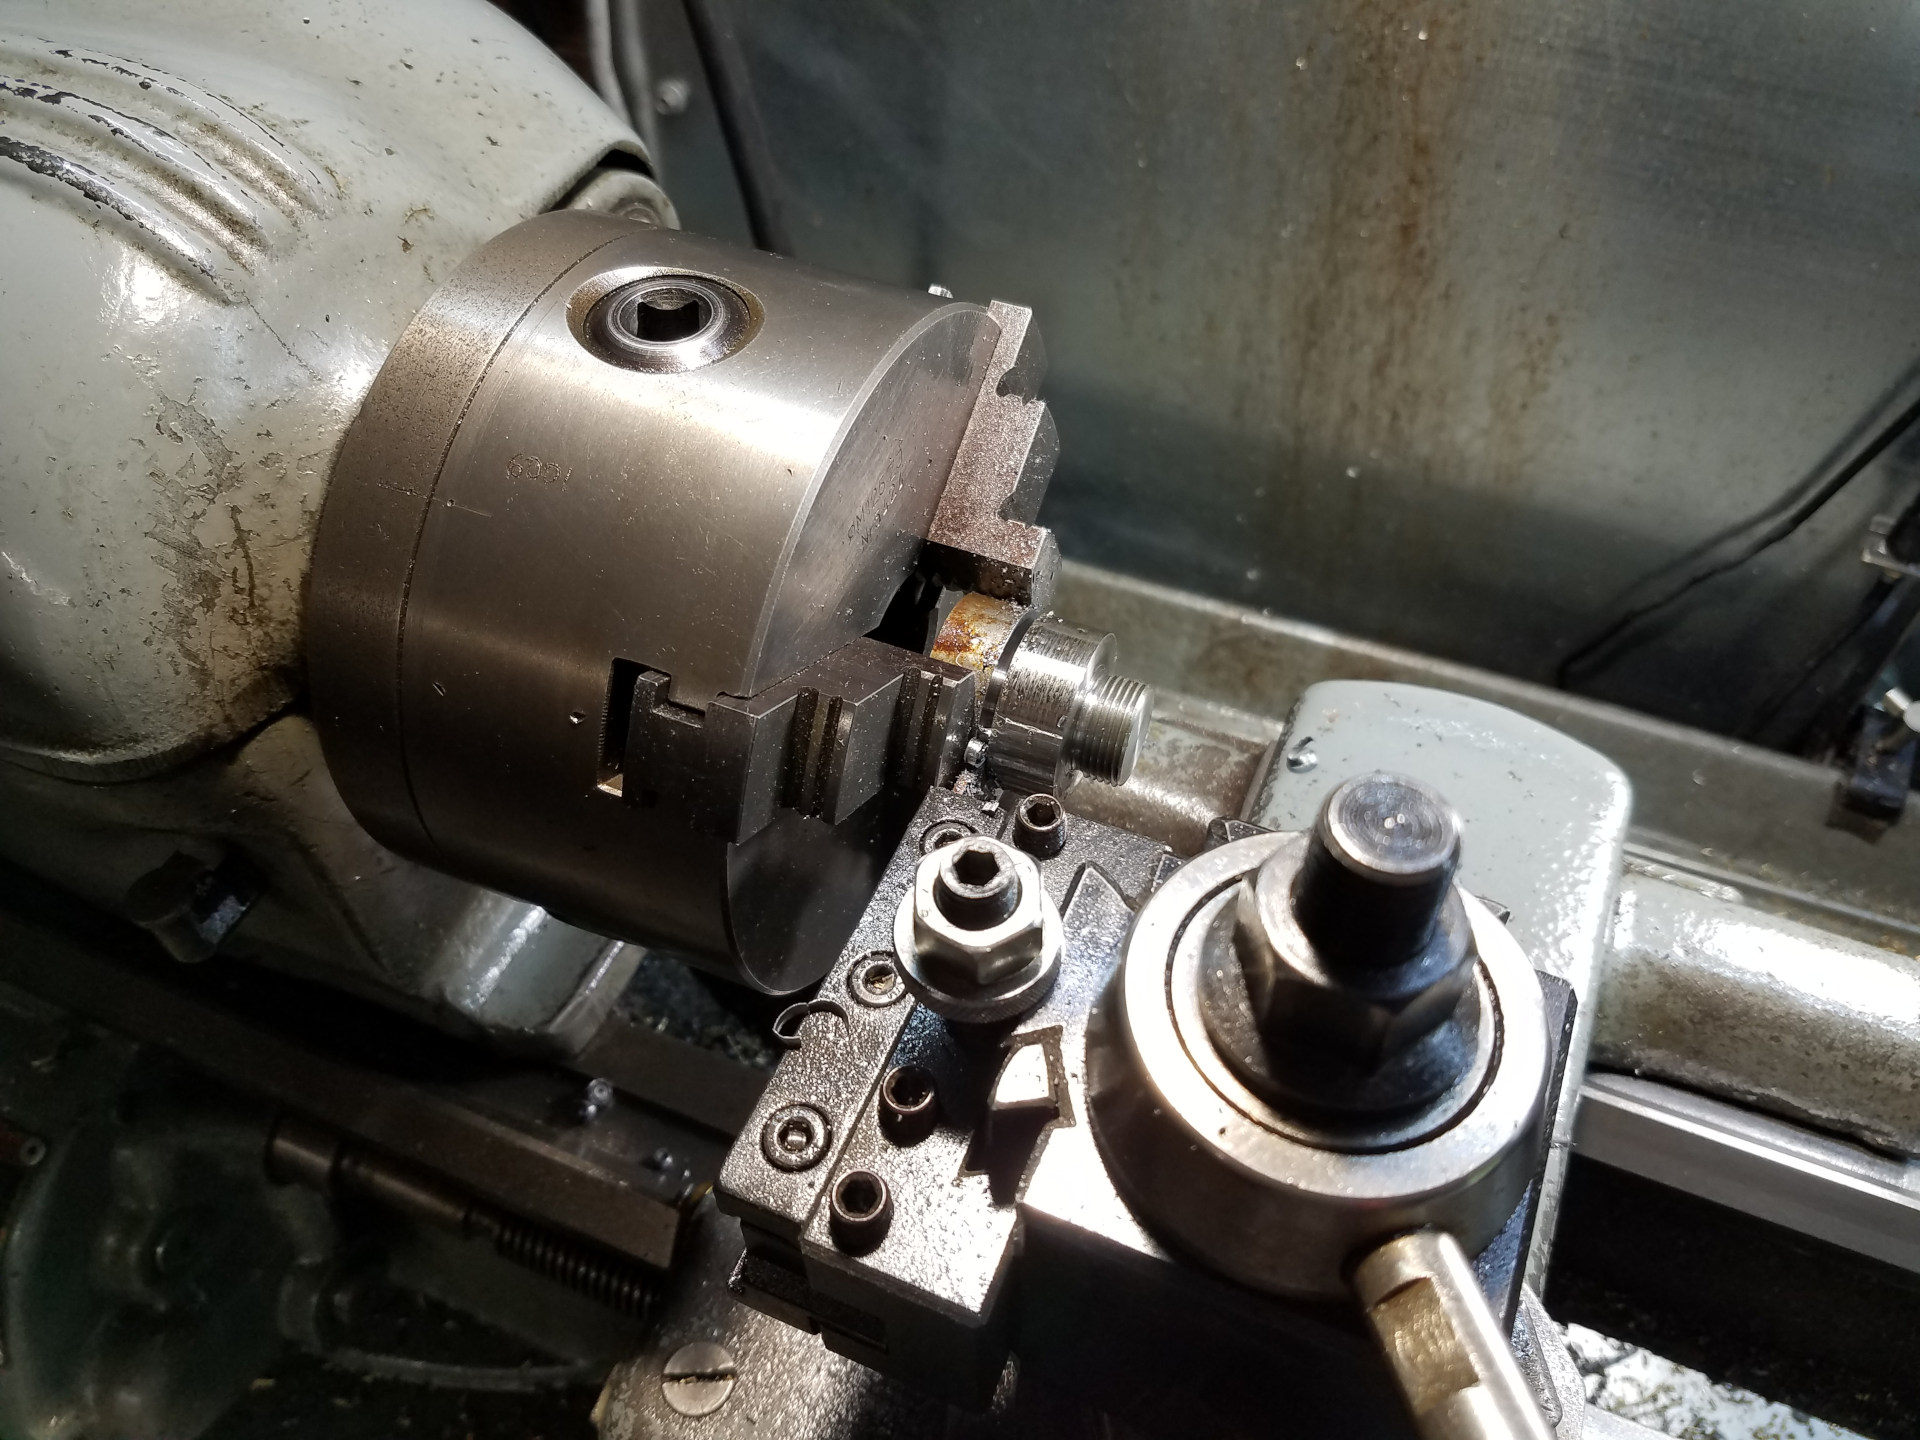
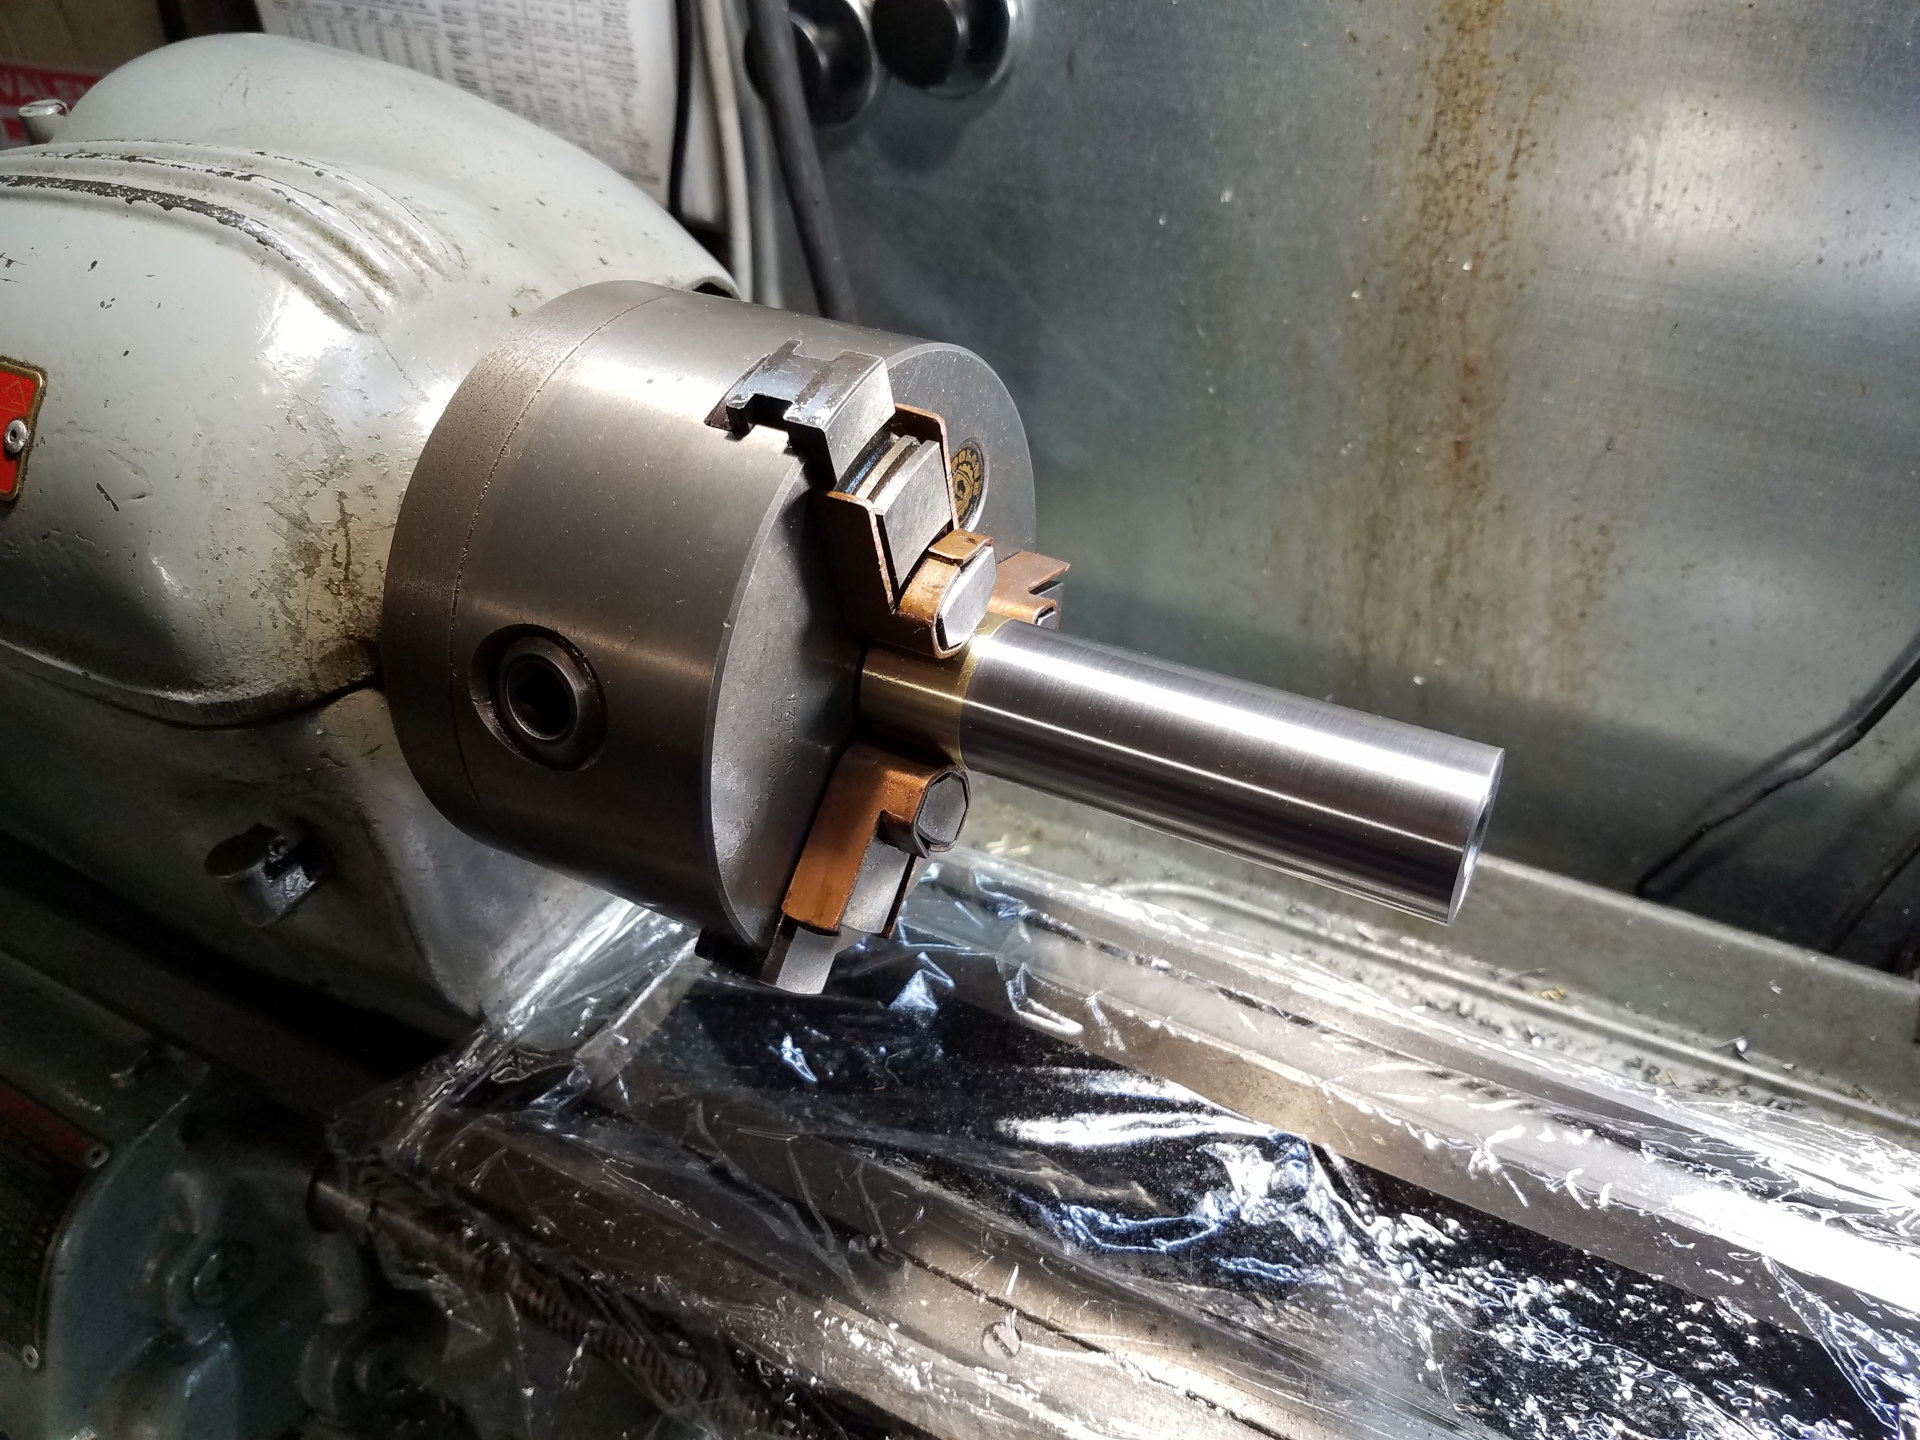
To avoid marring the freshly cut threads, the small part of the body is held in a collet. This side of the part is drilled and tapped to accept either of the knocker heads.
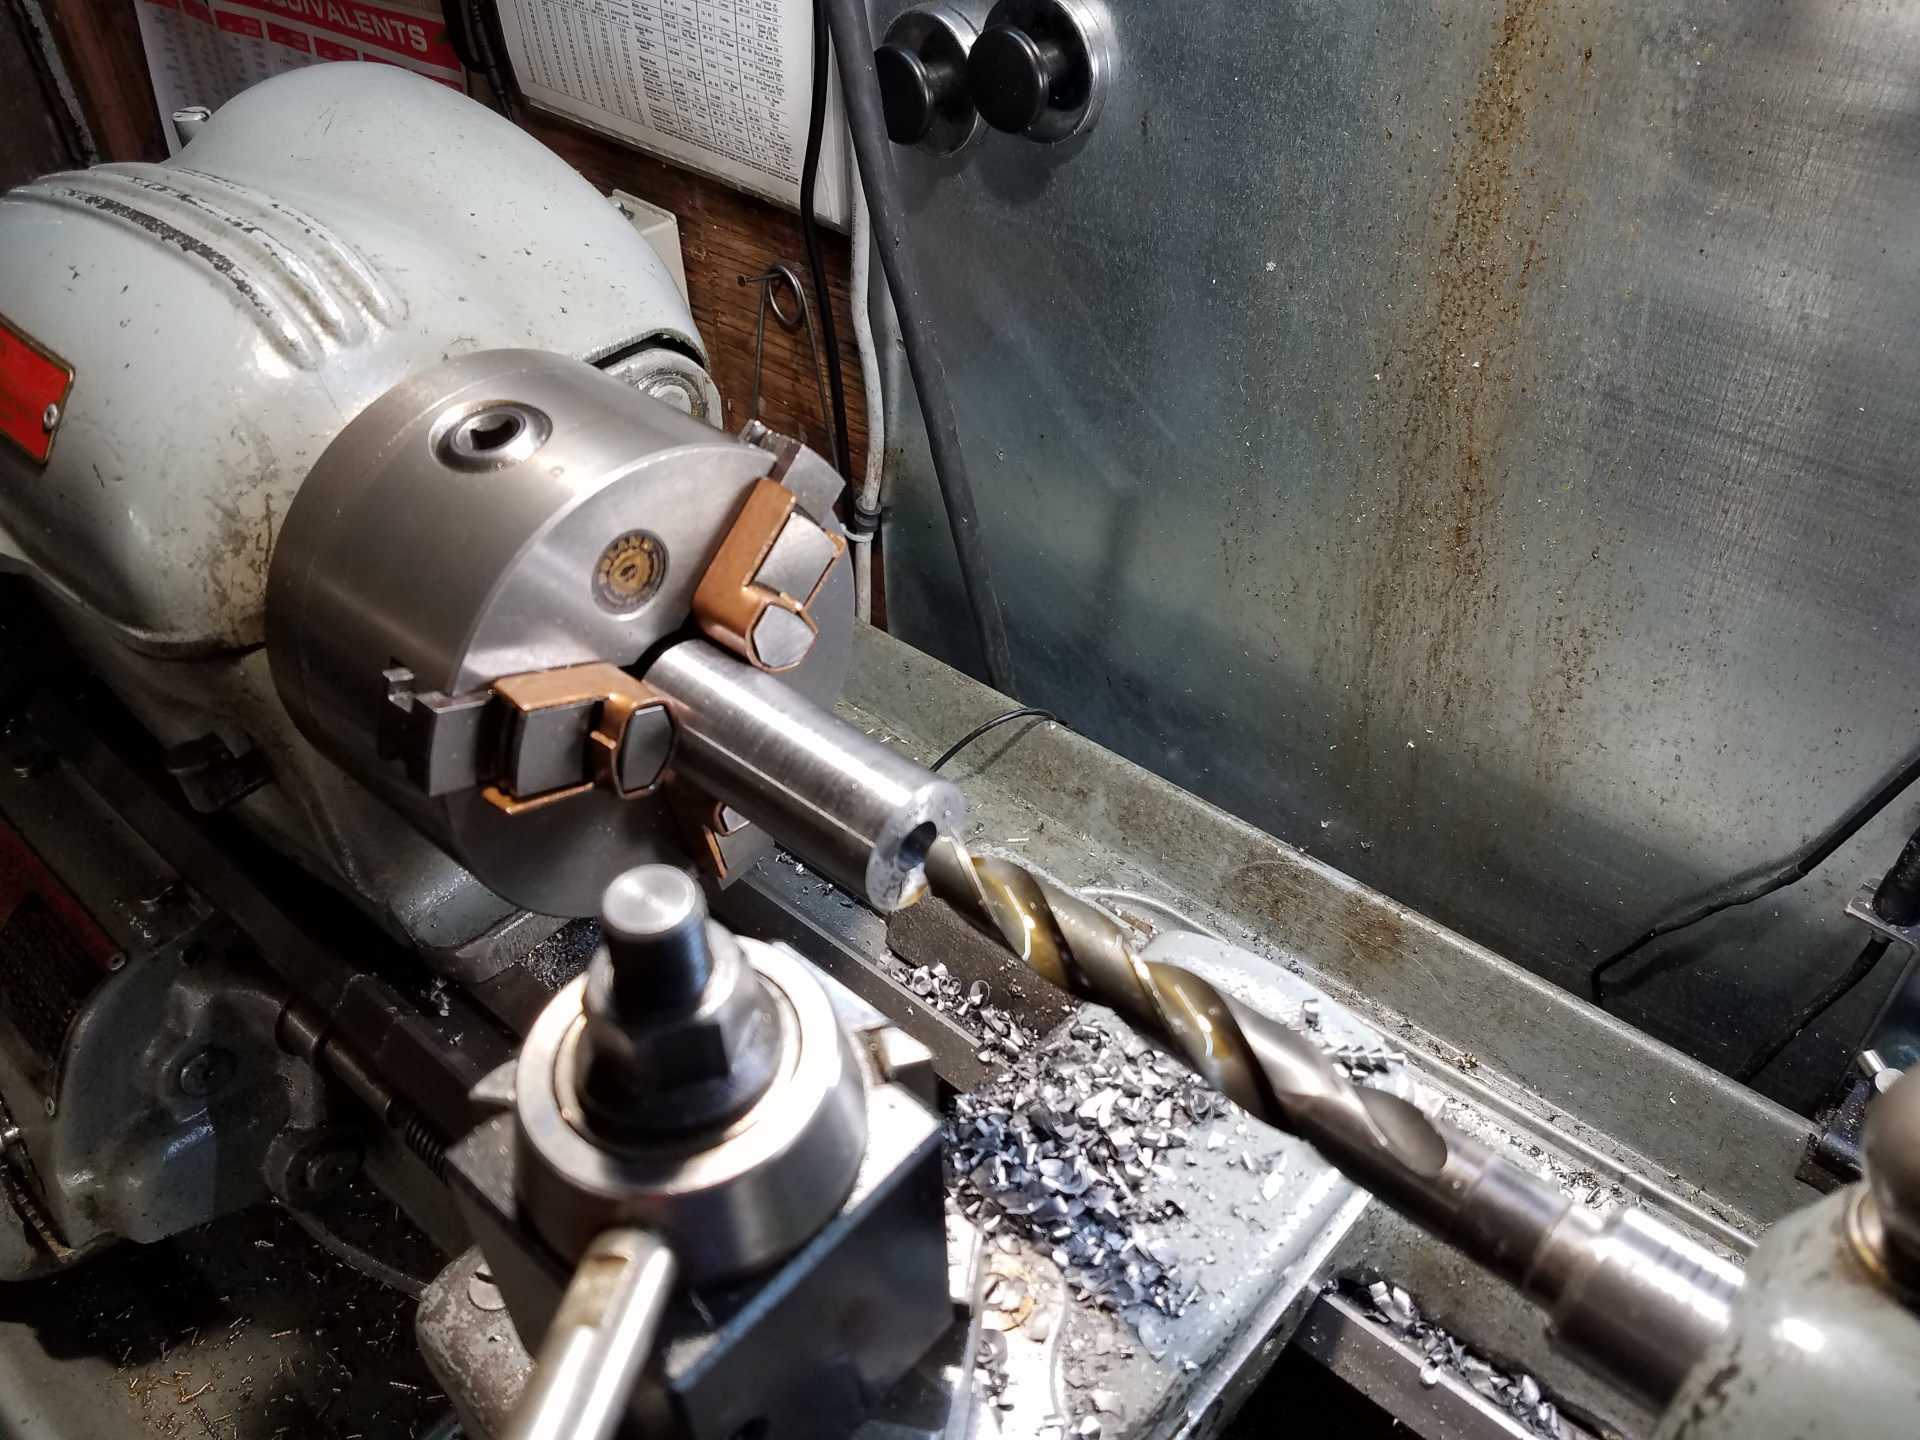
The main part of the knocker body is held in the chuck and is drilled for the internal cavity that holds the lead shot. This drill size is also the minor diameter needed for the threads that were cut earlier in the small part of the body.
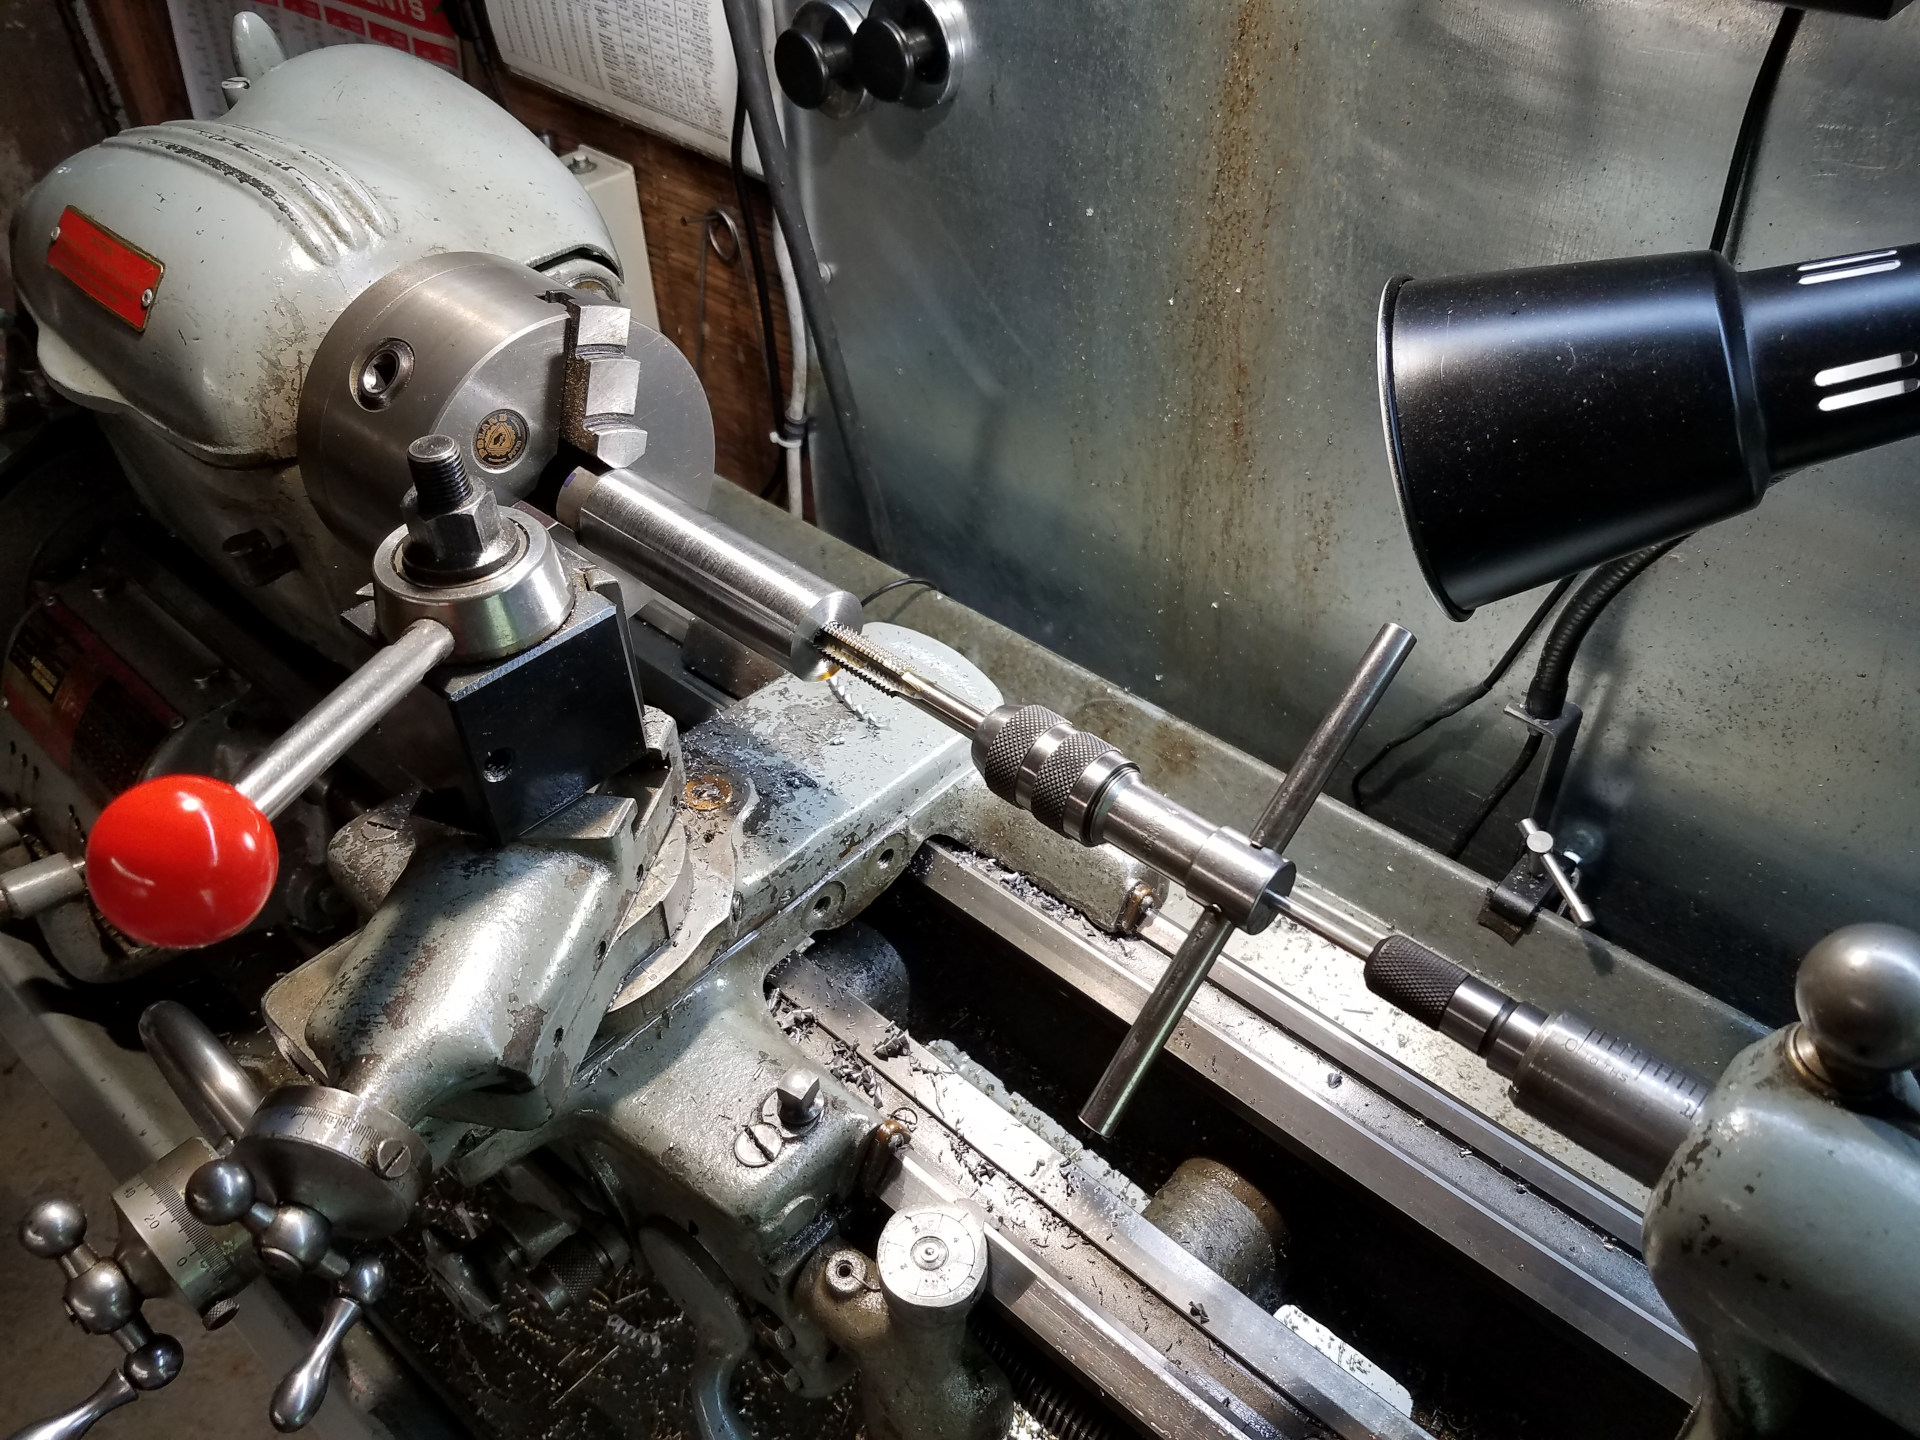
As I don't have a tap for this thread, it needs to be single-point threaded. These carbide insert internal threading bars are cheap from China and much nicer than trying to make your own threading bar from hardened drill rod.
Now the main body of the knocker is assembled by screwing together the two body pieces together and the outside is turned downed slightly and polished with emery and scotch-brite pads. The assembly joint between both of the body parts is now almost invisible.
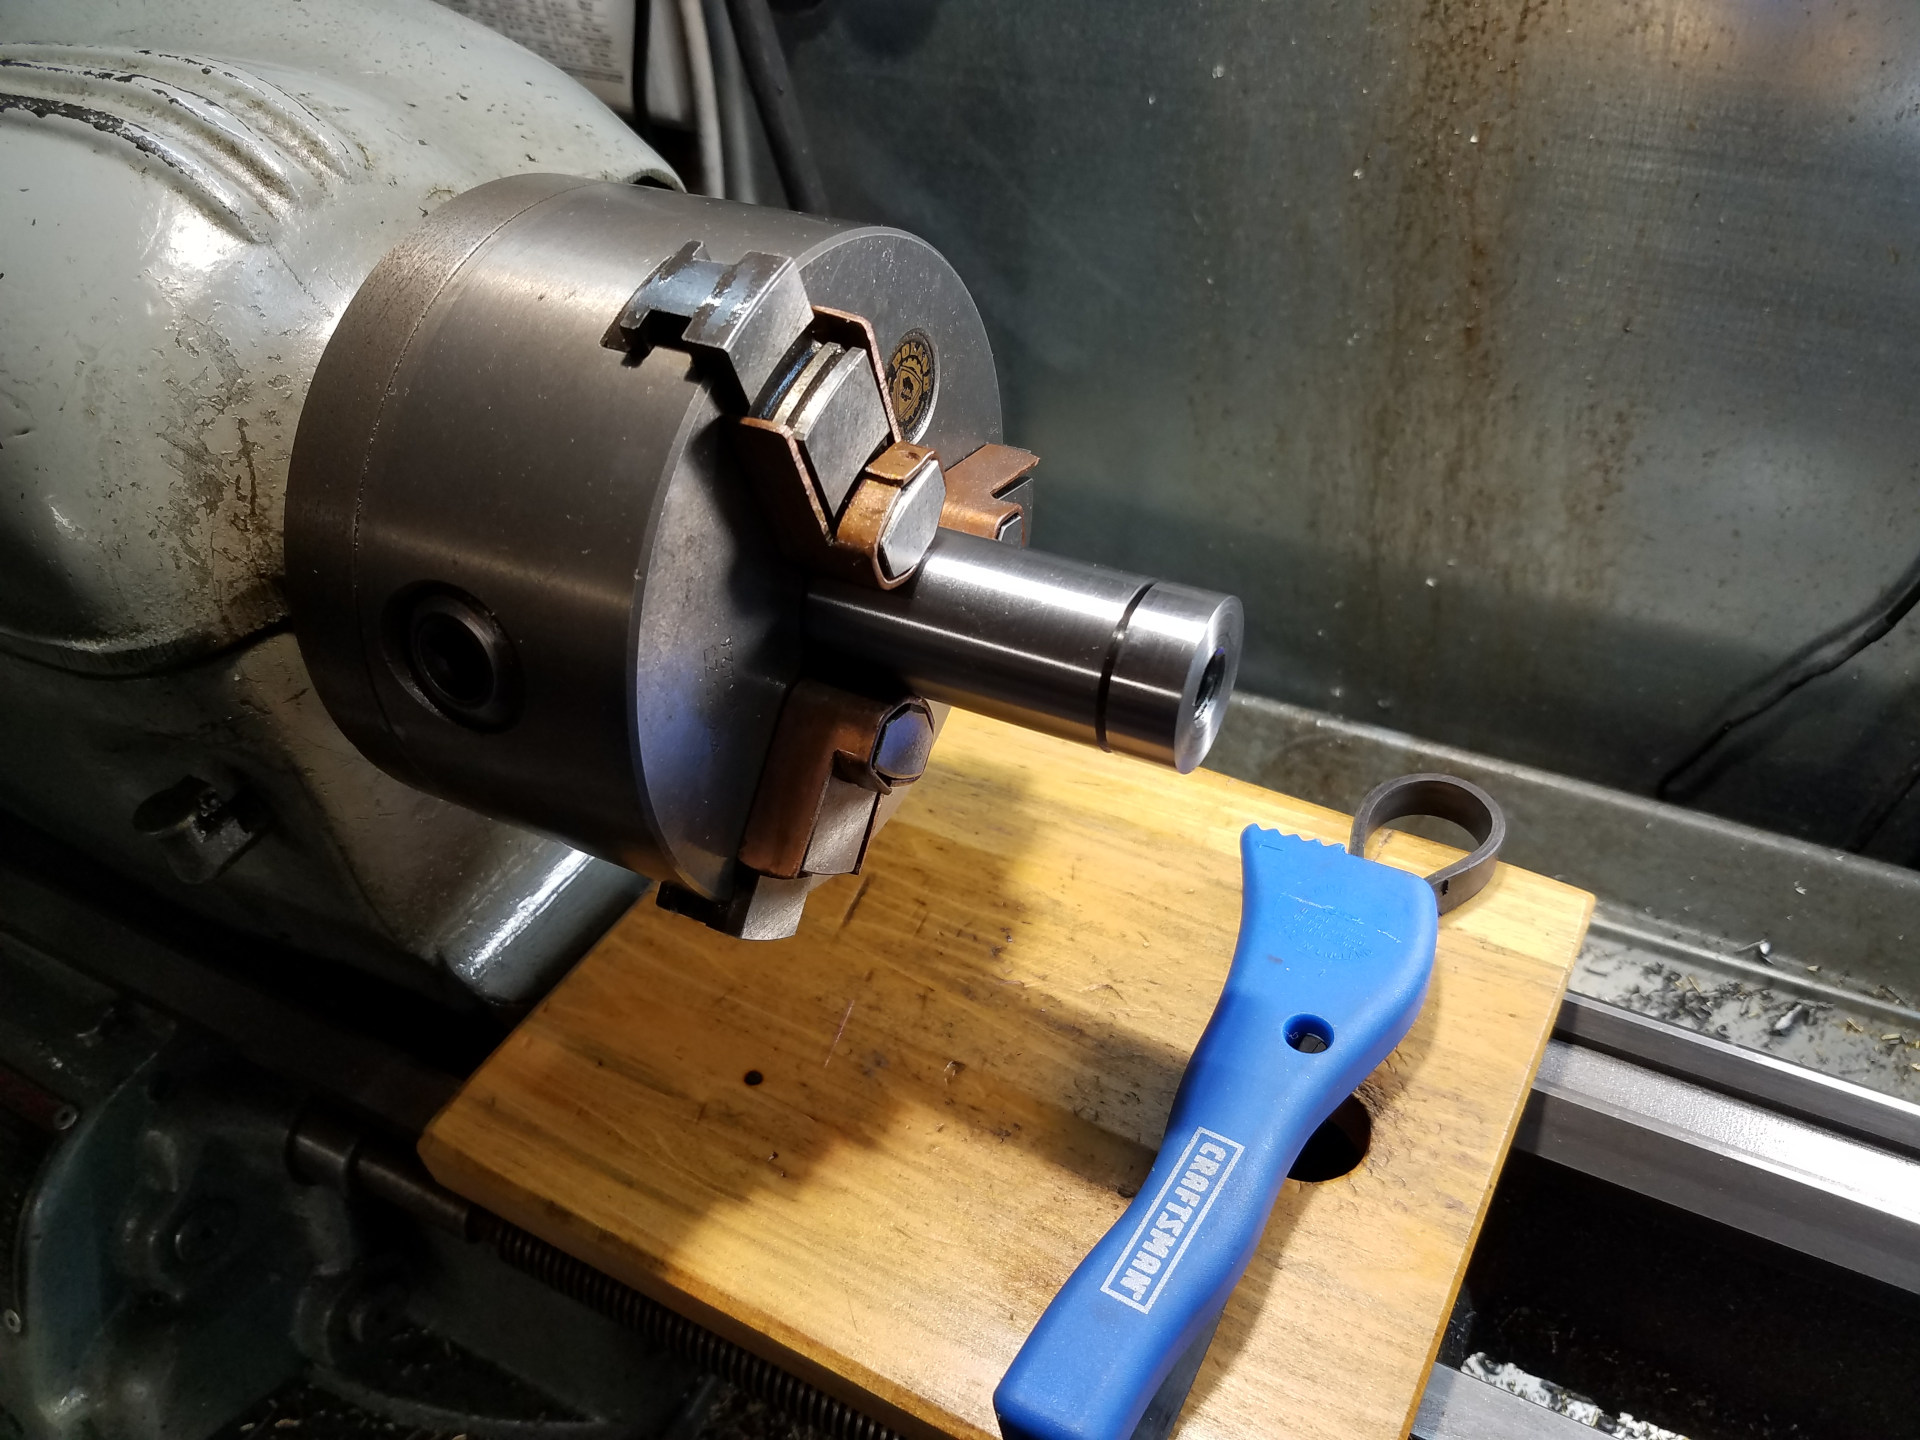
Here the body assembly parts were loosened with a strap wrench as it won't mar the surface of the knocker body. About 2/3rds of the internal cavity of the knocker will be filled with lead shot.
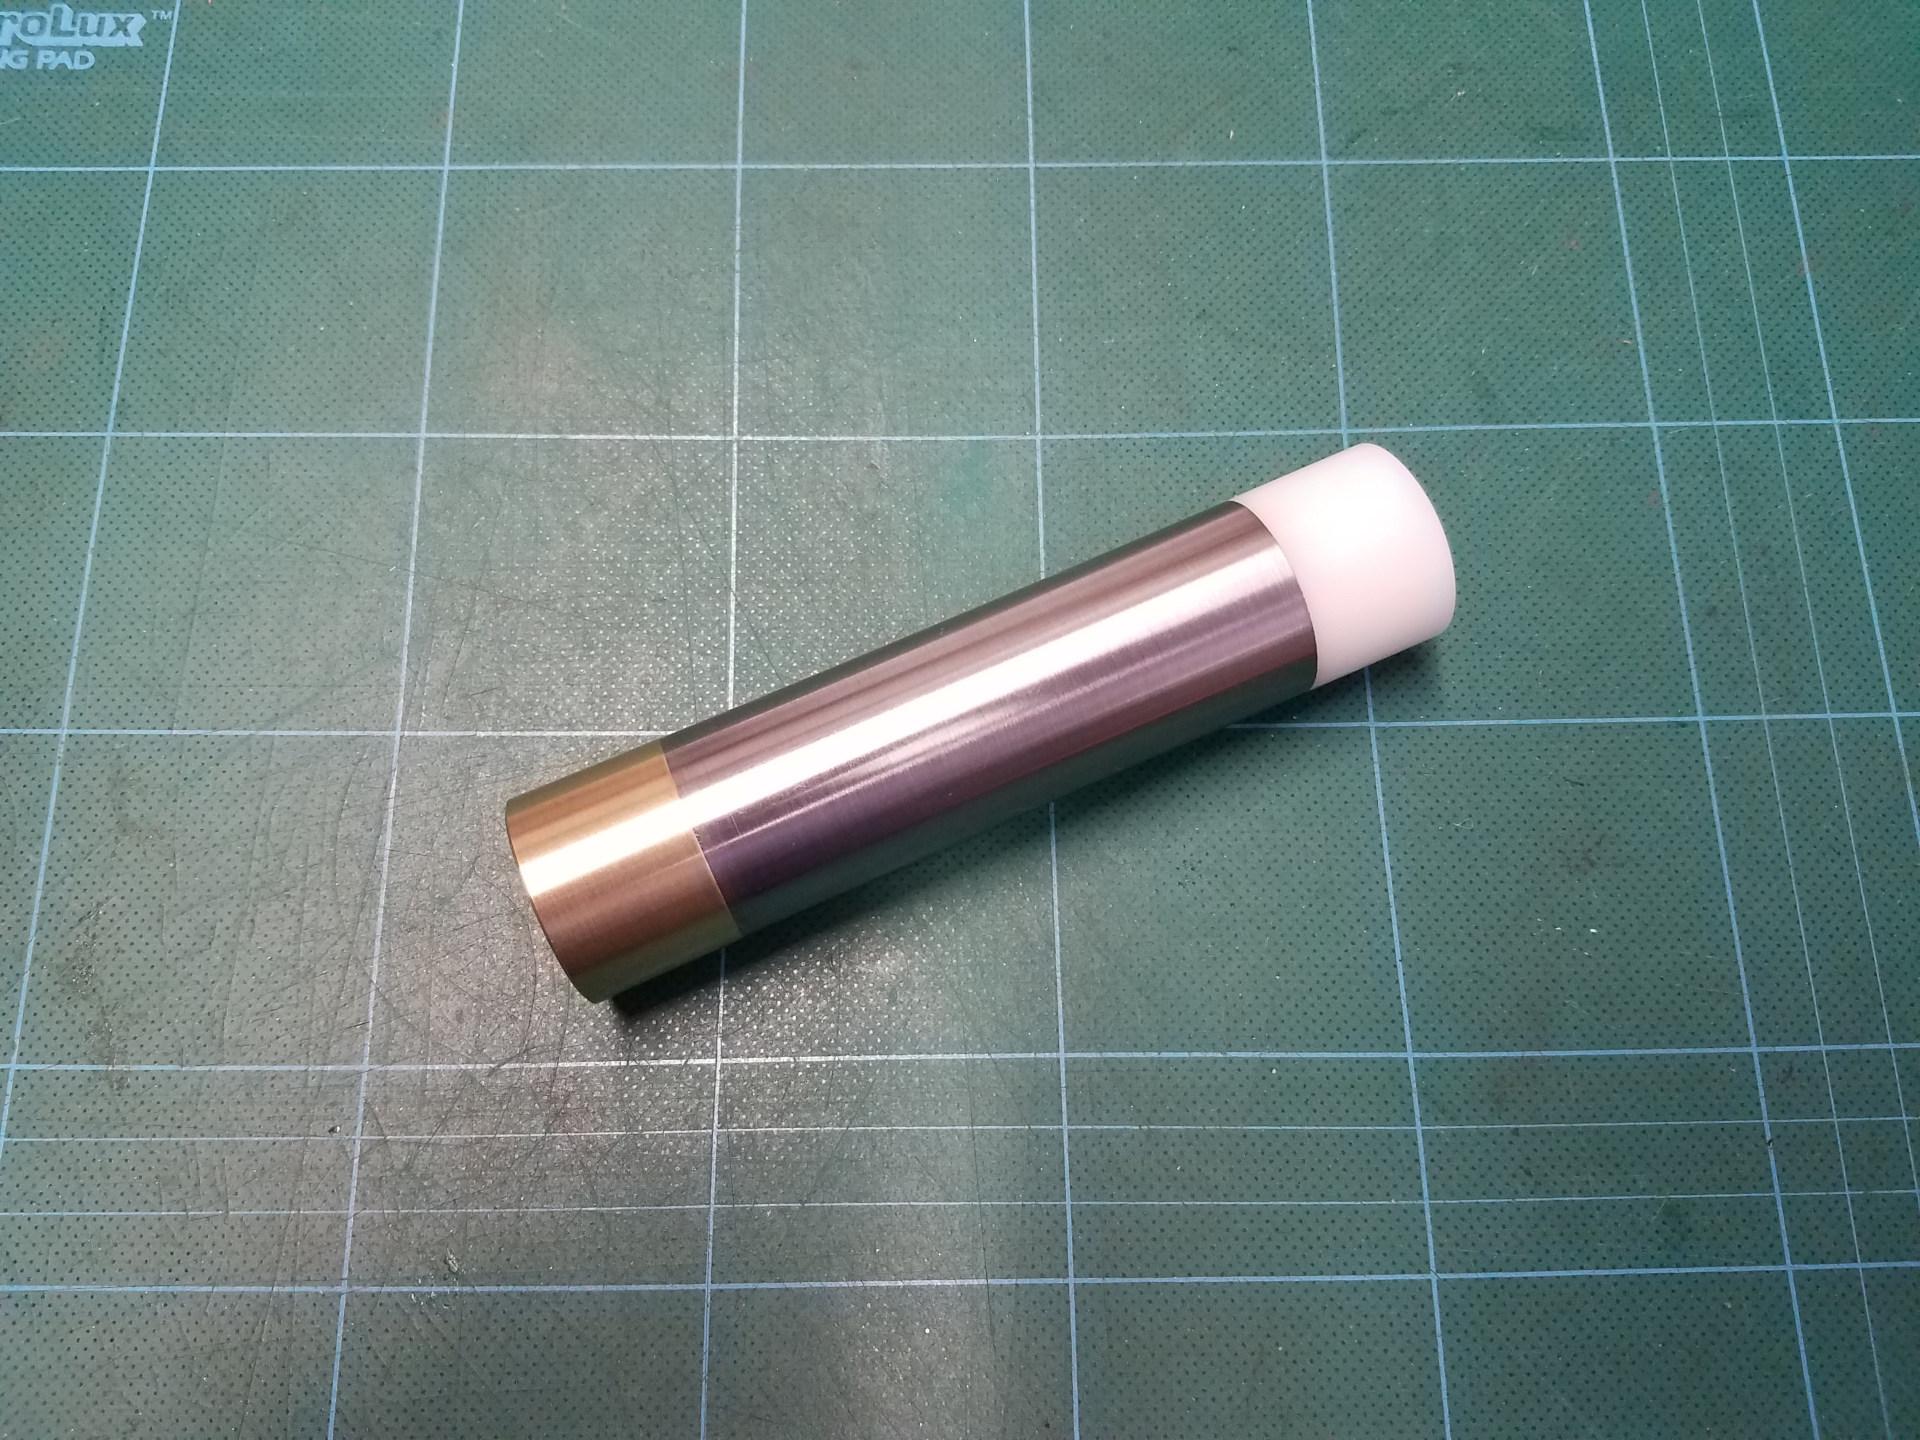
The fully assembled dead-blow knocker.
I've been using this tool for a few years now and find it to be quite useful and handy to have around the shop. Since it's a dead blow design it hits harder and is more controllable than a normal solid design knocker.